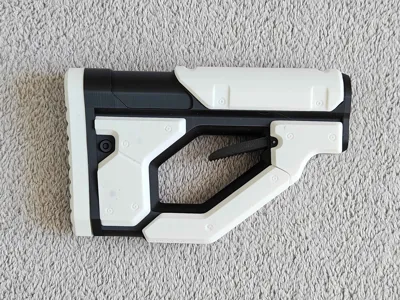
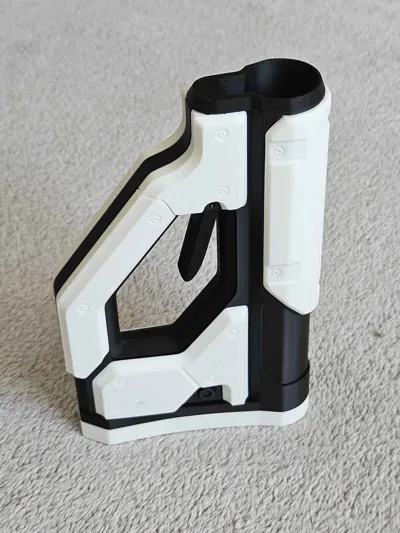
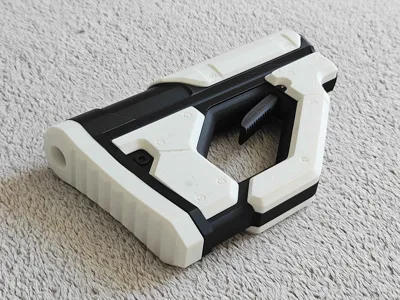
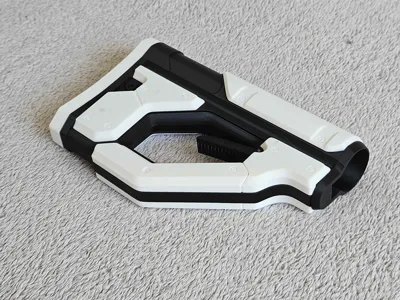
Adjustable Titan Airsoft Stock for buffer tubes


Print Profile(1)
Bill of Materials

Description
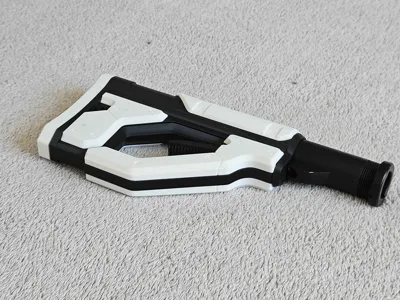
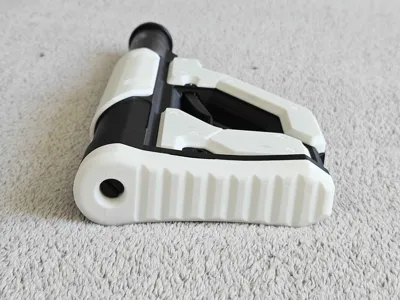
Adjustable Titan Stock
The Titan stock is designed to mount exclusively on a standard buffer tube.
It features a redesigned latch system for a fast and easy position adjustment, inspired by standard airsoft stock mechanisms.
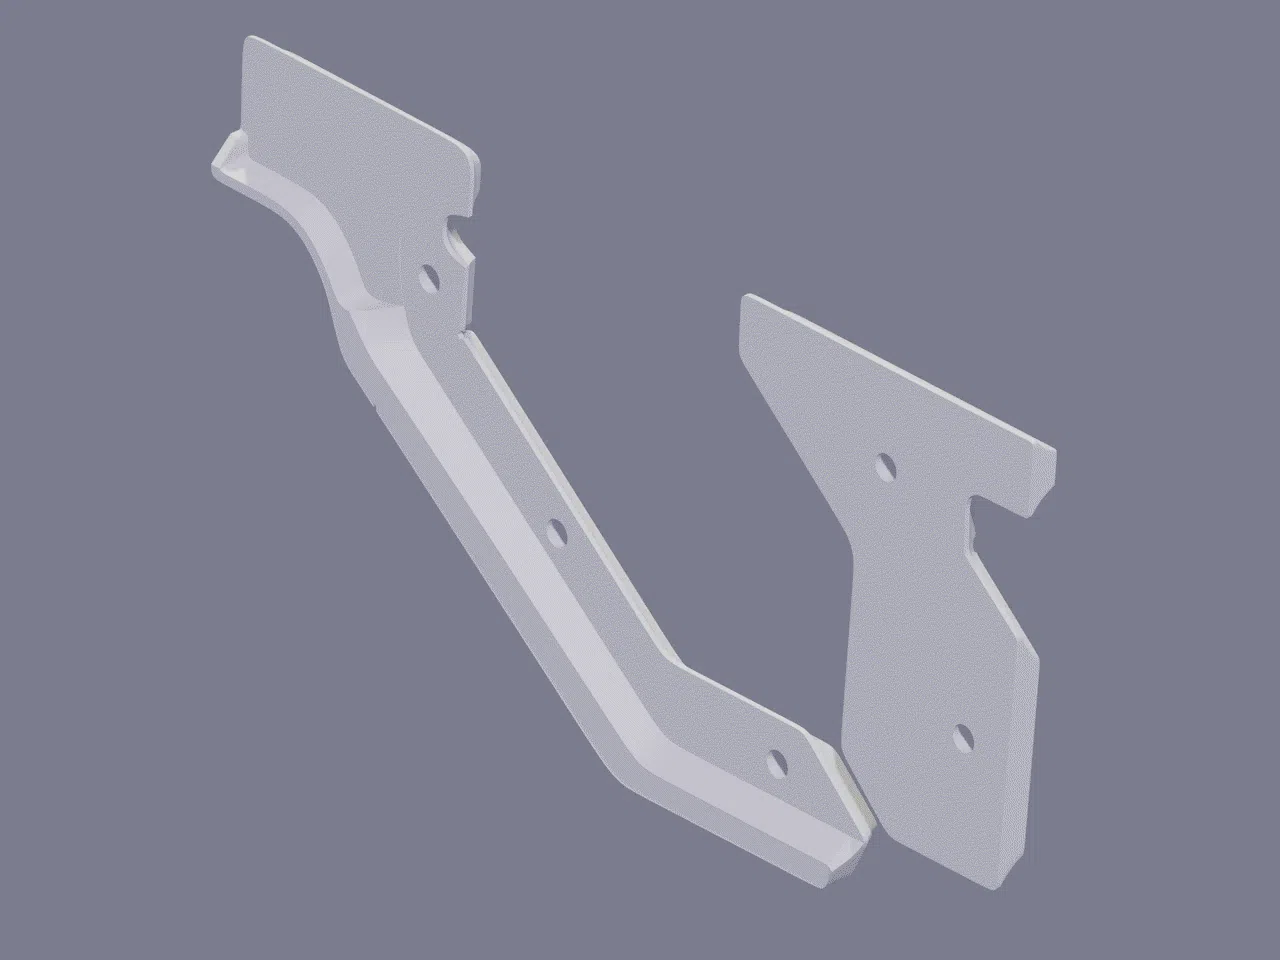
This model also features separately printed side plates that snap onto the stock using printable pins, creating a layered plated appearance while keeping the stock easy to print.
It only requires 1 small 7x12mm compression spring available on Makerworld. (check the bill of materials)
Boost Me (for free)
Like my designs? A Boost is a great way to support me 🙂
Membership
Want to sell prints of my models? Join the membership to get a commercial license!
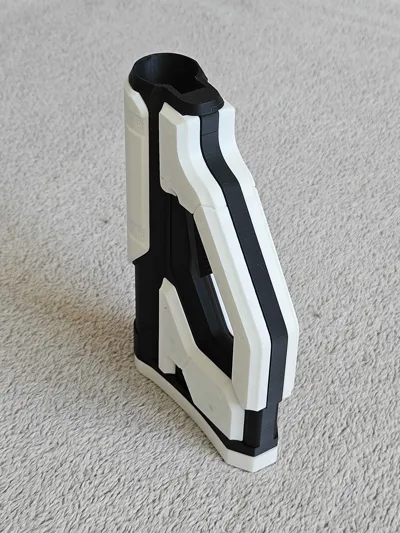
----- Assembly -----
In order to fully assemble the stock, you will need:
- the 3d printed stock
- the 3d printed buttbad
- the 3d printed buttpad screw
- the 3d printed buttpad pin (2)
- the 3d printed latch
- the 3d printed lock pin
- the 3d printed plates (5 in total)
- the 3d printed plates pin (10)
- one 7x12mm compression spring from makerworld (BB005)
- a piece of filament
Here is a section view on how to assemble the latch:

Once the pieces of filament are in place, use a lighter to heat up both ends then squish them to lock them in place. (In my case, I used the butt of a screwdriver)
Then install the rest of the stock:
The top plate simply snaps into place with a small amount of force.
The screw for the buttpad should only be tightened lightly to avoid breaking it. I strongly recommend using a drop of lubricant or grease to make it easier to remove later.
For the side plates, I also recommend placing them face down and using a hammer or any other tool to insert the pins, as they are designed to fit tightly and lock securely into place.

Comment & Rating (3)