Ivan Ooze Inspired Power Rangers Figure 90s Movie


Print Profile(3)

Description
PLEASE READ ME !!!
Firstly I would like to say quick thank you for checking out my model, so thank you!
Please note most of my models are made in Nomad Sculpt by hand and are my own renditions (Fan Art) unless stated otherwise.
Model info:
Description
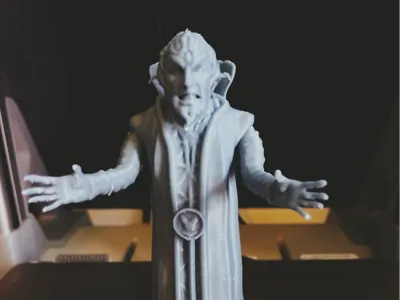
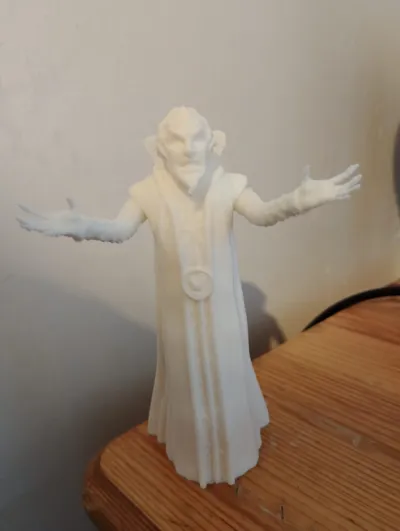
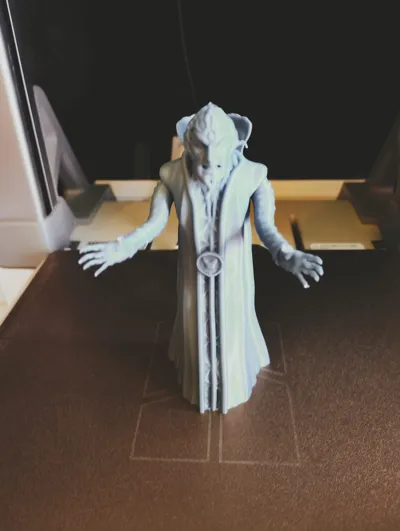
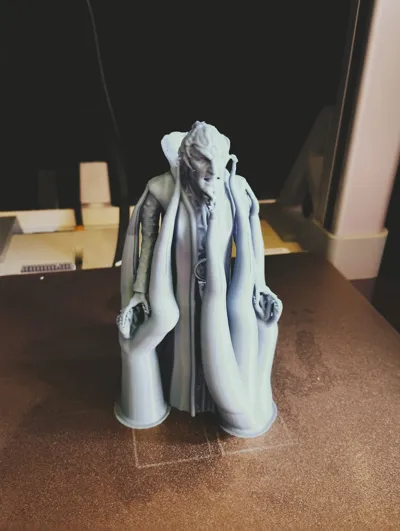
Here is my rendition of the beloved villain Ivan Ooze from the classic 1990s Mighty Morphin Power Rangers movie! I modeled this from scratch because the original vintage toys have become incredibly expensive, and my little boy asked for one to go with his new "re-ignited" villains.
He stands exactly 132mm tall, making him the perfect average size to blend right in with the official re-ignited series figures!
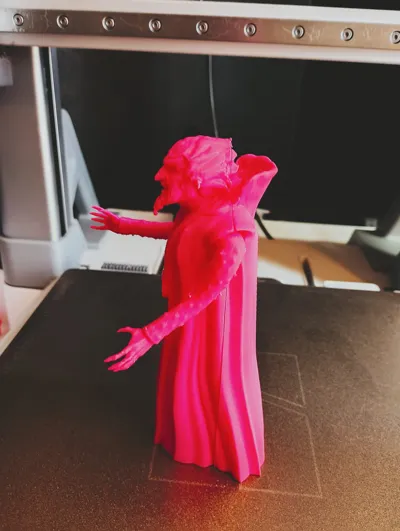
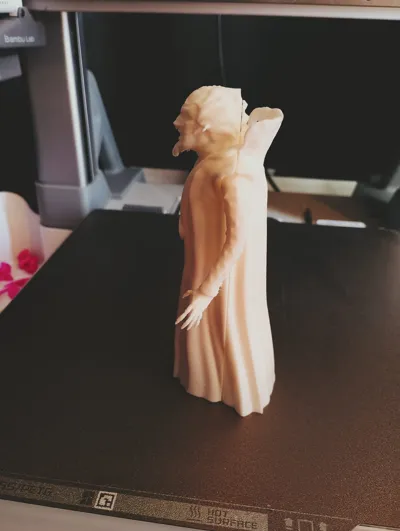
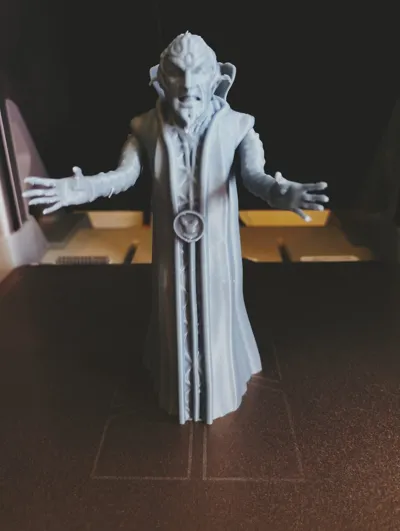
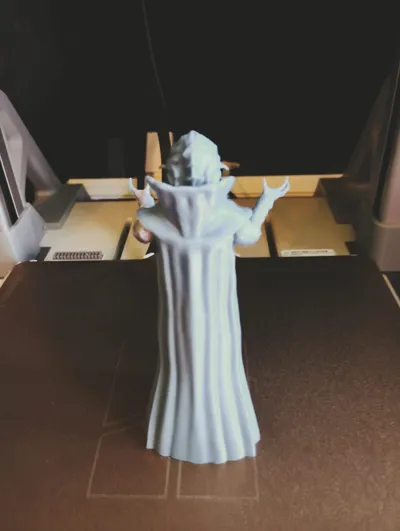
This model features moving arms with ball joints. To help you get the best possible results depending on your printer and preferences, I have uploaded three different versions. Each orientation has its own distinct trade-offs regarding print ease, joint tolerances, and detail:
1. Print-in-Place Version (Full Model)
* Pros: Ready to use right off the build plate with no gluing or assembly required.
* Cons: The arm joints print much tighter. It is a more brittle print overall, and removing the necessary supports can be difficult.
2. Upright Split Version (4 Parts)
* Pros: Offers the neatest, highest-quality detail on the face.
* Cons: The ball joints turn out a bit looser. It requires manual gluing, which will leave a visible seam line.
3. Lay-Flat Split Version (4 Parts)
* Pros: The absolute easiest version to print with the lowest risk of failure.
* Cons: Captures less fine detail than the upright version, has looser arm joints, and requires gluing (which leaves a seam).
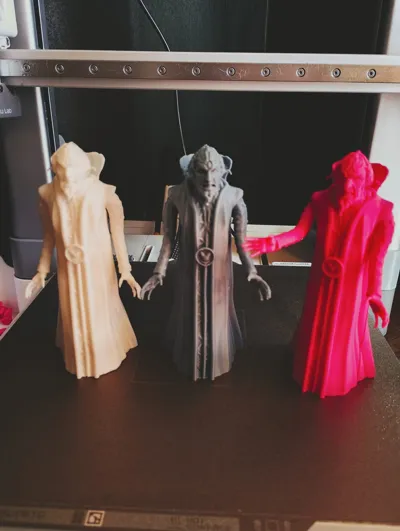
Photo Reference Guide
To see how each version looks when printed, check the product images. The colors represent:
* Grey: Print-in-Place Version
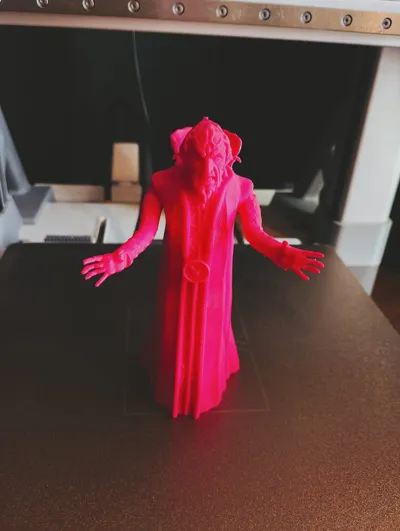
* Pink: Lay-Flat Split Version
* White: Upright Split Version
Critical Print Warning: Delicate Fingers
Every version is super delicate around the finger section. Because the fingers are so small, supports must be removed with extreme care.
* Tip: Use a pair of sharp flush cutters to snip the supports away slowly rather than pulling them.
* If they snap: Please be environmentally friendly and try to save the print! You can easily re-attach the fingers or sculpt new ones using a dab of UV resin or superglue.
Assembly Instructions (For Split Versions)
You do not glue the arms! The arms utilize a ball-joint system. To assemble:
1. Place the ball joints of the arms into their sockets.
2. Sandwich the arms safely between the front and back torso pieces.
3. Glue only the two main halves of the body together to trap the joints inside, allowing the arms to rotate freely.
Print Settings & Filament Recommendations
* Filament Used: All test prints were successfully done using Bambu Lab Basic PLA.
* Color Recommendation: I highly recommend printing him in purple to get his signature look, even though my test examples are shown in pink, white, and grey!
Boost Me (for free)
Please like, share, follow and BOOST, doing this allows creators such as myself to keep on making, Designing 3D models not only takes a substantial amount of time but also takes lots of material when test printing and causes extra wear and tear on our machines. BOOSTS are FREE and may not mean much to you but to us they are valuable and realy do help, so if you can please do :)
TIPS
Print using most types of PLA for best results.
Always allow build plate and print to cool down before removing.
Please ensure a clean print bed, when models dont adhere to a build plate its usually user error.
Please as always remove supports with care
Use sprue cutters to help remove supports
If you accidentaly break something save fillament and use some CA glue instead of throwing a project out and reprinting.
Remember this is a hobby! Have fun, be kind and support your favourite designers with likes, follows and boosts
Once again thank you for taking the time to view and hopefully print this model.
Additional info:
Any BOMs (non printable parts/ bills of material) will be attatched below.
Thank you for viewing my model :)
License
You shall not share, sub-license, sell, rent, host, transfer, or distribute in any way the digital or 3D printed versions of this object, nor any other derivative work of this object in its digital or physical format (including - but not limited to - remixes of this object, and hosting on other digital platforms). The objects may not be used without permission in any way whatsoever in which you charge money, or collect fees.
Comment & Rating (3)