
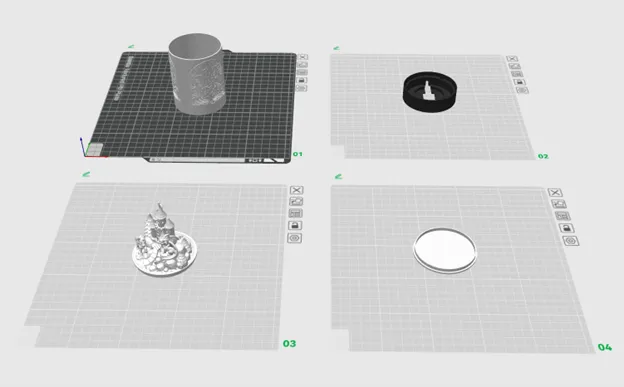
Print Profile(1)
Description
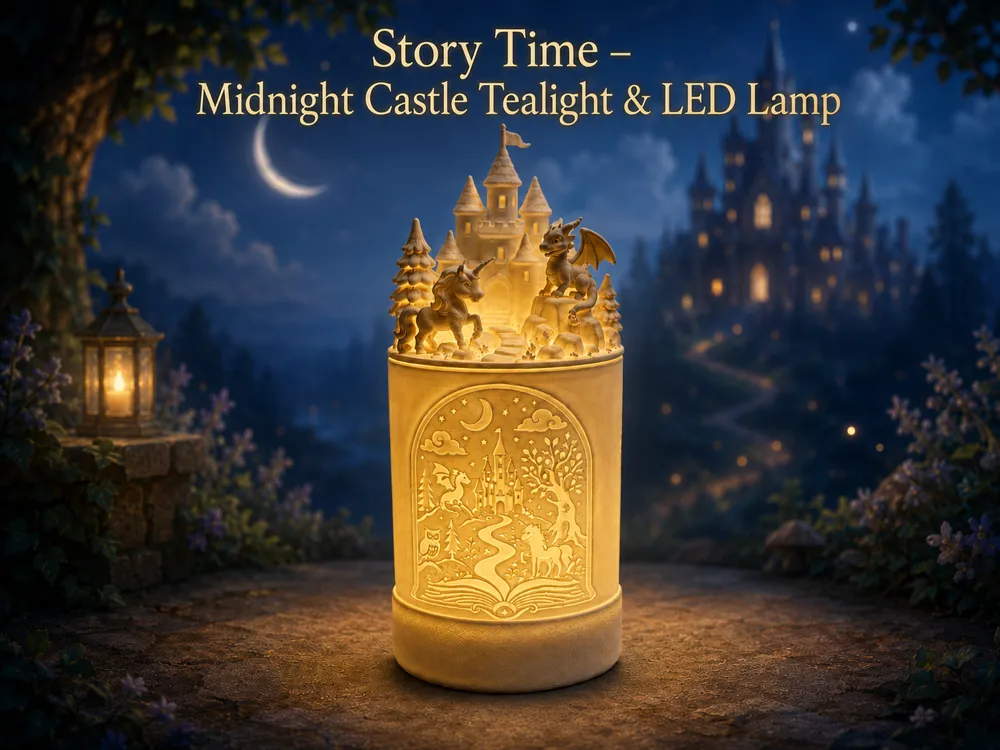
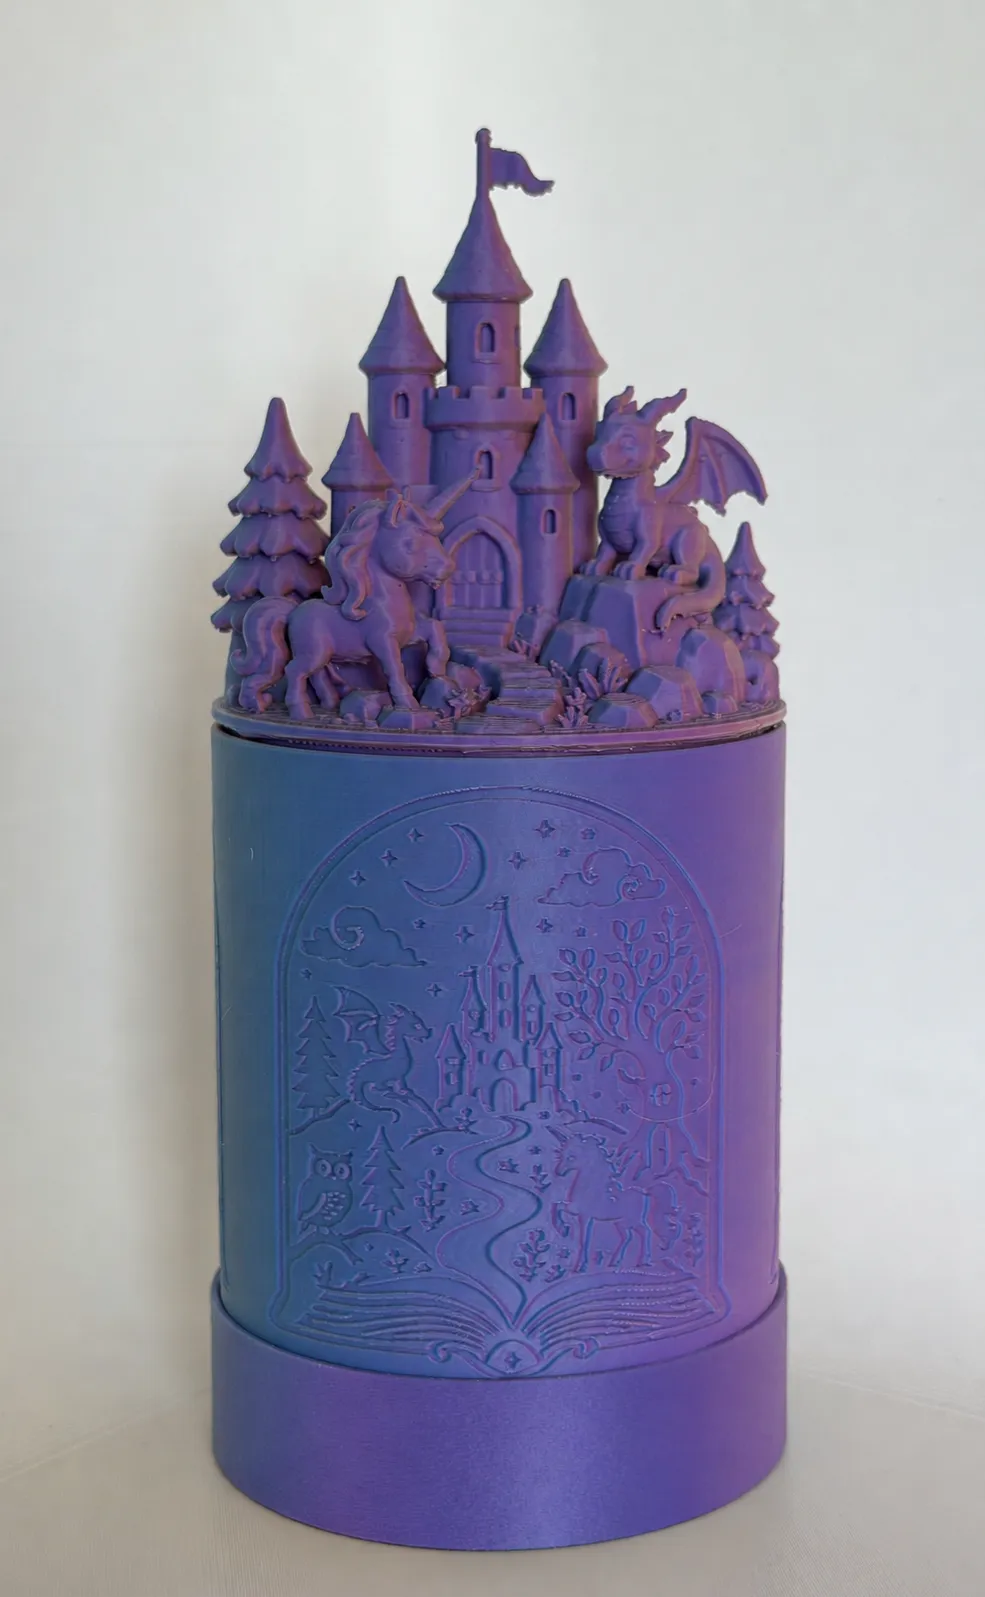
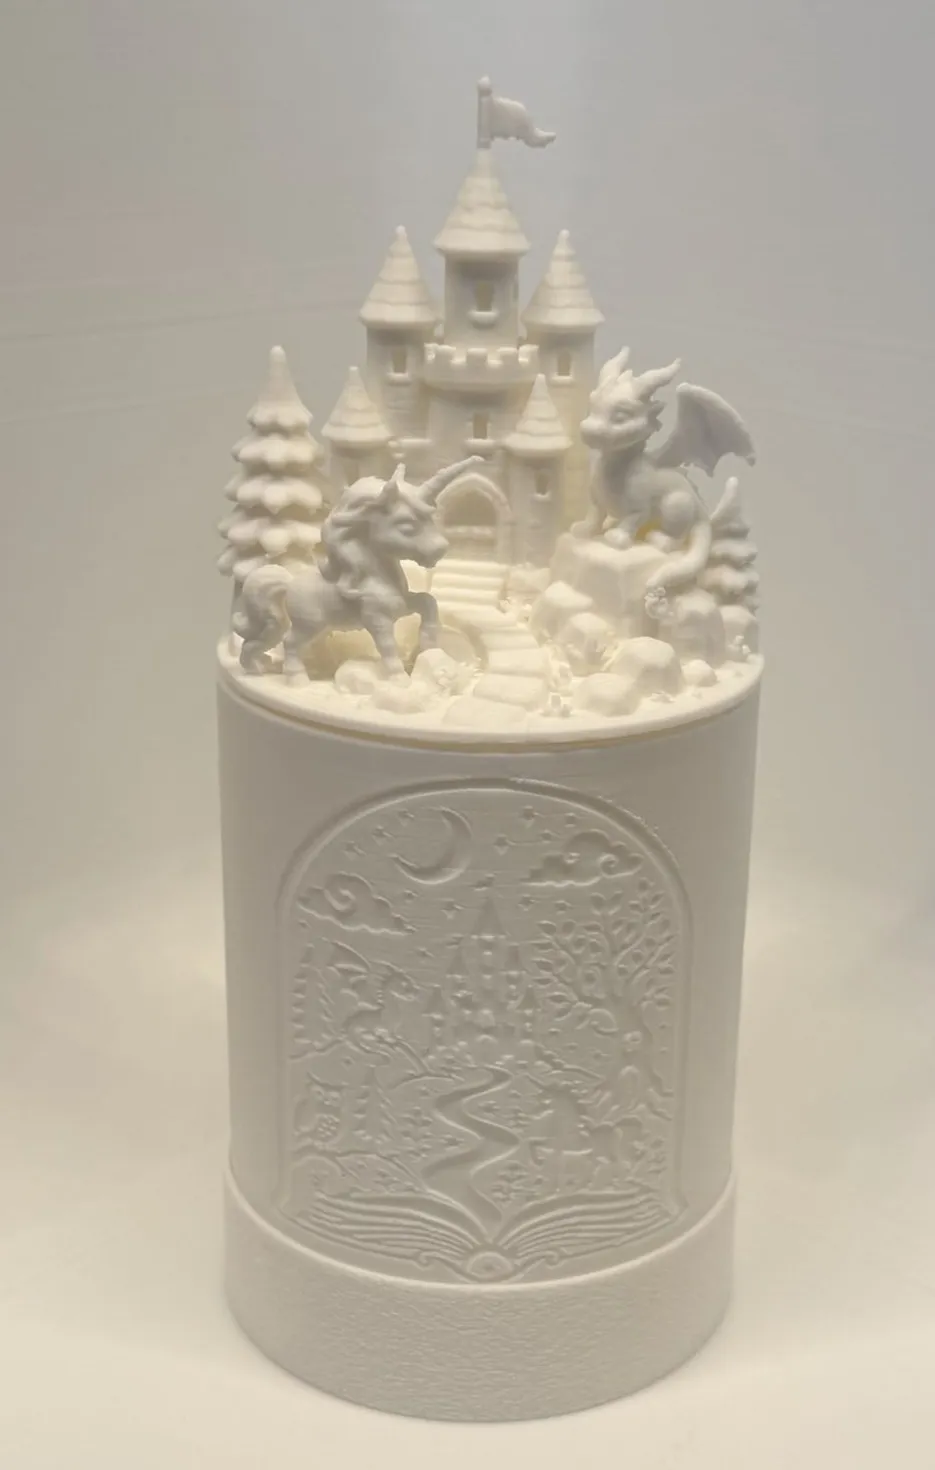
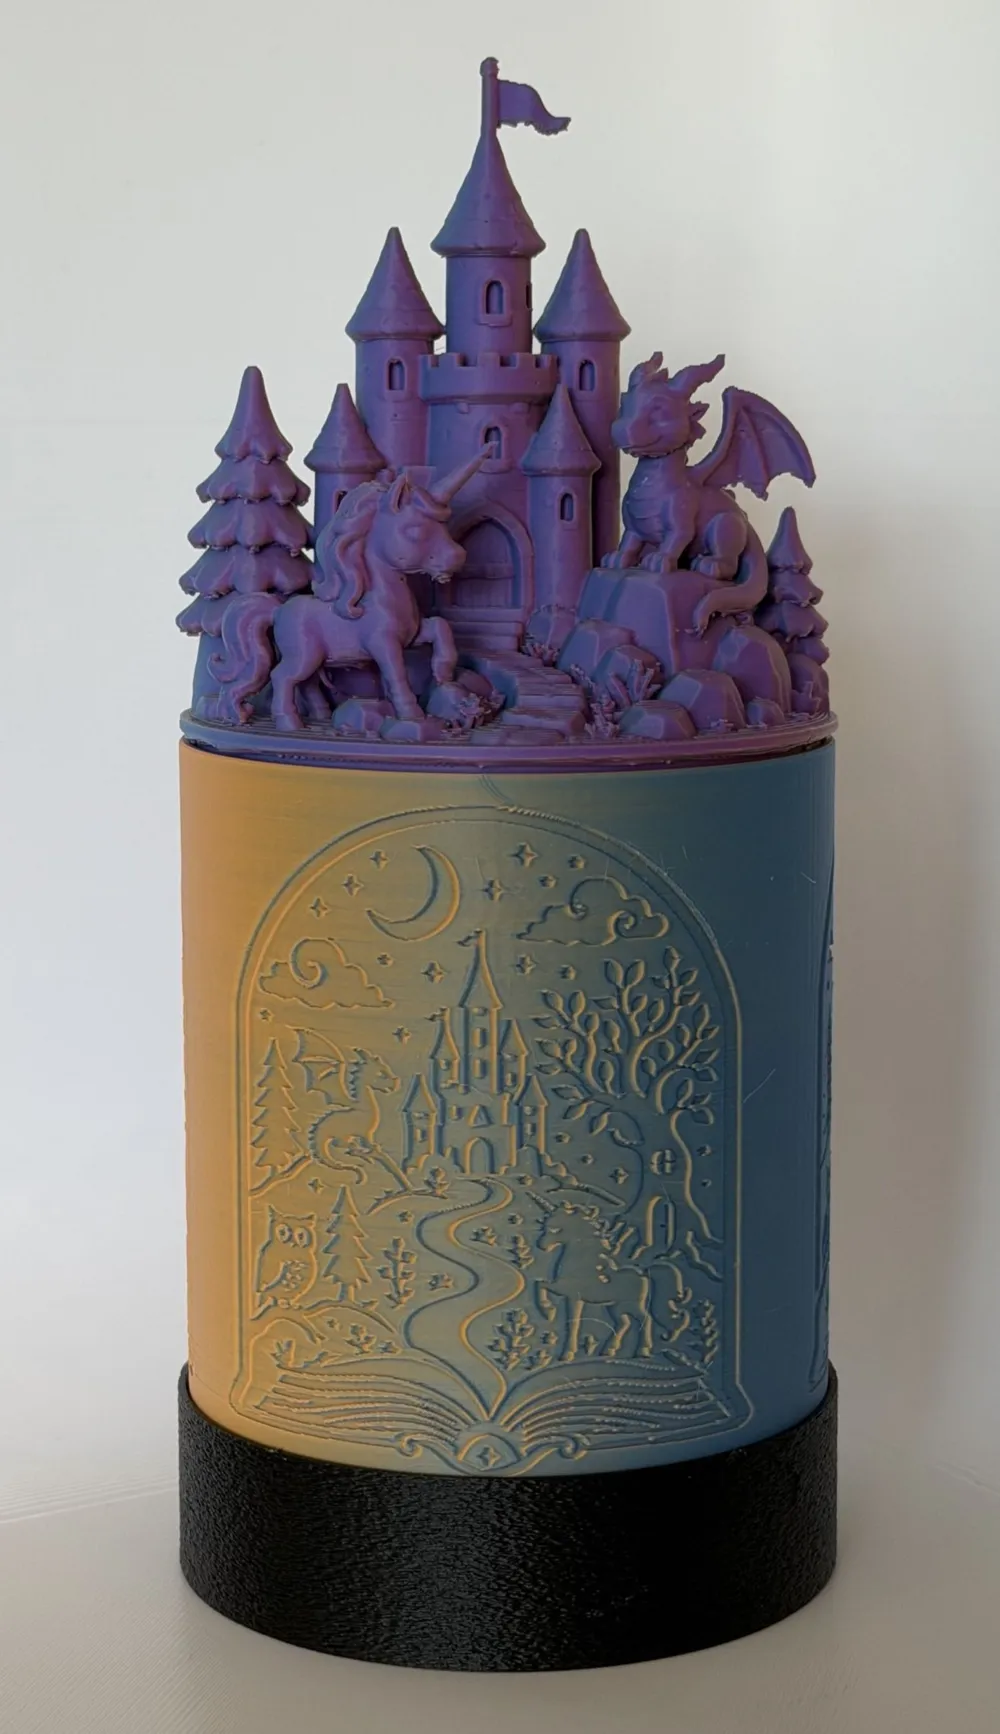
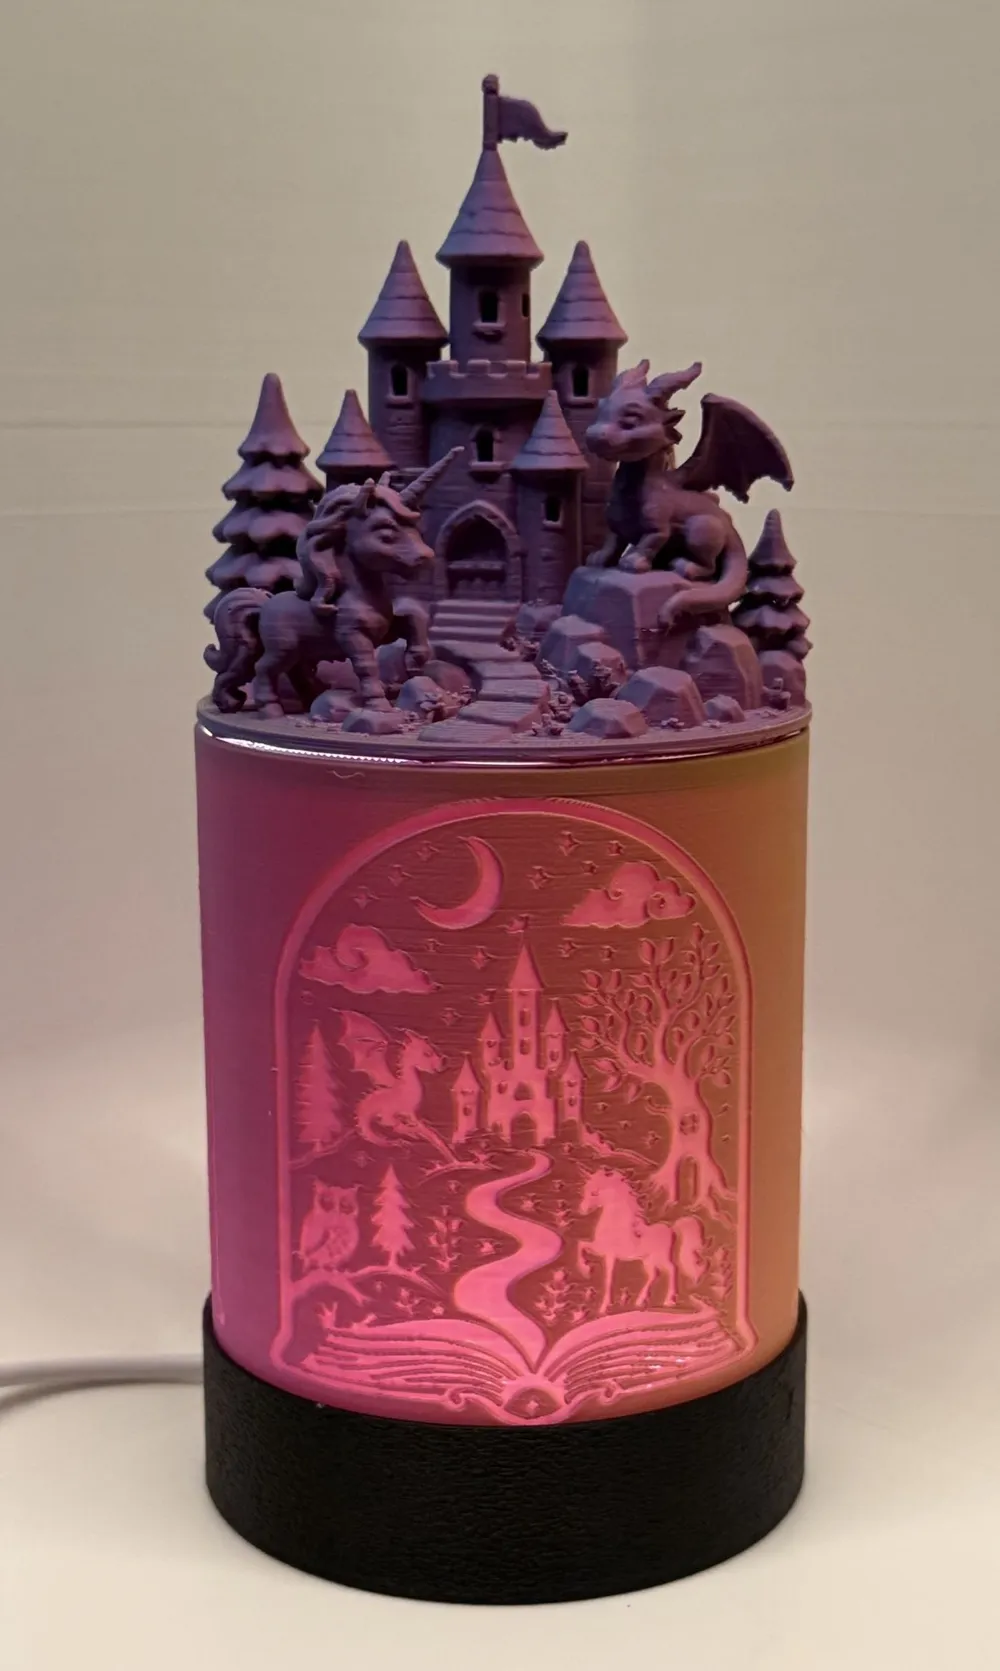
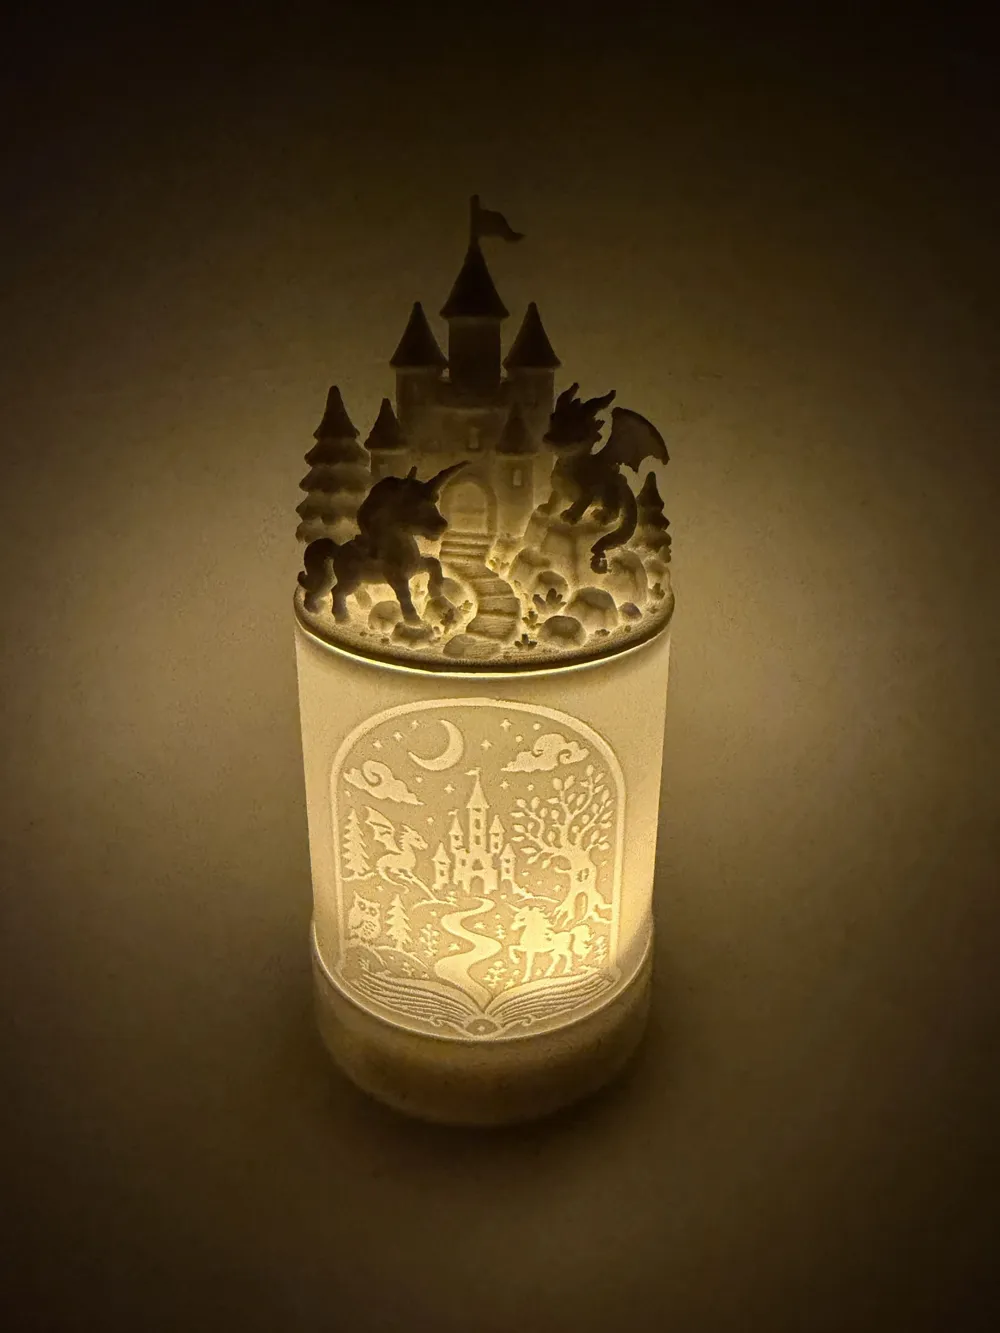
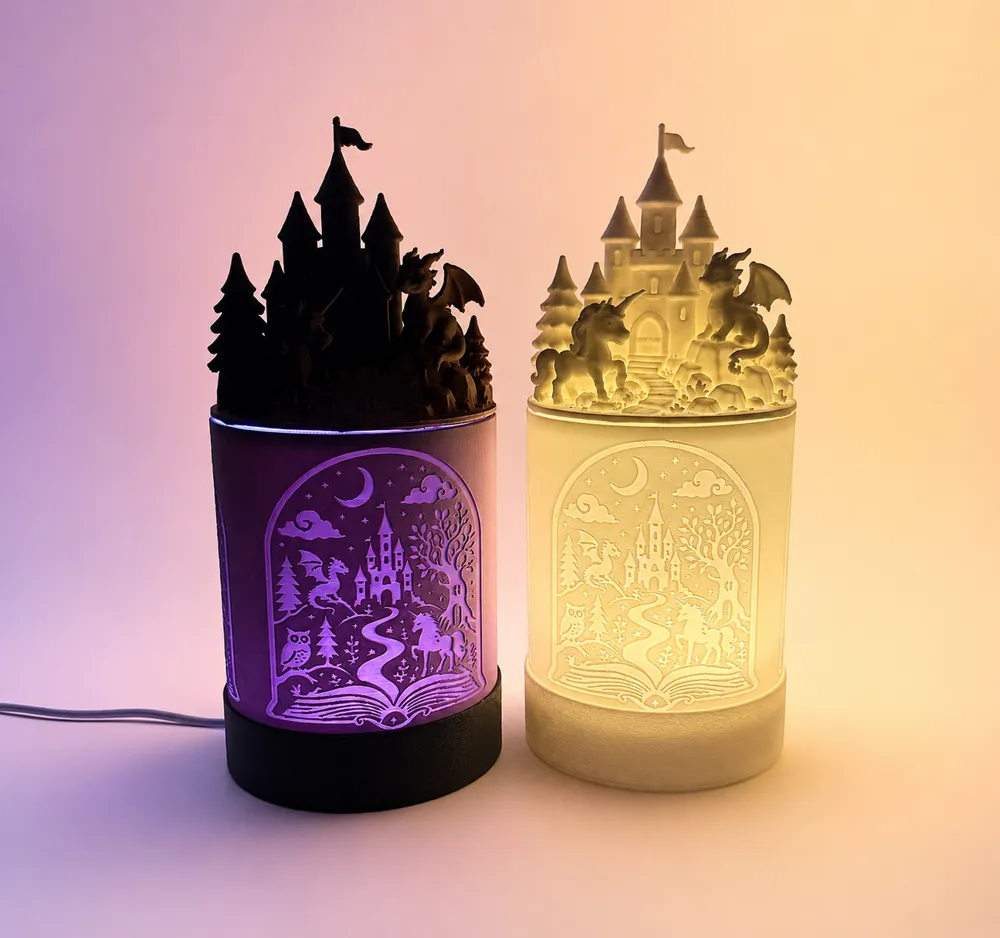
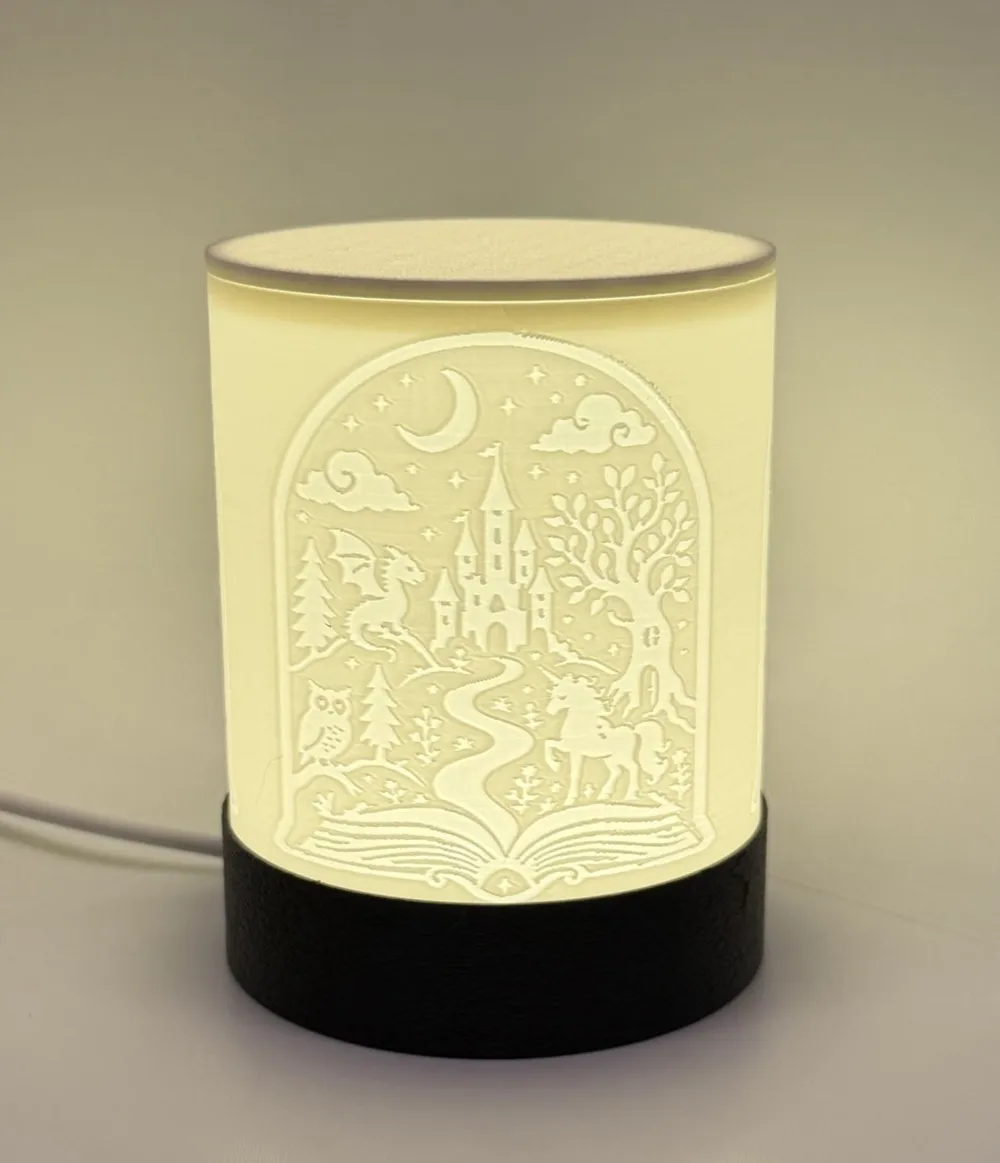
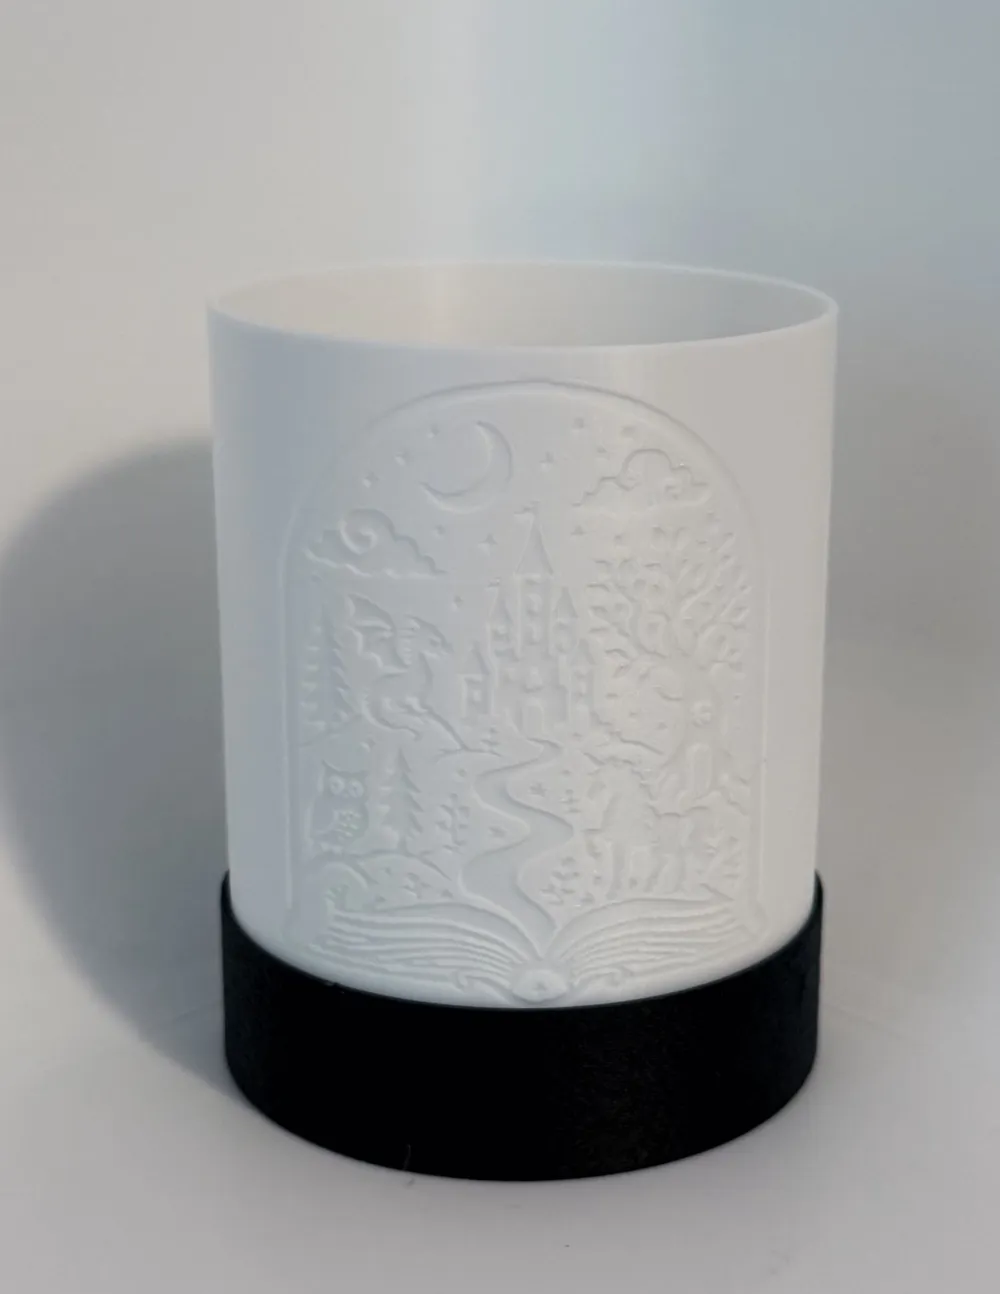
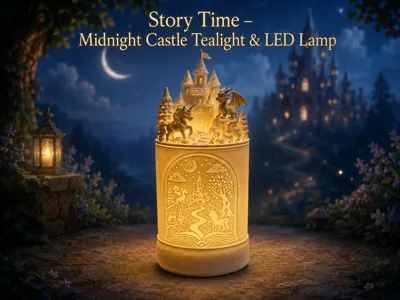
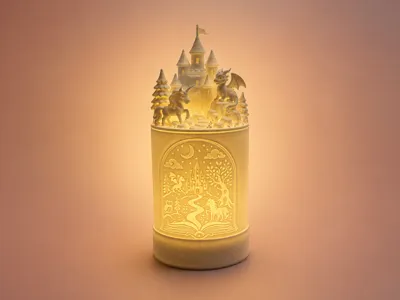
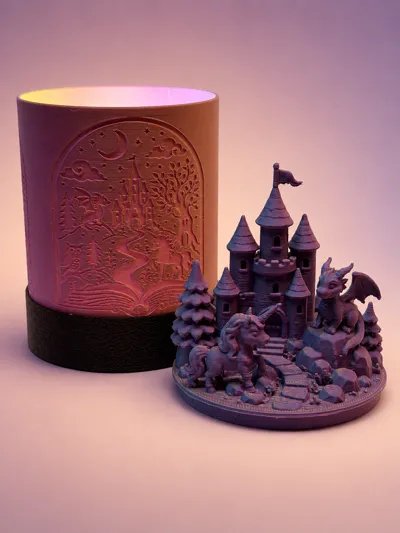
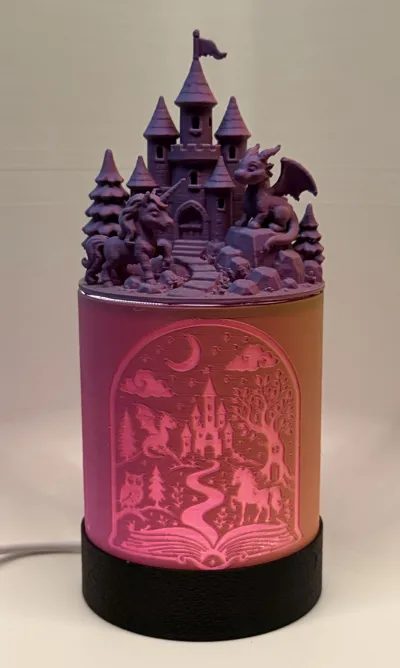
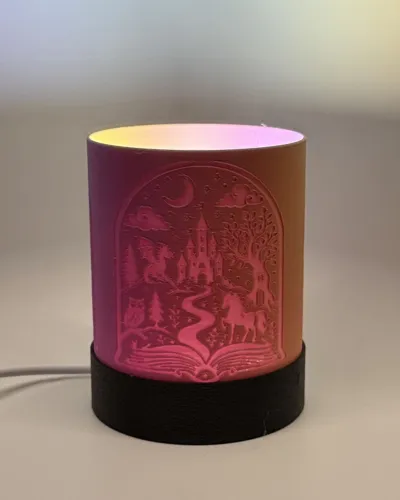
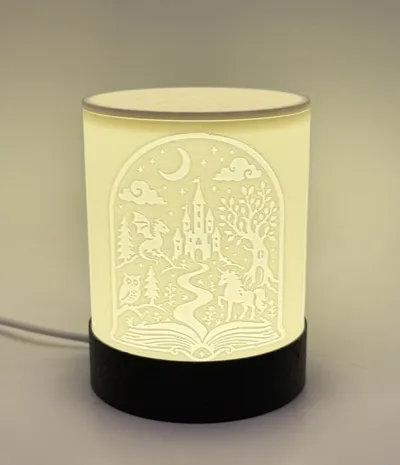
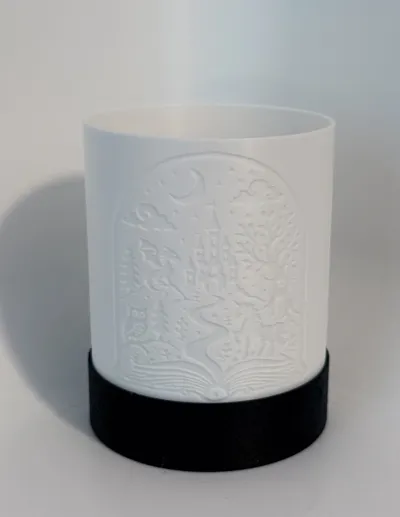
Story Time – Midnight Castle Tealight & LED Lamp
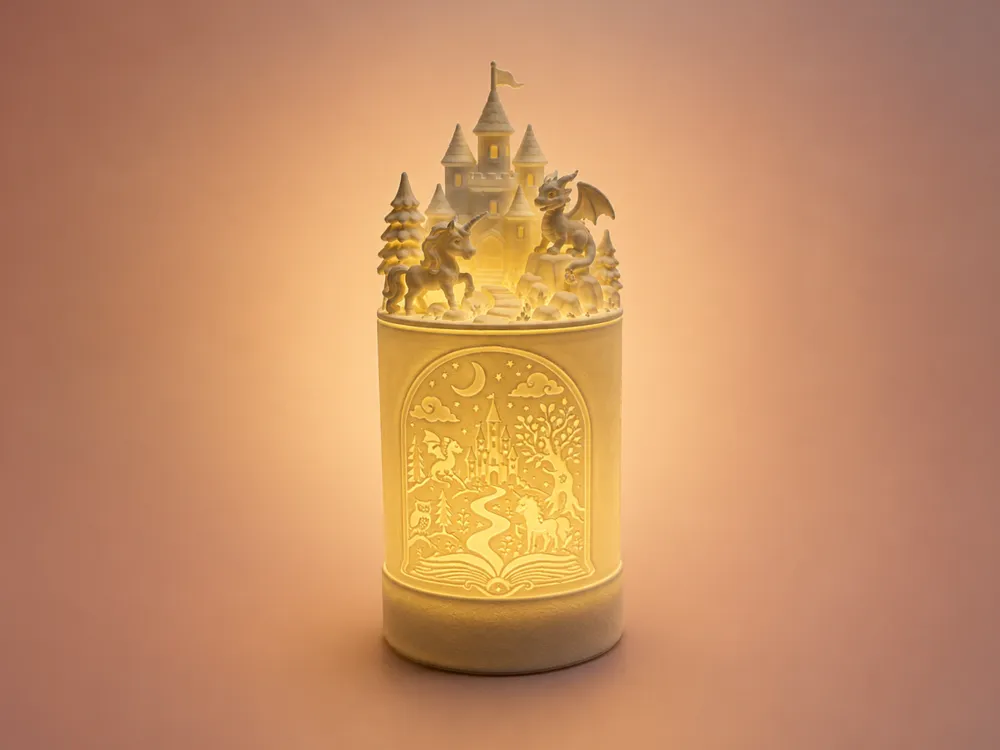
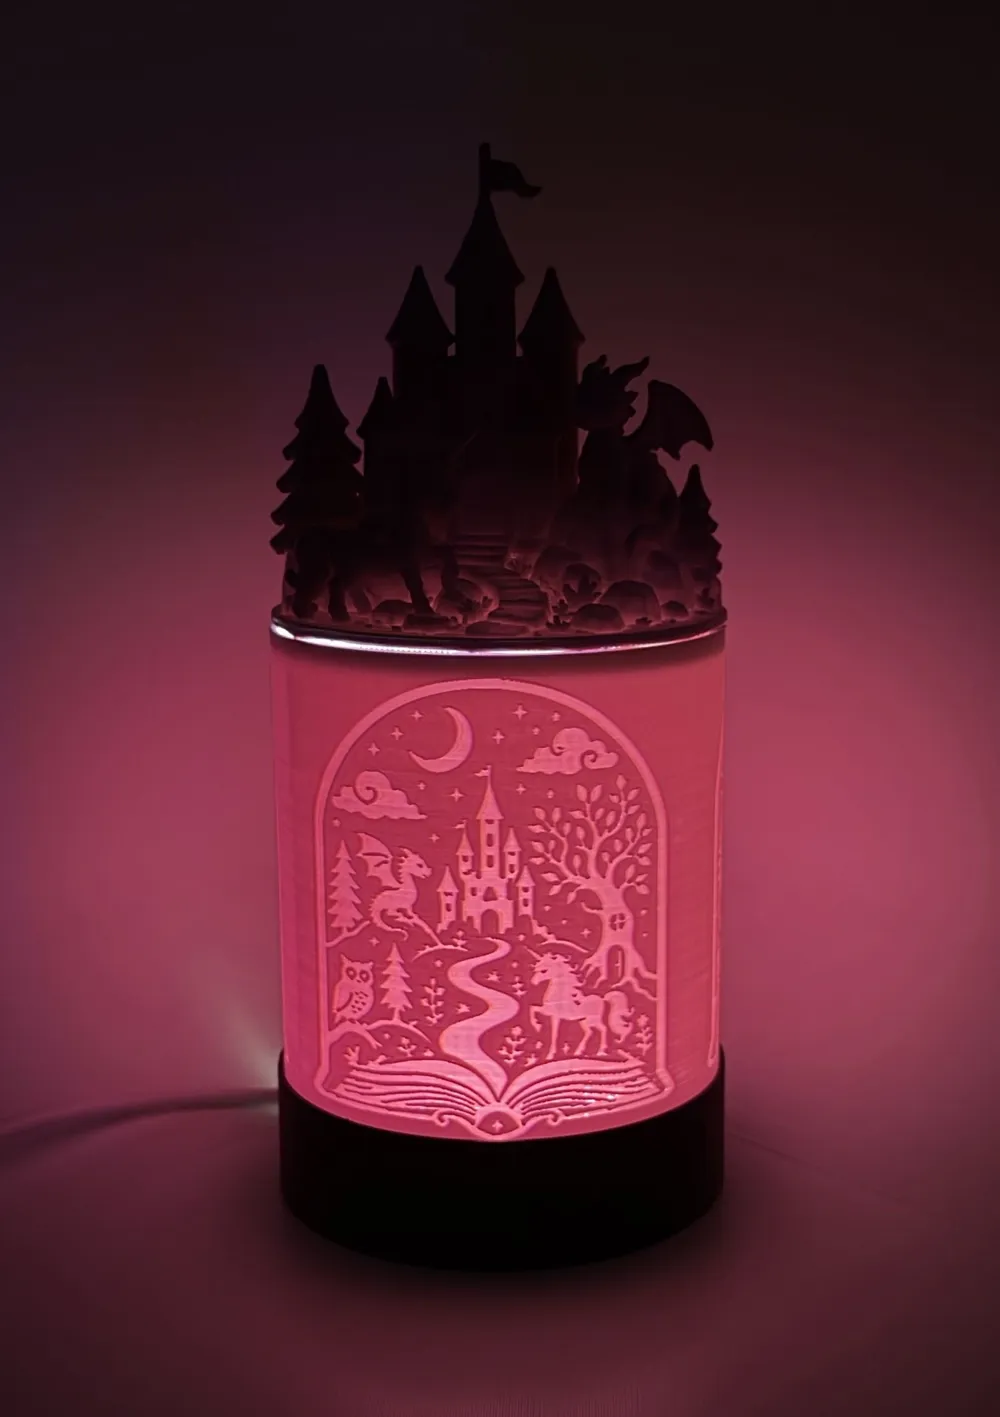
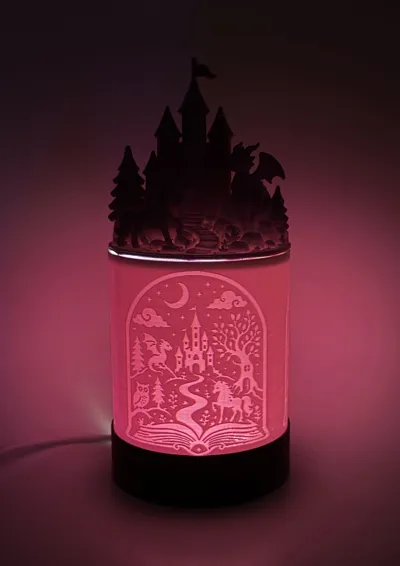
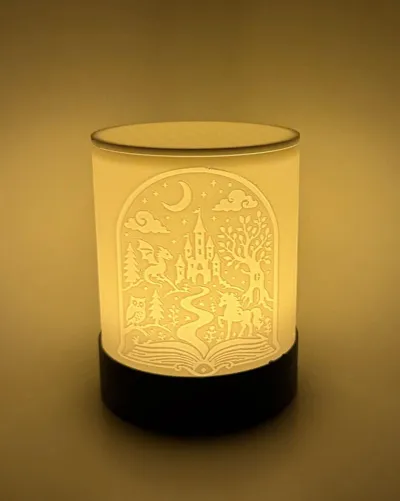
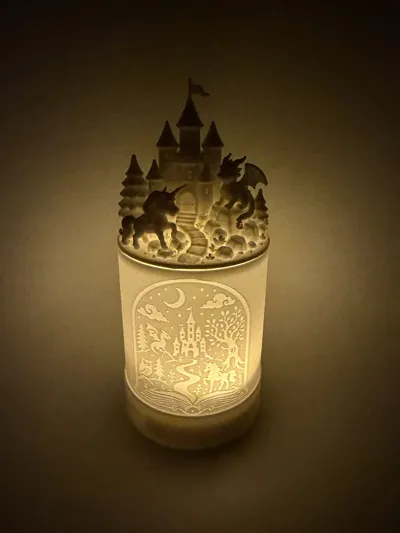
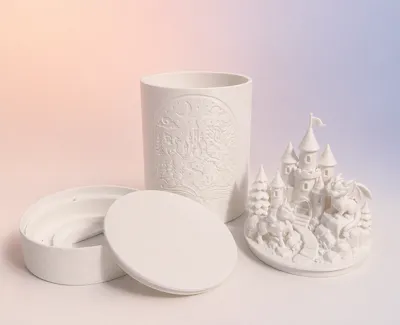
Once upon a midnight glow, a tiny castle stood beneath the stars, guarded by curious dragons and surrounded by whispers of forgotten fairy tales. As the light shines through the storybook scene, the castle, forest, moon, and magical creatures come to life — creating a cozy little world of fantasy right on your shelf.
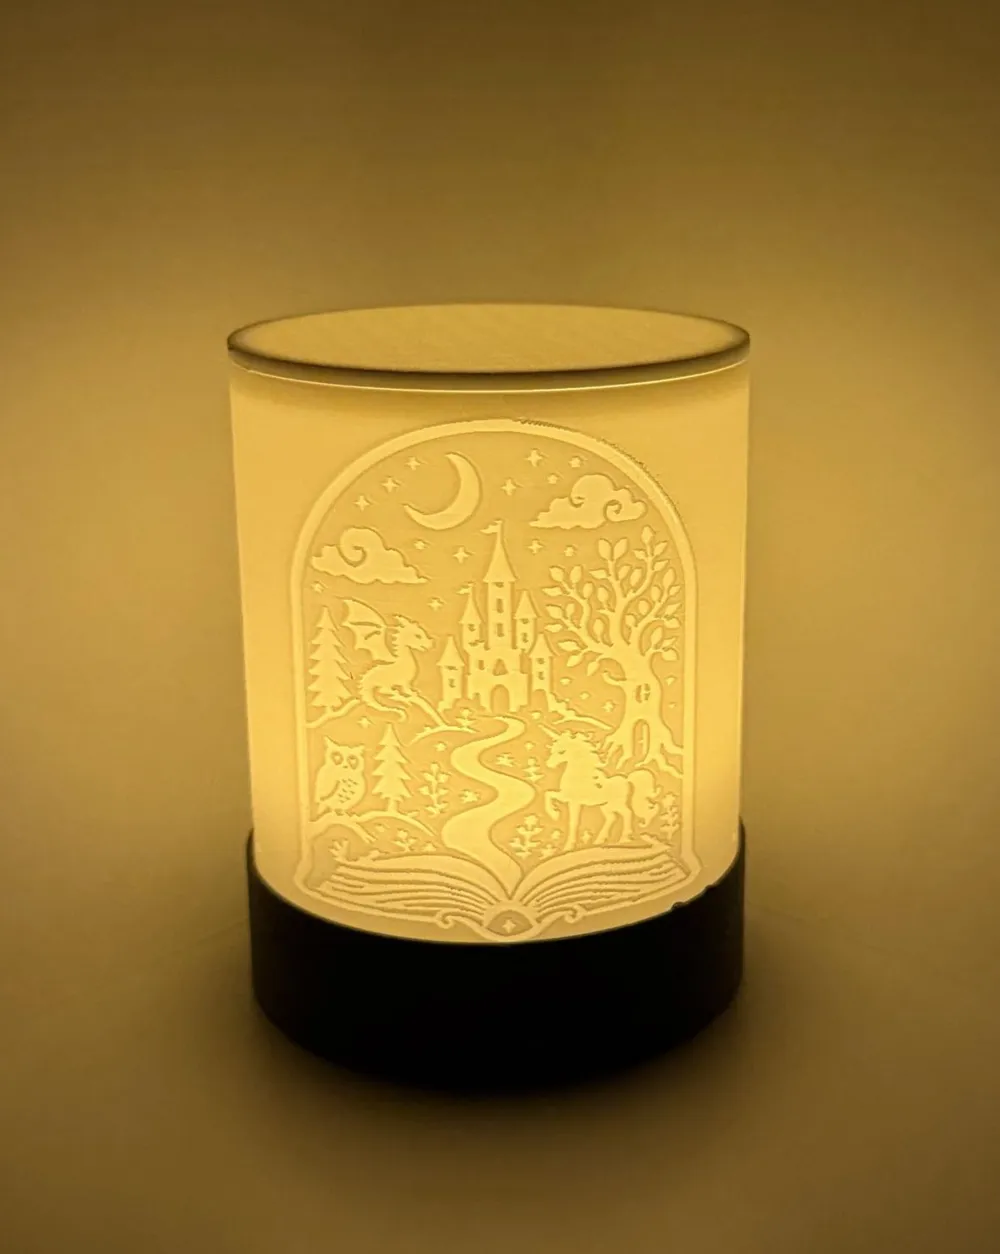
This tealight and LED lamp is designed to feel like a bedtime story captured in light, perfect for adding a warm enchanted glow to a desk, nightstand, reading corner, or fantasy-themed room. Use it with an LED tealight or compatible LED lamp kit and let the Midnight Castle tell its story every evening.
A magical little print for dreamers, readers, dragon lovers, and anyone who still believes every good story begins with a glow.
*Only intended for LED lights.
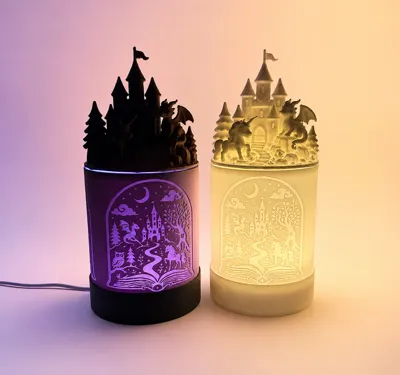
** When printing with a darker or heavily pigmented filament, an LED lamp kit is recommended to ensure the design lights up properly.
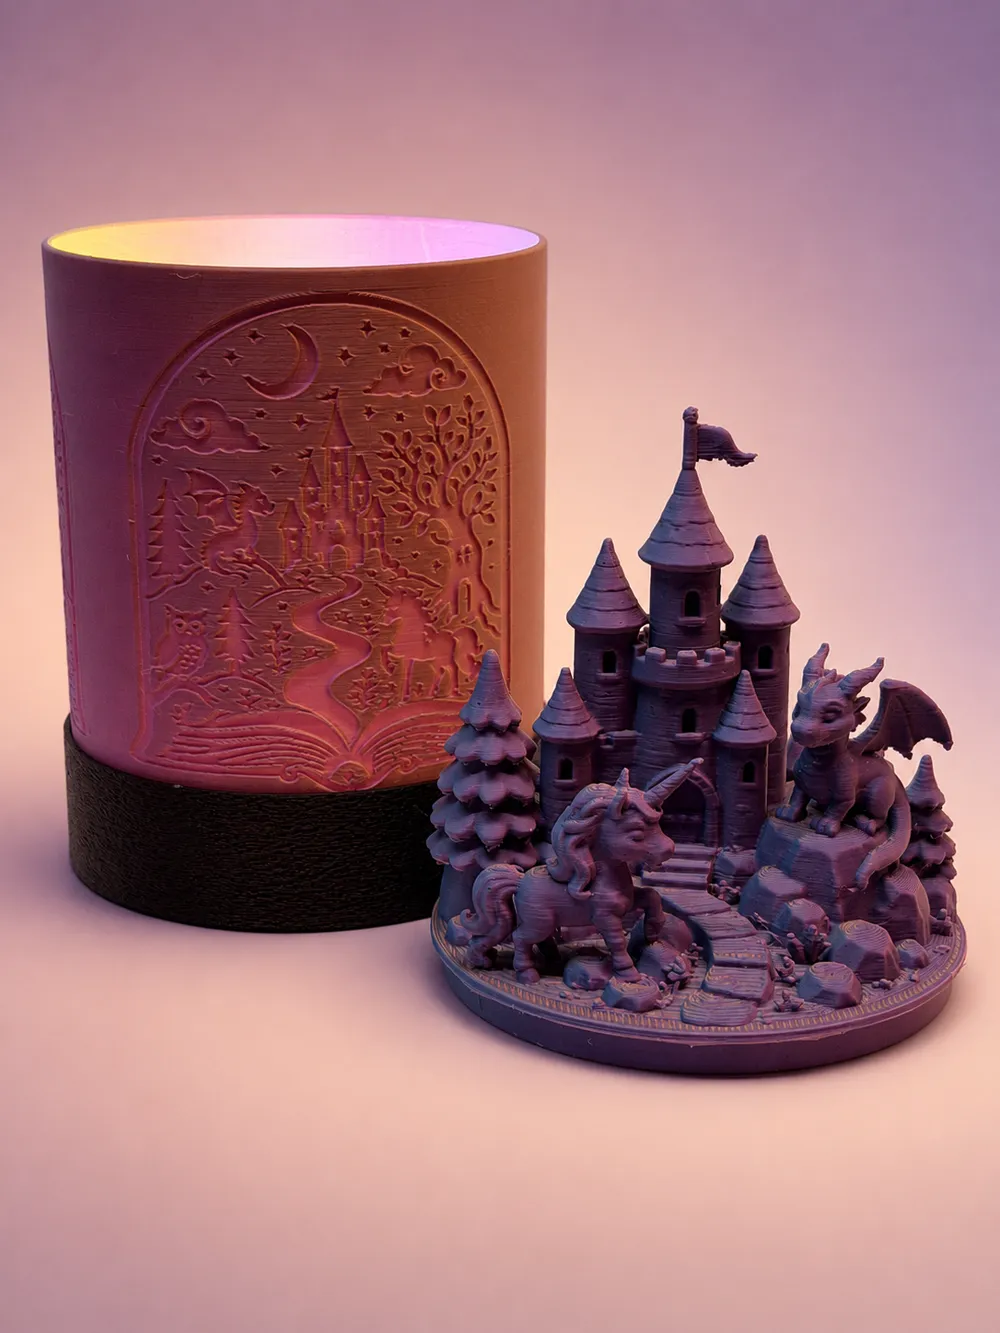
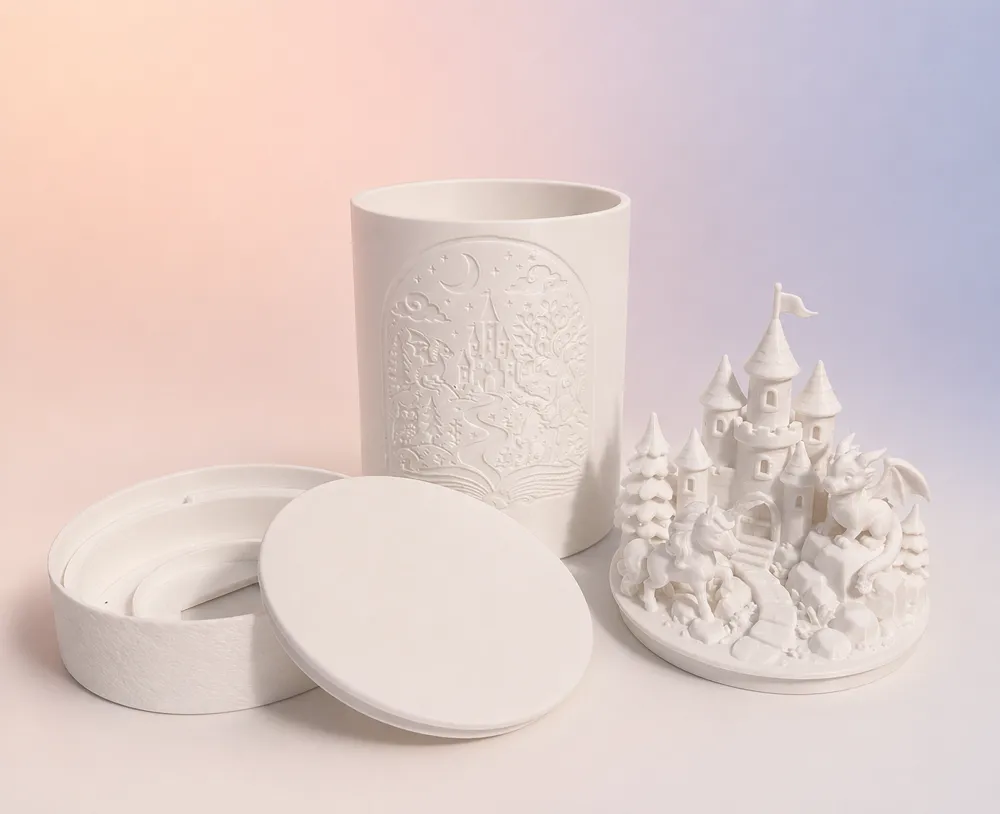
The base is designed with for dual light source options, LED lamp kit and LED Tealights.
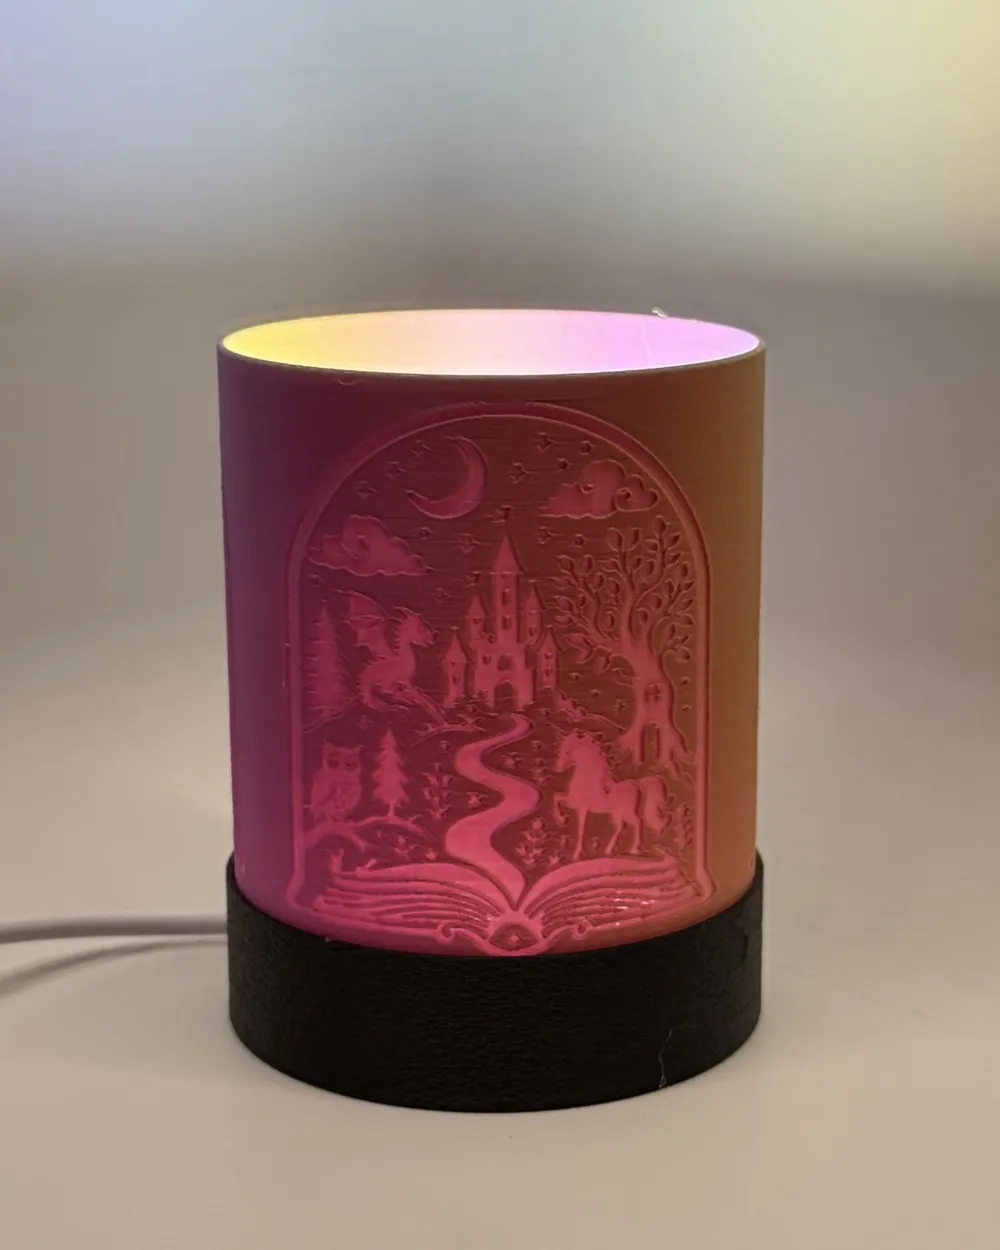
The base is designed to change with other votives for seasonal decor. For more votive designs to change with, go here: https://makerworld.com/en/collections/23448086-tealight-holders
Alternative Lamp kit and LED Tealight suggestions:
Lamp kit (dimmable and color changing options): https://www.amazon.com/dp/B0GTNZ1FXW?ref=ppx_yo2ov_dt_b_fed_asin_title&th=1
Rechargeable Tealight: https://www.amazon.com/dp/B0F3D2LMZB?ref_=ppx_hzsearch_conn_dt_b_fed_asin_title_4&th=1
Size
Height: ~9cm
With: ~7cm
Filament used
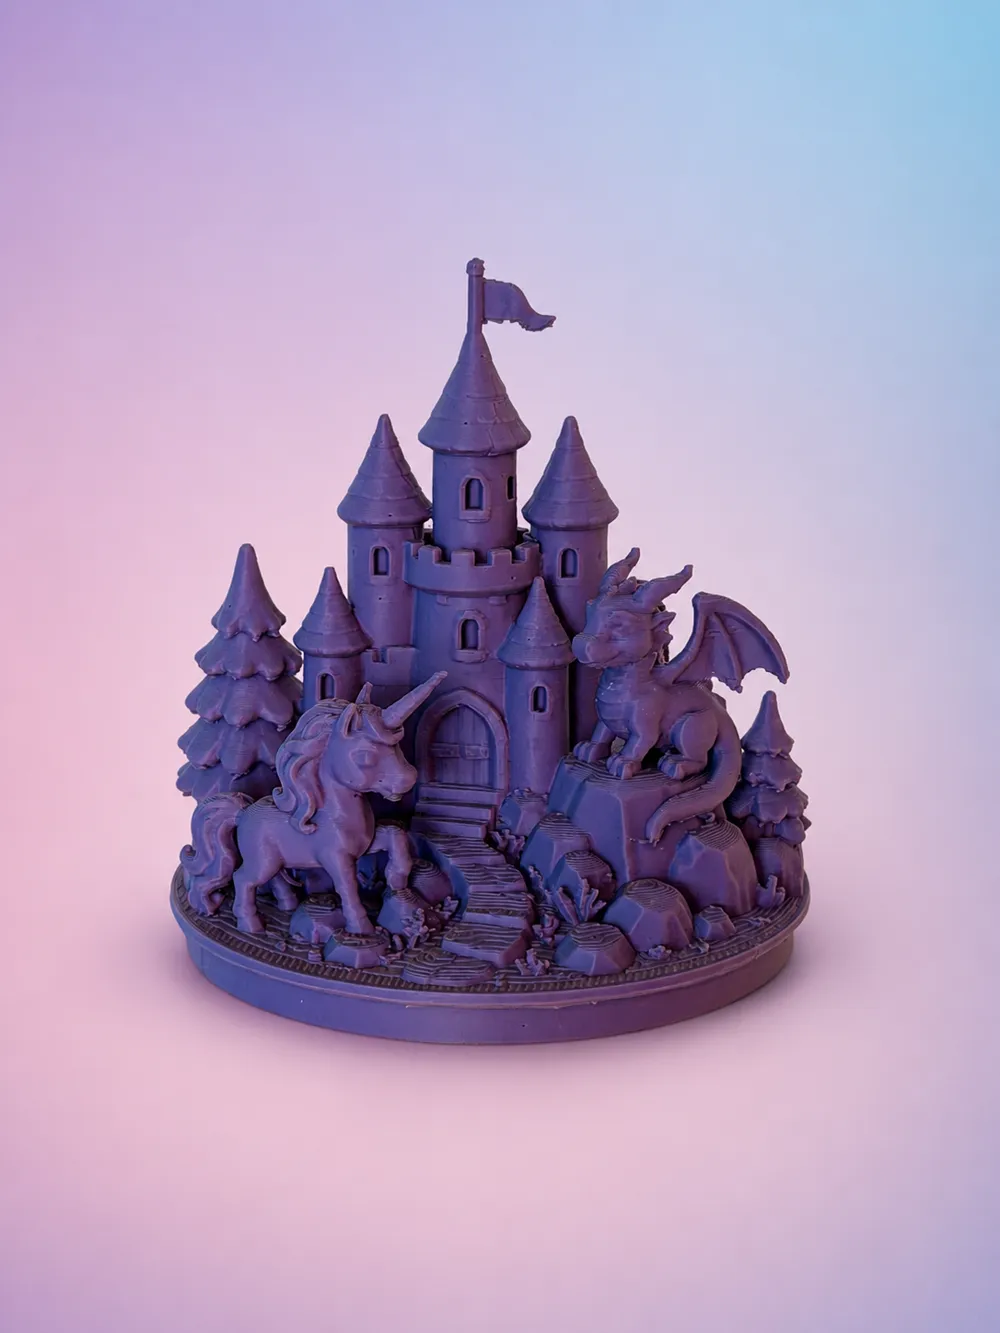
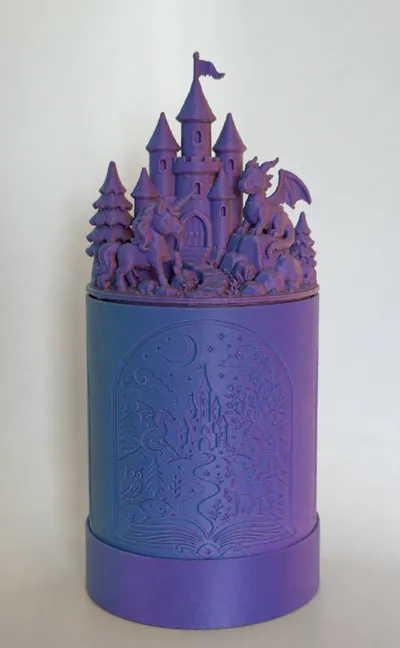
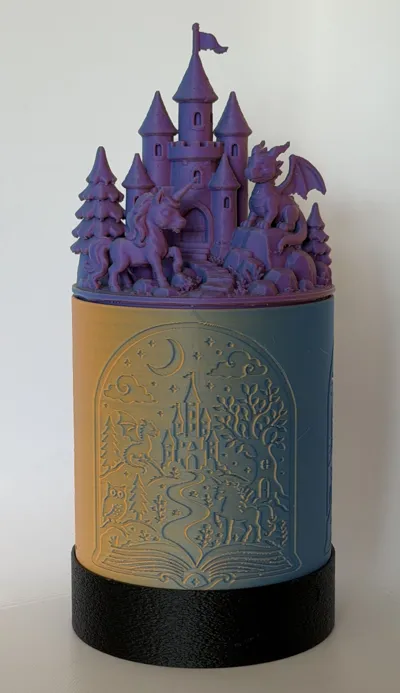
- Purple sunset - Matte PLA Multicolor - Ziro: https://www.amazon.com/dp/B0CZ42KM1W?ref_=ppx_hzsearch_conn_dt_b_fed_asin_title_4&th=1
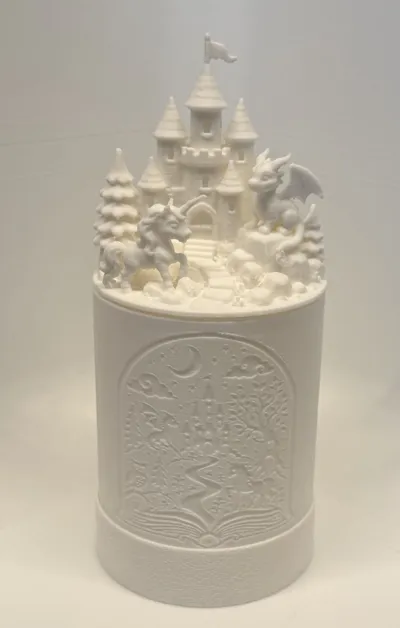
- White - Regular PLA - Elegoo
- Black - Regular PLA - Elegoo
Printing
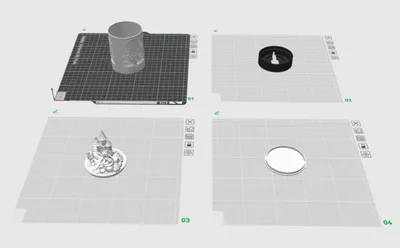
- Leave each object on the dedicated plate - don't combine several objects on the same plate, they don't share the same print settings.
- Print each plate one by one
- Use a clean print plate with some glue (unless you are using a super tack plate)
- Use dried out filament
- (Different filament types impact the print differently, please adjust your settings accordingly)
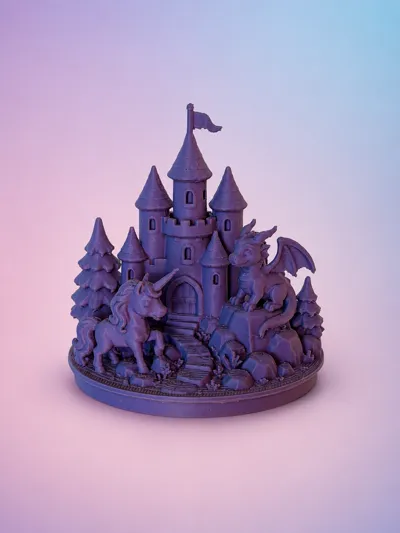
- The Castle Lid needs support and will have a “fake bottom” under the lid that needs to be removed. It might come of by itself when removing from the print plate, if it doesn't, use pliers - just "digg in"/grab and start to pull - it should come of pretty easy.
- Remove the support using pliers.
- Gently breake them off starting at the top around the flag - hold the flag securing between two fingers with one hand when you remove the support around the flag.
- Move to the dragon and unicorn - start at the top around the horns and wings, the rest should come of easy.
Printing Instructions
Important:
Please leave each object on its dedicated build plate. Do not combine multiple objects onto the same plate, as the plates use different print settings.
Print each plate one at a time using the provided print profiles.
For best results:
- Use a clean build plate with a small amount of glue, unless you are using a high-adhesion plate such as a SuperTack plate.
- Use properly dried filament.
- Different filament types may affect support removal, surface finish, and overall print quality, so adjust your settings if needed.
Castle Lid Support Removal
- The Castle Lid requires supports.
- Use pliers to remove the supports.
- It also prints with a temporary “fake bottom” underneath the lid, which must be removed after printing.
- The castle lid will look strange when you start to print it as it layers “loose curls" as support for the bottom that almost looks like it's failing but it's all as it should be.
- In some cases, the fake bottom may come loose when removing the part from the build plate. If it does not, use pliers to and “dig in” and start to pull it away. It should come off fairly easily.
- Start carefully at the top around the flag.
- Hold the flag securely between two fingers with one hand while gently breaking away the support with the other hand.
- Next, move to the dragon and unicorn areas. Take your time around the small details to avoid damaging the flag, horns, wings, or other fine features.
- Begin around the delicate features first, especially the horns and wings.
- The remaining support should come off more easily.
- Some light sanding and heating might be needed at some few spots depending on the filament that you have printed with.
Assembly
- Align the round locking tabs inside the votive with the cut-out slots in the base. Press down firmly and twist clockwise to secure.
- To switch to another votive, twist counterclockwise until you feel and hear a “snap,” then lift straight up.
- Insert the LED lamp either from the bottom vertically through the cut-out section
- OR: Trade the cord from above down through the smaller/thicker cut out section.
- Align the cord with the arch/cut out section leading outwards and slide the lamp in place.
- The LED Tea Light fits in the inner round circle.
If you like this design, please leave a rating, or a comment. If you have a pattern or illustration you’d love to see turned into a tealight, feel free to share your ideas!
Boost Me (for free)
Boost me if you believe every good story needs a little magic light.
License

You shall not share, sub-license, sell, rent, host, transfer, or distribute in any way the digital or 3D printed versions of this object, nor any other derivative work of this object in its digital or physical format (including - but not limited to - remixes of this object, and hosting on other digital platforms). The objects may not be used without permission in any way whatsoever in which you charge money, or collect fees.


Comment & Rating (0)