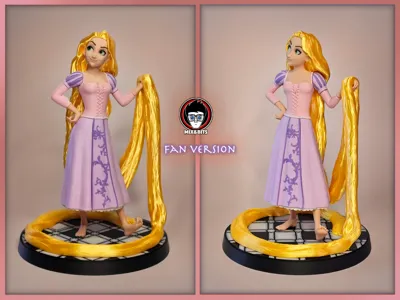
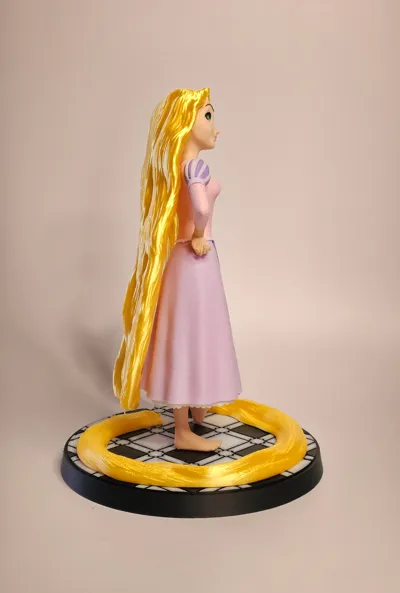
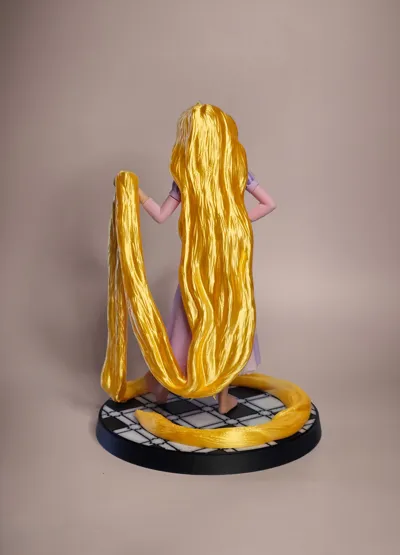
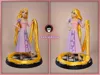
Thanks 24k! Rapunzel fanart (25,5 cm)


Print Profile(1)
Bill of Materials


Description
Thanks 24k times to our followers! Here is another gift for your support!
Hey, it would be amazing if you'd take a minute of your time also to follow us on
- Instagarm https://www.instagram.com/mix_n_bits/
- Tik Tok https://www.tiktok.com/@mix_n_bits
THANKS🥰 !!! It means the world to Us!
Boost Me (for free)
Reached the 100 boosts we'll start working on the next model of this series! So If you'd like to print more models like this it will arrive quicker with your support!!


This new fanart comes after many of you asked through messages and comments a model of this character.
Here it is!!
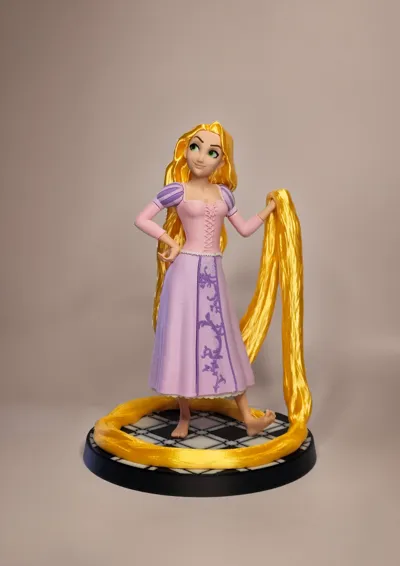
Some parts need AMS (or some after print acrylic decoration).
Not difficult to assemble! But glue is definitely needed to make the figure sturdy!
Assembling Process:
Add the eyes and eyebrows to the face. Keep the piece ready for later.
Mount the Bust to the skirt (glue them together if needed).
Glue the front decorative part of the skirt to the main part of the skirt and the white lace under the skirt.
Glue the legs and feet to the skirt.
Mount the pieces that form the arms and keep them aside.
Mount the face inside the hair, add the bust and the skirt and feet.
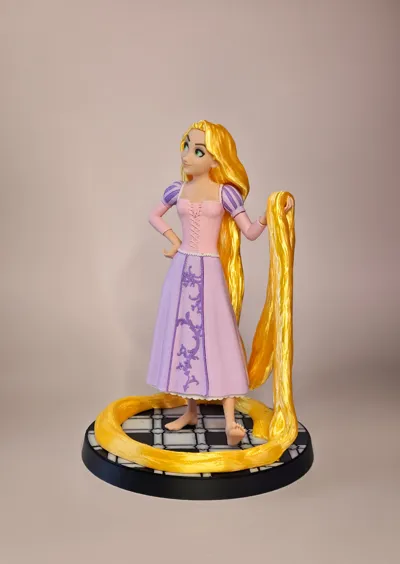
Add the right hand to the right arm (the hand that goes on top of the skirt) and glue the arm to the bust.
Now take the left hand and you need to insert it in the dented hole created in the bent of the hair.
This is the difficult part. You need to be patient and turn the hand until it fits like in the image below.

Now add the hand to the arm and glue the piece to the bust.
Last thing to do is adding the base, making sure to fit the two connectors to the foot and hair.

Glue the parts…DONE!
P.S. find all the filament used in the Bill of materials.
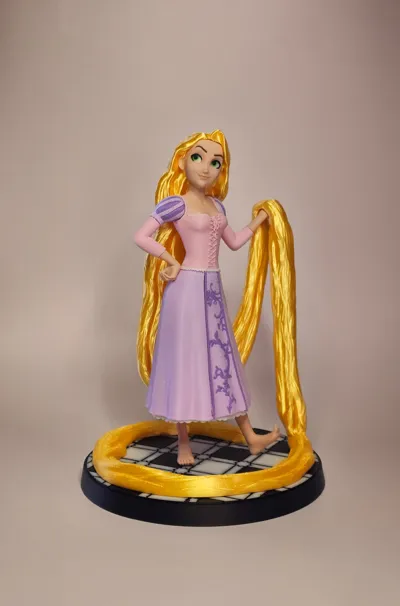
The Skin color is instead by Azurefilm PLA Skin Latte
License
You shall not share, sub-license, sell, rent, host, transfer, or distribute in any way the digital or 3D printed versions of this object, nor any other derivative work of this object in its digital or physical format (including - but not limited to - remixes of this object, and hosting on other digital platforms). The objects may not be used without permission in any way whatsoever in which you charge money, or collect fees.
Comment & Rating (23)