


Print Profile(1)
Description
Boost Me (for free)
No watering needed, just a boost now and then.
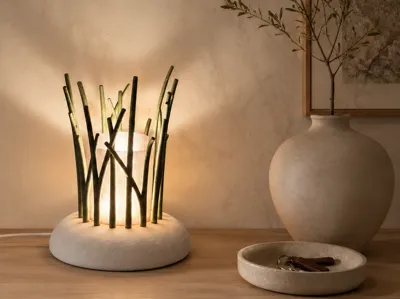
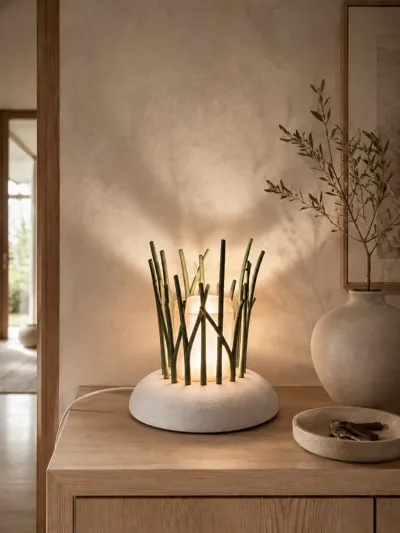
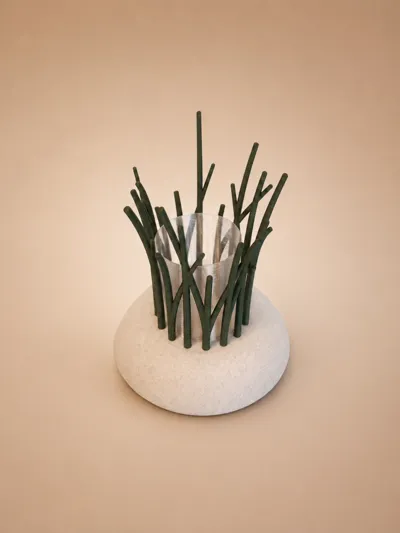
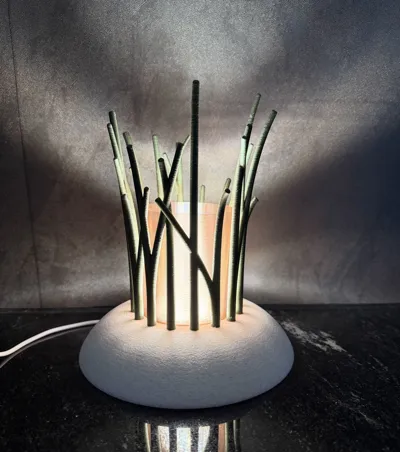
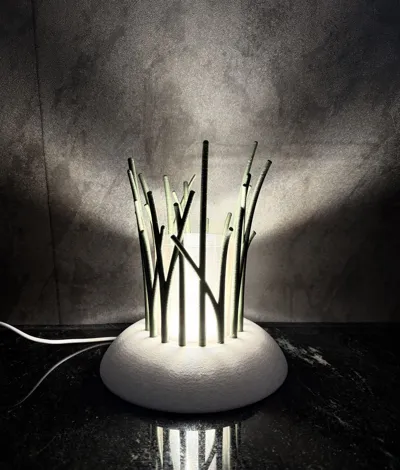
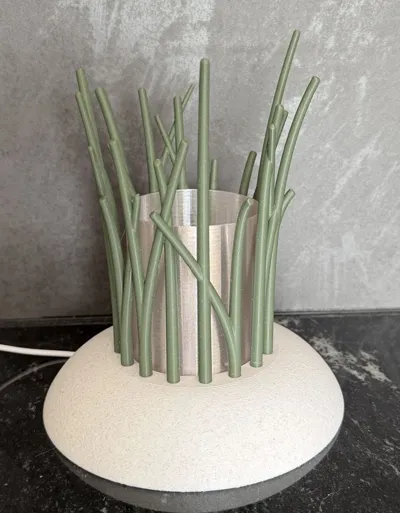
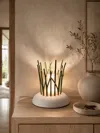
Sunset Through the Reeds – Scandinavian Nature Lamp brings together the calm feeling of stone, grass, and warm sunset light shining through reeds. Inspired by the early Scandinavian 2027 nature-driven interior trends, this lamp is designed to feel organic, soft, and modern.
For the best atmosphere, use an LED lamp that can mimic circadian light changes throughout the day (suggested LED lamp linked below in the text), shifting from fresh daylight tones to a warm sunset glow in the evening.
The design includes a slot for both a LED lamp kit (Bambu 001 corded light puck) and an LED tealight, giving you flexible lighting options.
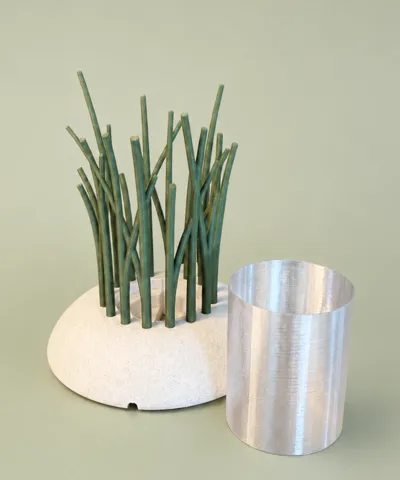
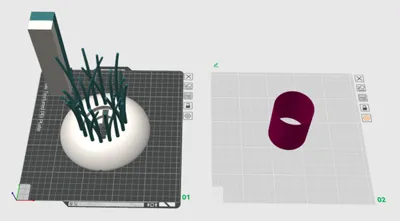
This lamp prints in two parts, the holder on plate one and the inner light diffuser on plate two. This lamp is Only intended for LED lights.
Size:
~ 18cm (7”) High
~ 15cm (8”) Wide
LED Light puck: https://www.amazon.com/dp/B0GTNZ1FXW?ref_=ppx_hzsearch_conn_dt_b_fed_asin_title_2&th=1
Rechargeable LED tealight: https://www.amazon.com/dp/B0F3D2LMZB?ref_=ppx_hzsearch_conn_dt_b_fed_asin_title_4&th=1
Filament used
Wine Red transparent PETG (Creality) for the inner light diffuser for a warmer glow: https://www.amazon.com/dp/B0DNF2FWLX?ref_=ppx_hzsearch_conn_dt_b_fed_asin_title_33&th=1
Light Pink transparent PETG (Creality) for the inner light diffuser for a brighter glow that doesn’t look too cold. https://www.amazon.com/dp/B0FFMVRT12?ref_=ppx_hzsearch_conn_dt_b_fed_asin_title_32&th=1
Stone look: Marble White-Brown Stone color PLA (Giantarm) https://www.amazon.com/dp/B0G58S14C2?ref_=ppx_hzsearch_conn_dt_b_fed_asin_title_2&th=1
Green – Matte Green PLA (Geeetech): https://www.amazon.com/dp/B0CSK1D9N9?ref_=ppx_hzsearch_conn_dt_b_fed_asin_title_21&th=1
Printing
IMPORTANT!
- Do not move the cylinder object from Plate 2 to Plate 1. The two plates do not use the same print profile. Plate 2 uses spiral vase mode settings, so the objects from Plate 1 and Plate 2 cannot be combined.
- Clean-up needed: This model will create some super thin threads between the rods “Spider Webbing” and needs some clean-up and gentle heating. I used a handheld mini torch. Ensure that you apply heat carefully to avoid warping or damaging the print.
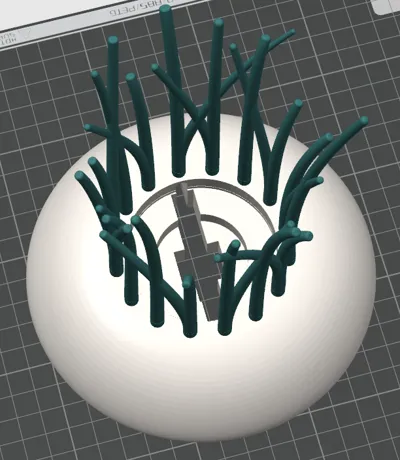
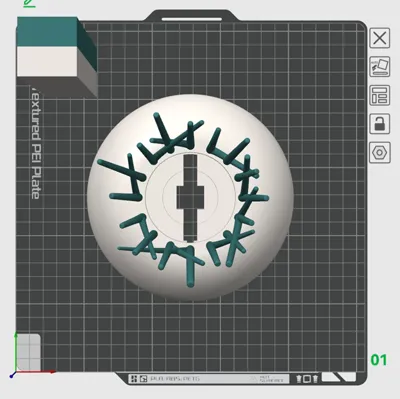
Plate 1
- Use a clean print plate with some glue (unless you are using a super tack plate) for plate 1.
- Use dried out filament
- (Different filament types impact the print differently, please adjust your settings accordingly)
- No support required
Plate 2 – Inner Light Diffuser Printing & Removal
*Use dried out filament (Recommending translucent PETG)
- Use very little glue on the build plate — ideally similar to a previously used plate with only light glue residue left. The cylinder is very thin and flexible, so too much adhesion can make it difficult to remove and may cause the print to start de-threading or separating during removal.
Removing the Cylinder from Plate 2
- After printing, use a sharp, thin razor blade or another very thin tool to gently lift one edge of the cylinder first.
- Once one edge is released, slowly continue lifting around the base while gently tilting or pulling the cylinder upward. The diffuser is flexible, but the first layer can separate if it is removed too quickly or with too much force.
- Take your time and remove it carefully.
Assembly Instructions
Insert the LED lamp from the bottom, vertically through the larger cut-out section.
Or: thread the cord from the top down through the smaller/thicker cut-out section.
Align the cord with the arched cut-out channel leading outward, then slide the lamp into place.
Or: Place the LED tealight inside the inner round circle.
- Lastly, slide the thin inner light diffuser cylinder down into position.
For more LED tealight & lamp holders, go here: https://makerworld.com/en/collections/23448086-led-tealight-holder-and-lamp
If you like this design, please leave a rating, a comment or a boost.
Boost Me (for free)
Boost me and let the Scandinavian sunset shine through the reeds.
License
You shall not share, sub-license, sell, rent, host, transfer, or distribute in any way the digital or 3D printed versions of this object, nor any other derivative work of this object in its digital or physical format (including - but not limited to - remixes of this object, and hosting on other digital platforms). The objects may not be used without permission in any way whatsoever in which you charge money, or collect fees.
Comment & Rating (0)