
Cute Wobbly Penguin – NO AMS
Print Profile(14)





Description
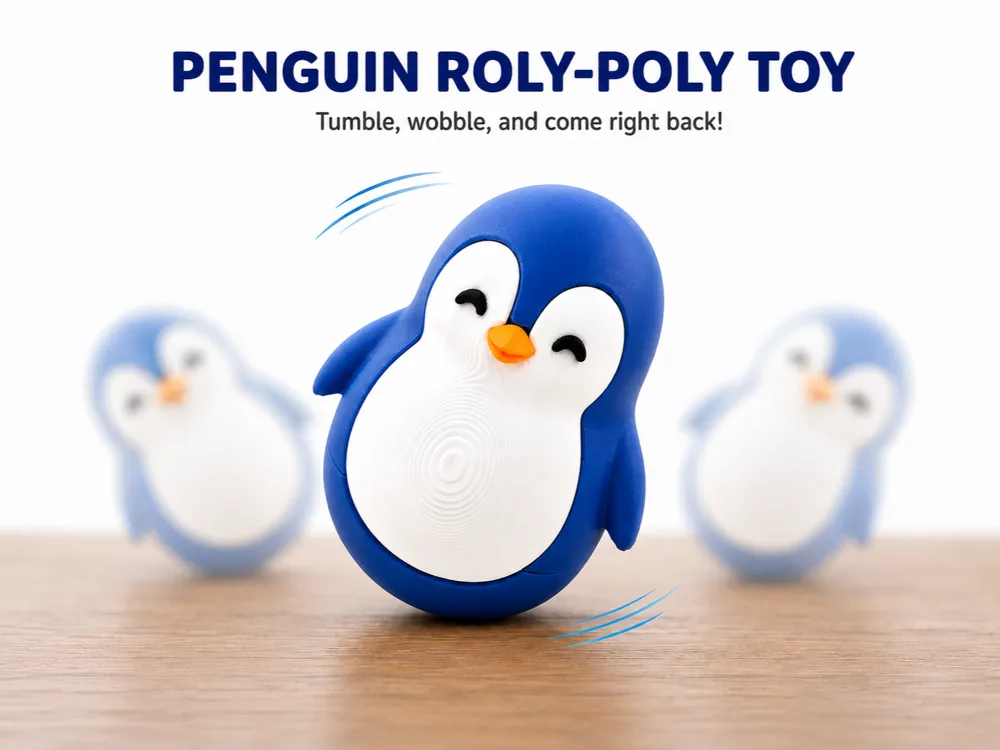

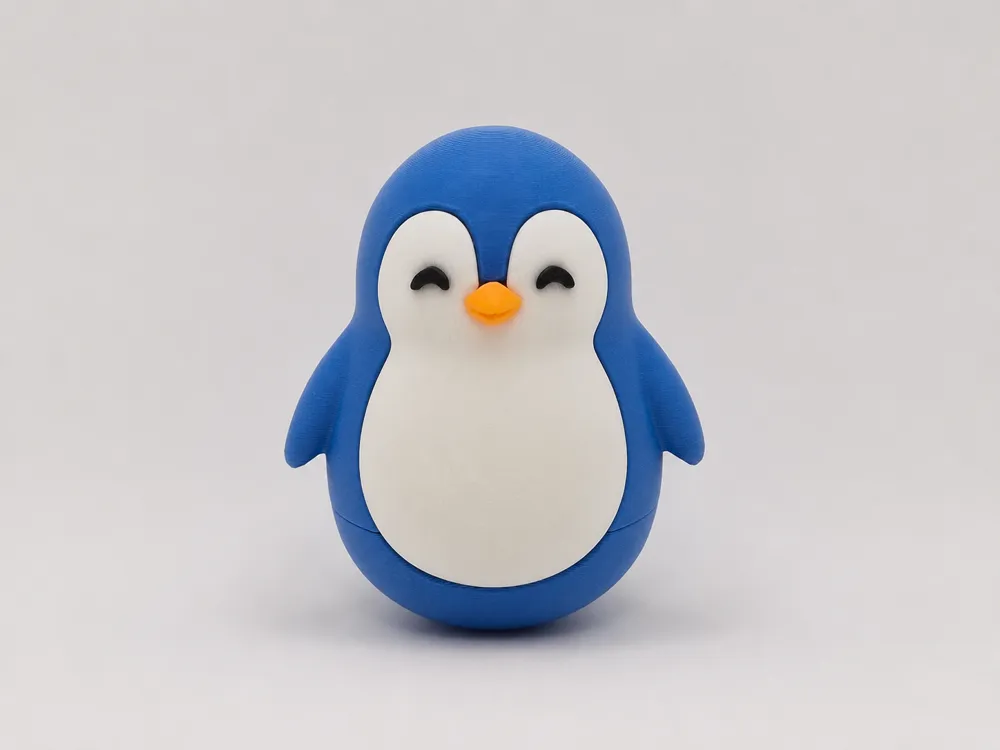
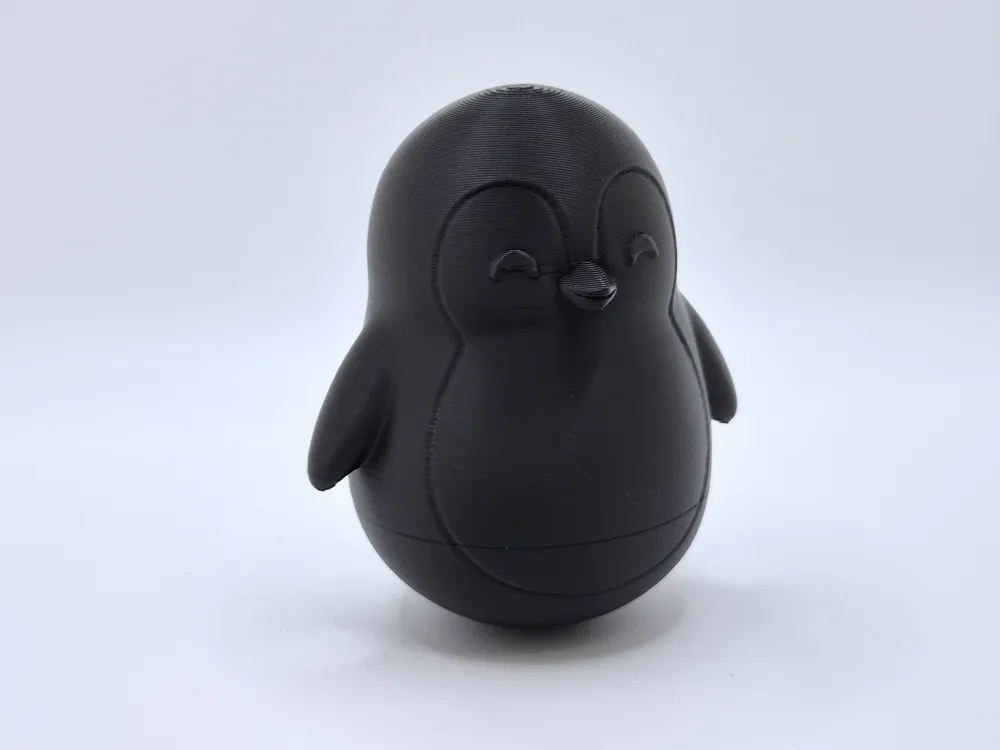

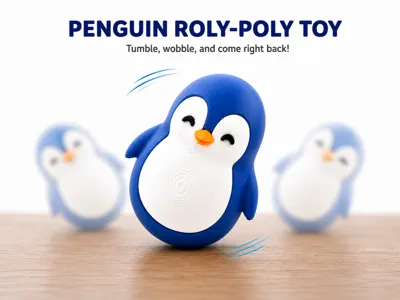
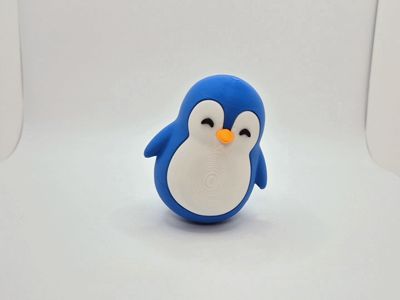
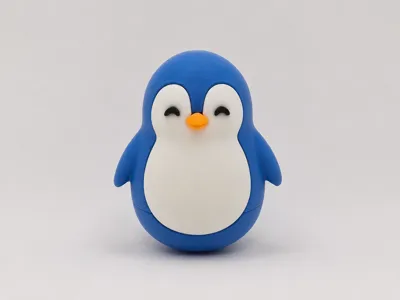
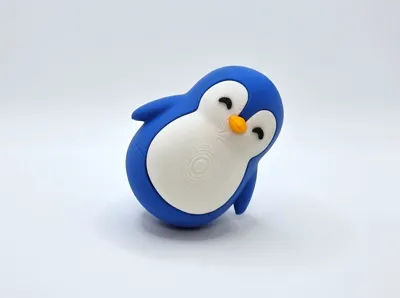
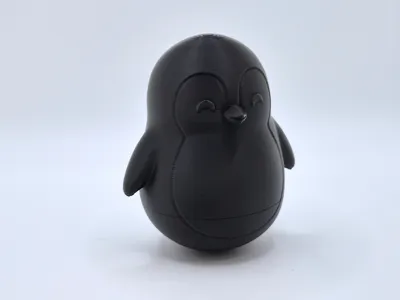
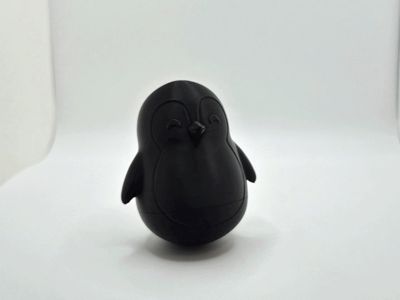
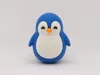
Add a splash of wiggles and giggles to your day with this charming Penguin Roly-Poly Toy!
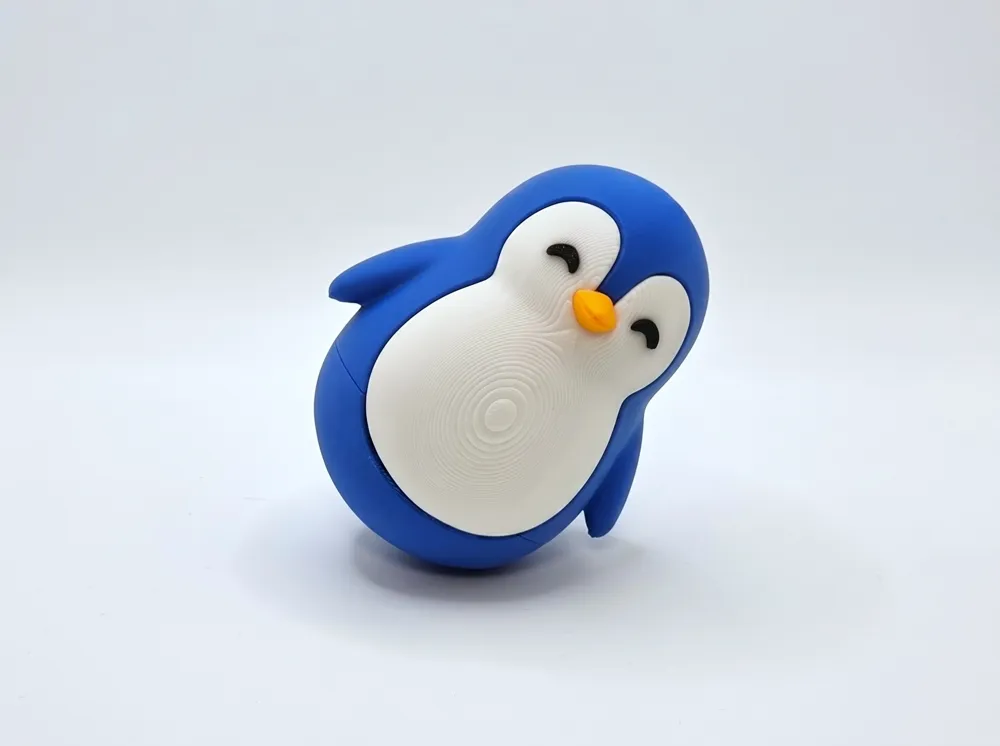
Designed as a self-righting wobble toy, this penguin tumbles, rocks, and spins for 30+ seconds before standing right back up again. This innovative toy combines simple physics with playful interaction, creating a fun hands-on experience for all ages while also encouraging curiosity and exploration!
🆕 UPDATES
- 30.06.2026: Updated tolerances and balance thanks to cummunity feedback.
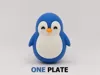
- 20.06.2026: Added a ONE PLATE version of the multipart profile. It is compatible with all printers, including A1 mini.
- 13.06.2026: Eliminated all negative parts by modelling the holes directly. This ensures much better compatibility across different slicers.
- 28.05.2026: Updated the tolerances of the “SINGLE COLOR Version” to make assembly easier.
- 27.05.2026: Thanks to community feedback, various updates to the "MULTIPART Version" have been made. These include improvements to the weight distribution, tolerances and support settings.
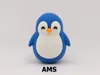
- 26.05.2026: Added an AMS version of the face/belly panel as a new print profile. This reduces assembly time and eliminates any small parts.
🧠 The Educational Aspect: Learning Through Play
This toy introduces core concepts through interactive play:
- Cause & Effect: Early learners discover that their physical actions (a tap or push) create immediate reactions.
- Motor Skills: Following the 30+ second wobble improves visual tracking, while reaching for it refines hand-eye coordination.
- Introduction to Physics: The self-righting action naturally introduces older kids to center of gravity, balance, and momentum, sparking curiosity about how things work.
⚙️ Technical Features & Design
Built to be an elegant, easy-to-print project, this model maximizes performance without relying on external parts:
- Enduring Motion: Precisely calibrated geometry ensures a single push creates a sustained wobble lasting over 30 seconds.
- Zero Hardware Required: Unlike traditional designs that need metal bearings or screws, this relies entirely on its 3D-printed structure and solid infill to self-right.
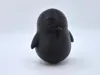
- NO AMS Needed: A smart multipart design lets you print different colors on separate plates for a multi-color look. A rapid single-color version is also included.
🛠️ Step-by-Step Assembly Guide
The assembly process is straightforward and consists of 6 simple steps. For the best results, having some CA glue (superglue) on hand is recommended.
Step 1: Clean the PrintsCarefully remove all support material from the printed parts. Ensure all mating surfaces are clean and smooth for a flush fit. | 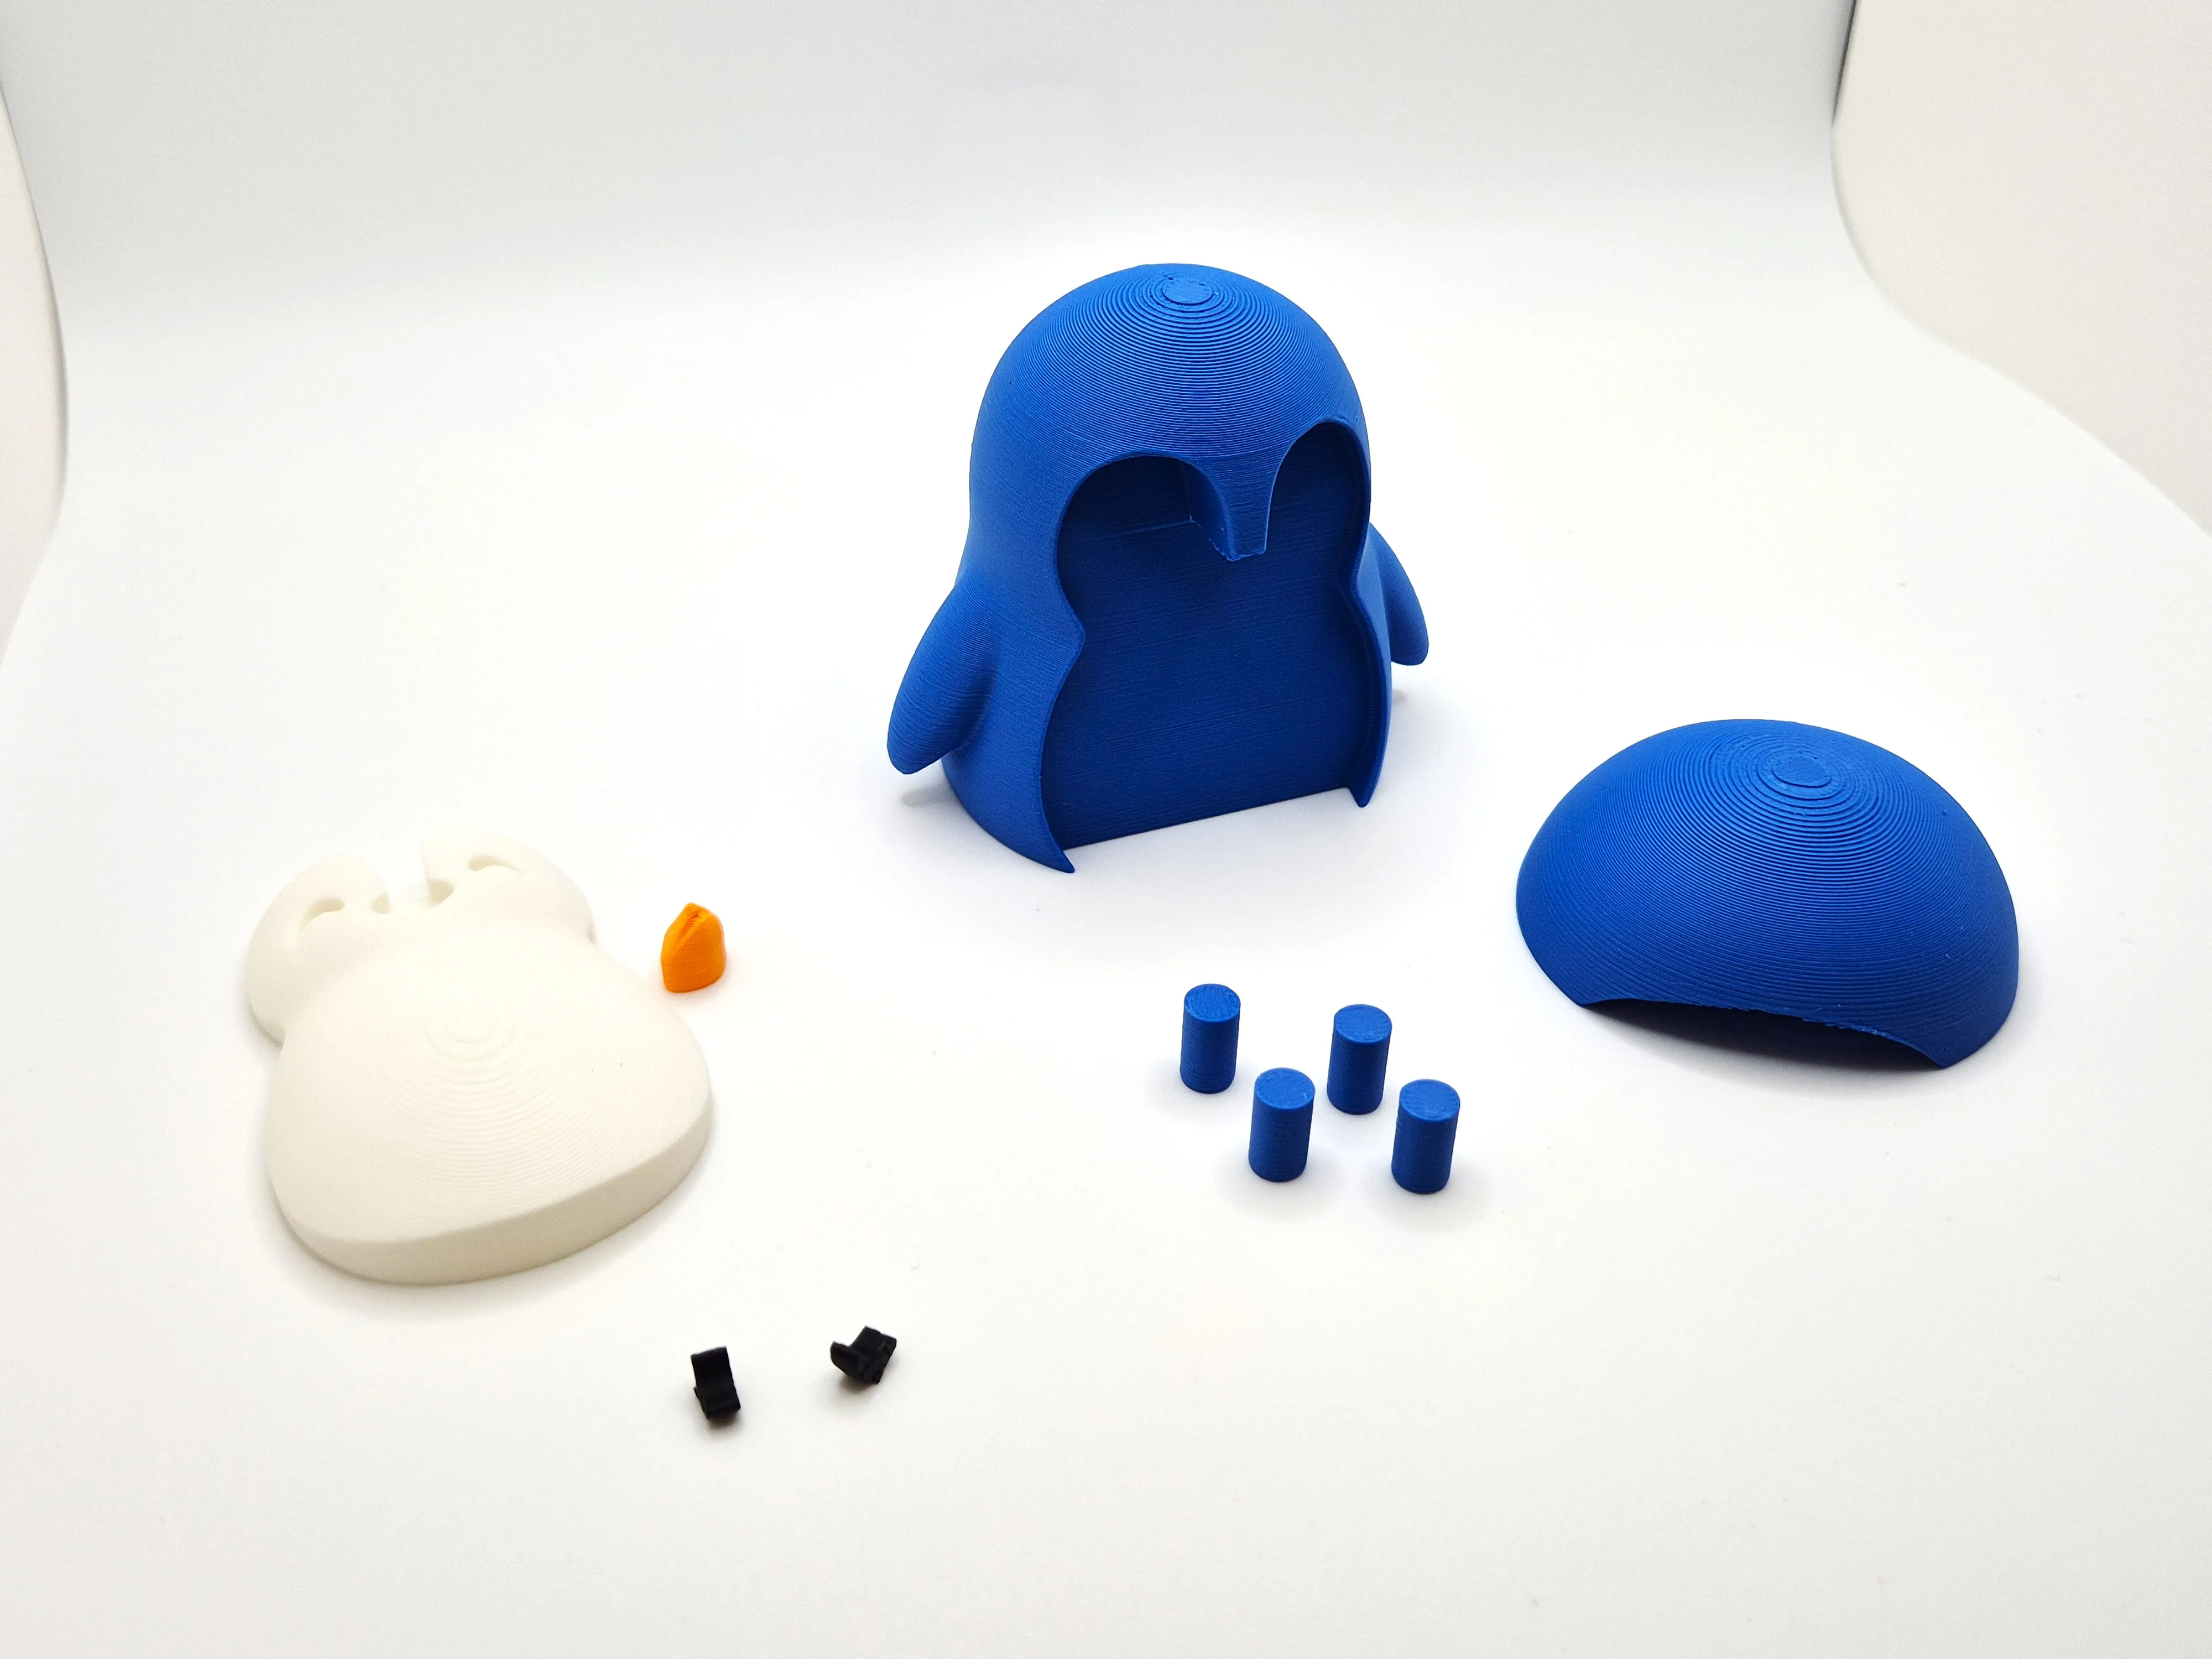 |
Step 2: Install the Base ConnectorsInsert all four alignment connectors into the base. Because this model is subject to constant kinetic movement, it is highly recommended to apply a small amount of CA glue in a cross-shape between the connectors to lock them securely. | 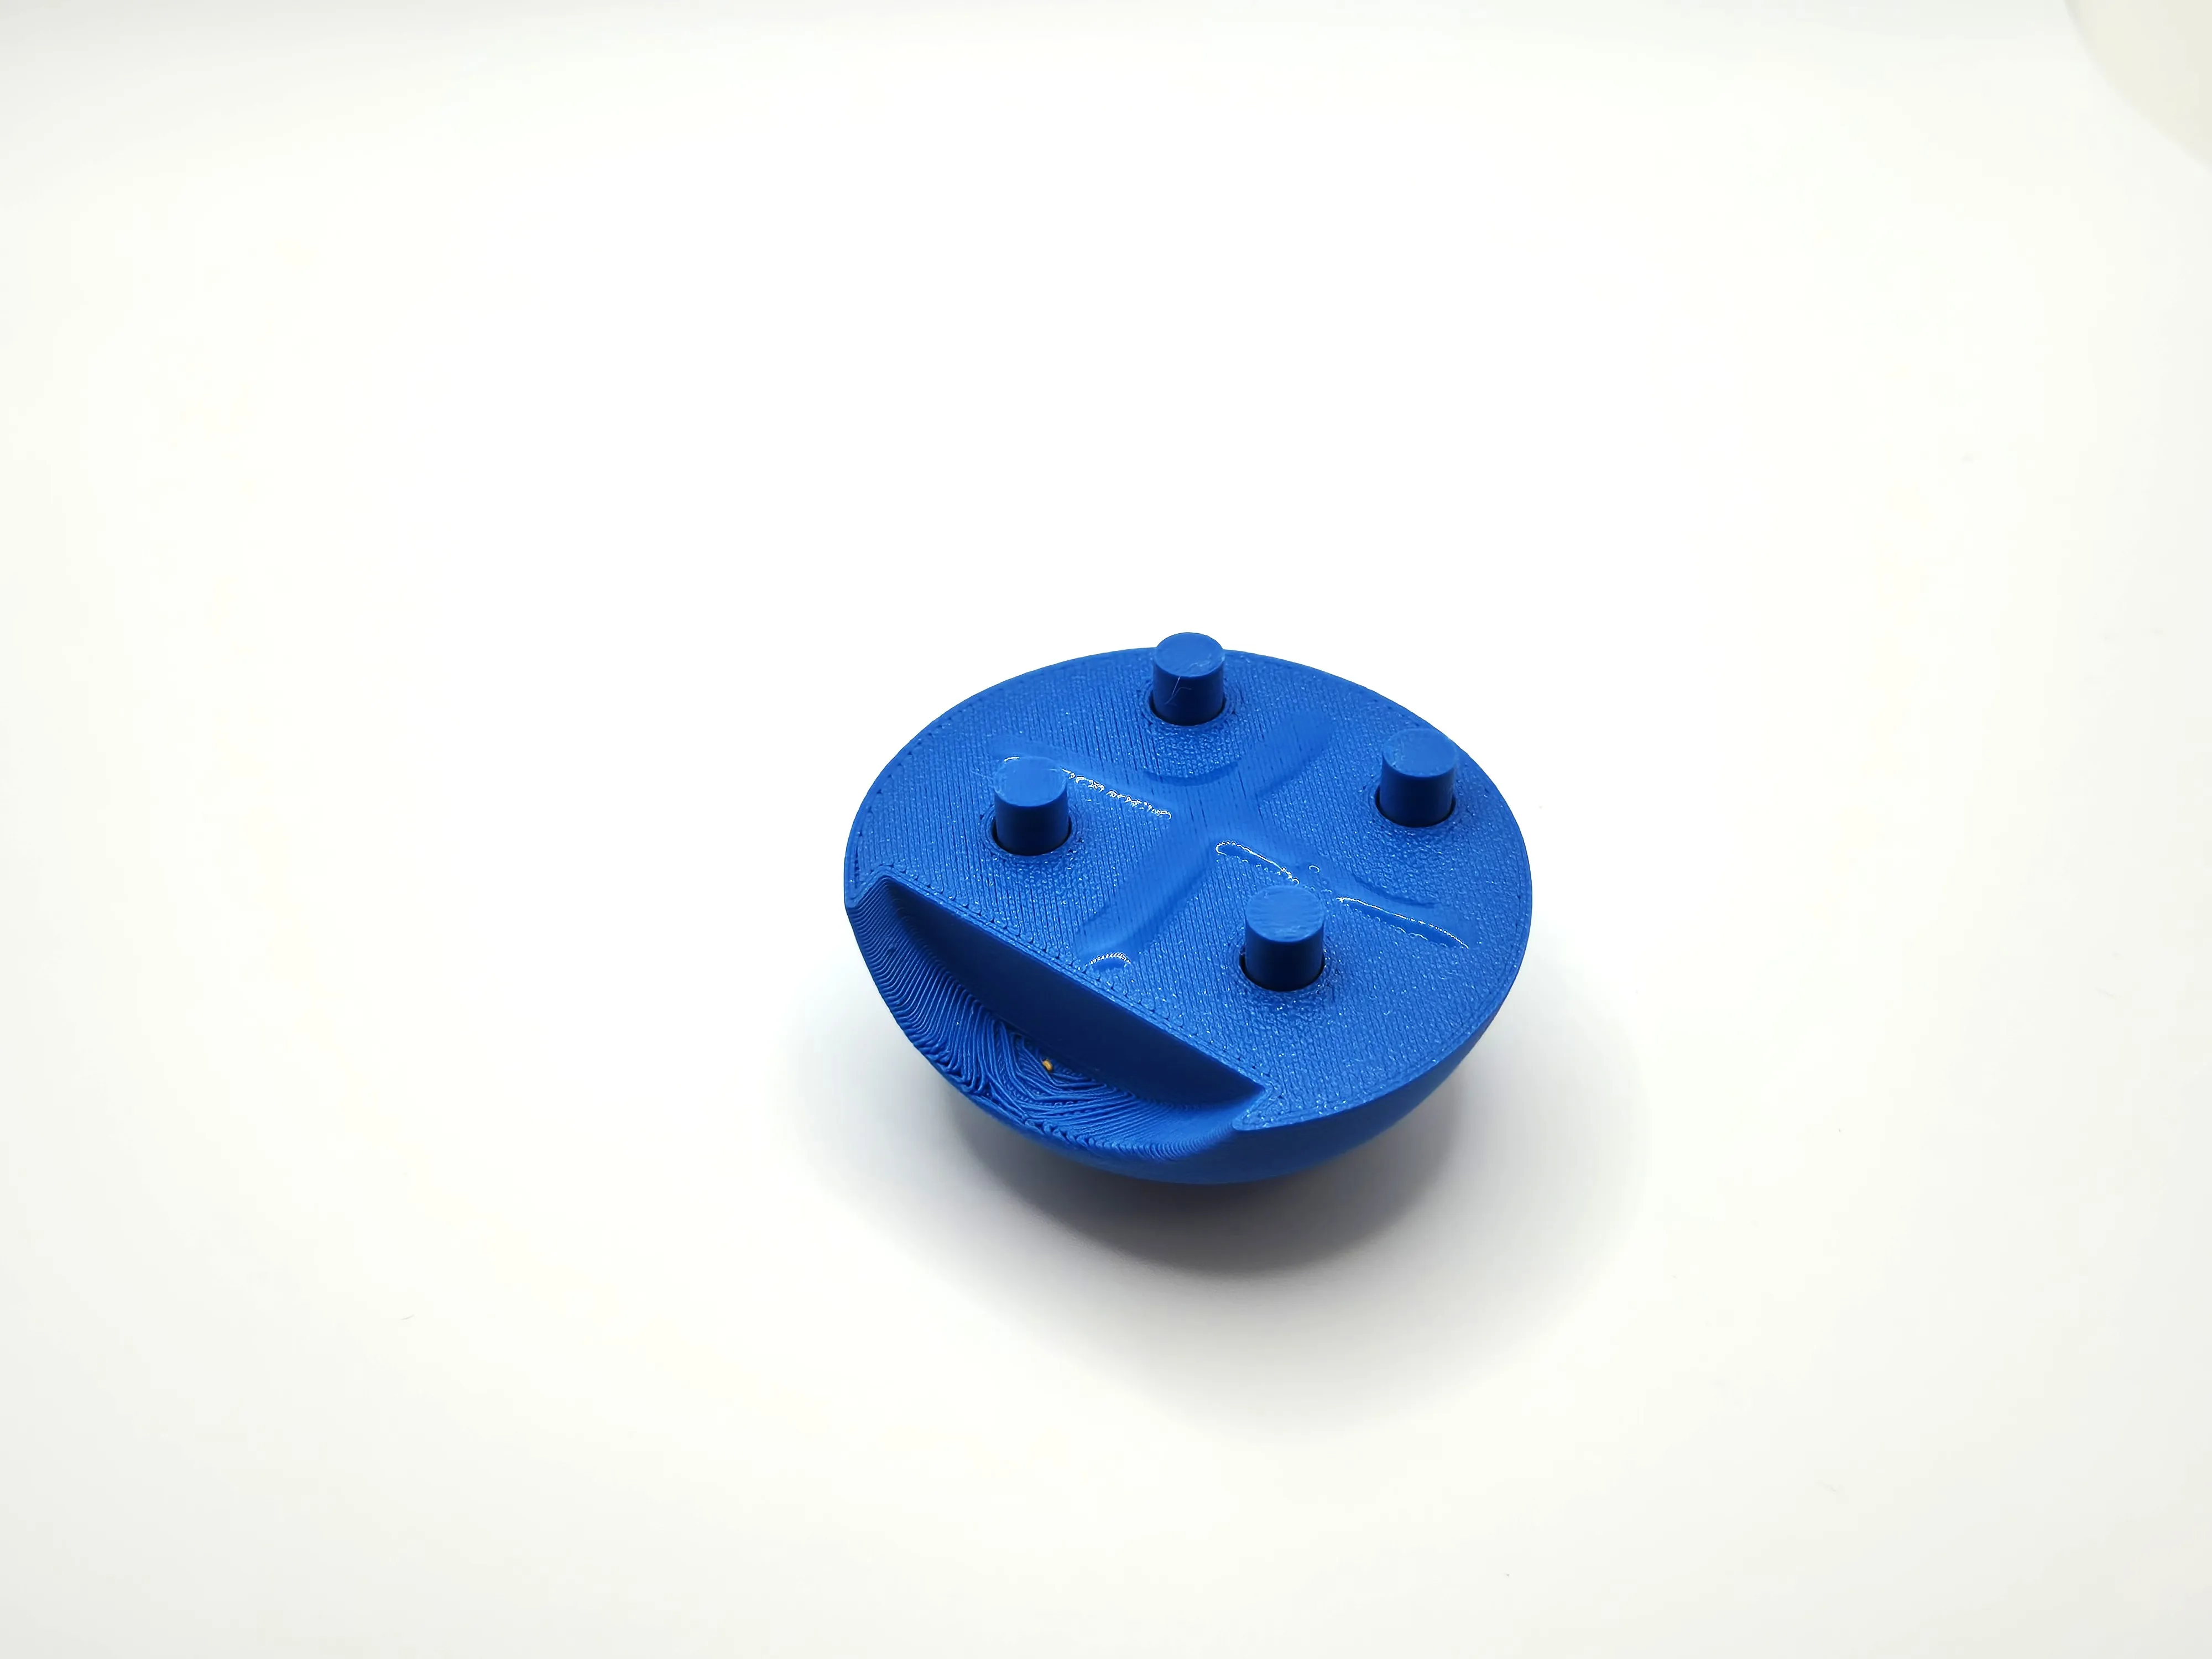 |
Step 3: Secure the BodyAlign both components of the body and press the pieces firmly together, holding them in place until the glue has fully set. | 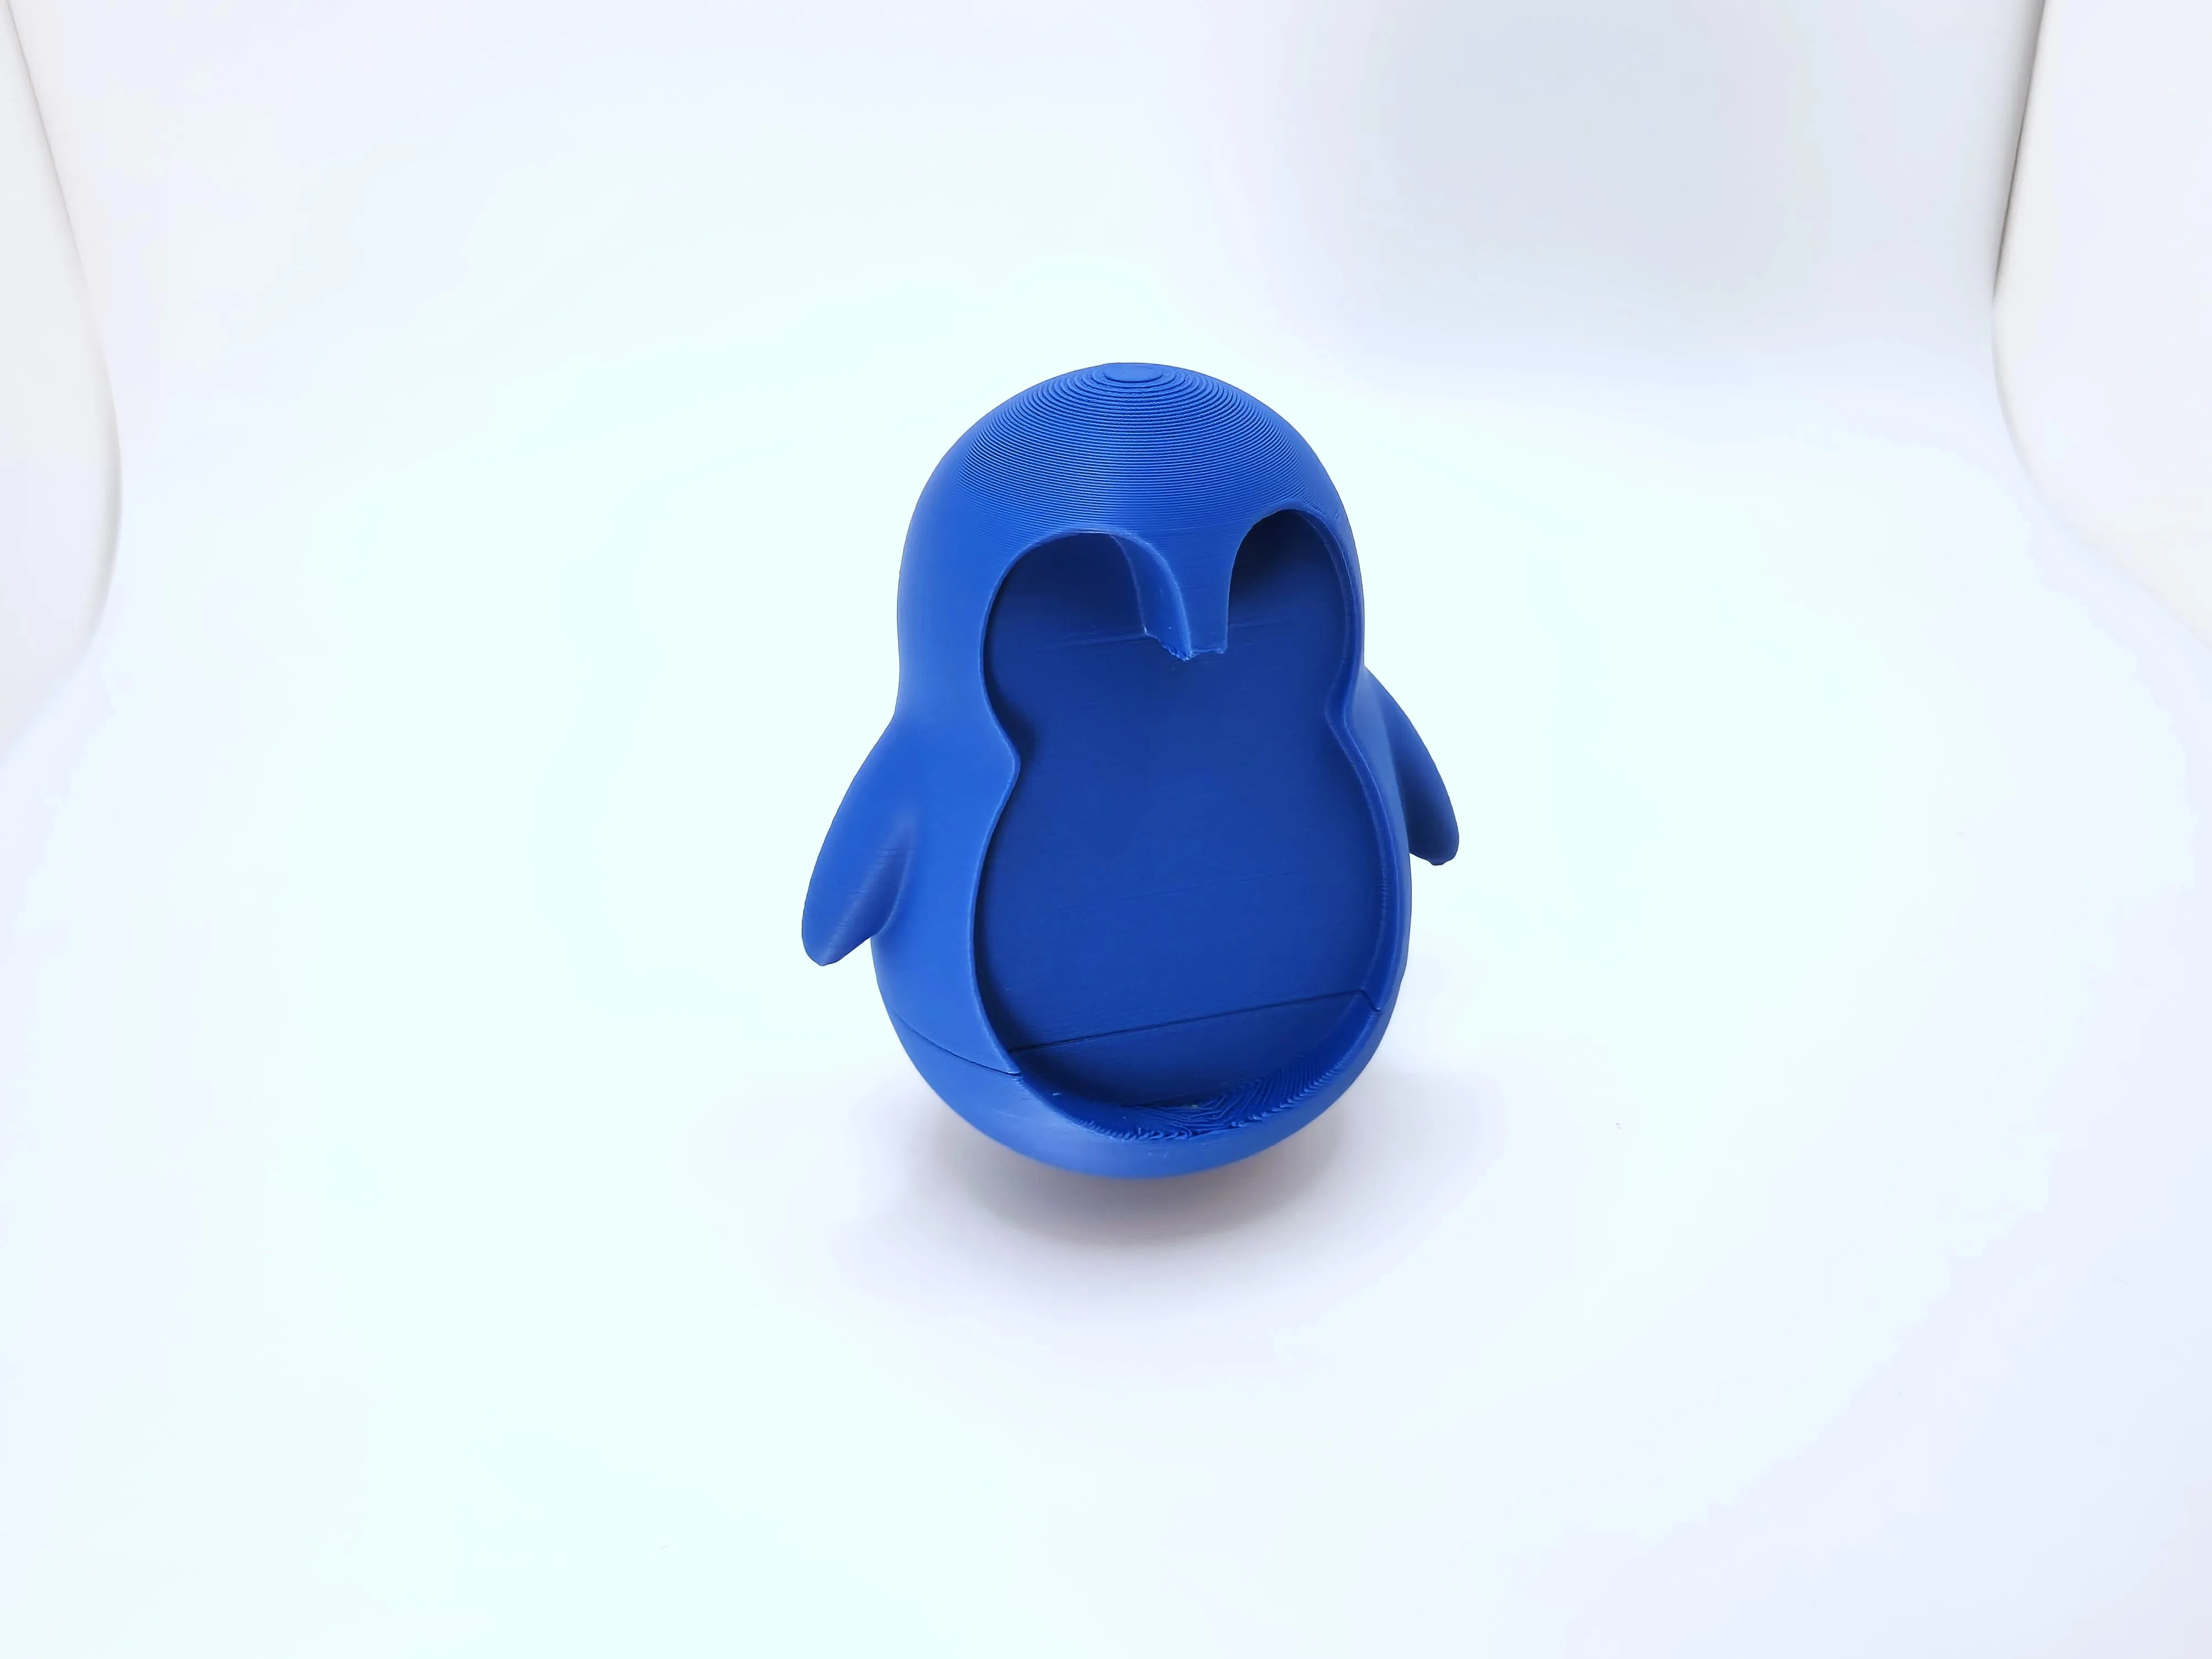 |
Step 4: Assemble the Face DetailsInsert the two eyes into the designated slots on the white belly piece. This may require some force, as they are designed to stay in place without using glue. | 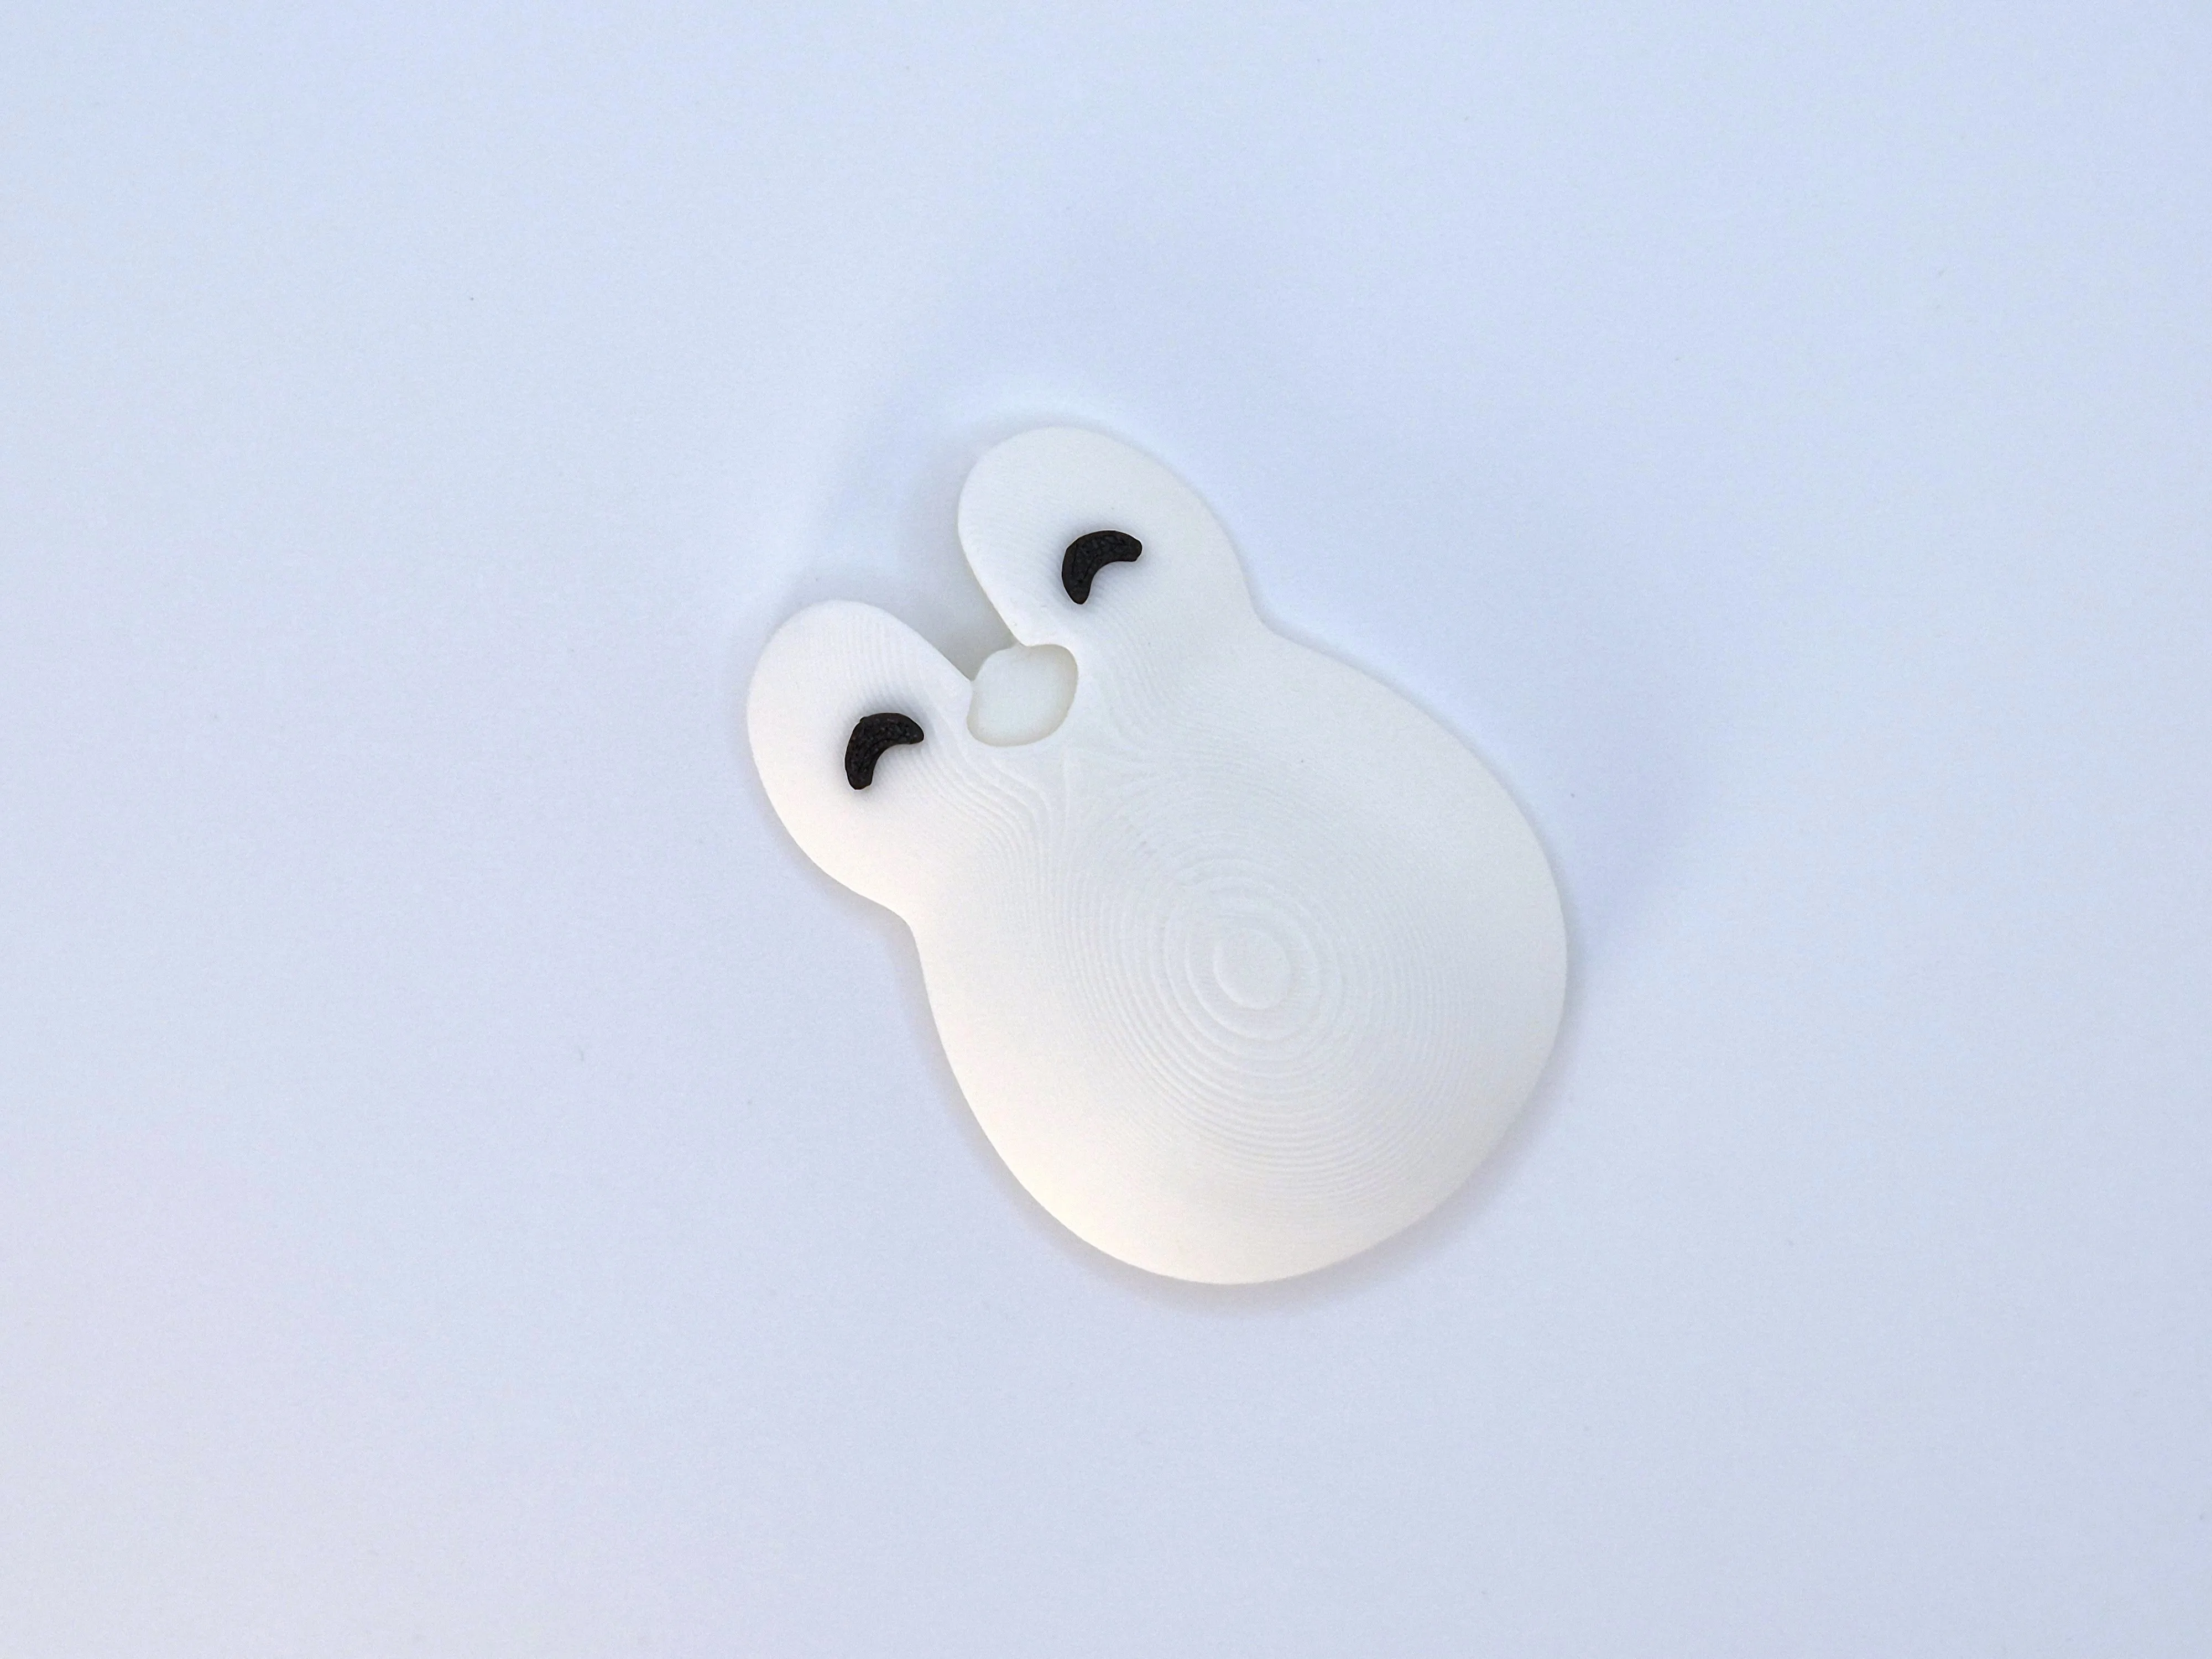 |
Step 5: Fit the Belly PanelPress the completed belly and eye assembly directly into the front cutout of the penguin's body. This part is designed for a precise friction-fit and does not require any extra glue. | 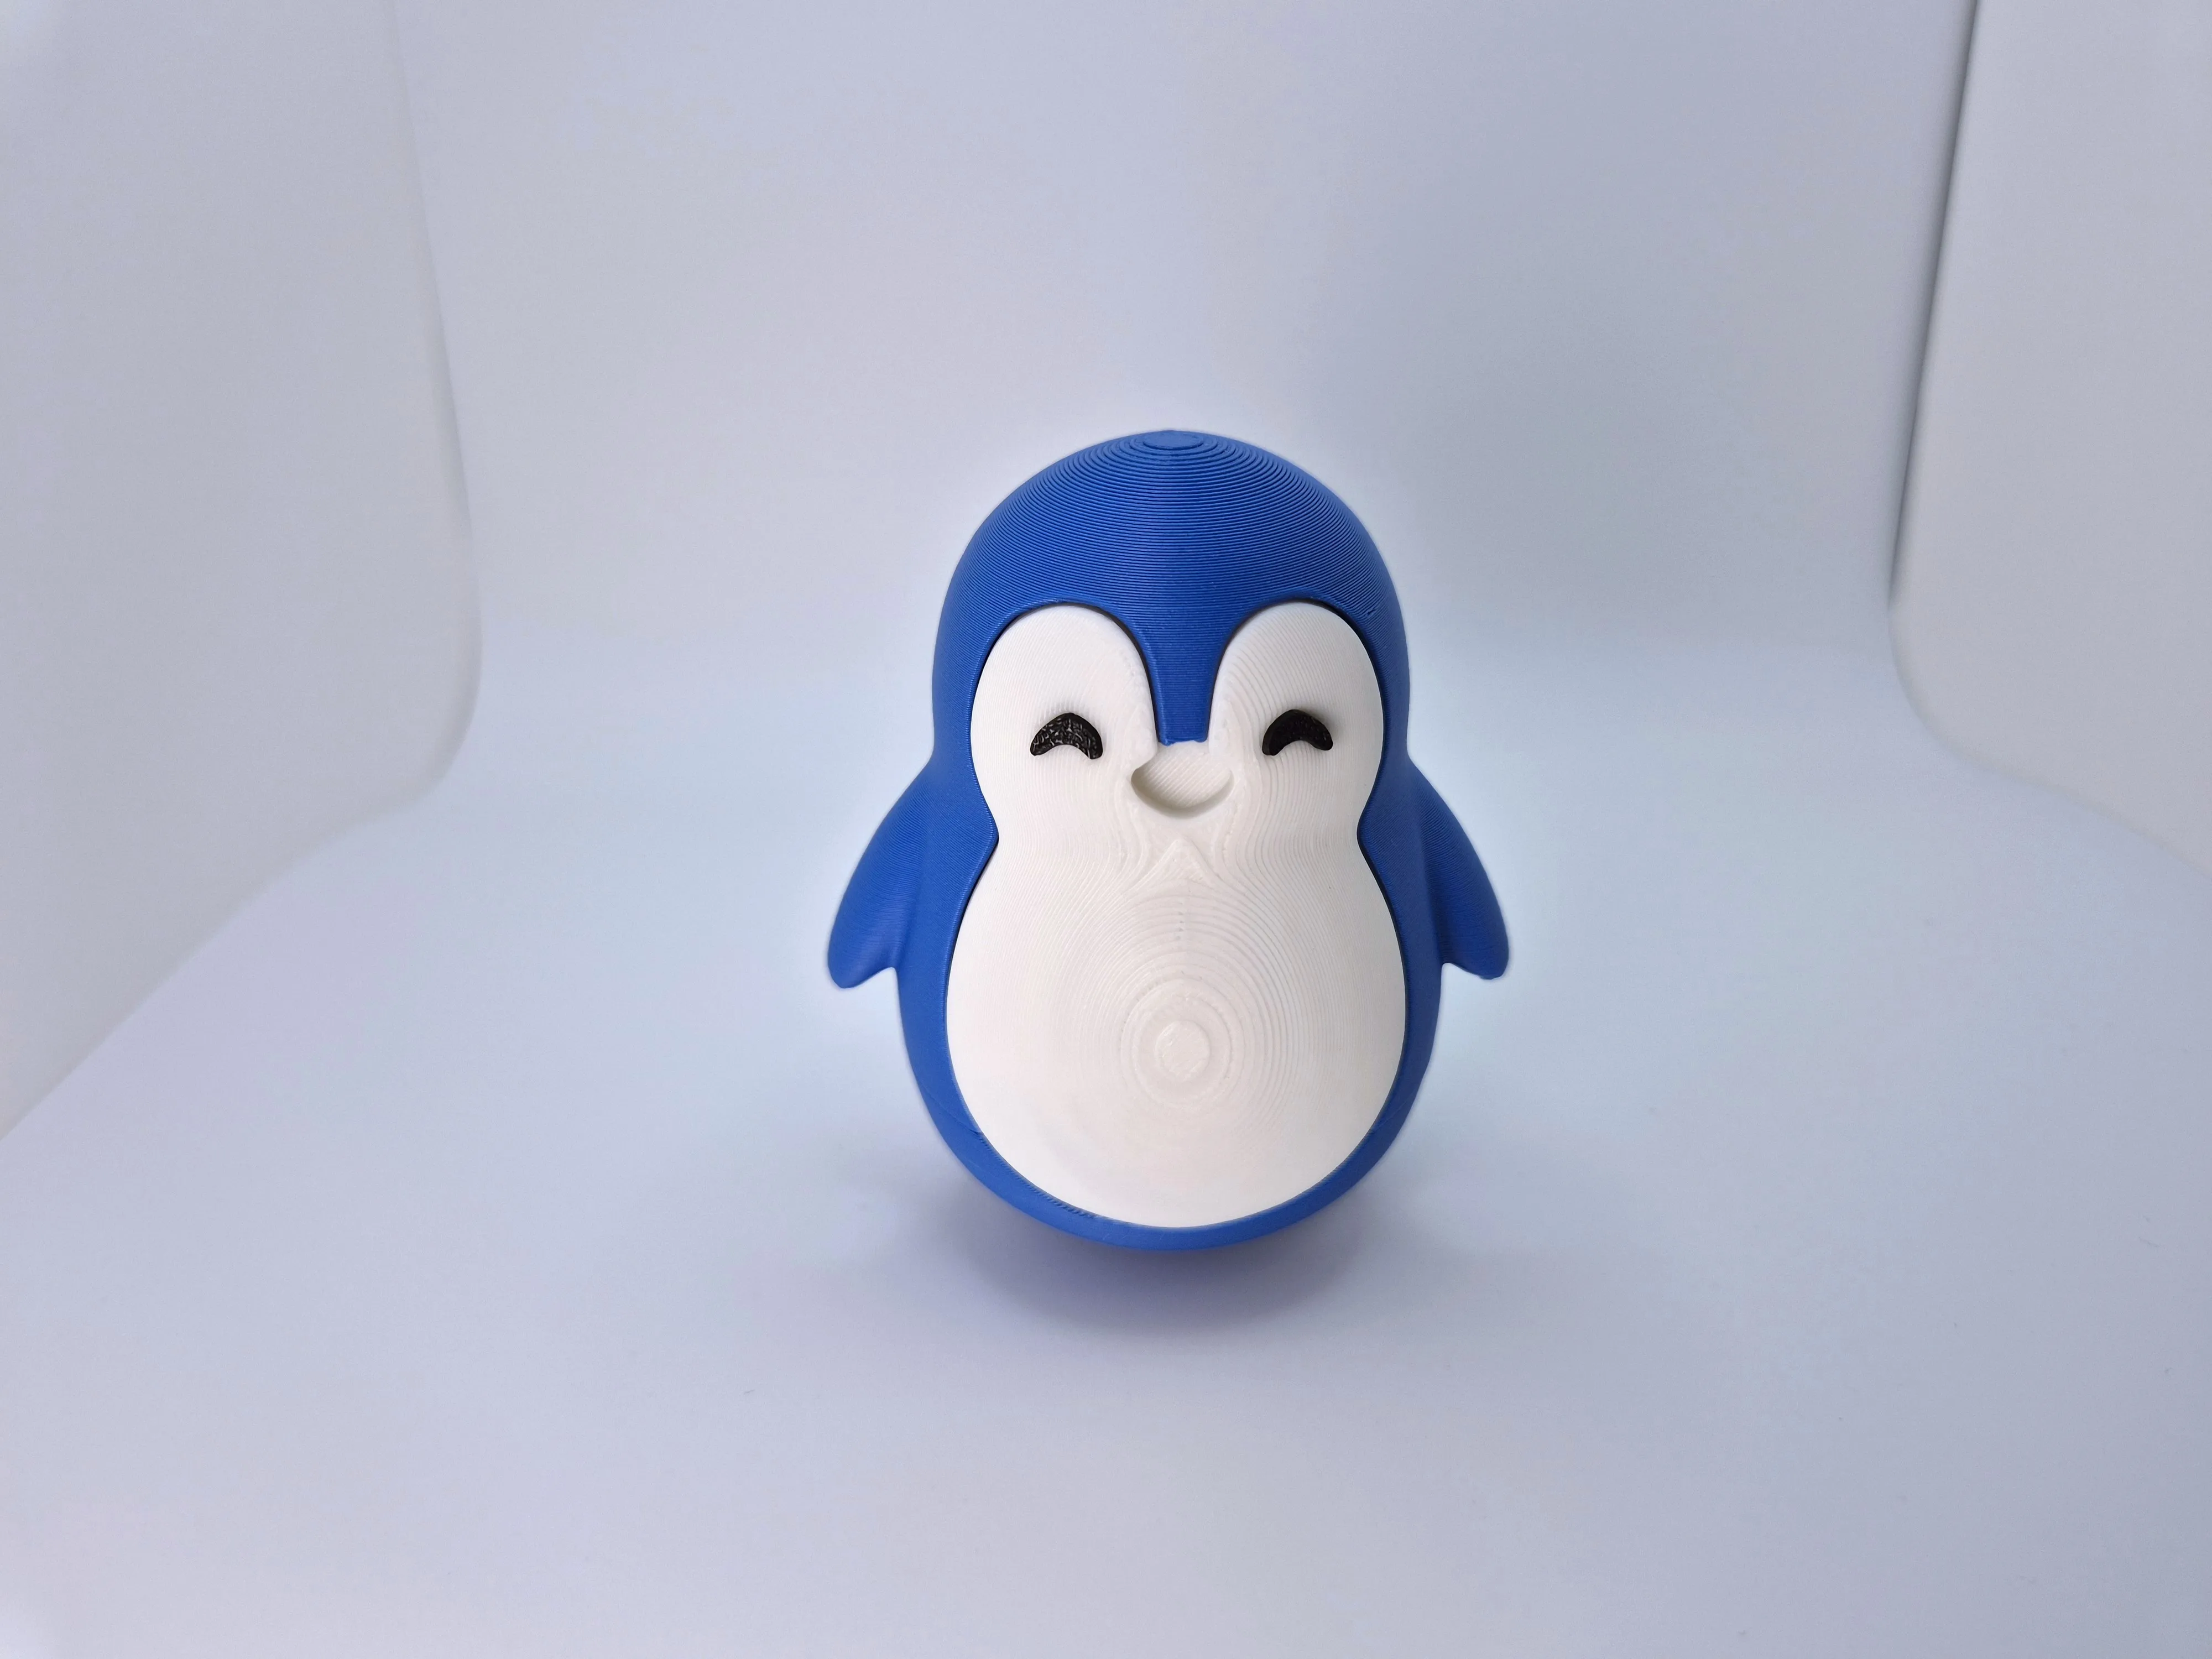 |
Step 6: Attach the BeakFor the final step, add a small drop of glue to the back of the penguin's beak and push it into the face cutout. | 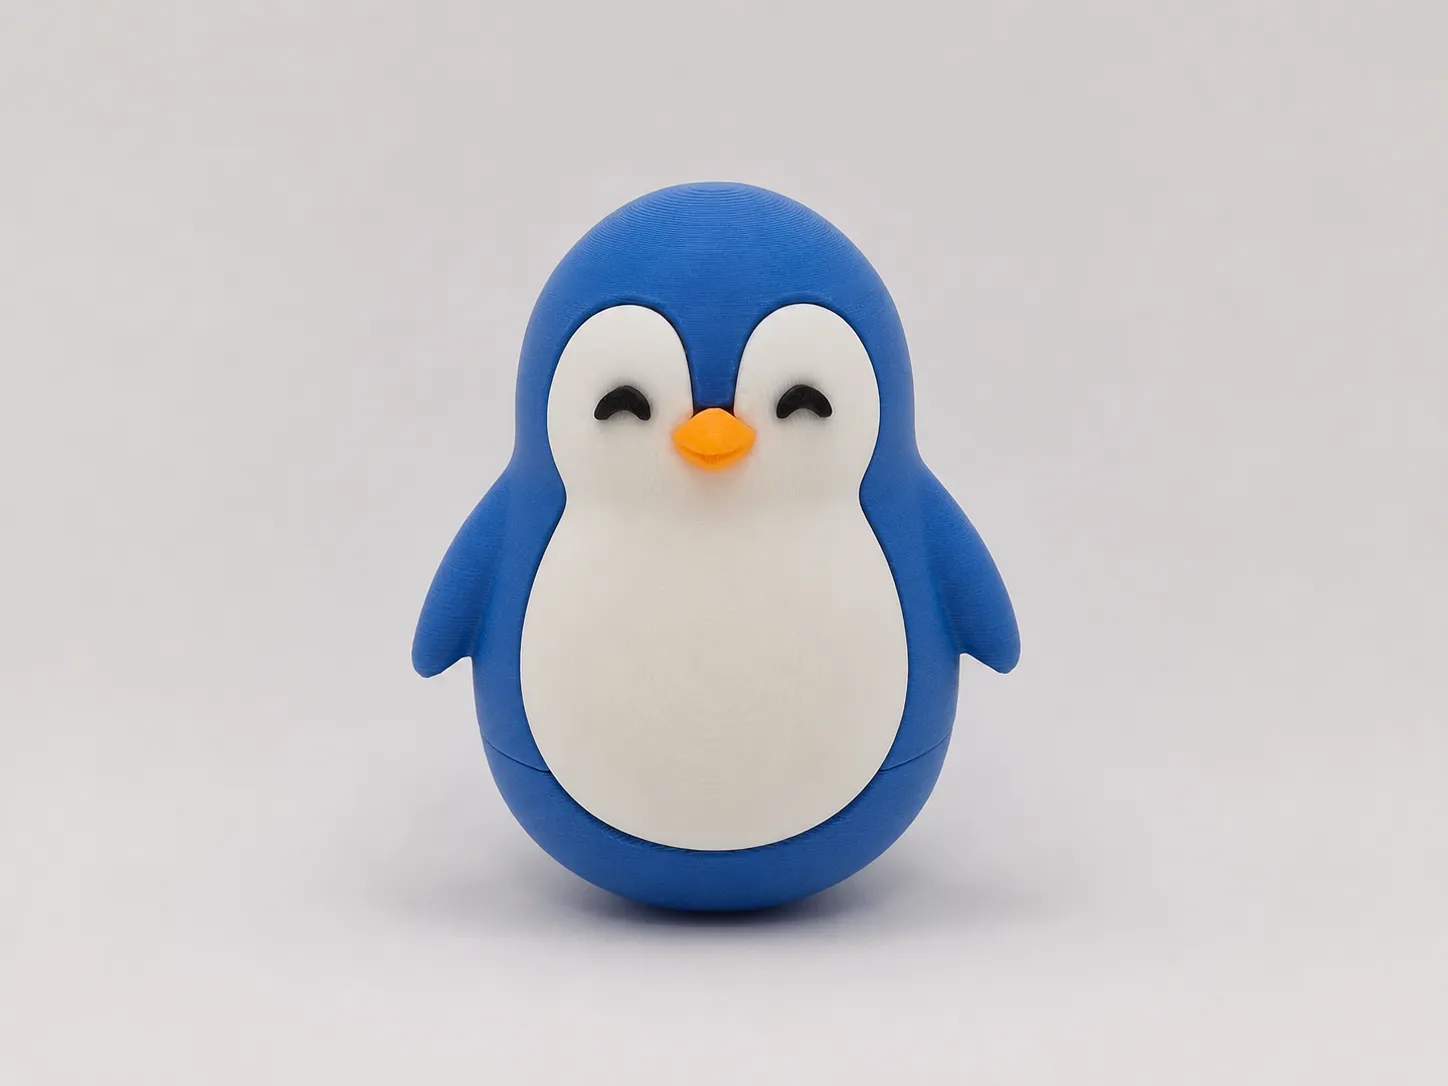 |
Boost Me (for free)
To help me make more models like this!
Membership
If you want to sell physical prints of my models, you can get a commercial membership here. By clicking on "Join", you will see the different tiers available!
License

You shall not share, sub-license, sell, rent, host, transfer, or distribute in any way the digital or 3D printed versions of this object, nor any other derivative work of this object in its digital or physical format (including - but not limited to - remixes of this object, and hosting on other digital platforms). The objects may not be used without permission in any way whatsoever in which you charge money, or collect fees.


Comment & Rating (622)