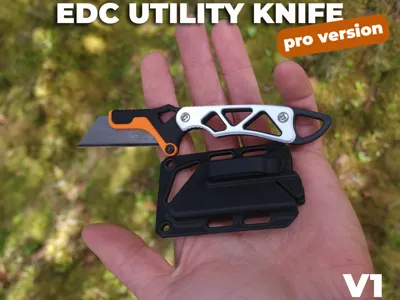
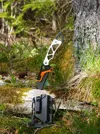
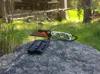
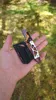
EDC Utility Knife


Print Profile(3)
Bill of Materials
Description
Boost Me (for free)
If you like the model, consider giving it a boost! If you hate it, feel free to leave a bad review. All feedback is welcome. Boosts always make my day and they help others see the model.
*Note on Sheath adhesion issues*
It has come to my attention that many people are having adhesion problems while printing the sheath in the original profile. I have added a “Stability Profile” with lateral supports and no XY gap between the model and the first support layer. It worked for me first try on a freshly washed textured PEI plate on standard settings.
I typically print the sheath on a smooth plate, but with textured plate settings turned on. This creates an extremely sticky surface for the model to adhere to and virtually nothing I've encountered has adhesion problems with that setup.
If you are still having trouble with bed adhesion, feel free to reach out in a comment or a DM and I will see if I can give you any tips for your specific setup.
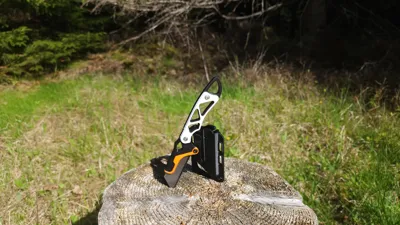
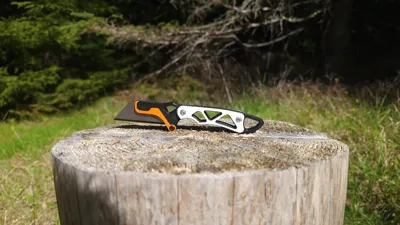
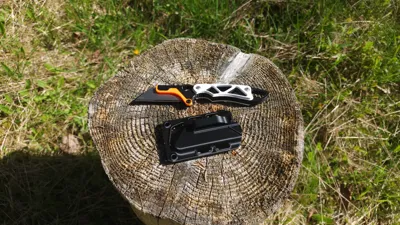
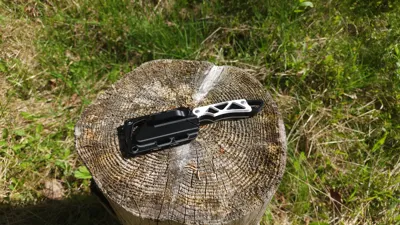
Description:
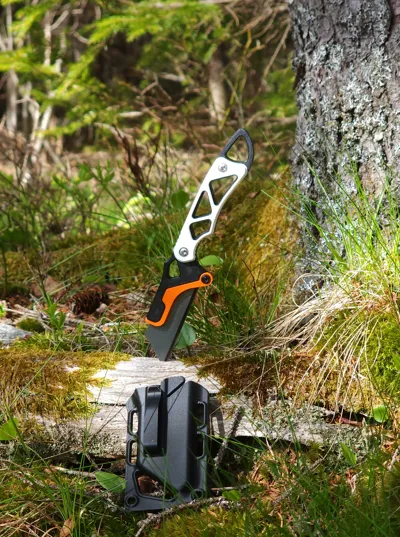
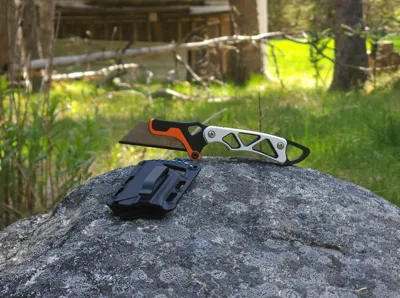
This utility knife handle is inspired by existing neck knife designs from companies like CRKT, Benchmade, and others. I wanted to create a simple, elegant knife handle that prints fast and uses less hardware than existing utility knife handles. I secondly wanted to design a sheath that securely holds the knife in a neck-worn configuration or clipped to clothing or other gear. This is my V1 result.
Features:
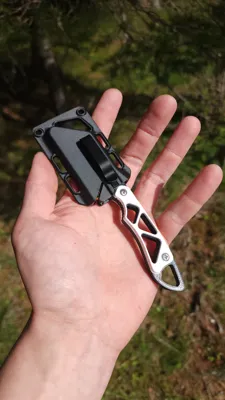
- Ergonomic handle shape & strategically placed grip texture
- Handle cutouts to minimize filament use and print time while maintaining strong hand feel
- Single screw blade retention
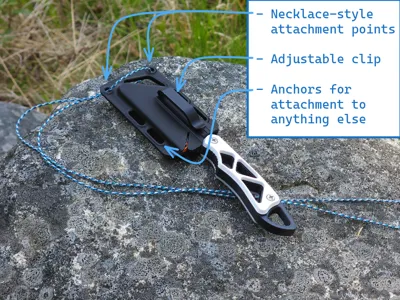
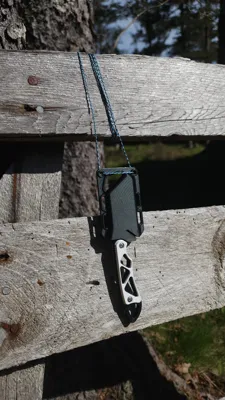
- Sheath with multiple mounting points, including for a necklace-style cord.
- Sheath option with clip for attaching to backpack, tactical vest, etc.
- Plain sheath option (no clip)
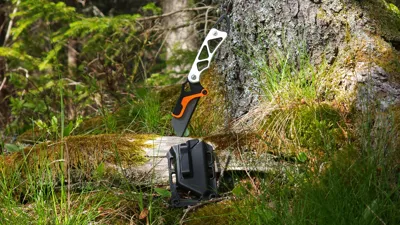
What this knife is:
- A small, efficient, ergonomic, printable utility knife handle
- A knife for everyday cutting tasks
What it isn't:
- Ultra heavy duty
- A prying knife
- A survival knife
Blade Specifications:
This handle is designed to carry utility knife blades with the following features:
- Shape: trapezoid with notches for locking
- Length: ~2.4 inches (≈61 mm)
- Height: ~0.75 inches (≈19 mm)
- Thickness: typically ~0.024 in (≈0.6 mm)
Filament:
I printed these in both basic PLA and PETG. The PLA variants are shown in the images in the post, but PETG is rather stronger and generally recommended for applications that require greater strength or durability for this knife. The profiles provided should work well with either PLA or PETG.
Handle Assembly:
ASSEMBLE WITH CARE!! Utility knife blades are extremely sharp and should be handled with extreme caution
Required Materials:
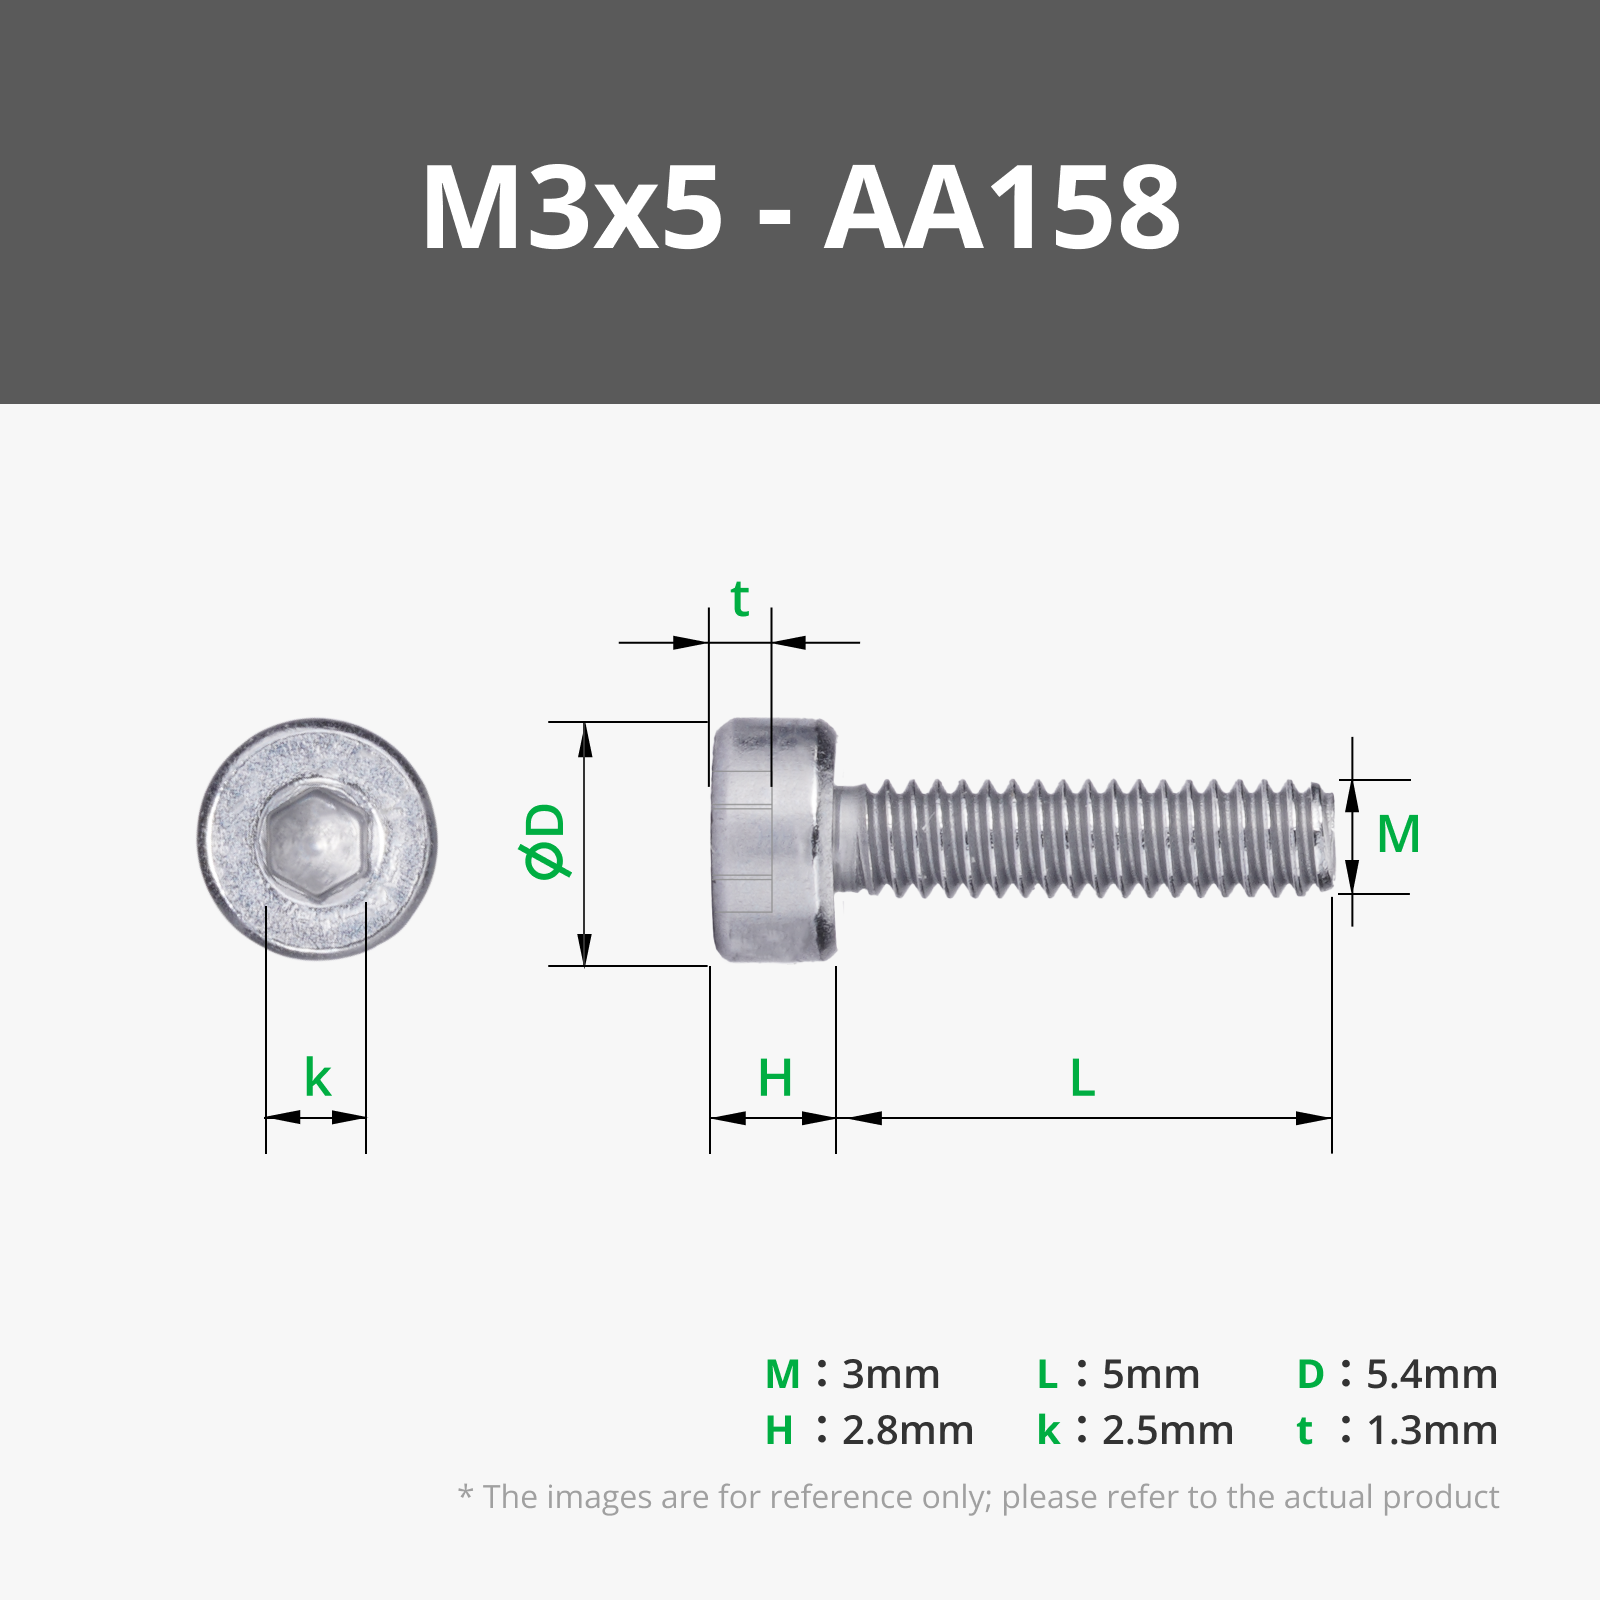
- 5*M3x5mm machine screws
- Thats it!
- Use 4 M3x5mm screws to attach the handle grips to the handle.
- Consider screwing them in once without the handle grips attached, then removing them and using sandpaper and a pick or a small drill bit to remove the excess plastic that the screw displaced. This will help the grips sit flush when fully installed. See photos below.

Pre-Tapping plastic with the screw 
Pre-tapping hole pushes some pastic out of the way 
Clear the hole of the dislodged plastic with a pick 
Lightly sand the plastic that was pushed up during tapping 
The hole should now be a lot cleaner and clear of debris
- Consider screwing them in once without the handle grips attached, then removing them and using sandpaper and a pick or a small drill bit to remove the excess plastic that the screw displaced. This will help the grips sit flush when fully installed. See photos below.
- Use 1 M3x5mm screw to secure the blade to the handle
- Insert the blade into its slot in the main handle. It should stay there on its own without moving.
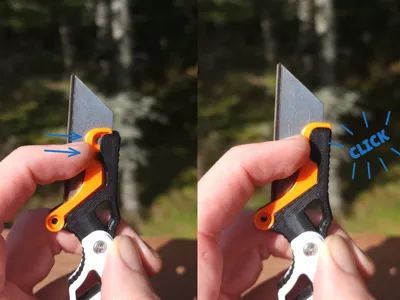
- Install the blade-keeper by sliding it horizontally across the top of the blade and pressing it into place until it clicks (i.e. don't rotate it into place)
- Install the screw in the bottom hole to secure the blade to the handle.
- Insert the blade into its slot in the main handle. It should stay there on its own without moving.


Sheath Assembly (Clip version):
- The clip can be inserted in either direction, depending on how/where you want the sheath to be mounted.
- Once you decide which direction to mount the clip, simply insert it into the slots and press it in firmly. If you find it difficult to get it in, consider pressing the clip against a solid surface such as a stone countertop or similar. Use both hands (not pictured) to increase stability.
- Ensure the clip is settled all the way into its slot. It should not protrude at all at the bottom of the slot in the sheath and should be completely out of the way.
- It is press fit into the slot fairly securely in my opinion, but if you want to be extra careful, use some superglue to securely adhere it to the slot forever.


NOTE: Any use or assembly of this tool with a utility blade is dangerous and should be undertaken at your own risk and using proper protective equipment such as anti-cut gloves, eye protection, and other relevant equipment.
License
You shall not share, sub-license, sell, rent, host, transfer, or distribute in any way the digital or 3D printed versions of this object, nor any other derivative work of this object in its digital or physical format (including - but not limited to - remixes of this object, and hosting on other digital platforms). The objects may not be used without permission in any way whatsoever in which you charge money, or collect fees.
Comment & Rating (58)