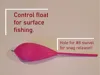
Surface Fishing Control Float 35g Distance Casting


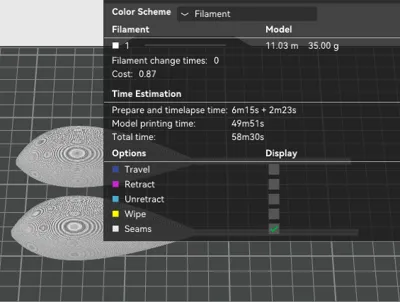
Print Profile(1)
Description
PLEASE READ ME !!!
Firstly I would like to say quick thank you for checking out my model, so thank you!
Please note most of my models are made in Nomad Sculpt by hand and are my own renditions (Fan Art) unless stated otherwise.
Model info:
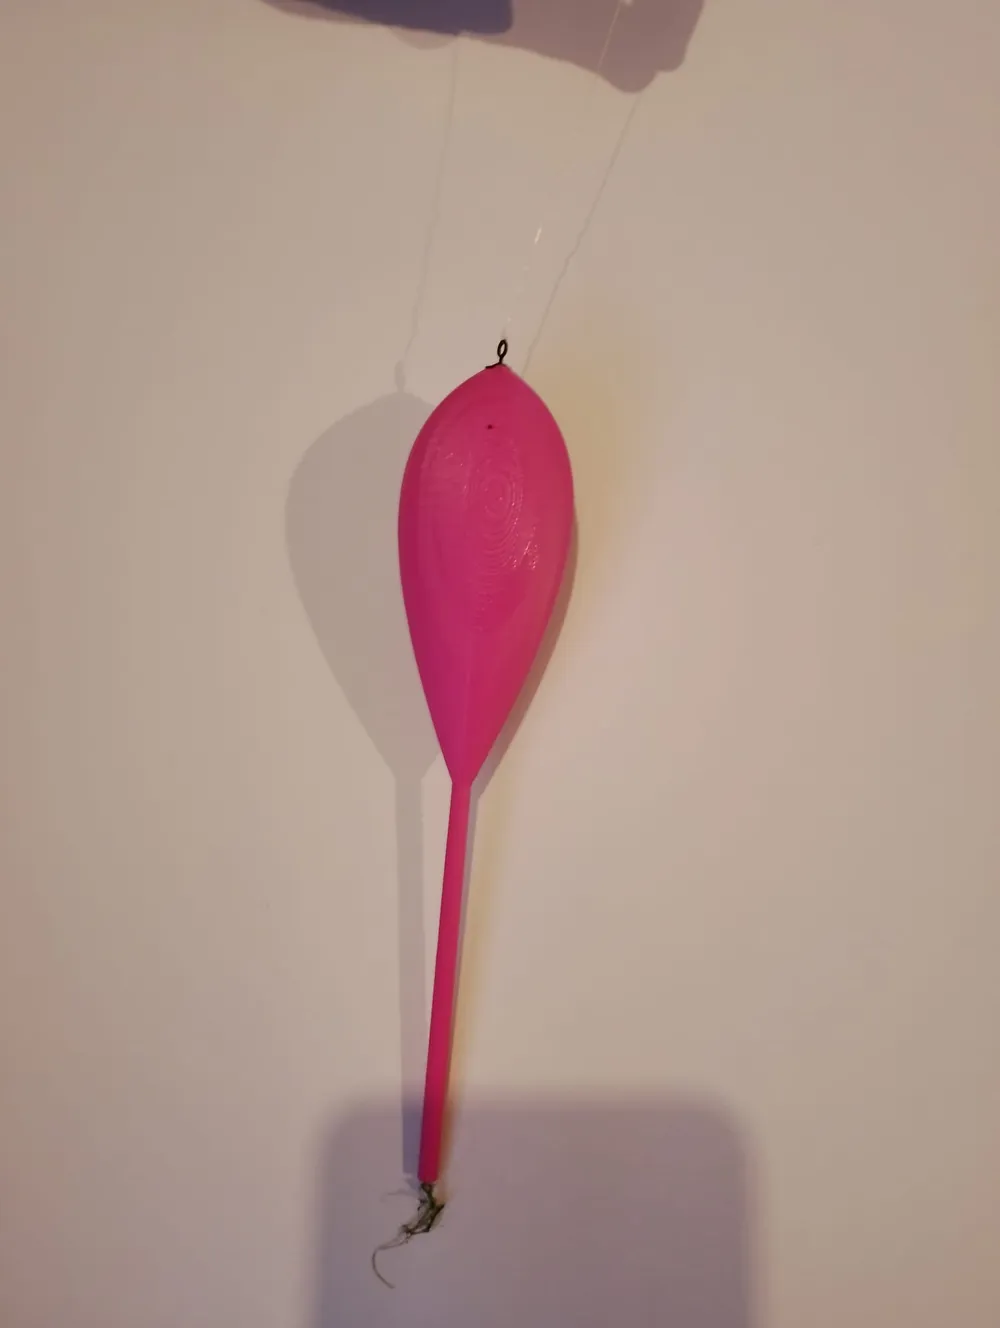
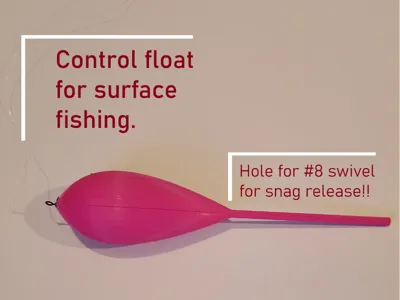
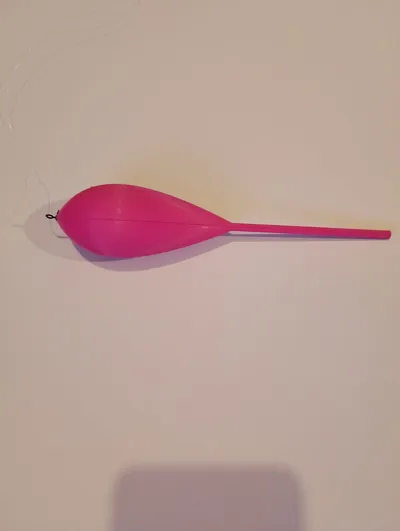
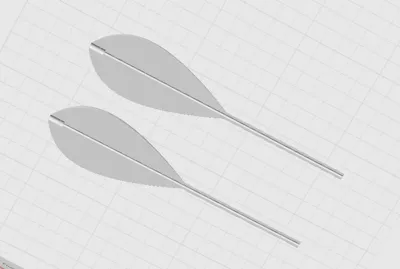
Here is a controller float/bobber I designed specifically for surface fishing for carp in the UK it is based on similar commercially available floats such as the korda intercepter, Carp on inline, Nash bolt and Bombarda inline (there are many brands of this style of float known as controller floats).
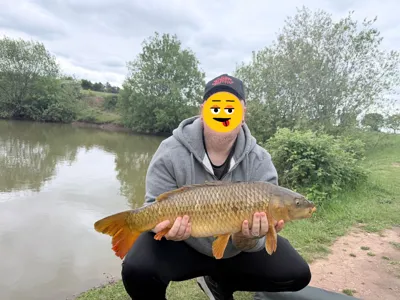
The reason for the design was to have an alternative to commercially purchased controller floats as they all seem come with an inflated price tag between £7 to £15 depending on size and brand. I am finding my feet with carp fishing again after a long break and didn't want to be casting these floats and losing them to bushes etc (high winds are the enemy here).
The float is used for floating things such as dogmixers and bouyant (excuse spelling if its wrong) baits such as artificial Tiger nut, dog mixers, corks and bread etc… its is very similar in design to Bombarda floats which I believe are to aid lures (Americans will know more than me) and i am fairly certain will be compatible with those setups too, i have used the bombarda as a sufcae float for carp so I naturally assume it will work vice versa.
Requirements:
PLA
Size #8 swivel
Super glue (cyanoacrylate)
Pliers
A little patience
May requre a small amount of clean up.
Directions/assembly aid:
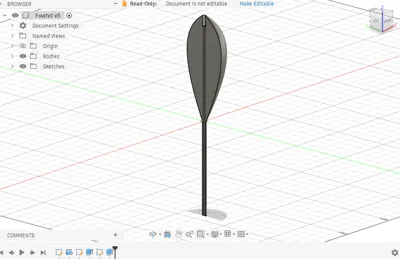
It is printed in two seperate halves and glued down the middle this is specifically for strengh in the tail section, I did try the other way but it is simply too week and breaks after several casts.
It is a little bit of a fiddle to line it up when gluing and you must make sure the chanel for the line is free of glue, I used some paper to clean it out if it got in there and had no issues threading the line.
once glued you can then clean up any edges if they need it (I dont bother).
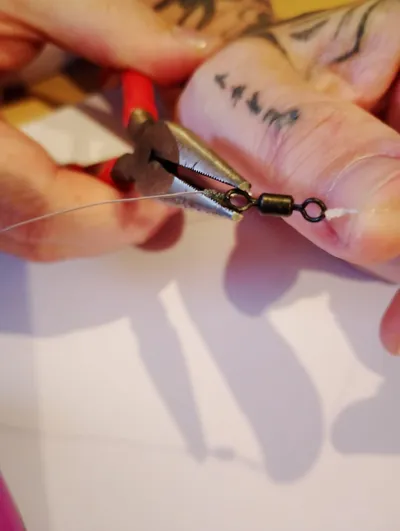
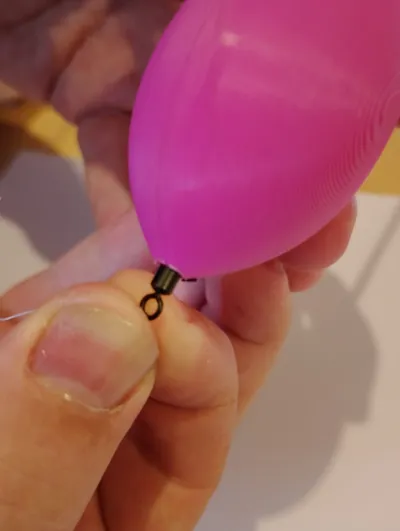
Next we need to fit the #8 swivel, the hole that is pre made is designed to fit the swivel body very snug, however the hoops on the swivel are slightly wider, this requres one side of the swivel to be manually squashed a little bit with some pliers to fit in the hole, I try to get it to the same width as the body of the swivel, its a little bit of a fiddle but not very diffcult.
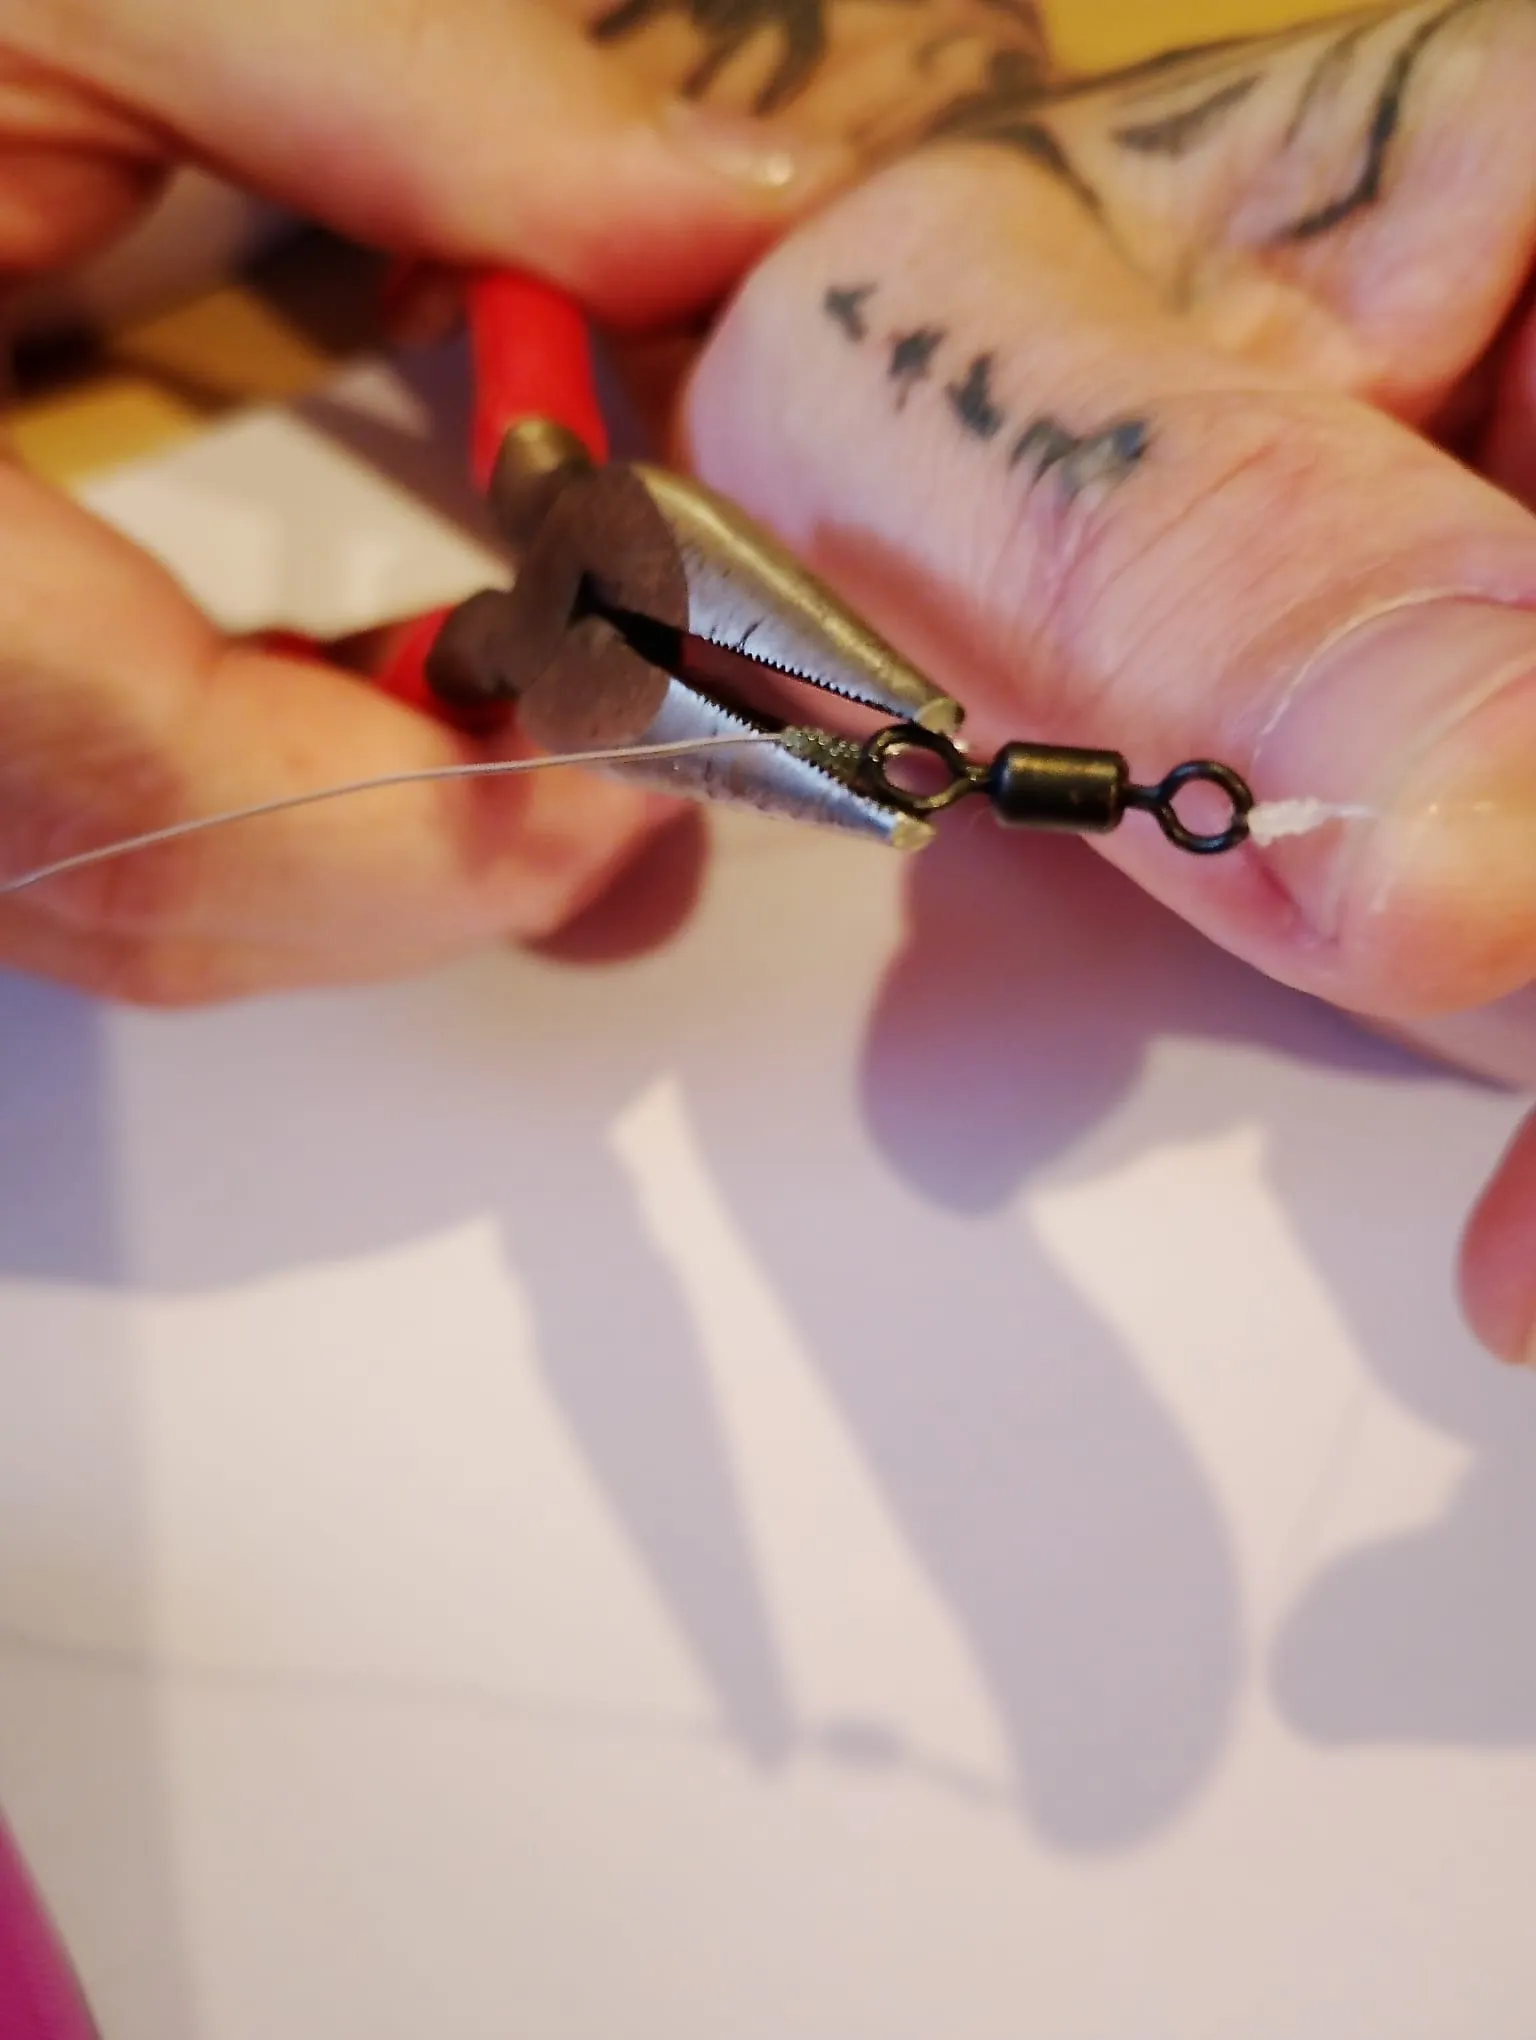
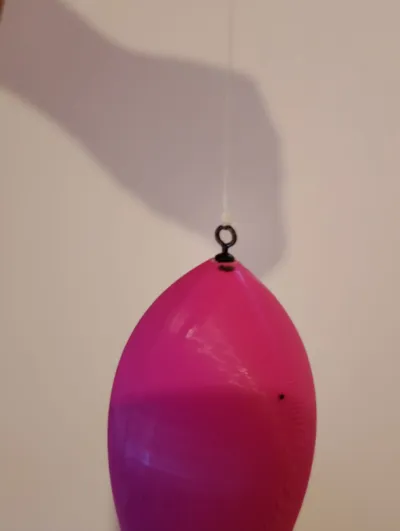
Once the swivel hoop has been compressed to size slide this into the top of the float and check for a nice snug fit, it may be very tight to start out but over time this frees up for a perfect snug fit which will release if a fish takes you into the reeds keeping it safe alowing for the line to pass through freely. now you can keep the swivel in the end of the float ready for when you get out on the lake.

How to use the float:
Use the float with a simple hair rig made using link line such as 10lb korda invisible link line. To tie the rig there are many video on youtbe to help with this, just search how to tie a knotless hair rig. Make sure you add a bait that floats.
once you have your hair rig ready and your main line threaded through the rod guides its time to assemble.
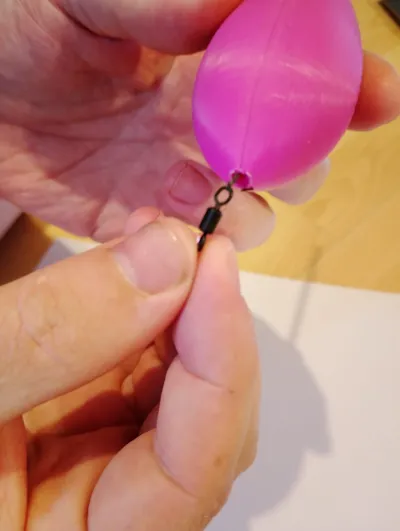
#1 - remove the swivel from the float.
#2 - Thread your main line trough the tail end of the float untill it pops out the big hole where the swivel goes.
#3 - Tie your main line onto the side of the swivel that goes into the float (the part you squished) using a half blood knot or your preffered knot.
#4 - Now tie the hair rig onto the larger hoop of the swivel using the same knot.
#5 - Pull the float down to the swivel and push the swivel in to the float using your hands. (I dont advise pulling the line if its a bit of a tight fit as it will cut into your hands)
#6 - If all is done correct you are ready to start fishing…. Tight lines!!!!
Boost Me (for free)
Please like, share, follow and BOOST, doing this allows creators such as myself to keep on making, Designing 3D models not only takes a substantial amount of time but also takes lots of material when test printing and causes extra wear and tear on our machines. BOOSTS are FREE and may not mean much to you but to us they are valuable and realy do help, so if you can please do :)
TIPS
Print using most types of PLA for best results.
Always allow build plate and print to cool down before removing.
Please ensure a clean print bed, when models dont adhere to a build plate its usually user error.
Please as always remove supports with care
Use sprue cutters to help remove supports
If you accidentaly break something save fillament and use some CA glue instead of throwing a project out and reprinting.
Remember this is a hobby! Have fun, be kind and support your favourite designers with likes, follows and boosts
Once again thank you for taking the time to view and hopefully print this model.
Additional info:
Any BOMs (non printable parts/ bills of material) will be attatched below.
Thank you for viewing my model :)
License
You shall not share, sub-license, sell, rent, host, transfer, or distribute in any way the digital or 3D printed versions of this object, nor any other derivative work of this object in its digital or physical format (including - but not limited to - remixes of this object, and hosting on other digital platforms). The objects may not be used without permission in any way whatsoever in which you charge money, or collect fees.
Comment & Rating (6)