
MKO - Modular Kanban Organizer

Print Profile(3)





Description
Boost Me (for free)
I put alot of effort into this entire project, and im trying to build myself a portfolio, it would mean alot if you would give me a boost!
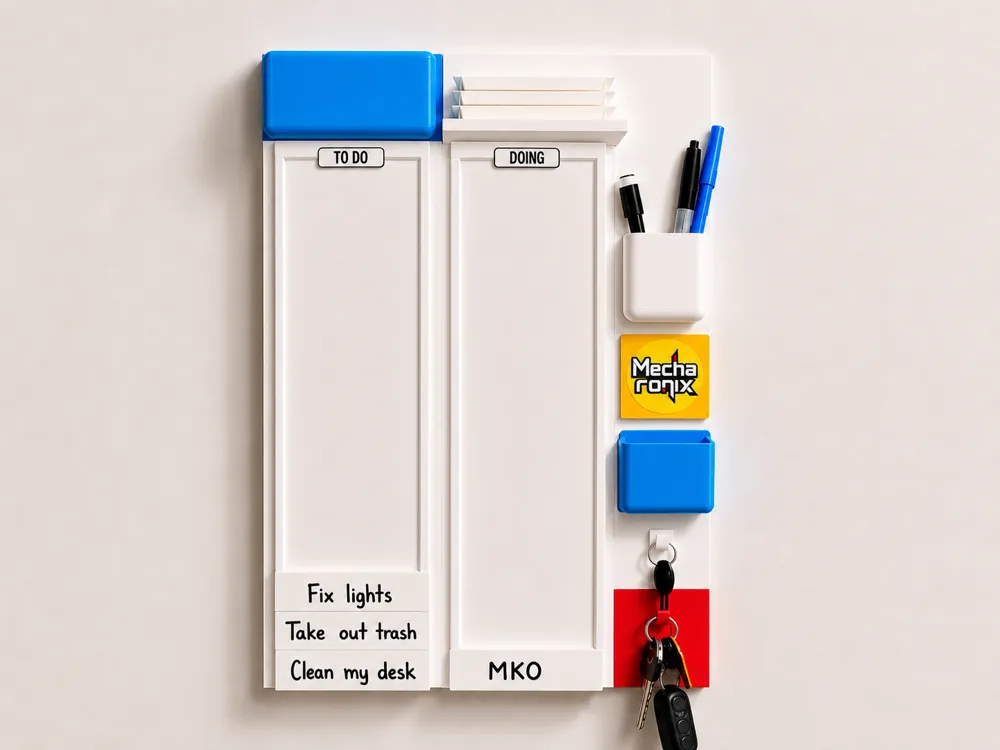
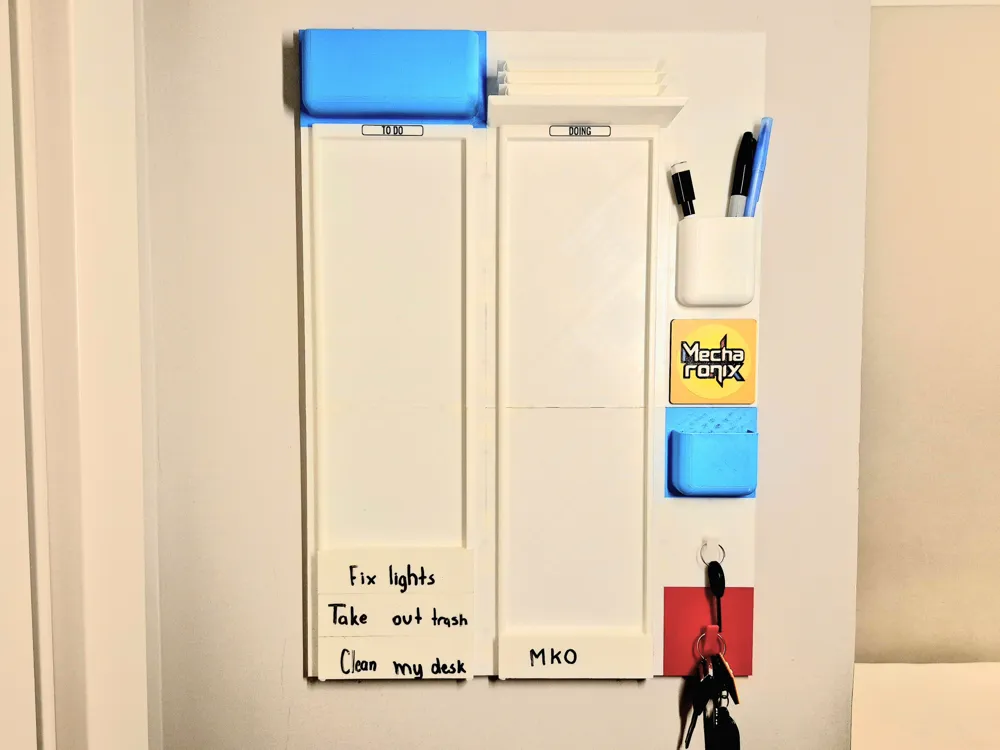
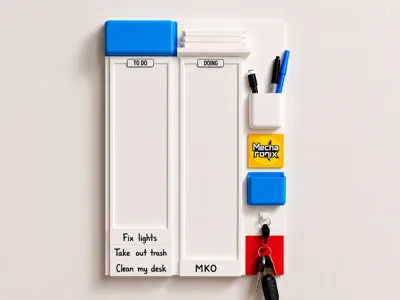
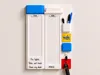
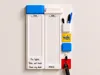
A 3D printed wall panel system for organizing your ideas, tasks, and projects. The whole idea was heavily inspired by the system air traffic control towers use to manage their flights, where strips are physically slid between sections based on priority and status. You write your ideas on the blocks using a whiteboard marker, slide them into the to-do rail, and move them over to doing once you start working on them. Each block is covered in clear packaging tape, so everything is erasable and reusable forever.
The Standard Unit:
Every block in this system is built around a 3 inch standard unit. That means every block dimension is a multiple of 3, so any block will snap and line up cleanly with any other block no matter how you arrange your layout.
Sizes include:
3 x 3
3 x 6
3 x 9
6 x 6
6 x 9
9 x 9
This grid system is what makes MKO completely modular. You can rearrange the entire panel whenever you want and nothing will ever be out of alignment.
Connections:
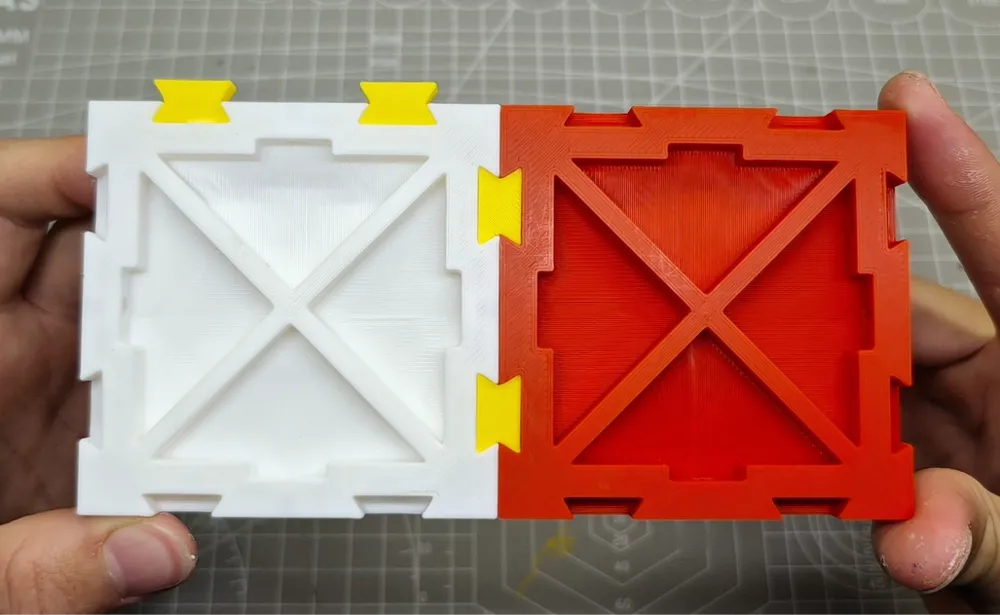
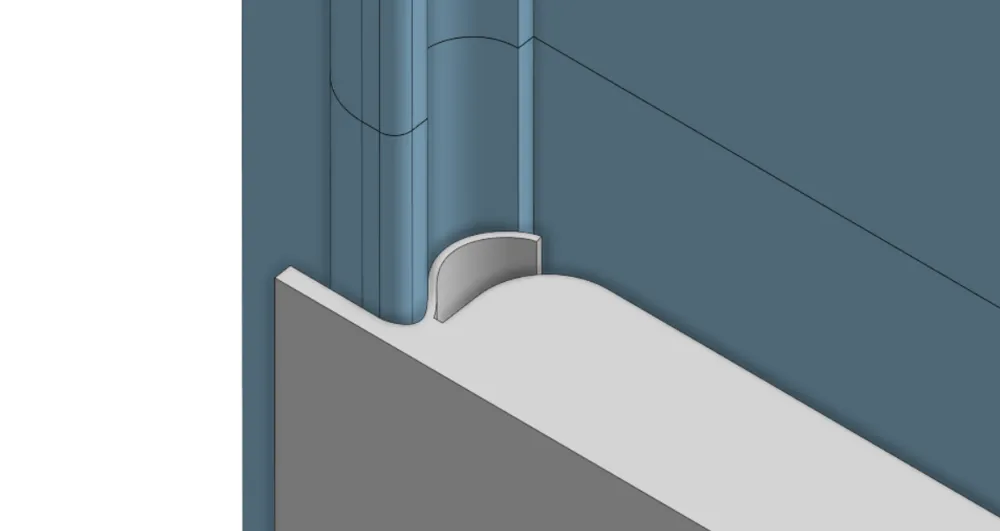
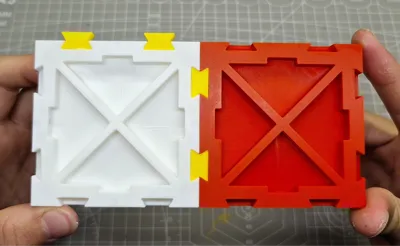
On the back of every block there are dovetail joints. These joints connect the blocks together into one rigid panel. They are surprisingly strong, so once everything is slid into place the entire panel behaves like a single solid piece, in any shape or size you want. Included Pieces:
- To do and Doing rails
- Idea blocks (covered in clear packaging tape to write on with whiteboard markers)
- Pen holder
- Storage buckets
- Key hooks
- Shelfs
- Wall mount pieces
- Channel logo block (made using MakerWorld's Chroma Canvas, check out my model HERE)
Assembly:
- Print every block you want for your layout. Everything uses the same 3 inch grid, so anything you print will fit anywhere on the panel.
- Lay the blocks out flat in the configuration you want.
- Slide the dovetail joints on the back of each block into the neighbouring block until everything locks together.
- Once all the blocks are connected, the entire layout becomes one rigid panel ready to mount.
Installation:
This is the part most people overthink, so here is the easiest way to mount the panel perfectly without measuring anything:
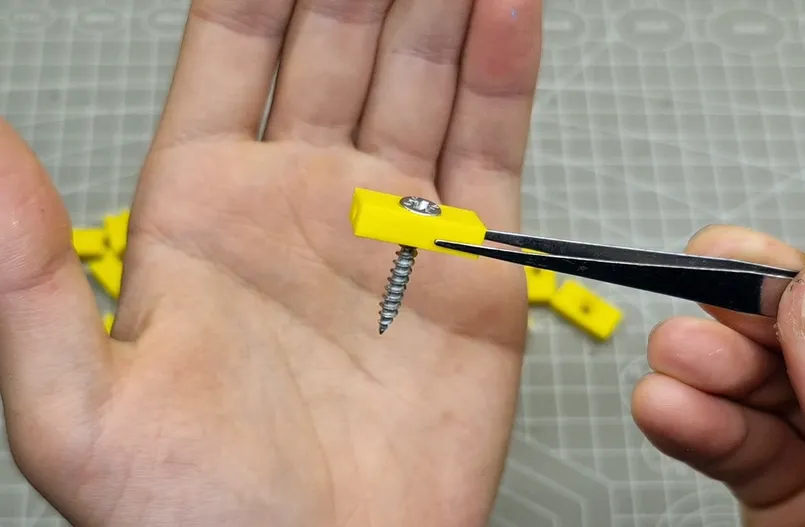
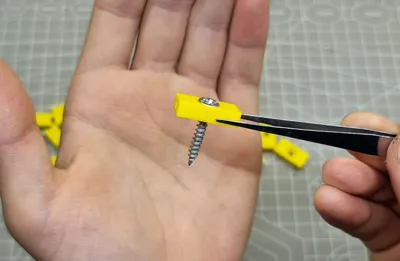
- Screw the wall mount pieces onto the back of the panel first, using the panel itself as a guide.
- Hold the entire panel up against the wall in the exact spot you want it, and use a level to make sure it sits straight.
- Press firmly on each spot where there is a screw. The tip of the screw will leave a small mark on the wall.
- Take the panel down and unscrew the wall mounts from the panel.
- Screw the wall mounts into the wall, using those marks as your reference points.
- Place the panel back onto the wall mounts.
- Screw the panel into the wall mounts to lock everything in place.
- The result is a perfectly aligned panel with zero measuring required.
Screws:
The screws are those common wood screws that are 7mm in diameter, make sure of the length to not be too long so that it can screw into the wall mounts and not hit the other screw or pop out from the panels.
Printing Tip:
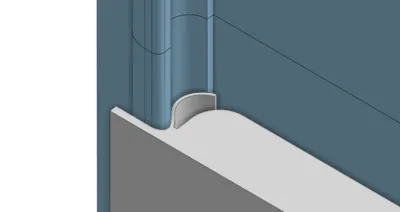
The overhangs on these parts would normally need a lot of supports. To avoid that, print slowly and crank up the extrusion rate.
These settings are labeled as:
Bridge Flow (advanced settings): 1.5
Bridge Speed: 20mm/s
Disclaimer:
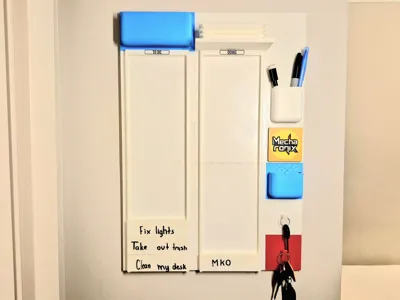
I did use AI to modify the product photos you see, they are based on the images with the true printed thing, I have even given you all a normal unedited photo incase you want to see how it looks like for real.
If you have any questions or want to share what you built, please drop a comment. And if you like the design, I have entered this model into the Home Gallery design contest, so a like or follow would mean a lot.
License

You may create derivative works based on this object, provided that all such derivative works are published exclusively on the MakerWorld platform and include proper attribution to the original creator. You may not share, upload, host, distribute, or publish this object—or any derivative work of this object—on any other digital platform, marketplace, or distribution channel. Commercial use of this object and any derivative works is strictly prohibited. This includes, but is not limited to, selling, renting, sublicensing, or using the object in any context in which you receive monetary compensation or other financial benefits.


Comment & Rating (12)