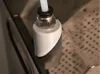
Chitu E1 PTFE Tube Adapter (PC4-M10/M6)


Print Profile(6)


Bill of Materials


- PC4-M10 Fitting x 4:
Description
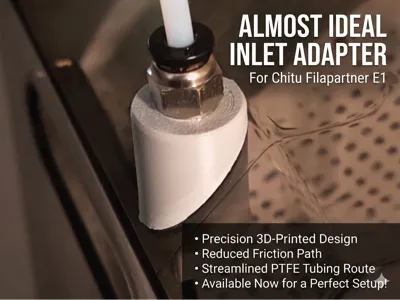
If you own a Chitu Filapartner E1, you probably know the struggle. I spent hours searching for the perfect PTFE adapter to route filament smoothly from the dryer to my printer. Everything I downloaded and tested fell short—they were either too loose, warped easily, or just didn't fit standard pneumatic fittings properly. After printing countless failed designs with zero success, I decided to sit down and design my own.
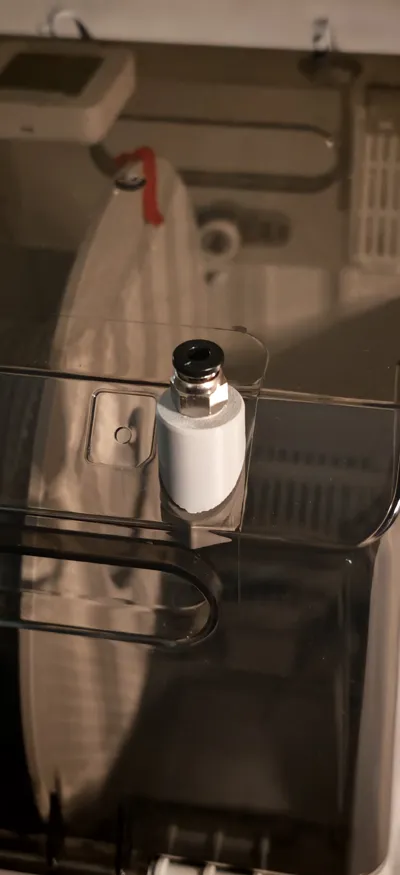
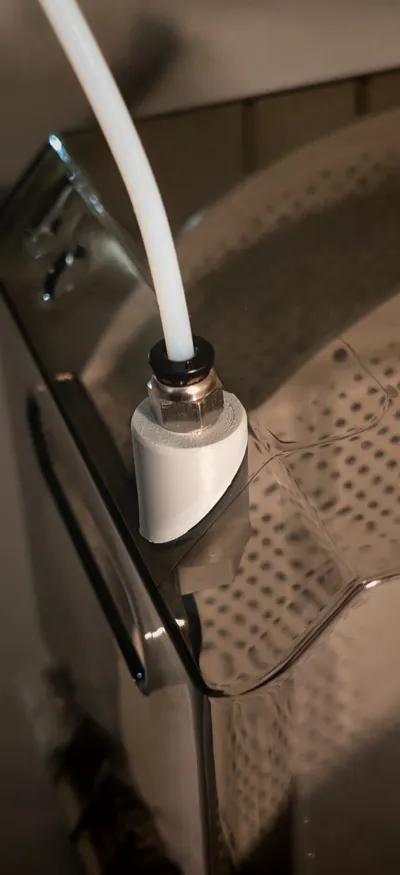
The result is this "almost ideal" adapter. It solves the filament routing problem by allowing you to mount a standard pneumatic fitting directly to the dryer's exit port. This enables you to run a continuous PTFE tube straight from the heated chamber that is close to a wall to your extruder under optimal angles, keeping your filament dry and friction-free along the entire path.
Note: Files for both PC4-M10 and PC4-M6 fittings are available in the print profiles!
💡 Why It’s "Almost Ideal"
1. Precision Fit: Designed specifically for the Chitu Filapartner E1 for a snug, secure seat with straight up angle when dryer close to a wall.
2. Multiple Versions: Print the version that matches the spare pneumatic fittings you already have (M10 or M6).
3. Moisture Control: By connecting a PTFE tube directly to the dryer, you minimize the filament's exposure to ambient room humidity.
4. Smooth Extrusion: By securing the optimal exit angle, it drastically reduces friction and prevents the filament from binding, allowing for a more direct path without requiring extra tube length.
🛒 Hardware Required (BOM)
To complete this build, you will need the following non-printed parts:
a) PC4-M10 OR PC4-M6 Pneumatic Fitting
b) PTFE Tube (Standard 4mm Outer Diameter)
🖨️ Recommended Print Settings
Because this part will be exposed to the internal heat of the filament dryer (which can reach up to 70°C+), try to avoid PLA. It will warp and fail over time.
Material: PETG, ABS, ASA, or PC (Highly recommended for heat resistance).
Layer Height: 0.16mm - 0.20mm (Provides a great balance of speed and thread quality).
Wall Loops: 6 (High wall count ensures maximum structural strength around the threads).
Infill: 10% (With 6 walls, higher infill isn't necessary).
Supports: Optional, but highly recommended. Leaving them enabled ensures the cleanest possible hole for the PC fitting and they are very easy to remove, though you can choose to print without them.
🔧 Assembly Instructions
1. Print the adapter and the accompanying washer part using a heat-resistant filament.
2. Carefully thread your PC4 fitting into the top of the printed adapter. Be careful not to cross-thread or over-tighten, as you could strip the plastic threads.
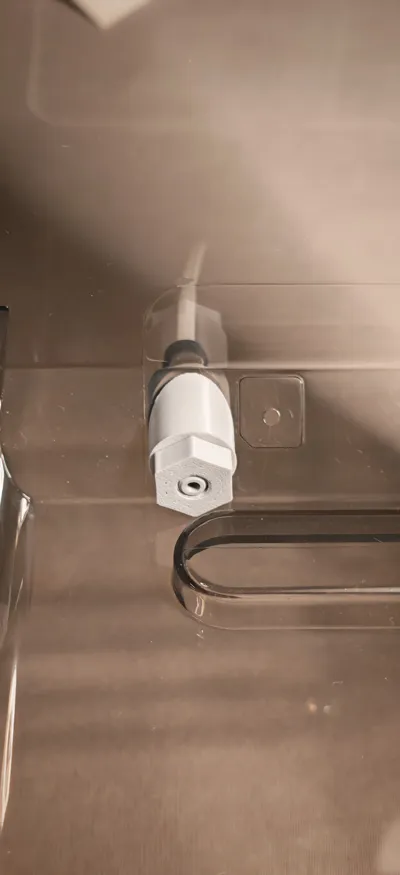
3. Insert the assembled adapter into the exit port of your Chitu Filapartner E1.
4. Slide the bolt through the assembly, place the printed washer part on the other side, and thread the nut onto the bolt at the end to lock everything securely in place.
5. Push your PTFE tube firmly into the pneumatic fitting.
Happy Printing! If you find this model useful, please leave a like, a rating, and share your makes!
Comment & Rating (0)