Cruise Duck Dropbox - Drop a Duck/Take a Duck


Print Profile(2)
Description
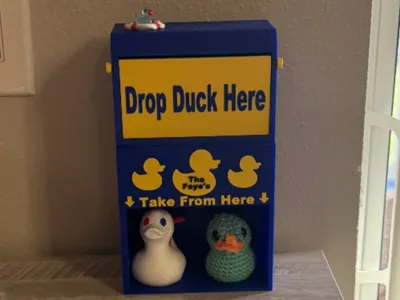
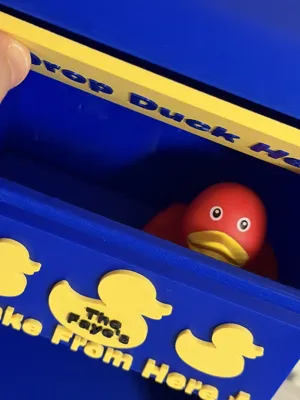
Make your next cruise even more fun with this customizable Cruising Duck Dropbox!
Perfect for cruise ship duck hiding and trading, this magnetic mailbox allows fellow cruisers to drop off ducks or take a duck during their voyage.
The dual-compartment design keeps deposited ducks separated from the pickup area while creating a fun and interactive display piece for your cruise cabin door.
Features
- Fully customizable text
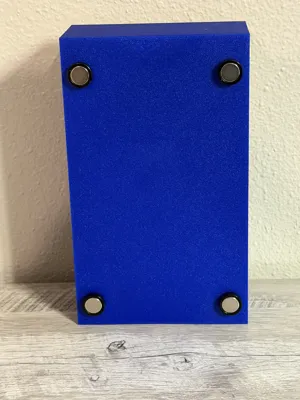
- Magnetic mounting system for cabin doors
- Separate drop and pickup compartments
- Easy print and assembly
- No glue required
- Minimal supports needed
- Designed specifically for cruise duck exchanges
Dimensions
- Overall Size: 10” x 4.7” x 2.8”
- Bottom Pickup Opening: 2.3” x 4.25” x 2.8”
- Top Drop Slot Opening: 2.3” x 4.25” x 2.8”
- Internal drop compartment extends approximately 3” deeper to hold deposited ducks
Magnet Setup
Includes 4 customizable magnet holes that can easily be resized to fit your preferred magnets.
I used:
- 4x 30lb Heavy Duty magnets
- Hook removed
- Press-fit installation
- No glue required
Perfect for attaching securely to cruise cabin doors.
Customization
All text is fully editable directly in your slicer.
Simply double-click the text objects to customize:
- Family name
- Cruise group name
- Ship name
- Sail date
- Fun duck phrases
Print Notes
Supports are only needed for:
- Connecting pin
- Small center section inside the main box
Supports should remove easily.
Recommended settings:
- 0.2mm layer height
- 15–20% infill
- PLA or PETG
Assembly Instructions
- Insert the door into the top compartment with the holes facing upward.
- Slide the pin through the outer hole, through both door holes, and out the opposite side.
- Press the pin cap onto the end of the pin. No glue needed.
Comment & Rating (25)