
Air Force One - US Presidential Plane
Print Profile(2)
Description
<Board Game Miniature Collection>--<Warship Collection>--<Aircraft Collection>--<Vehicle-Tank Collection>--<Aerospace Collection>
Membership
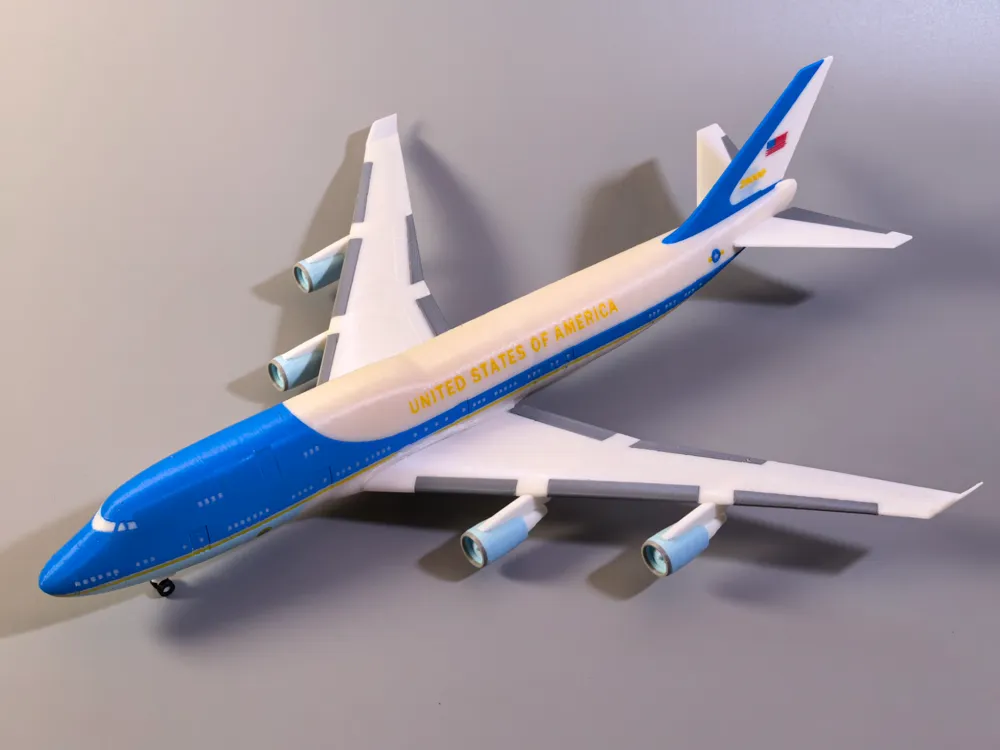
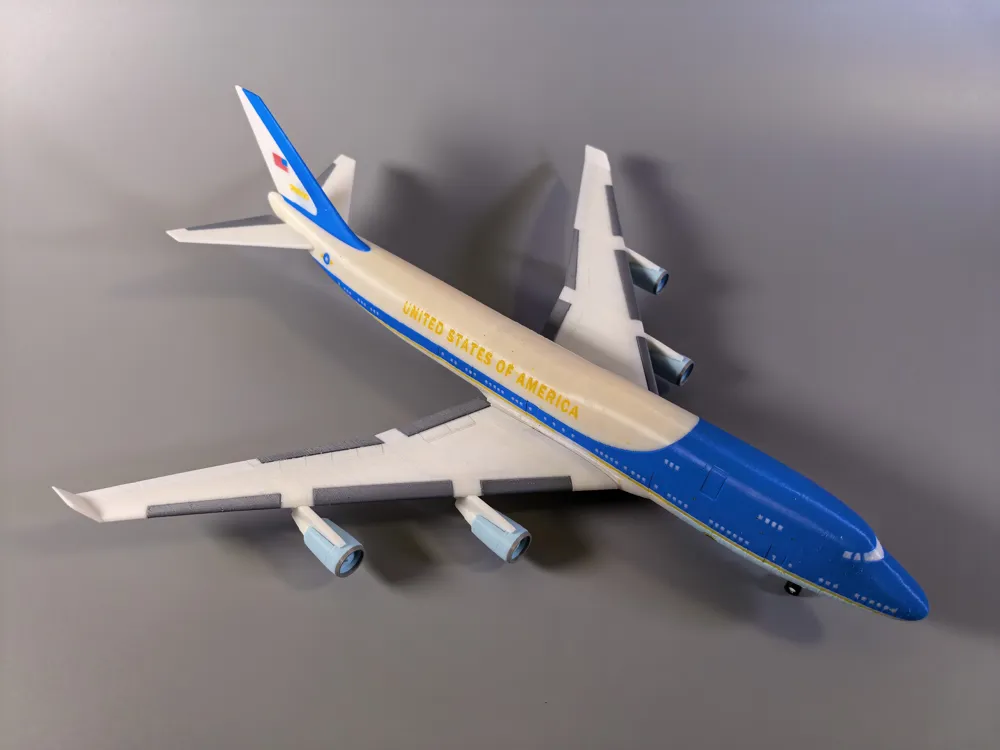
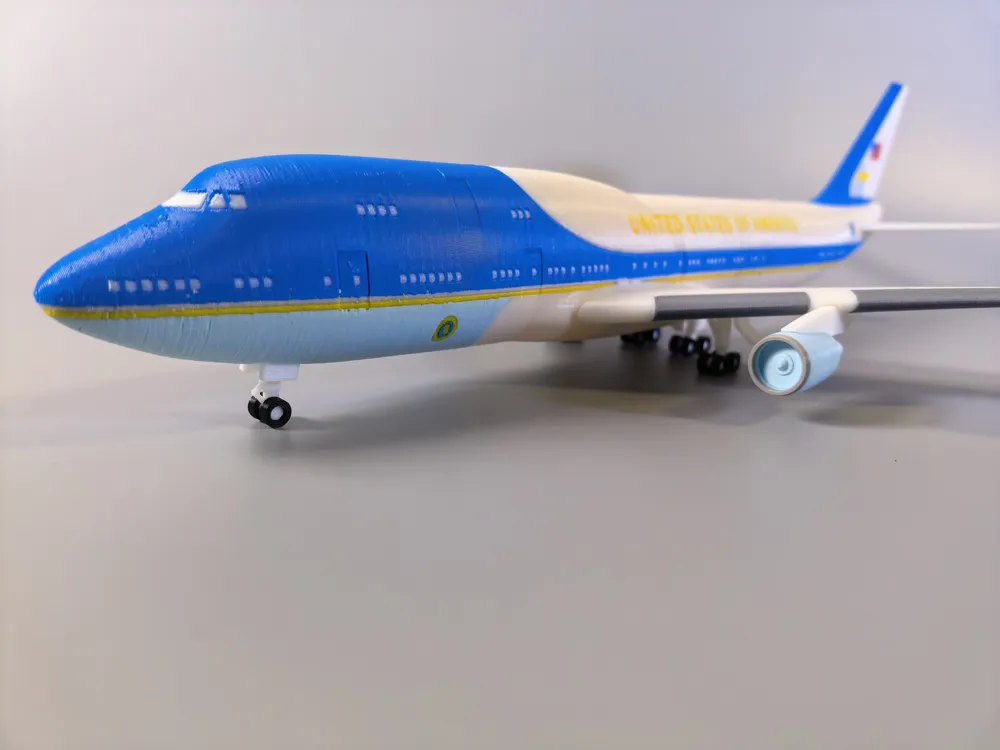
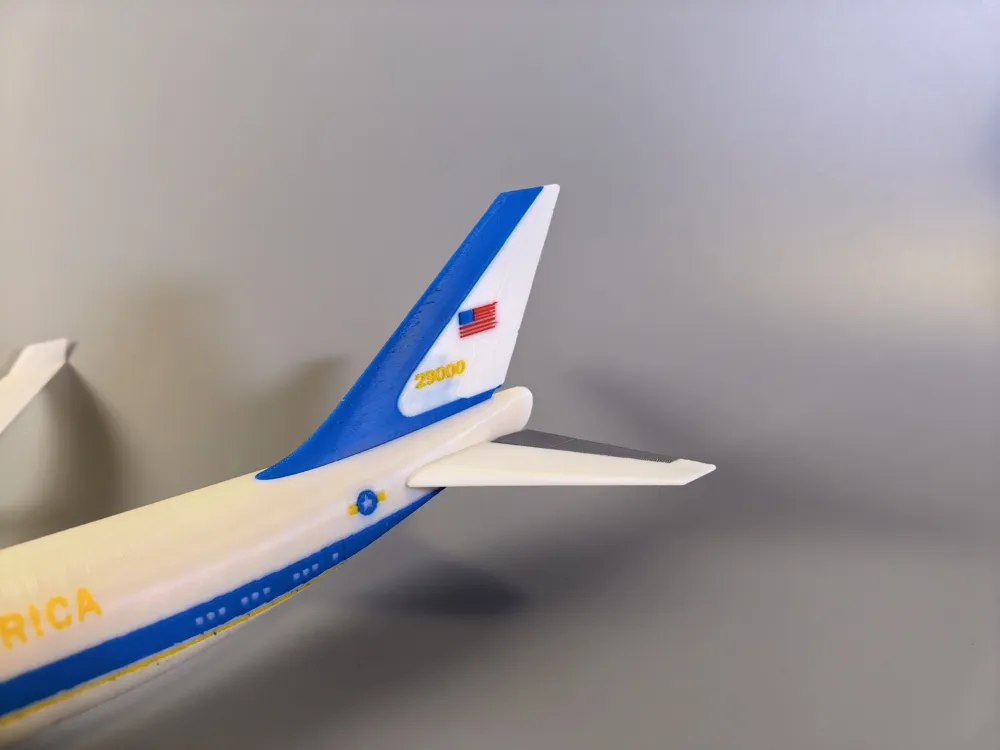
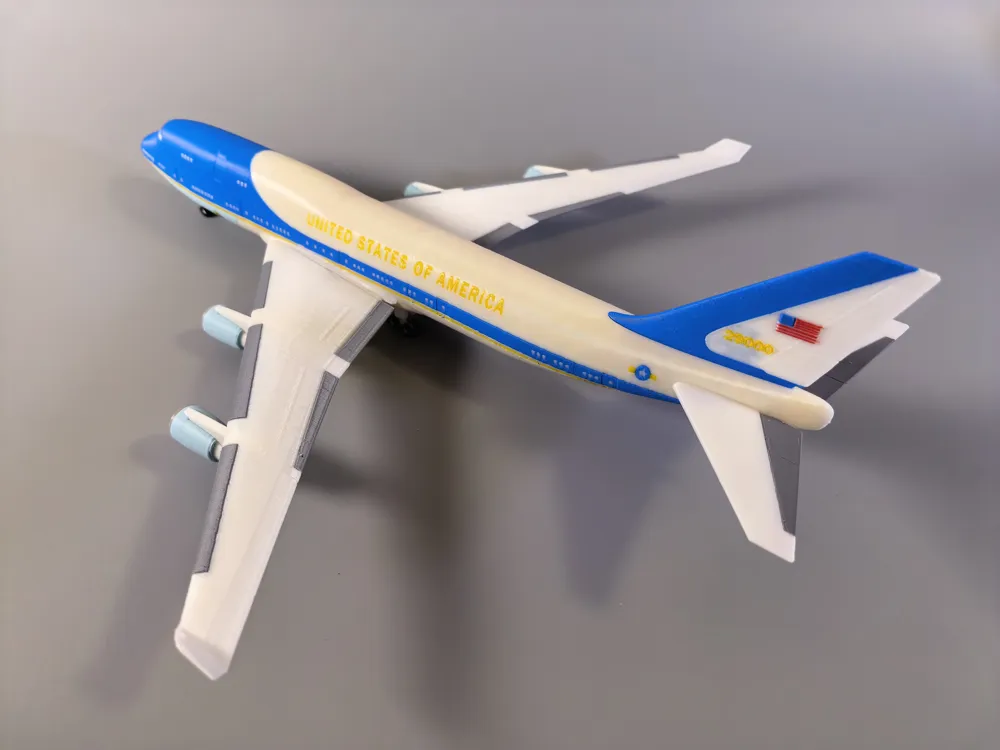
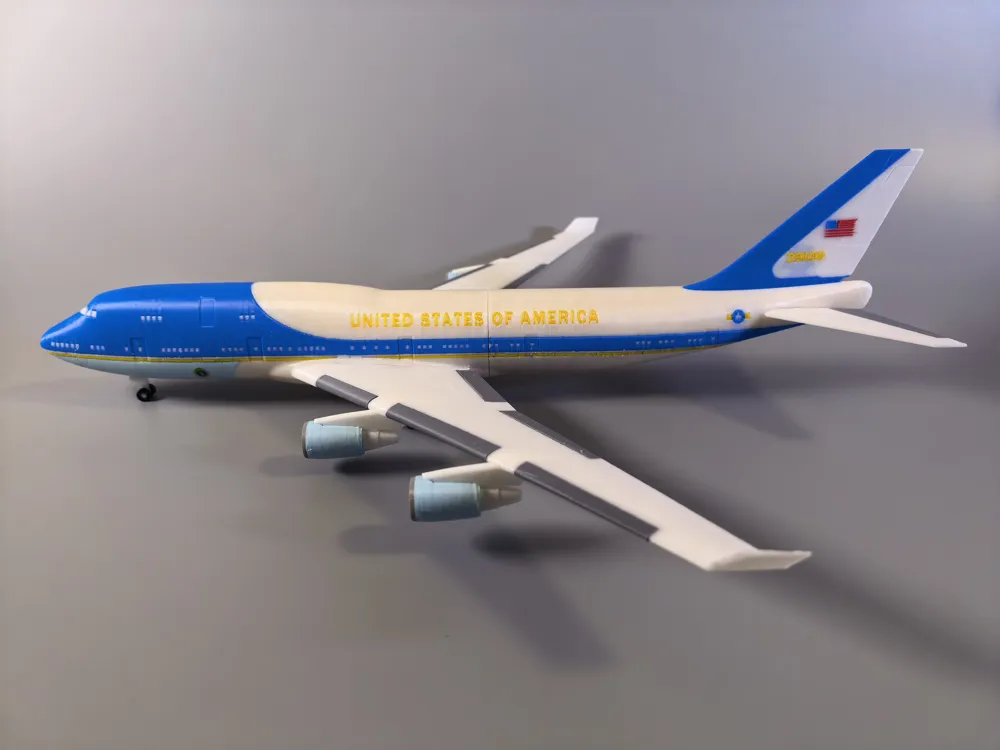
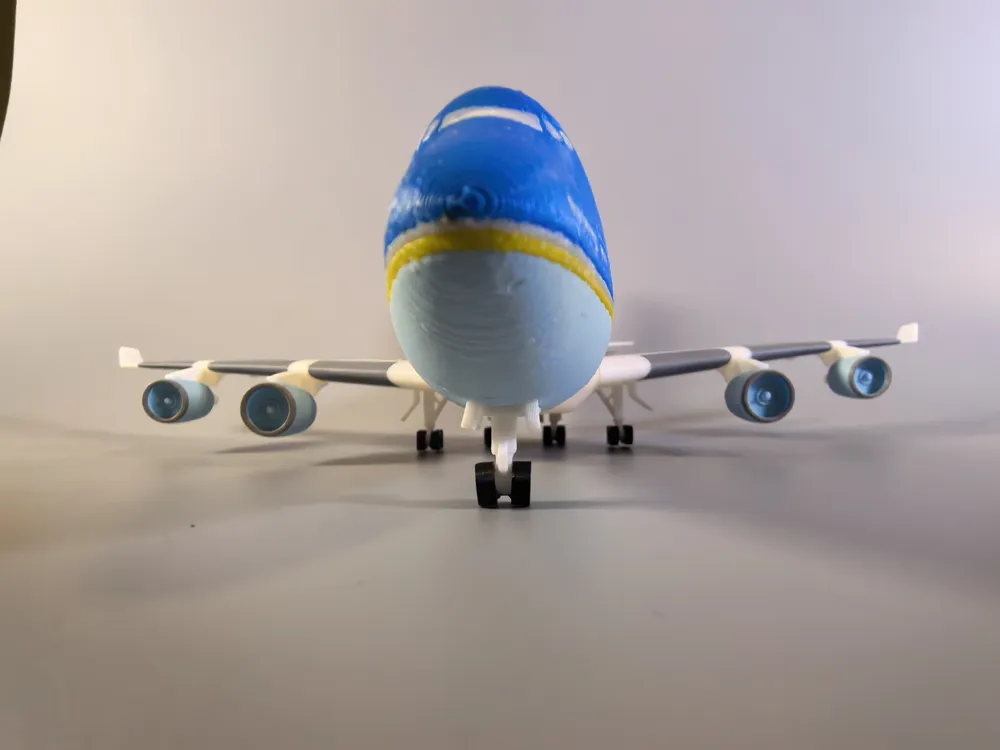
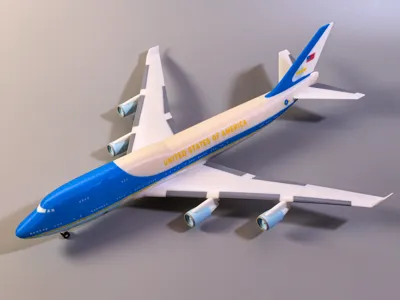
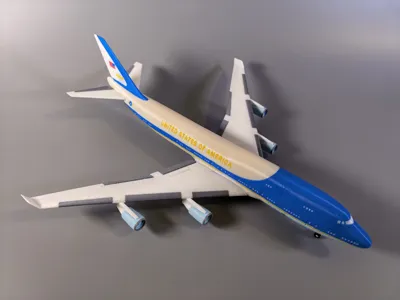
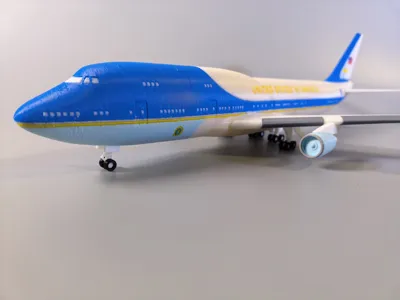
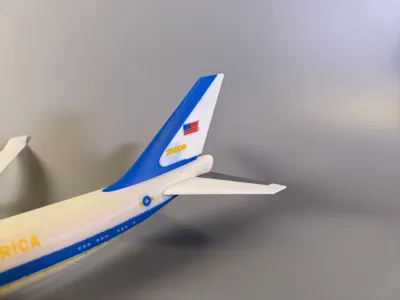
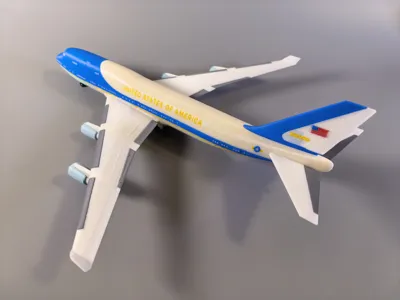
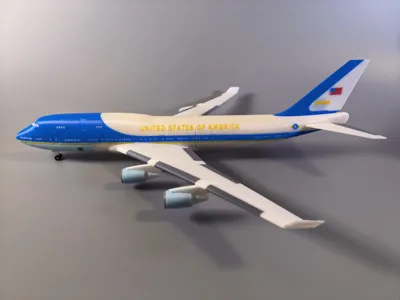
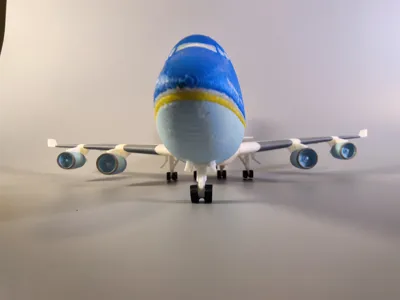
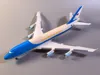
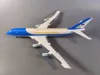
Air Force One - US Presidential Aircraft
Scale, approximately 1:200
This project utilized H2C multi-color printing, taking a total of about 1 day and 17 hours. The print time on a multi-tool printer was approximately 25 hours.
For the P1S, it is best to print in a single color. Multi-color printing takes about four days and uses about 5 times the material compared to H2C
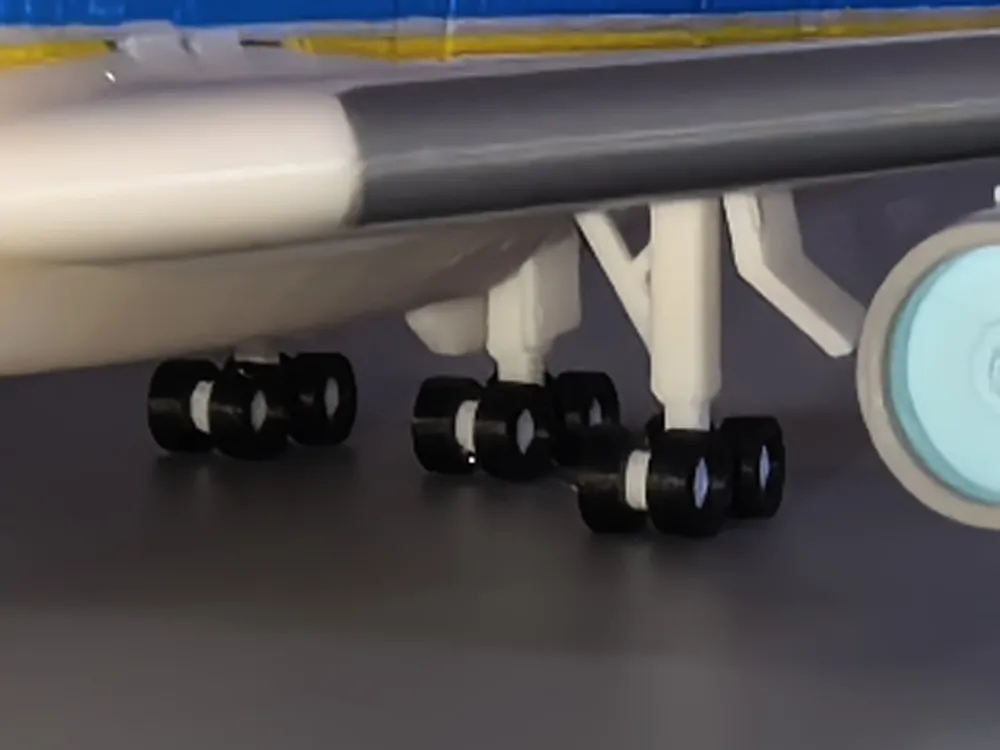
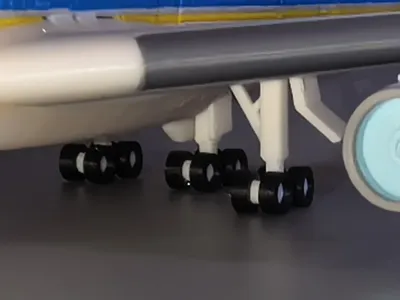
The engine, wings, landing gear, etc, require assembly.
This is a highly detailed model, optimized for easy printing. It has been specifically optimized for 3D printing.
Assembly requires glue.
Assembly Video Tutorial:
Printing Tips:
Print Bed: Use a textured PEI plate.
Filament: PLA
Layer Height: 0.2mm
Outer Wall Count: 2
Acceleration: Set all acceleration values to 1000 mm/s² or lower.
Important Notes:
Some sanding and gluing may be required due to material shrinkage and printing tolerances. Apply even pressure when assembling parts.
Before printing, thoroughly clean the PEI print bed to ensure good adhesion, and ensure your filament is dry.
Special thanks to all friends for your attention, likes, downloads, and support!
============================================================================
Single cockpit, movable wings and canopy, glue required for assembly.
placed and taken out.
Printing Tips:
Print Bed: Use a textured PEI sheet.
Material: PLA
Layer Height: 0.12mm
Outer Wall Count: 2
Acceleration: Set all acceleration values to 1000 mm/s² or lower.
Important Notes:
Some sanding and gluing may be required due to material shrinkage and printing tolerances. Apply even pressure when assembling parts.
Before printing, thoroughly clean the PEI print bed to ensure good adhesion, and ensure your material is dry.
Special thanks to all friends for your attention, likes, downloads, and support!
Boost Me (for free)
License

You shall not share, sub-license, sell, rent, host, transfer, or distribute in any way the digital or 3D printed versions of this object, nor any other derivative work of this object in its digital or physical format (including - but not limited to - remixes of this object, and hosting on other digital platforms). The objects may not be used without permission in any way whatsoever in which you charge money, or collect fees.

Comment & Rating (4)