
Protectli VP2420 Power Brick Cradle 1U Shelf Mount
Print Profile(1)
Description
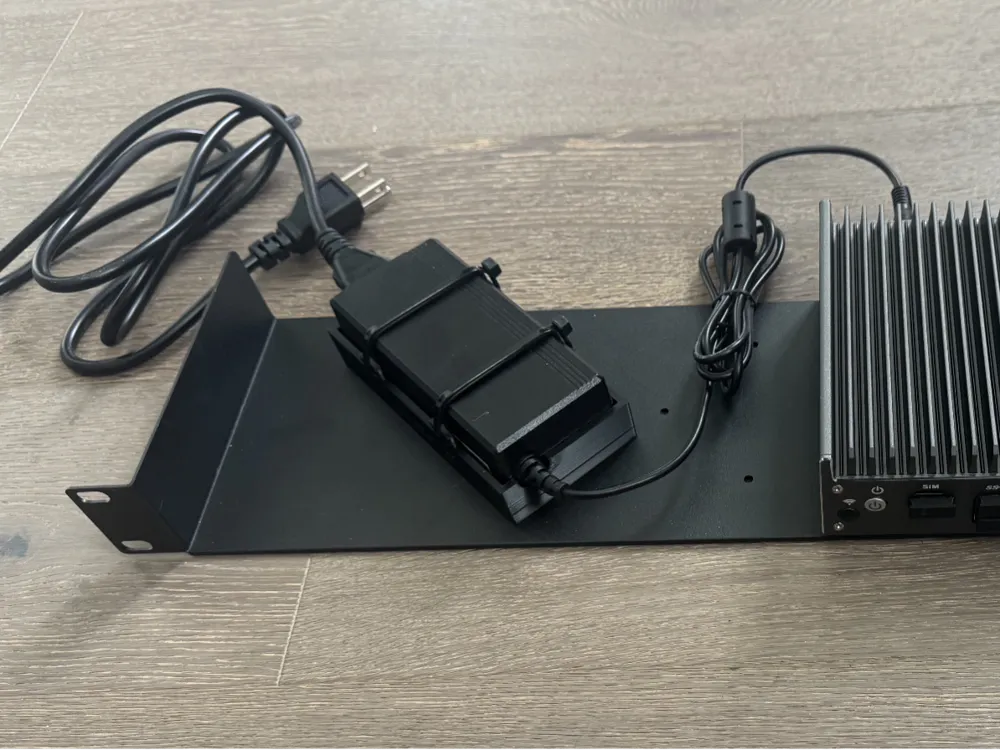
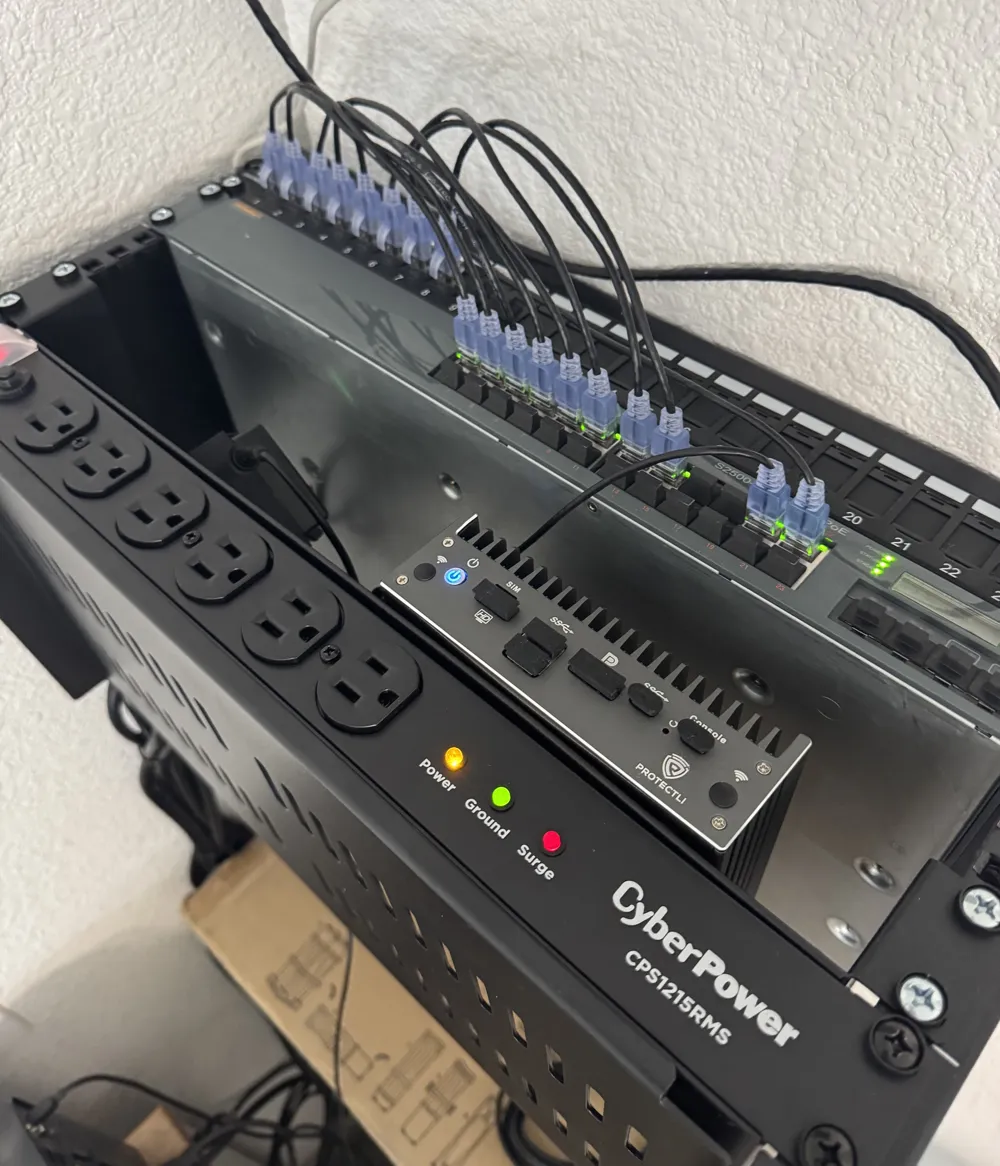
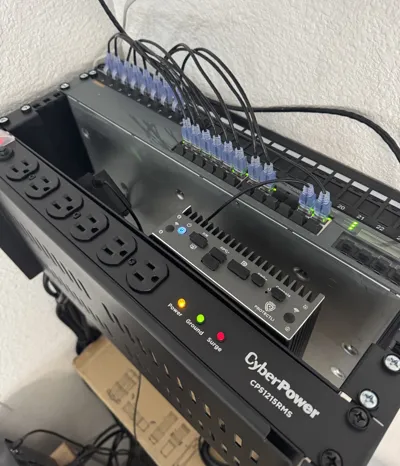
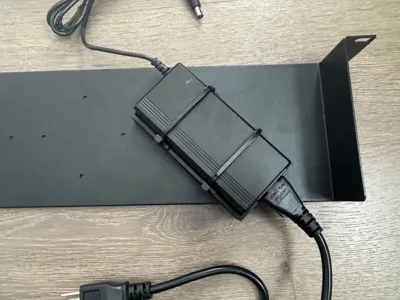
If you've vertically rack-mounted a Protectli VP2420, you know the problem: the external power brick has nowhere to go. In a horizontal install it just sits on the shelf, but mount the rack vertically and gravity does the rest. The brick slides right off the back.
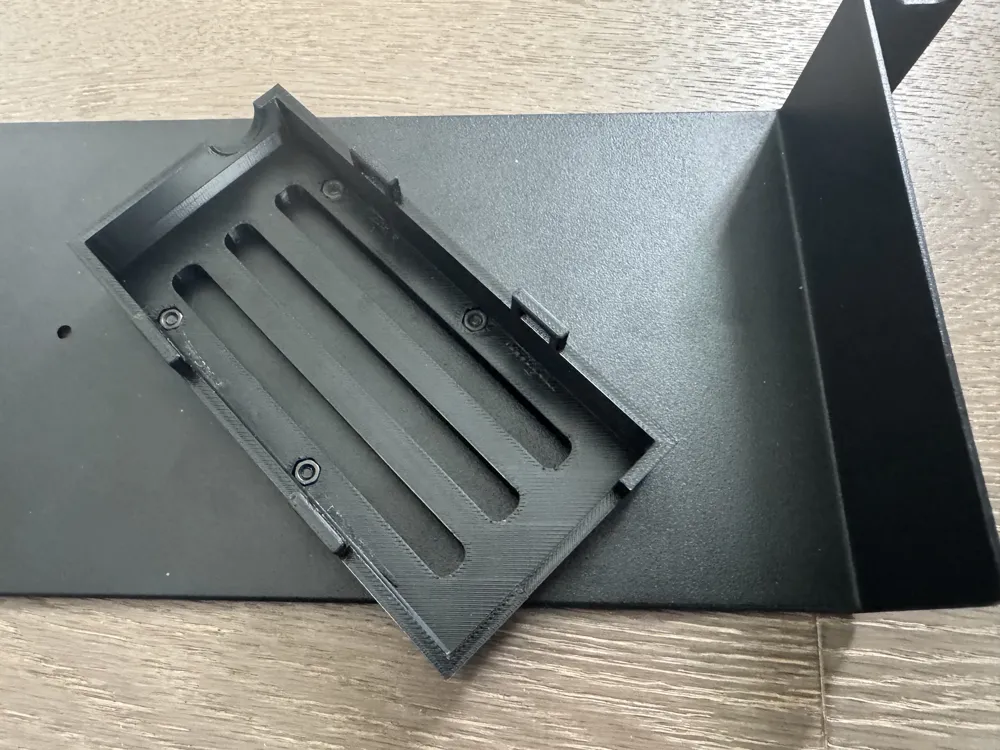
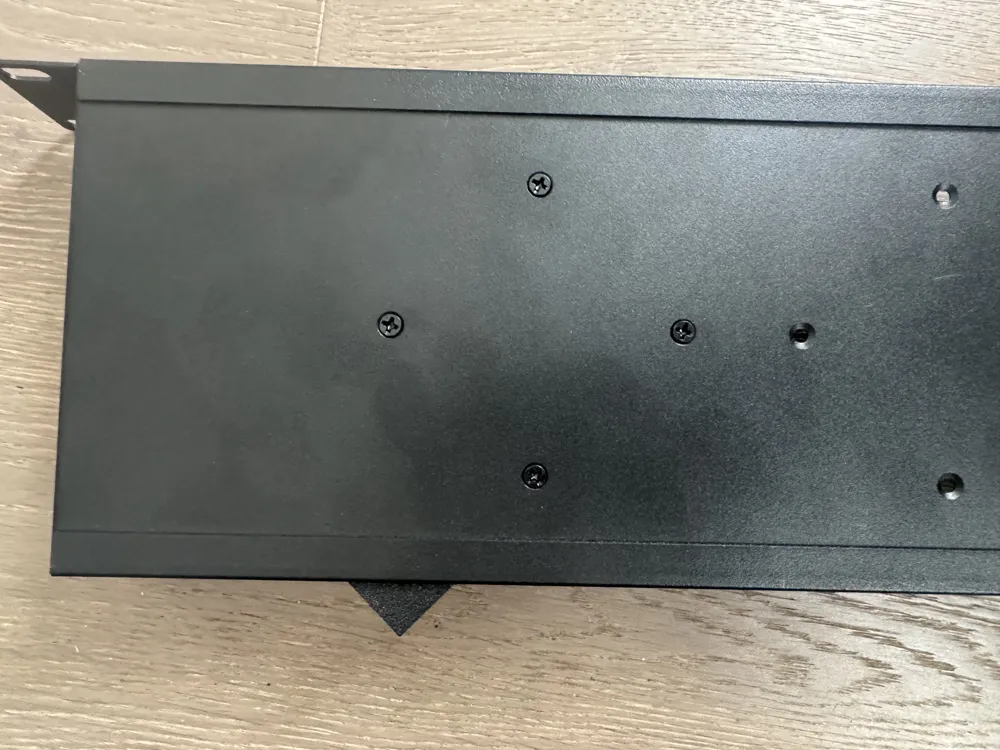
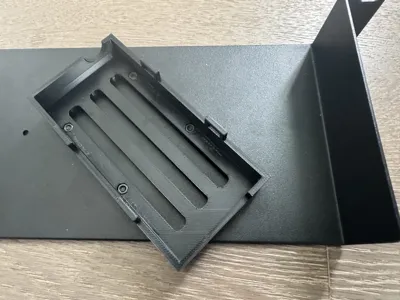
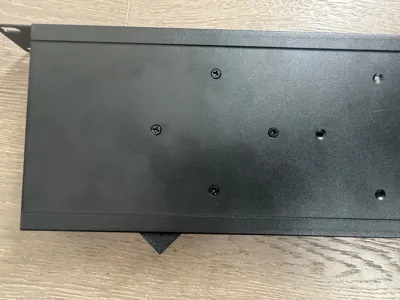
The Protectli 1U rack shelf has a second set of four mounting holes on the unused half of the platform. This cradle uses exactly those holes. No drilling, no modifications, no extra hardware beyond what you likely already have.
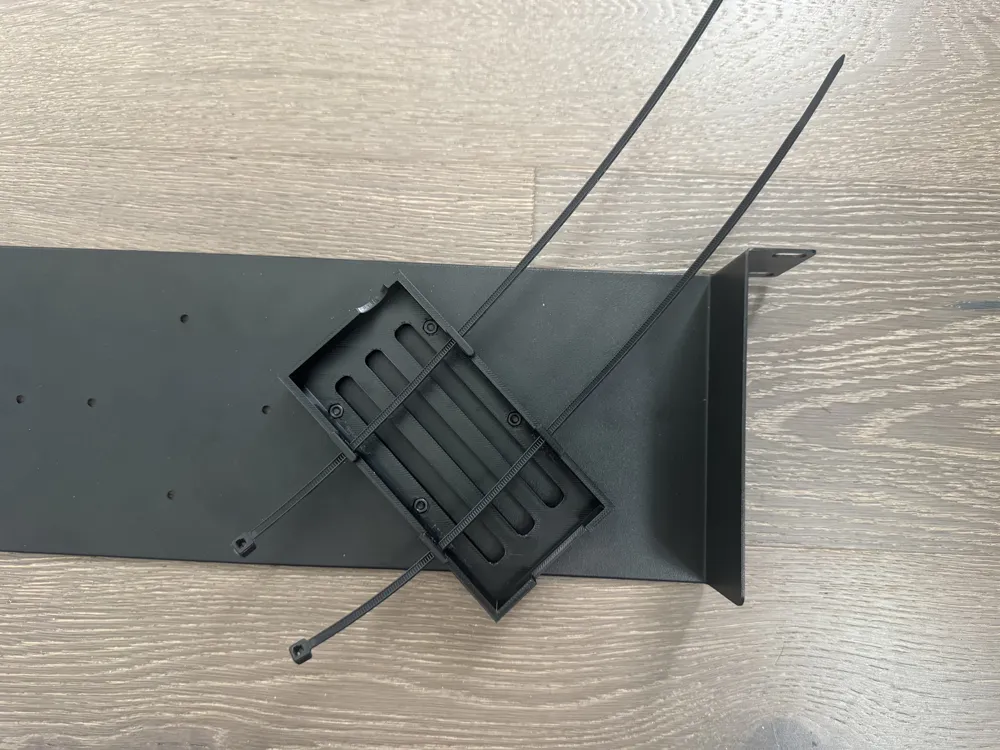
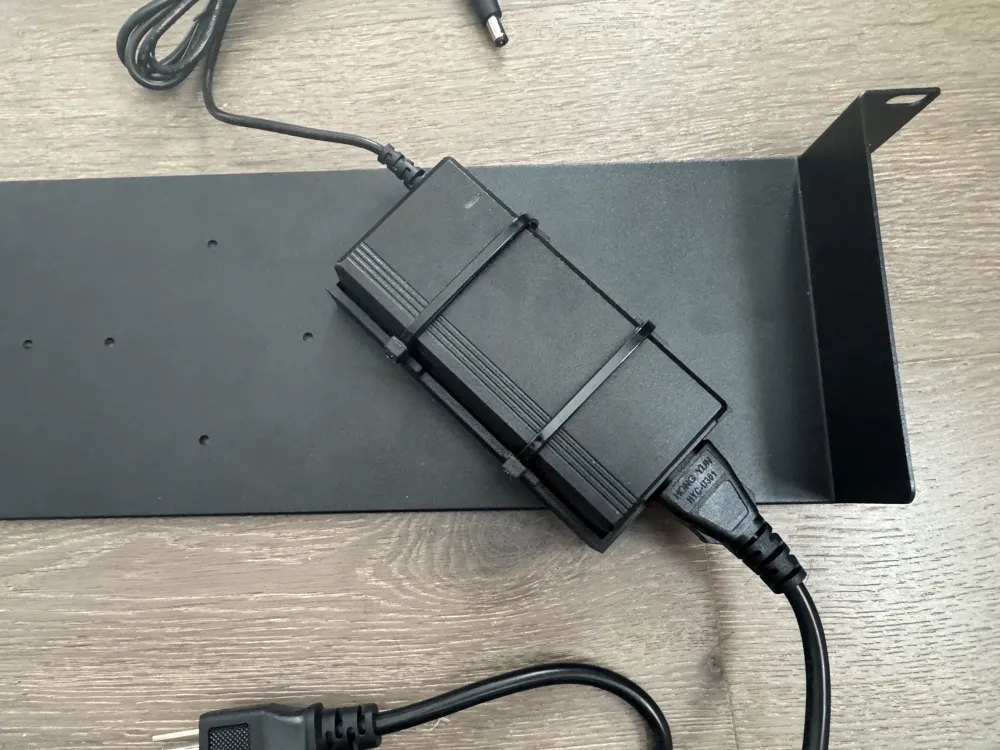
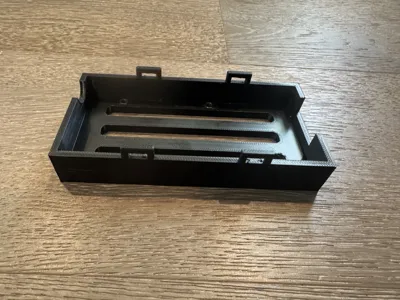
The pocket is rotated 45° so the barrel plug exits toward the VP2420's DC input and the AC plug routes toward your PDU. The body is offset so the cradle recesses below the shelf top edge, keeping the cable run hidden from the front of the rack. The result is a tight, intentional install that looks like it shipped that way.
Designed for:
- Protectli VP2420 power brick (116 x 52 x 32mm)
- Protectli 1U rack mount shelf, sold separately by Protectli
- Vertical 19" rack installations
Key features:
- Mounts to the existing 4-hole cluster on the Protectli shelf, no modifications to the shelf
- 45° rotated pocket for correct cable routing (barrel upper-right, AC lower-left)
- Recessed below shelf top edge, cable exits hidden from front view
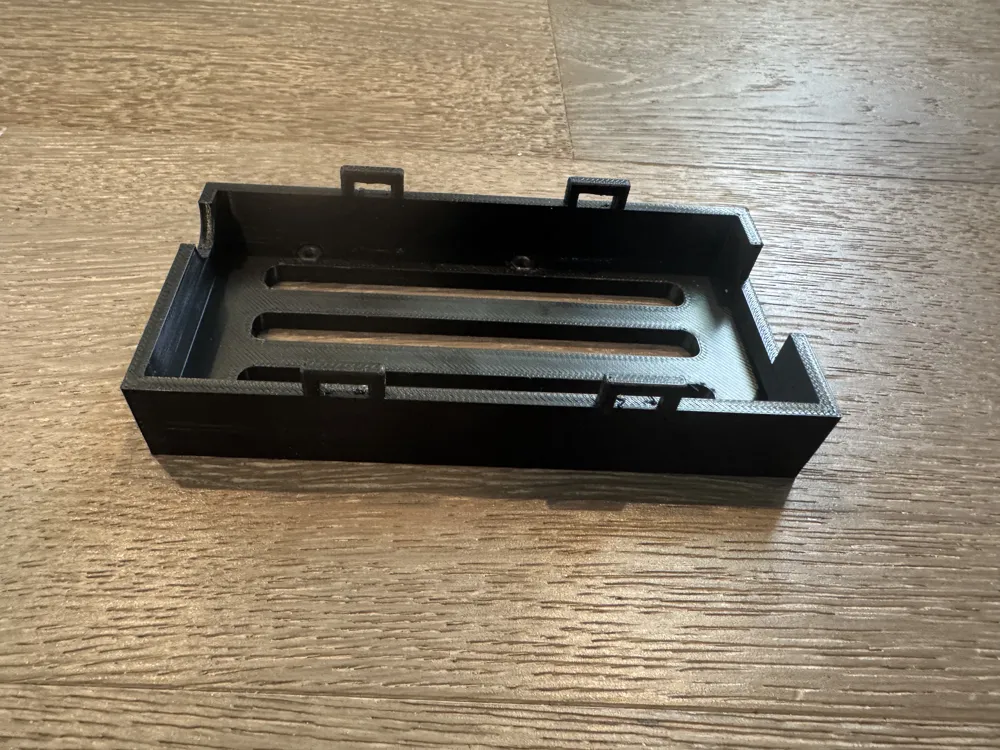
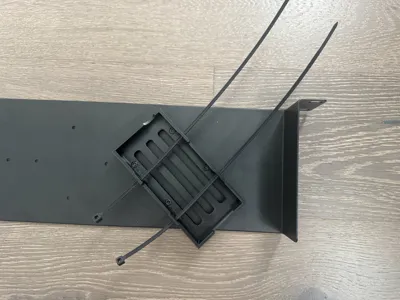
- 4 bail loops for zip tie retention of the brick
- Vent slots in the floor to cut down on material/print time
- Single print, no assembly beyond hardware
Hardware required:
- Screws: M3 x 6mm Phillips flat head countersunk. Use the screws included with your Protectli rack shelf. The shelf uses a non-standard 5.1mm countersink opening and the included screws have a reduced head OD that seats flush. Standard M3x6 DIN 965 will work but sits ~0.2mm proud.
- Hex nuts: M3 DIN 934 (5.5mm AF, 2.4mm thick) x4. Drop into nut traps from inside the pocket before mounting.
- Zip ties: 2.5mm wide, 100-200mm, black nylon x2
Print settings:
- Material: PETG recommended (Elegoo Rapid PETG Black used for prototype)
- Layer height: 0.20mm or finer
- Wall loops: 4 minimum
- Infill: 25% or higher
- Orientation: pocket floor face-down on build plate
- Supports required on bail loop top bar undersides only (4 locations). Use the 3mf for pre-placed supports and dialed settings.
- Note: re-enable supports after opening in Bambu Studio. Set to normal(auto), the cloud slicer strips this setting on download.
License

You shall not share, sub-license, sell, rent, host, transfer, or distribute in any way the digital or 3D printed versions of this object, nor any other derivative work of this object in its digital or physical format (including - but not limited to - remixes of this object, and hosting on other digital platforms). The objects may not be used without permission in any way whatsoever in which you charge money, or collect fees.


Comment & Rating (0)