MFrame - Photo booth, Overhead Image and Video rig


Print Profile(13)
Description
Boost Me (for free)
like what you see? give me a boost! its FREE!
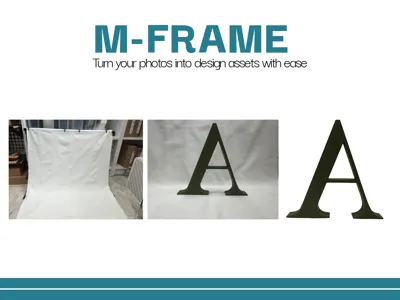
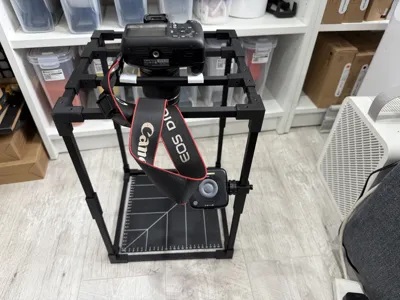
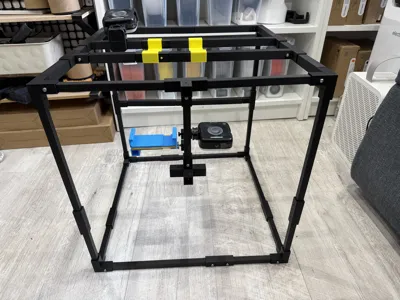
Mframe
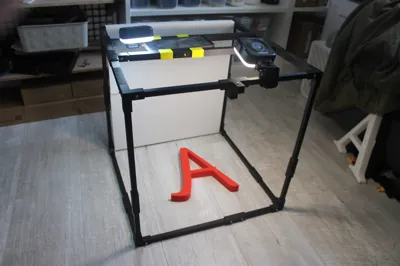
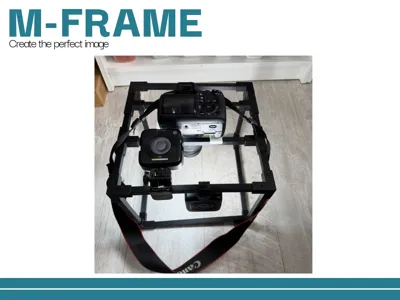
A Modular Rigging Frame for photography, videos, displays and more.
Why did I make this?
I was tired of all my photos being slightly ‘wonky’ or poorly framed, I wanted something ideally fully printed and with the ability to make it bigger (or smaller) with ease.
It took a number of iterations to get to my final result, with 2 complete redesigns, and many test prints to get the tolerances correct.
🔧 Features
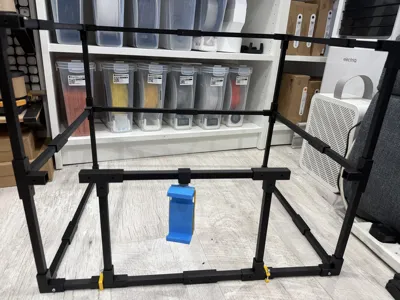
- Completely Customisable frame size and dimensions.
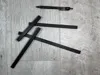
- Parametric Beams to allow you to build to your own specification.
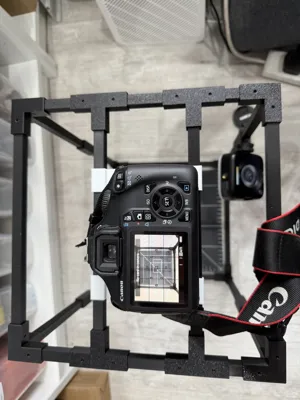
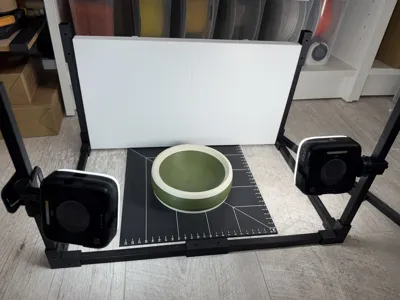
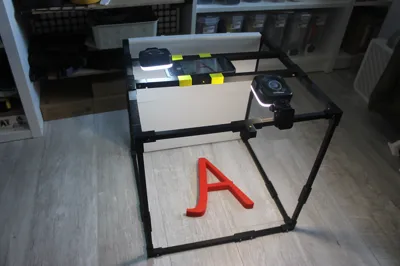
- With assorted accessories, from ½ inch screw mounts for lighting etc, to sliding trays for easily moving your camera/photo around to get the perfect photo
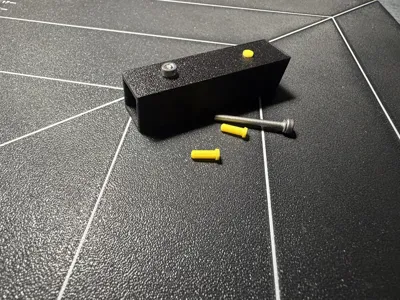
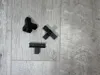
- Connects together with either m3 screws or via the included push inserts.
🖨️ Printing Recommendations
- Material: PLA, PETG, or ABS all work great depending on your application
- Layer height: 0.2 was used for all my test modules
- Supports required on connectors due to the hollow insides.
- Ensure strong bed adhesion for best results
📏 Model Dimensions
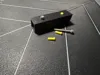
- Beams are all 12x12mm
- Connectors have a 0.2mm tolerance for insertion, this gives a partial friction fit.
- 3.2mm pass through holes on all parts to allow the use of m3 screws to secure when required.
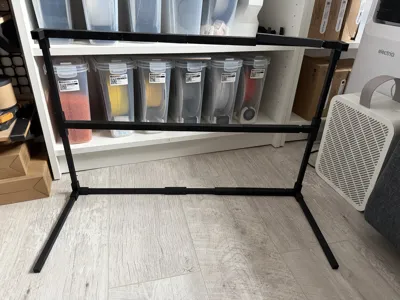
Creating your frame.
Decide on the size of the frame you want
Add the connectors you need
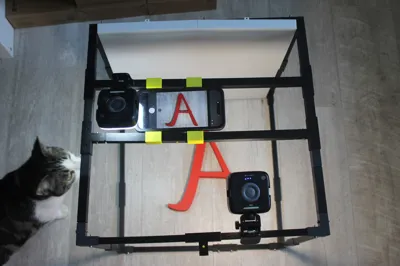
Once you have printed and set up the base frame, you can then measure the gap between connectors on the top bars and adjust the top bar cover size in Bambu studio.

Ensure you unselect the uniform scale option and then edit the size as per your dimensions on the Y axis only.
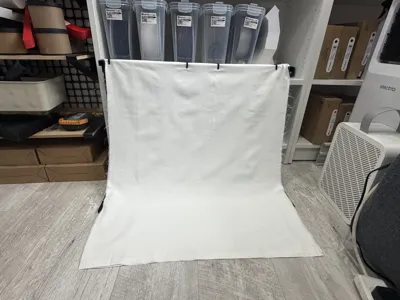
The top bar covers are only required if you wish to use the top cross beams that slide to adjust your photo position. They are simply to allow the slide to pass over any connectors.
The backdrop also uses these bar covers to offset the panel from the beams.
Any questions then drop me a message or comment.
License
You shall not share, sub-license, sell, rent, host, transfer, or distribute in any way the digital or 3D printed versions of this object, nor any other derivative work of this object in its digital or physical format (including, but not limited to, publishing derivative works outside the Makerworld platform or hosting on other digital platforms). The objects may not be used without permission in any way whatsoever in which you charge money or collect fees. Subject to the above restrictions, derivative works may be published only within the Makerworld platform, and all such derivative works must be licensed under the same SDFL‑C license, without modification or additional terms. You may download the digital versions of this object, 3D print it, and display images, videos, or usage demonstrations of 3D printed versions of the object on personal social media platforms or Makerworld official channels, provided that no digital versions of the object are shared or distributed.
Comment & Rating (0)