
H2D/H2S/H2C - Intake vent protector & dust filter


Print Profile(1)
Bill of Materials
- Filter material x 1: Any kind of (foam) filter material with <= 4mm thickness
Description
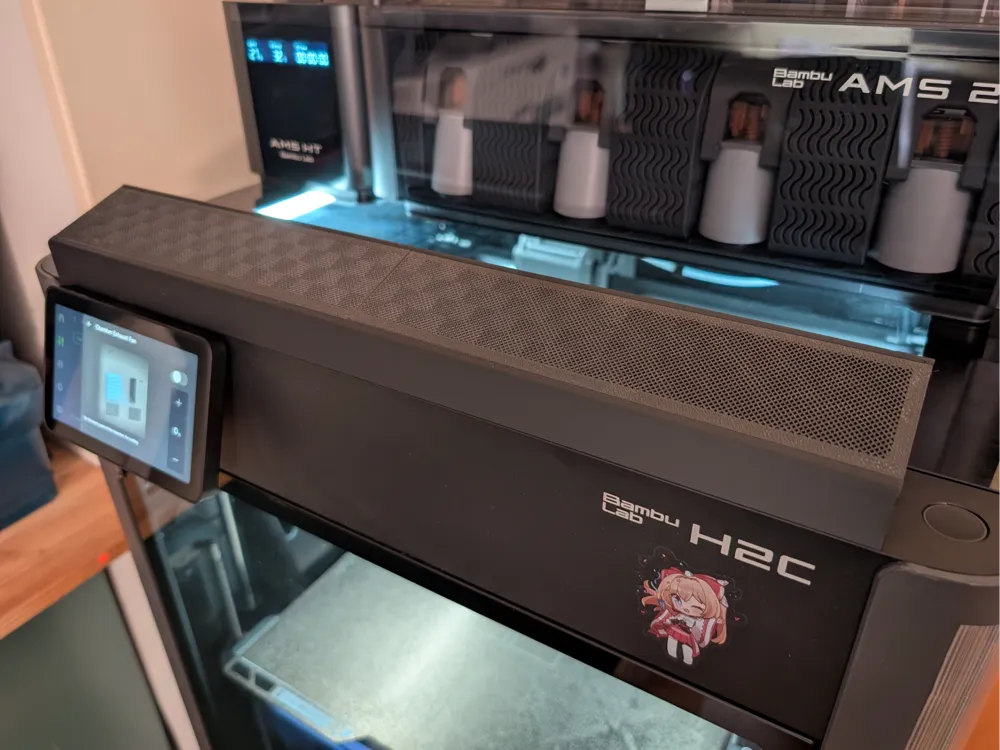
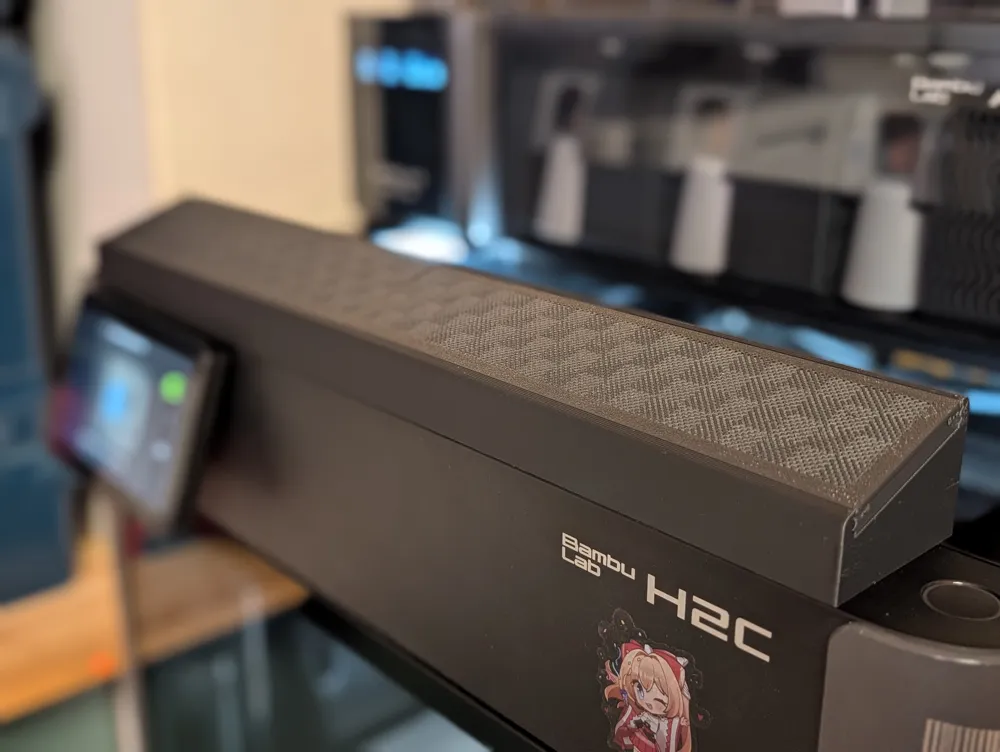
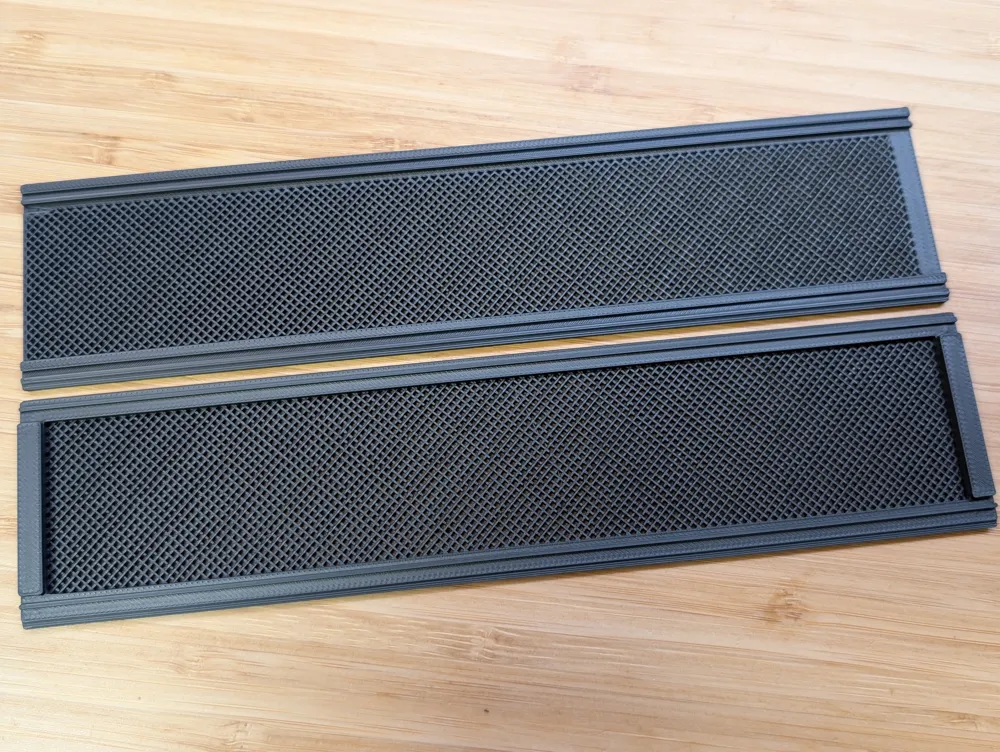
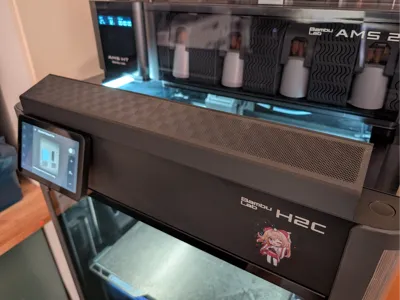
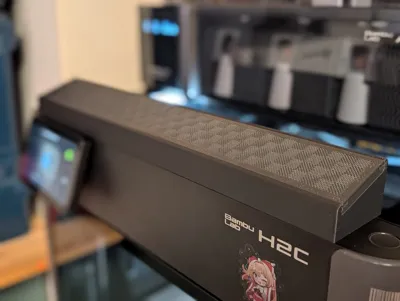
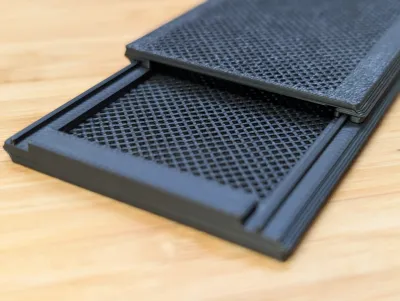
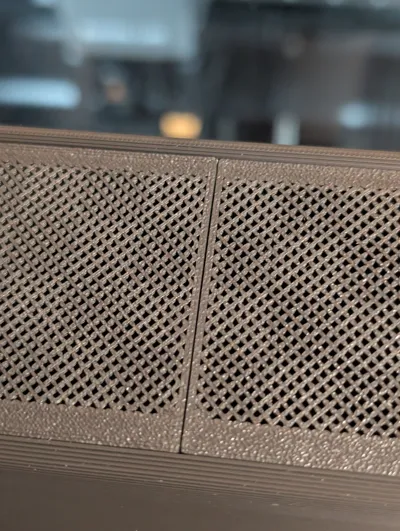
This filter is designed to fully cover a H2 (S/D/C) printers air intake and allow you to use basic filter material in the two baskets to prevent dust and other foreign objects from being sucked into your print chamber. It also prevents accidental damage to the mechnical vent while in operation.
What does this filter do (differently compared to other available H2 intake filters)?
The main reason why I wanted an air intake filter was to prevent dust from my room entering the print chamber when the vent is open. Other models I found did either only filter on a very coarse level or didn't properly sit flush with my printers top, leaving gaps for air to be sucked from elsewhere.
This filter…
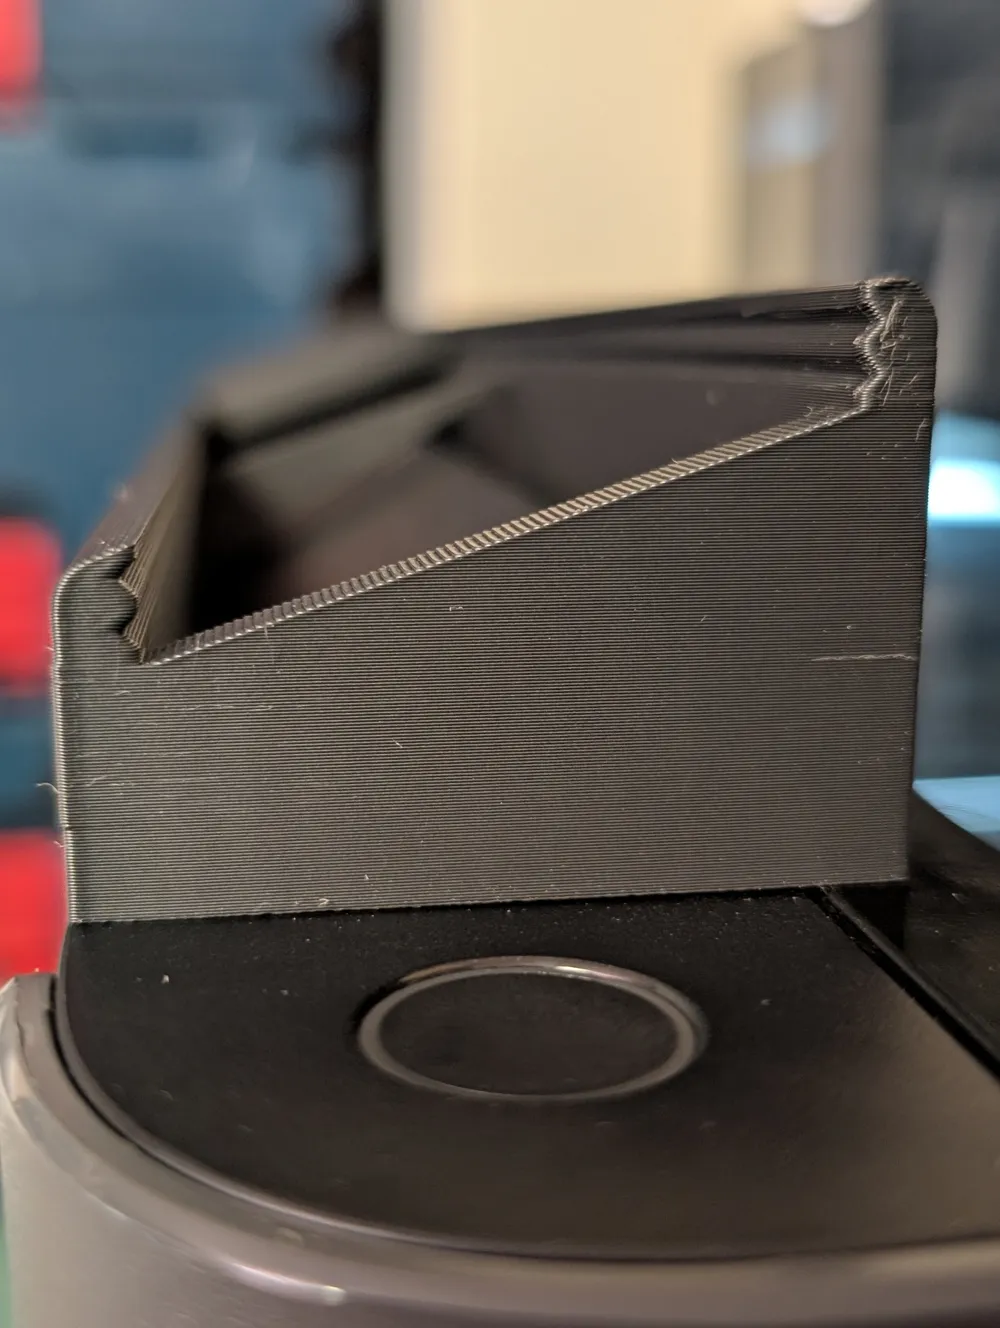
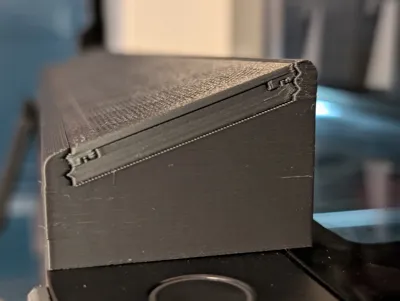
- sits flush with the top of the printer, only leaving minimal gaps
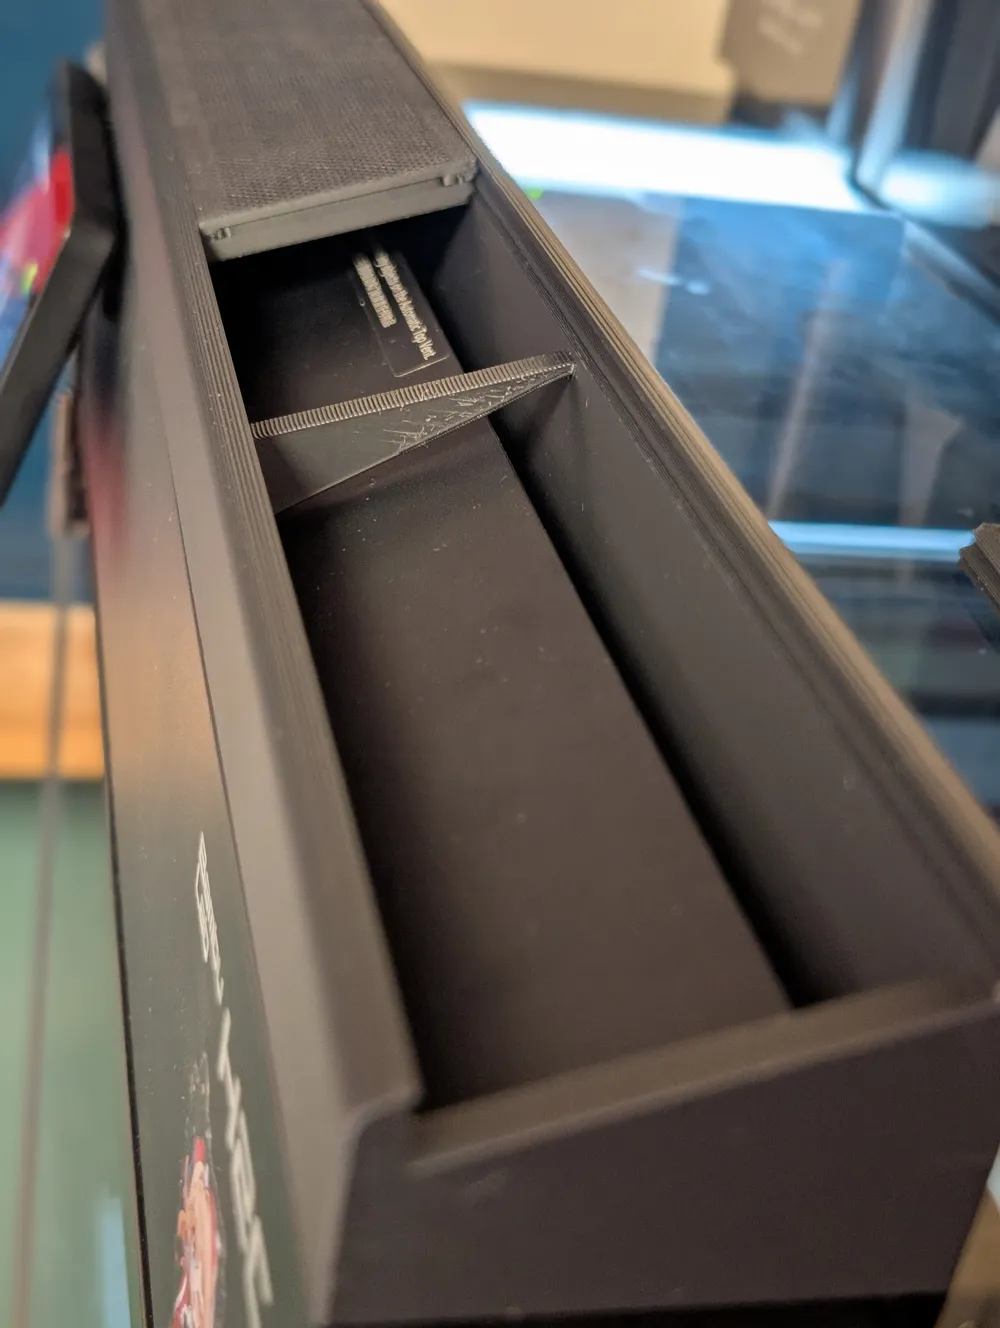
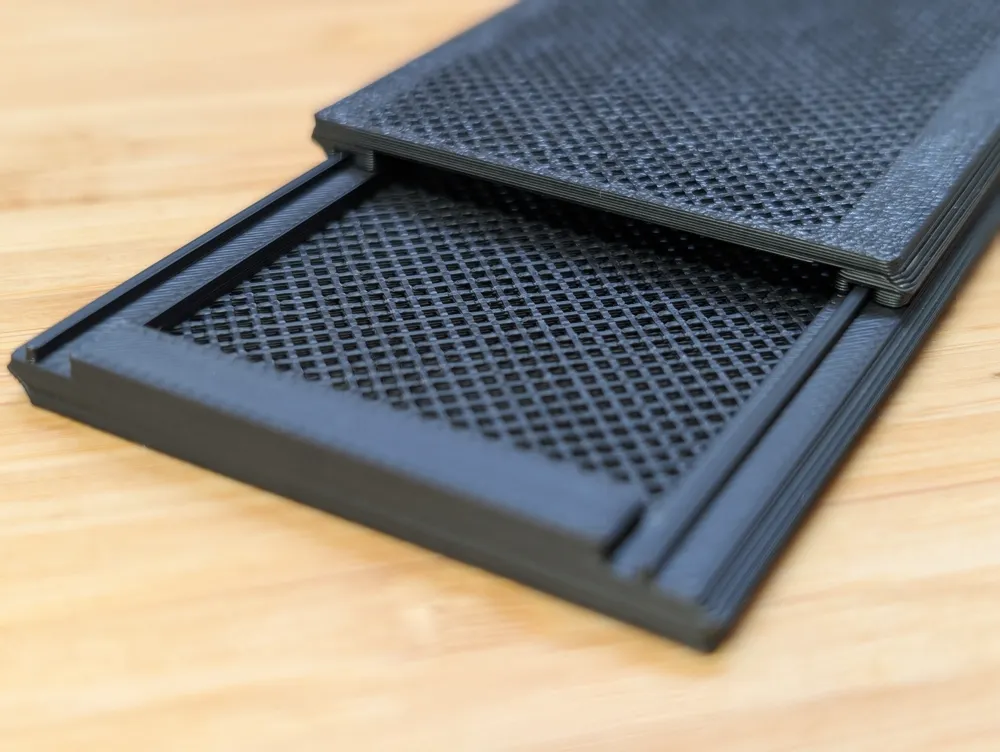
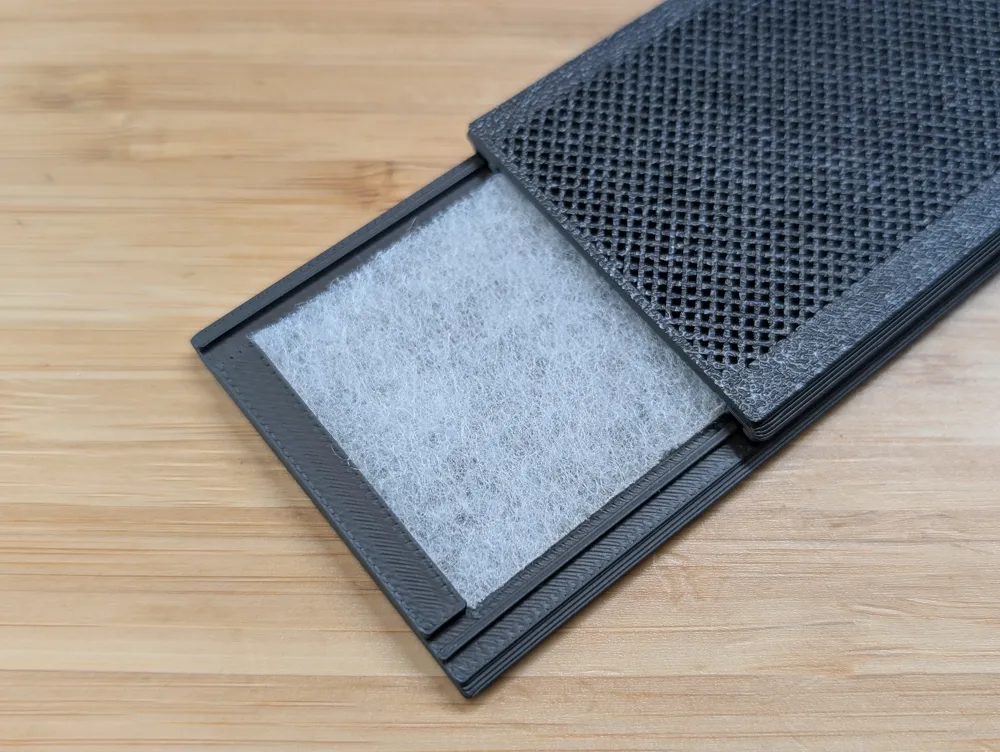
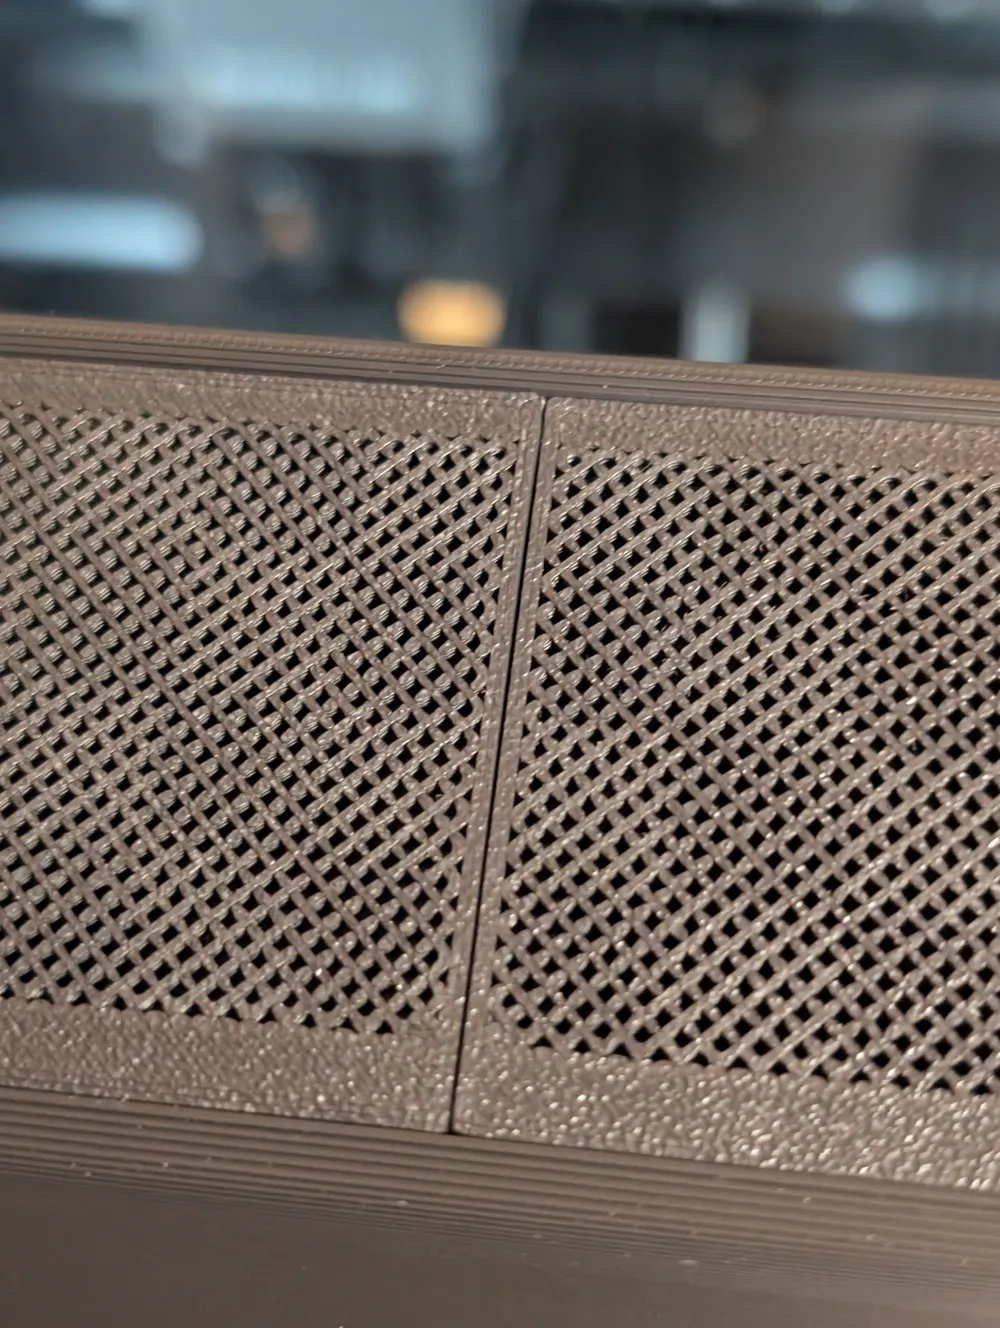
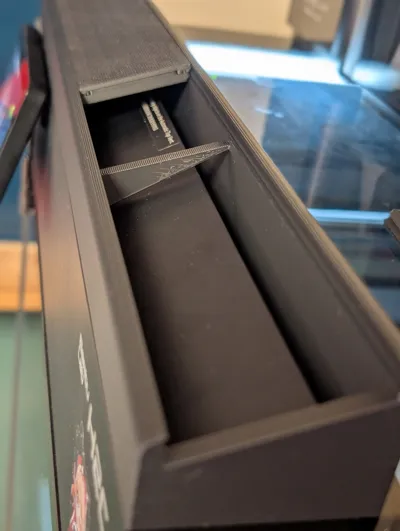
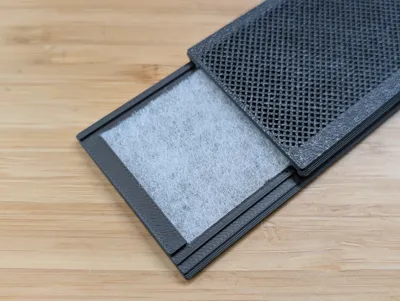
- has two 4mm deep filter baskets that can be filled with readily available air filter material to more efficiently block small dust and larger particles from entering the printer
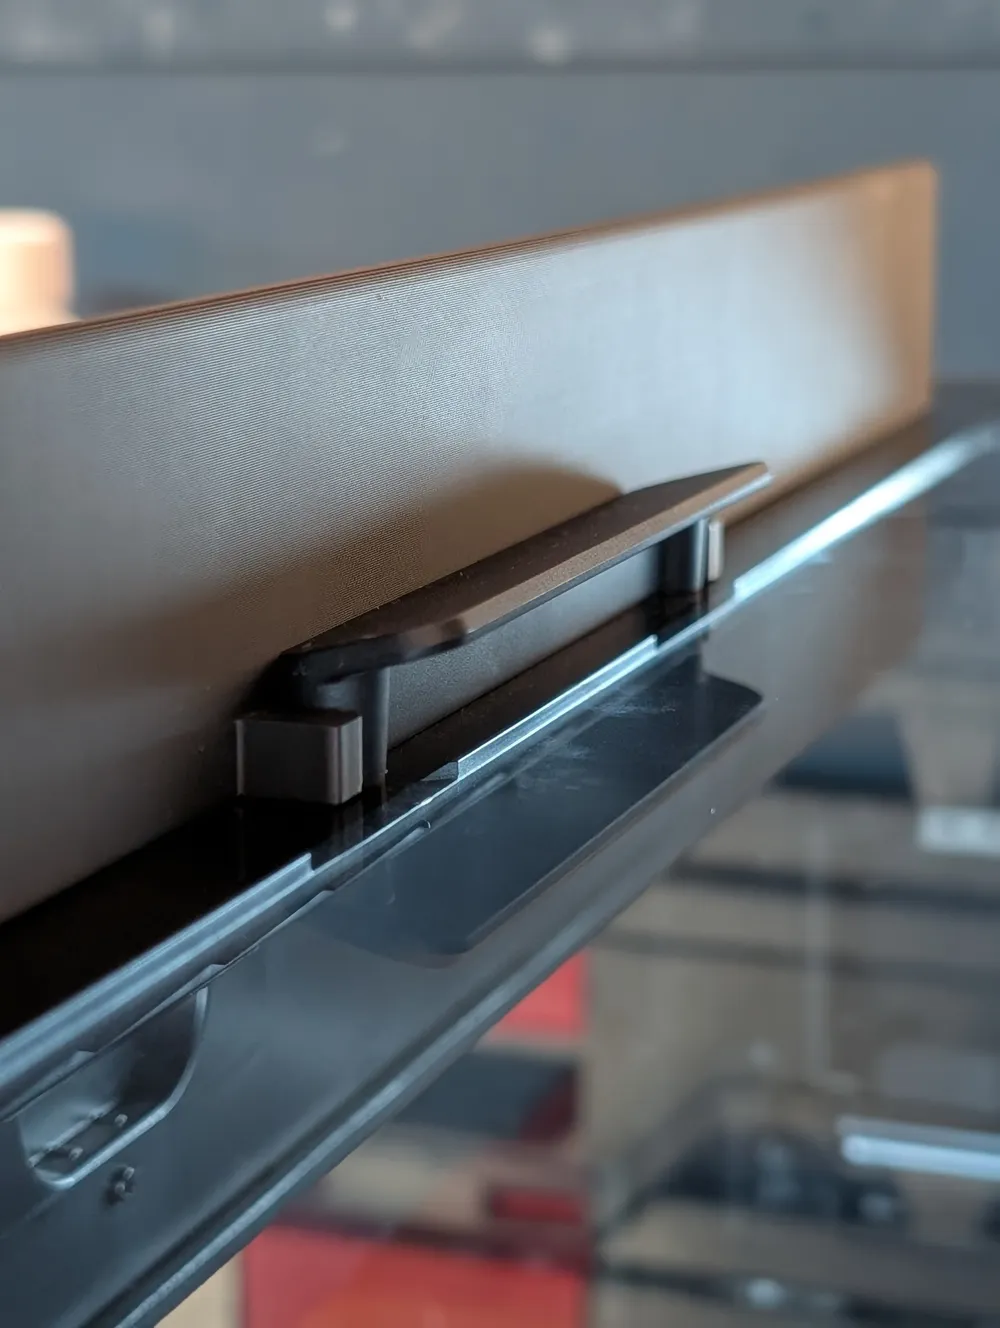
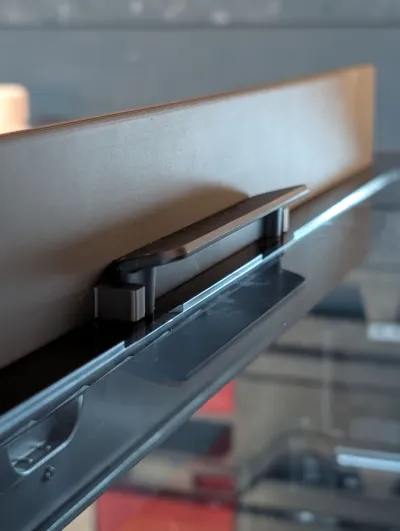
- sits securely by mounting itself to the handle of the glass top, meaning it can be quickly removed if necessary
- prints without supports
- does not require TPU gaskets for an acceptable seal
- does not require any screws or other material to mount, just PLA (or other filament) to print
- uses about 150g of filament
What filter material can I use?
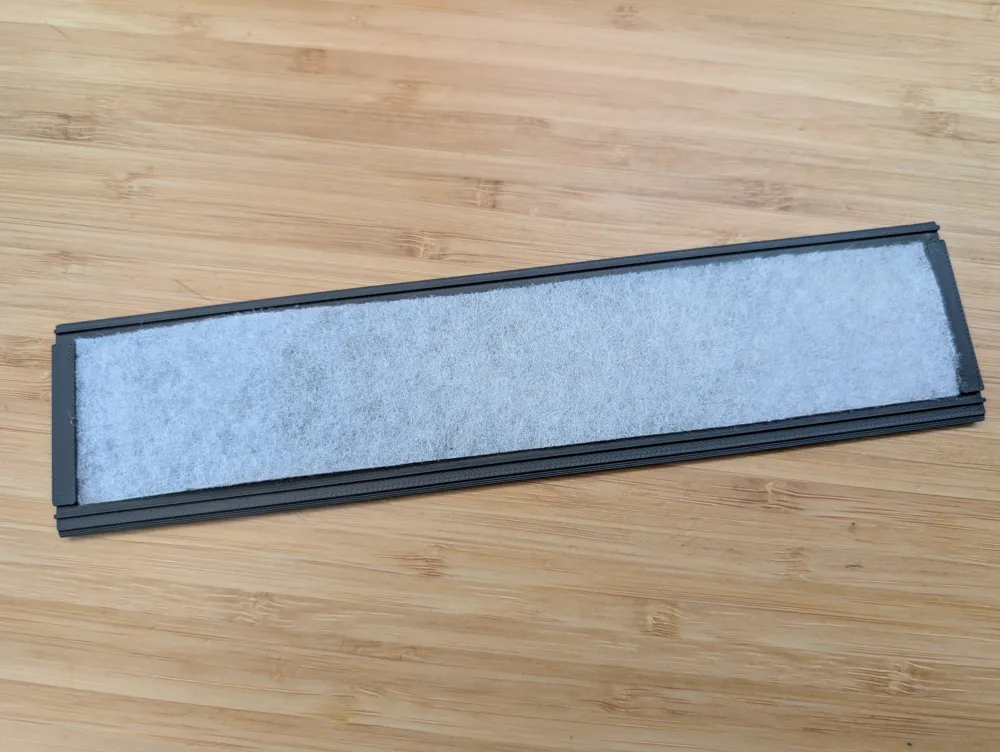
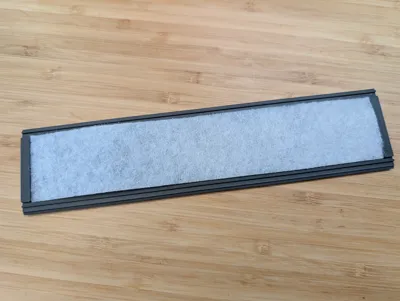
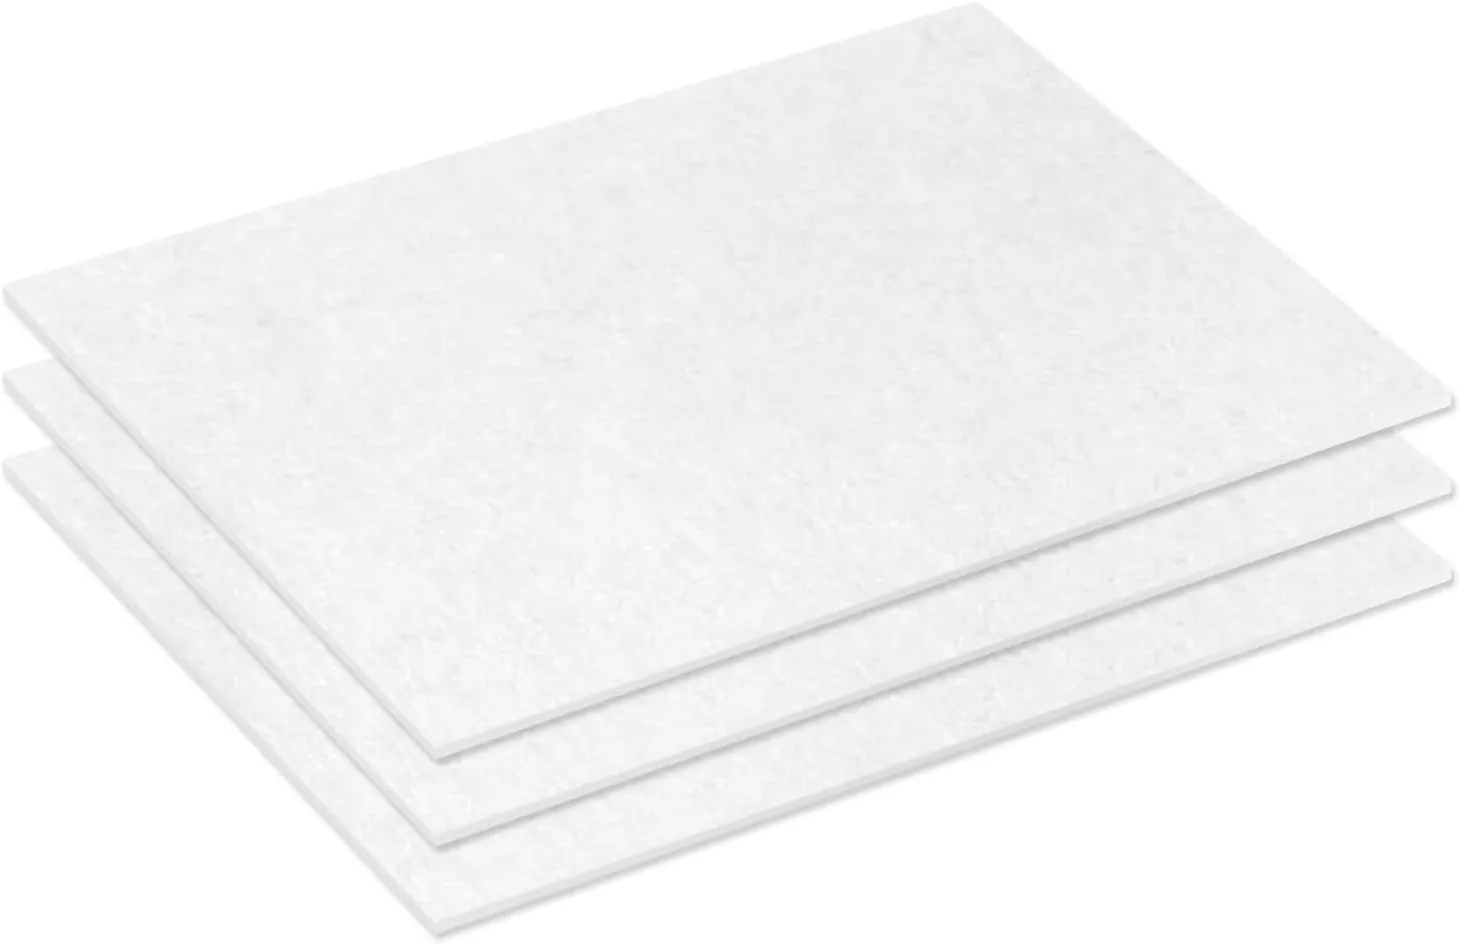
Basically anything works as long as it can be cut to size, compressed to about 4mm in thickness and let's air through. Personally, I use filters like these, that are usually put in front of all kinds of motors to prevent dust from entering:
Printing & Assembly
I printed my model with PLA Matte Black and haven't had any issues.
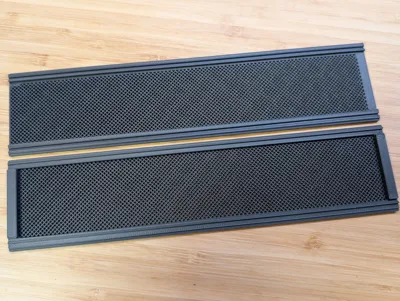
- Print both plates,
- (optional) Put a filter material into the two baskets you printed on plate 2.
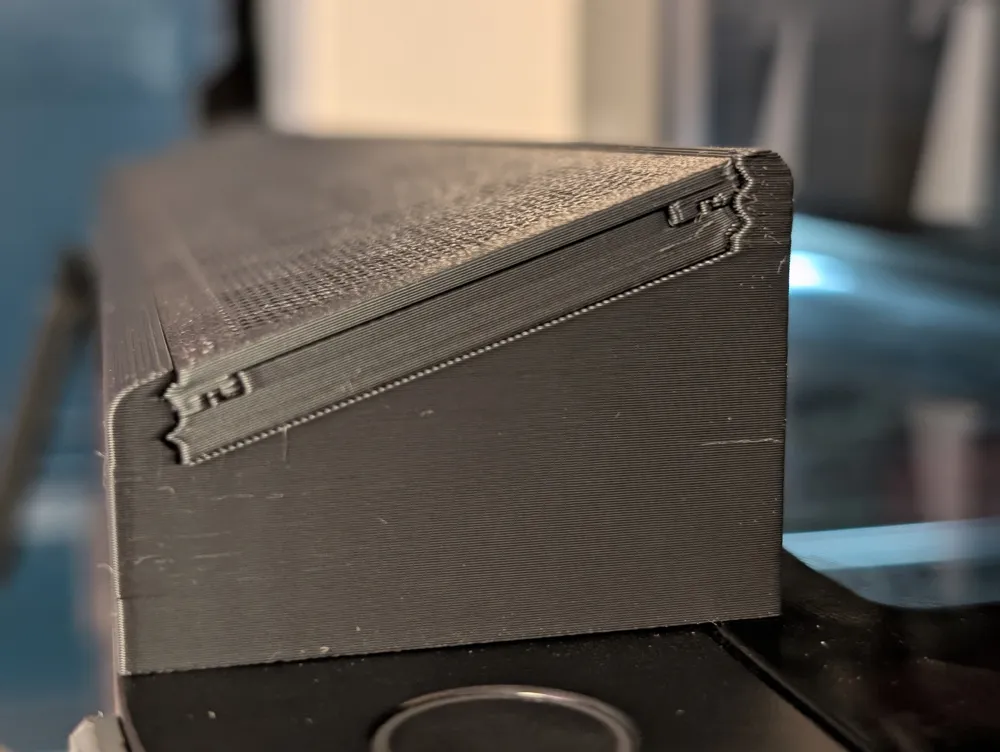
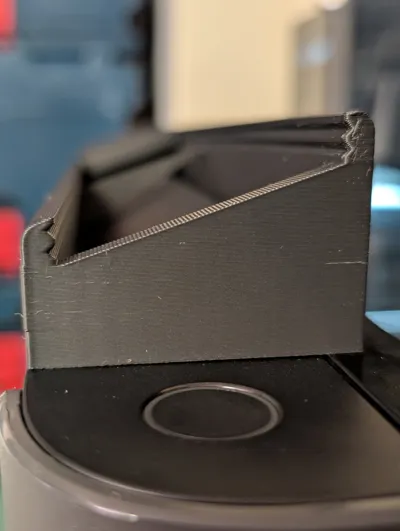
- Assembly the two filter baskets by putting the top onto the bottom piece, sandwiching the filter material you picked. The top and bottoms do not interlock with each other, this is as designed.
- Push the two filter sandwiches into the guide rails on the frame. The filter baskets have a “fat” notch and a “thin” notch on one end, it looks prettier if you push them into the frame so that both thin notches are connected with each other, rather than the fat notches. Please see the image gallery for example pictures.
- Clip the main frame onto the handle of your printers glass lid, it should automatically be centered and not prevent the mechanical vent from opening.
- Good job :)
Feedback
Since this is my first published model, please let me know how printing goes and whether the fit is good! Since the model only needs 150g of filament, I hope any issues will not be too much of an issue for you (´・ω・`)
License

You shall not share, sub-license, sell, rent, host, transfer, or distribute in any way the digital or 3D printed versions of this object, nor any other derivative work of this object in its digital or physical format (including - but not limited to - remixes of this object, and hosting on other digital platforms). The objects may not be used without permission in any way whatsoever in which you charge money, or collect fees.


Comment & Rating (11)