
Print Profile(6)
Description

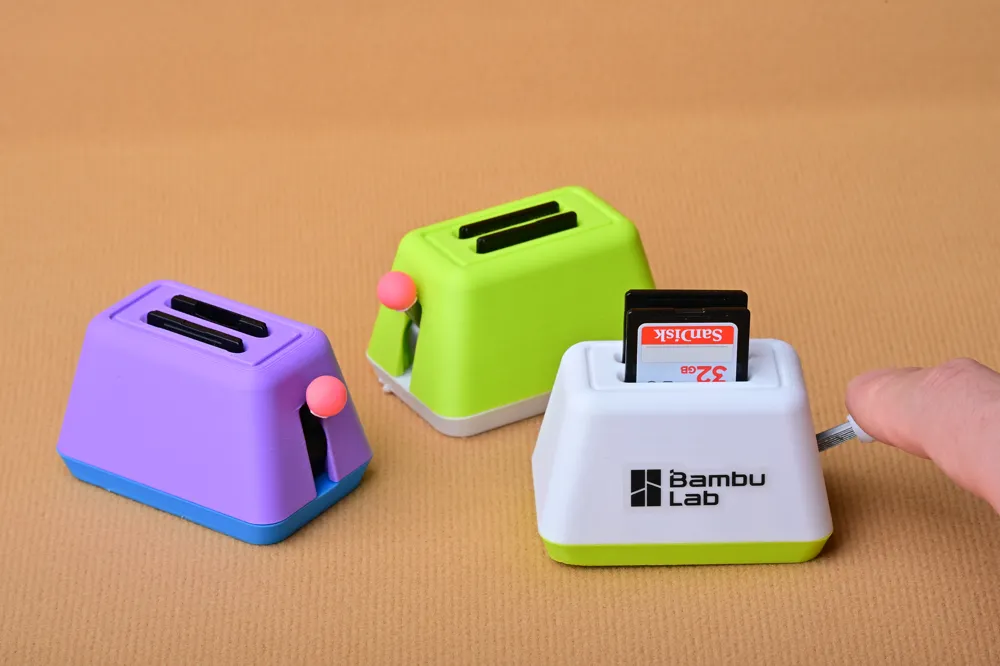
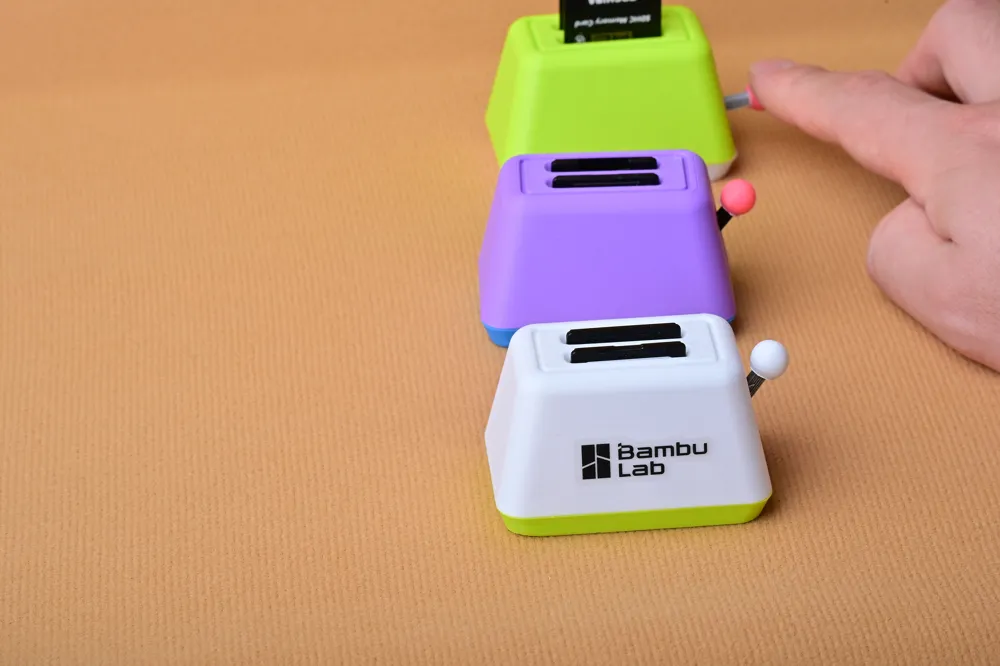
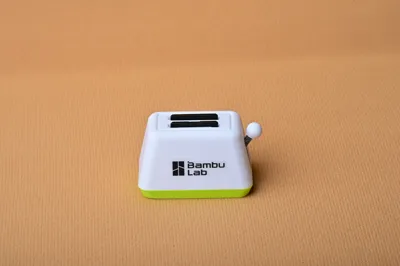
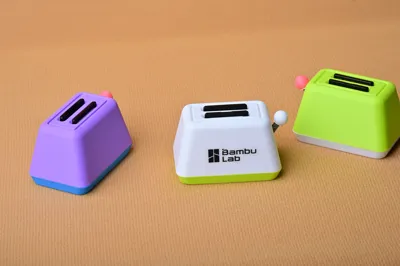
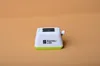
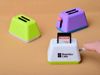
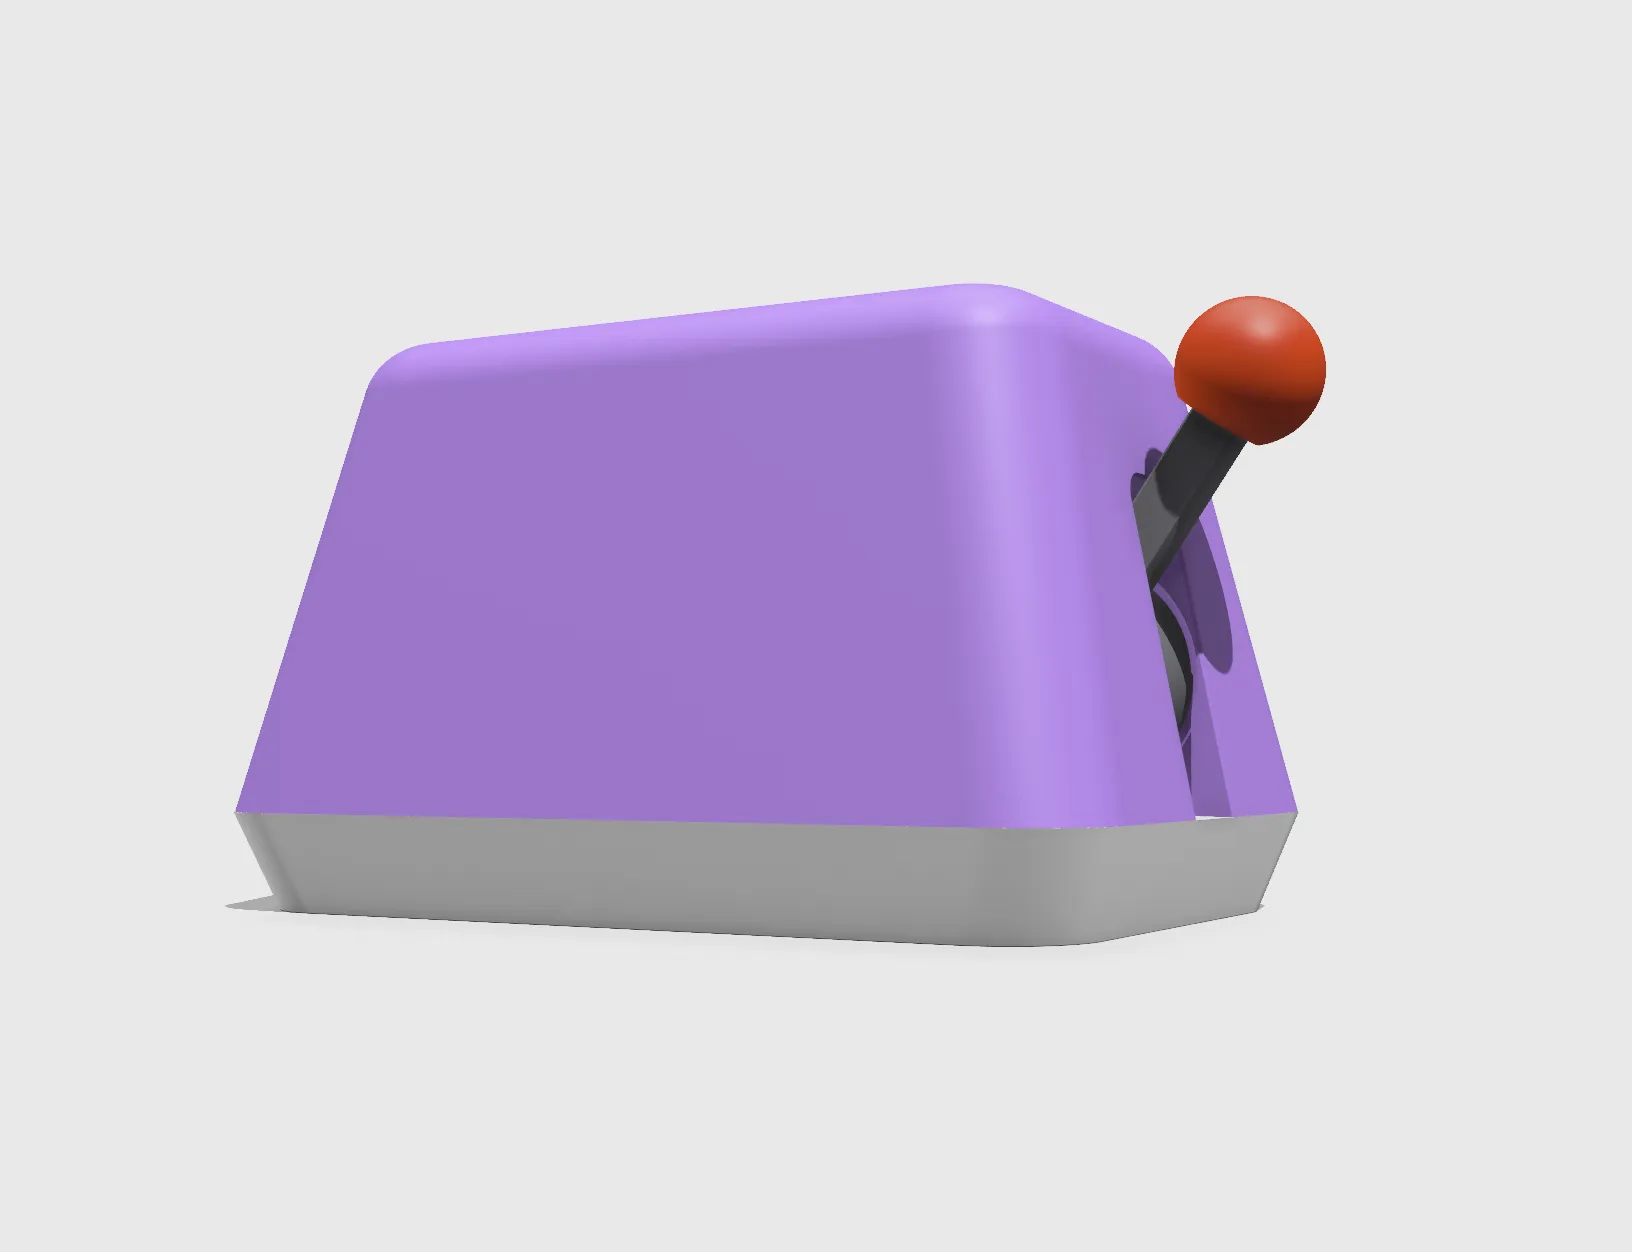
This is a desktop organizer inspired by a retro toaster, designed specifically for small storage media such as SD cards and Switch game cards, making everyday small items into fun desktop decorations.
✨ Core Design and Features
Boost Me (for free)
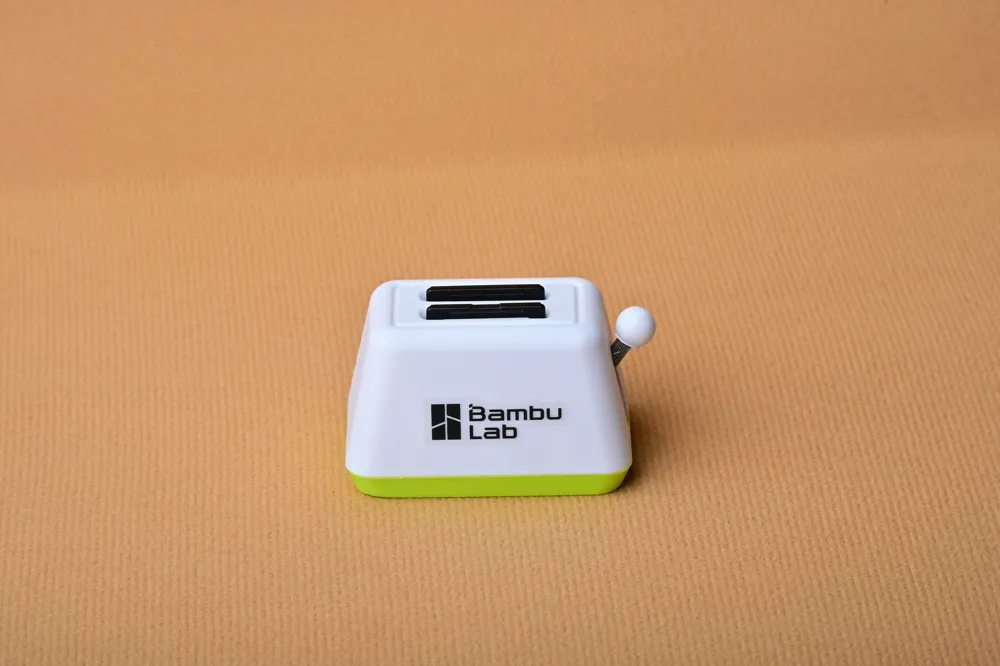
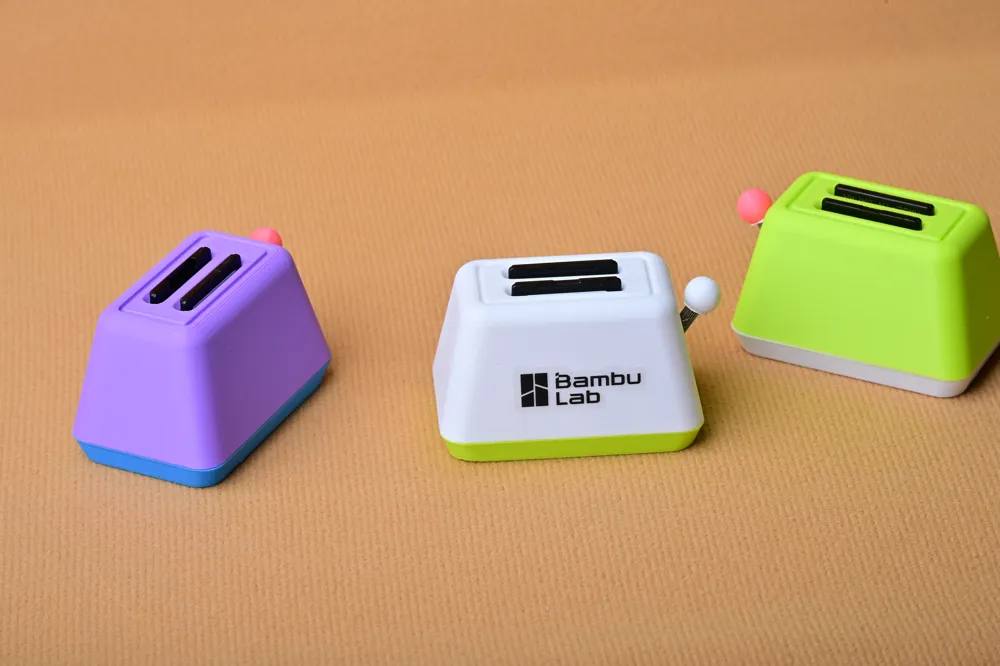
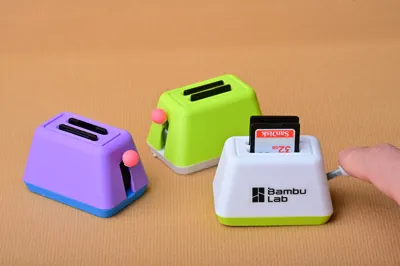
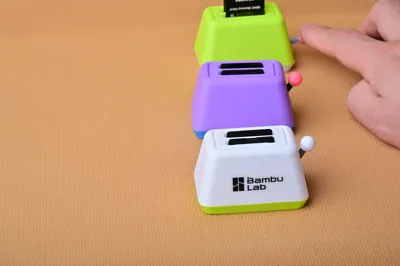
- Creative Design and Theme It adopts the cute appearance of a classic two-slot toaster, with bright and lively colors, restoring iconic details such as the toast slots and side lever of a toaster. It transforms boring digital storage into a desktop ornament full of life, bringing a sense of healing.
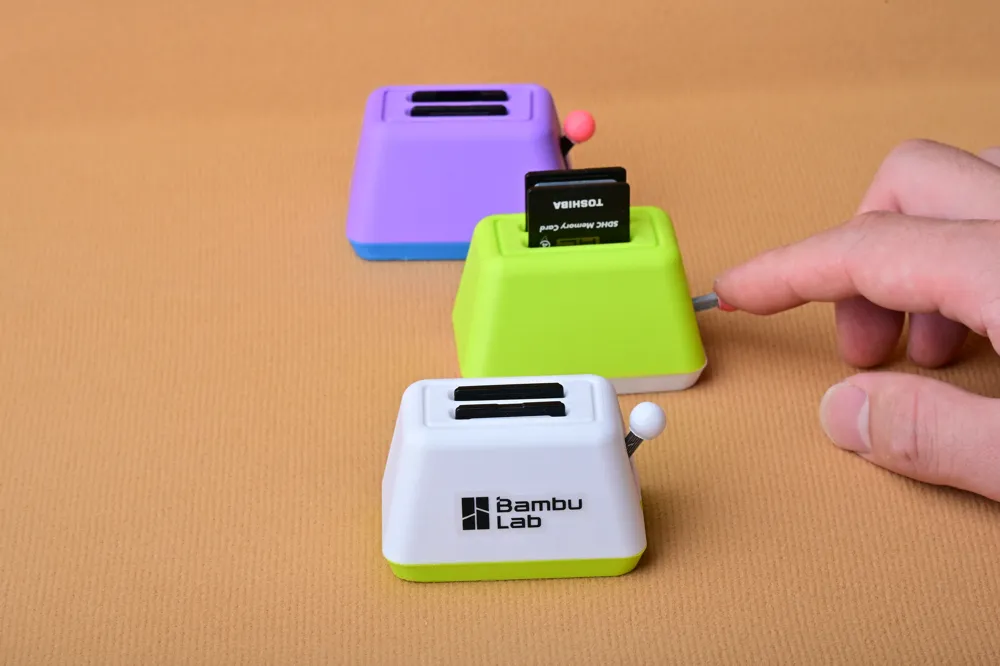
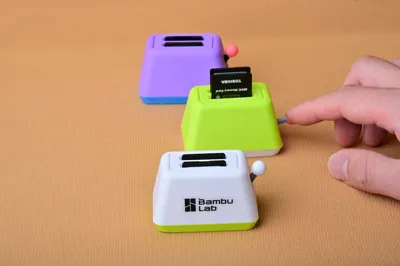
- Push-Pop Mechanism (Core Highlight) Replicates the “pop-up” experience of a toaster:

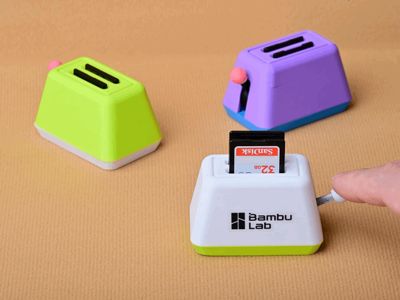
- The small side lever simulates a toaster's control lever; with a gentle press, the SD / game card in the slot will “pop” out like toasted bread, making card retrieval effortless and full of ceremony.
- The top's dual-slot design not only recreates the toaster's structure but also allows for storing two SD cards / game cards simultaneously, balancing aesthetics with practicality.
- 3D Printed Craftsmanship and Details
- Split printing and assembly, with a clean and smooth surface. Colors can be freely customized to match different desktop styles.
- The main body is compact, saving desktop space. It's not only a storage box but also a fun fidget toy, providing an interesting interactive experience every time you retrieve a card.
- Applicable Scenarios Desktop digital accessory storage, compatible with SD cards, Micro SD cards (with adapter), Switch game cards, etc. It can also serve as a fun desktop decoration for photographers and gamers, solving the problem of lost or hard-to-find small cards.
- Presets: The multi-color version is divided into two presets. One is for printing by object with AMS, only changing colors 4 times. The other is for printing on 4 plates without AMS. SD cards and Switch game cards have slight size differences; find the appropriate preset according to your needs. It is recommended to print directly from your phone.
- Note: The model does not contain text. The Bambu Lab logo in the image is a sticker originally included with the printer, and I used a sticker.
Assembly Diagram:
1. Insert the axle into the lever.
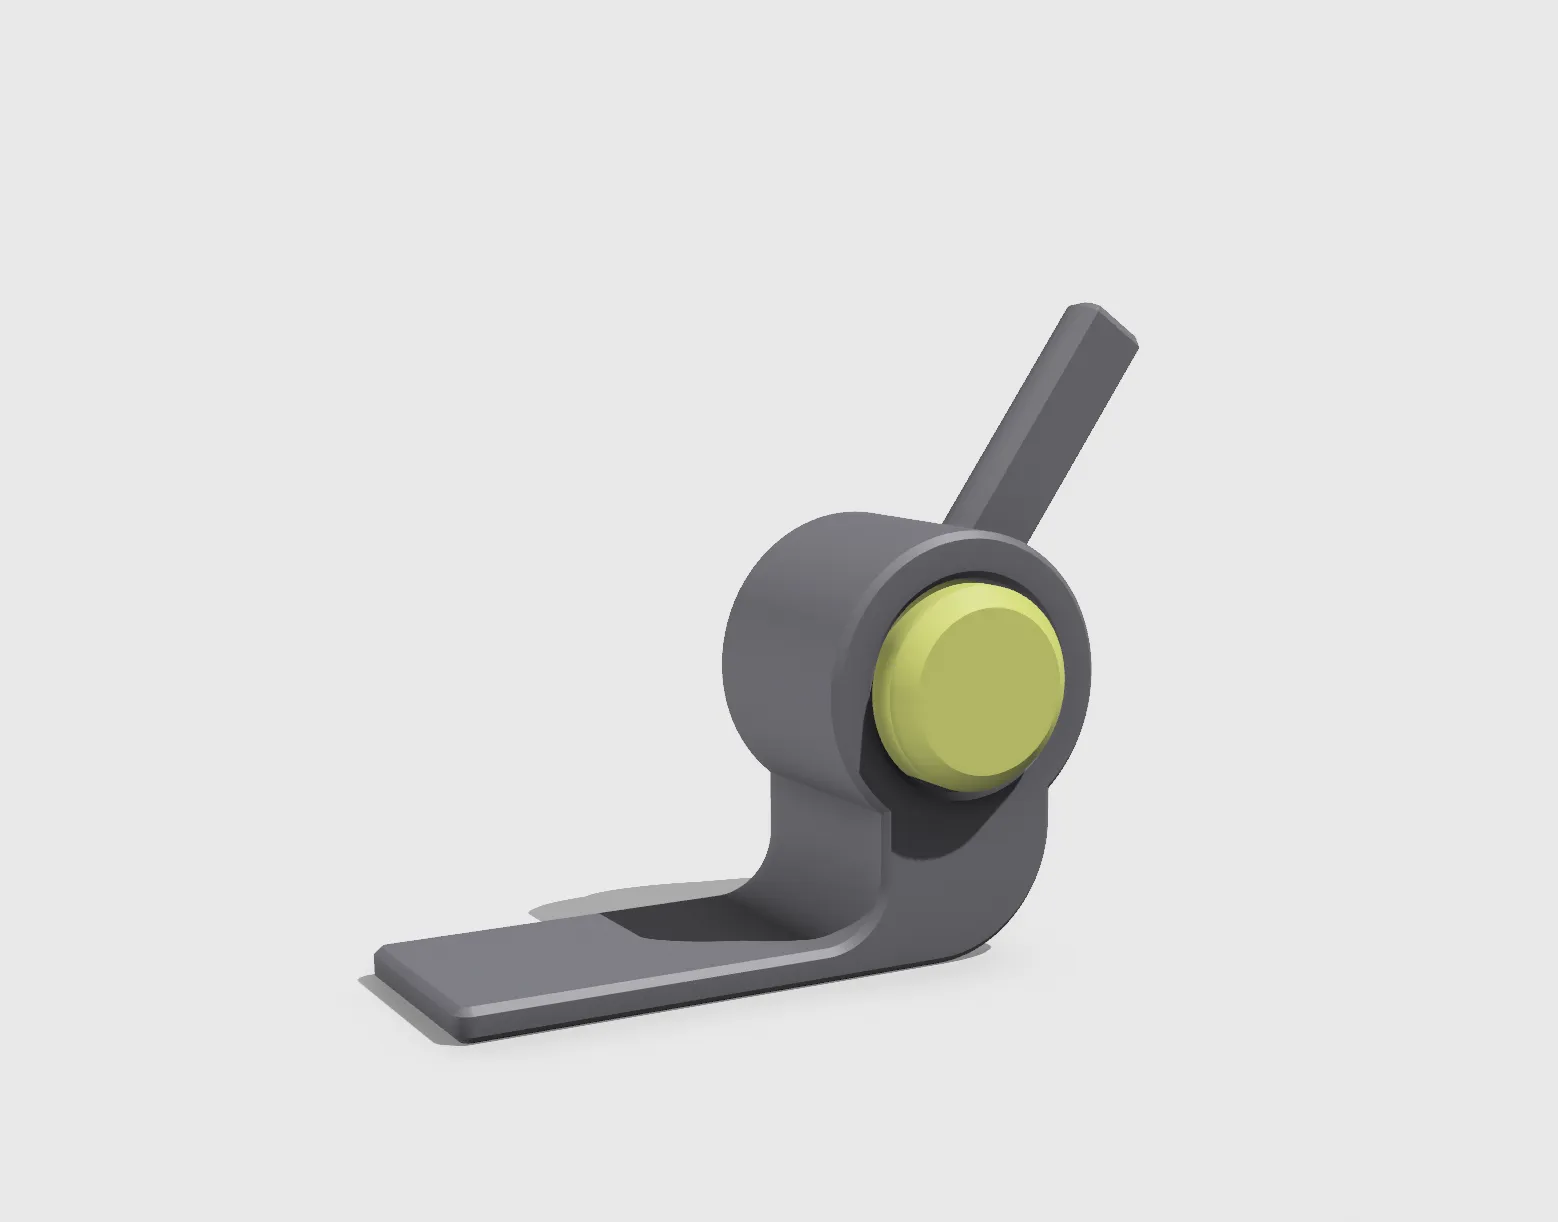
2. Attach the lever cap and push it into the main body.
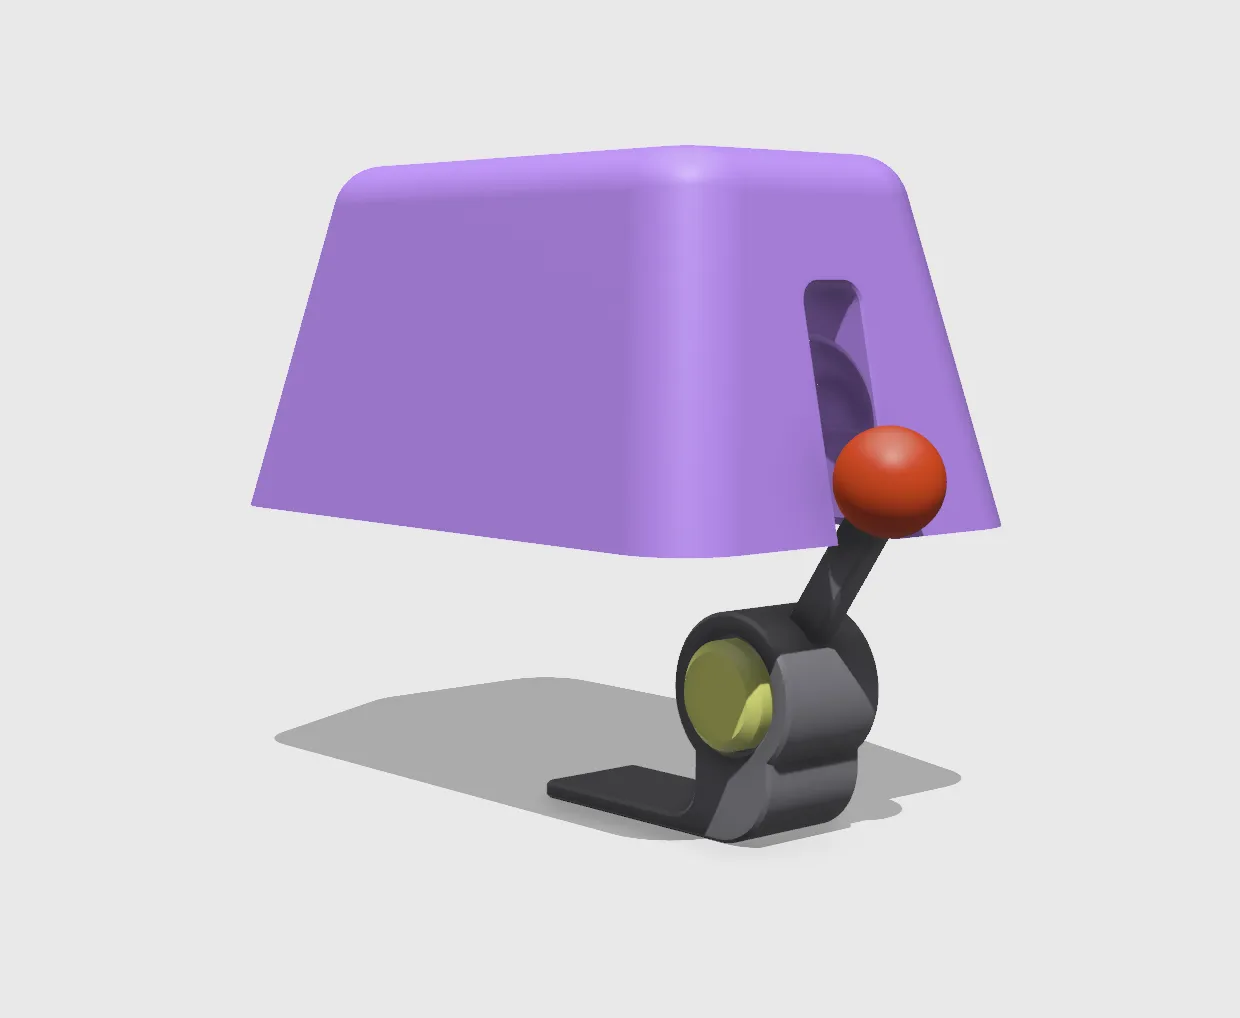
3. Firmly embed the lever and axle into the upper part of the main body and insert the pin.
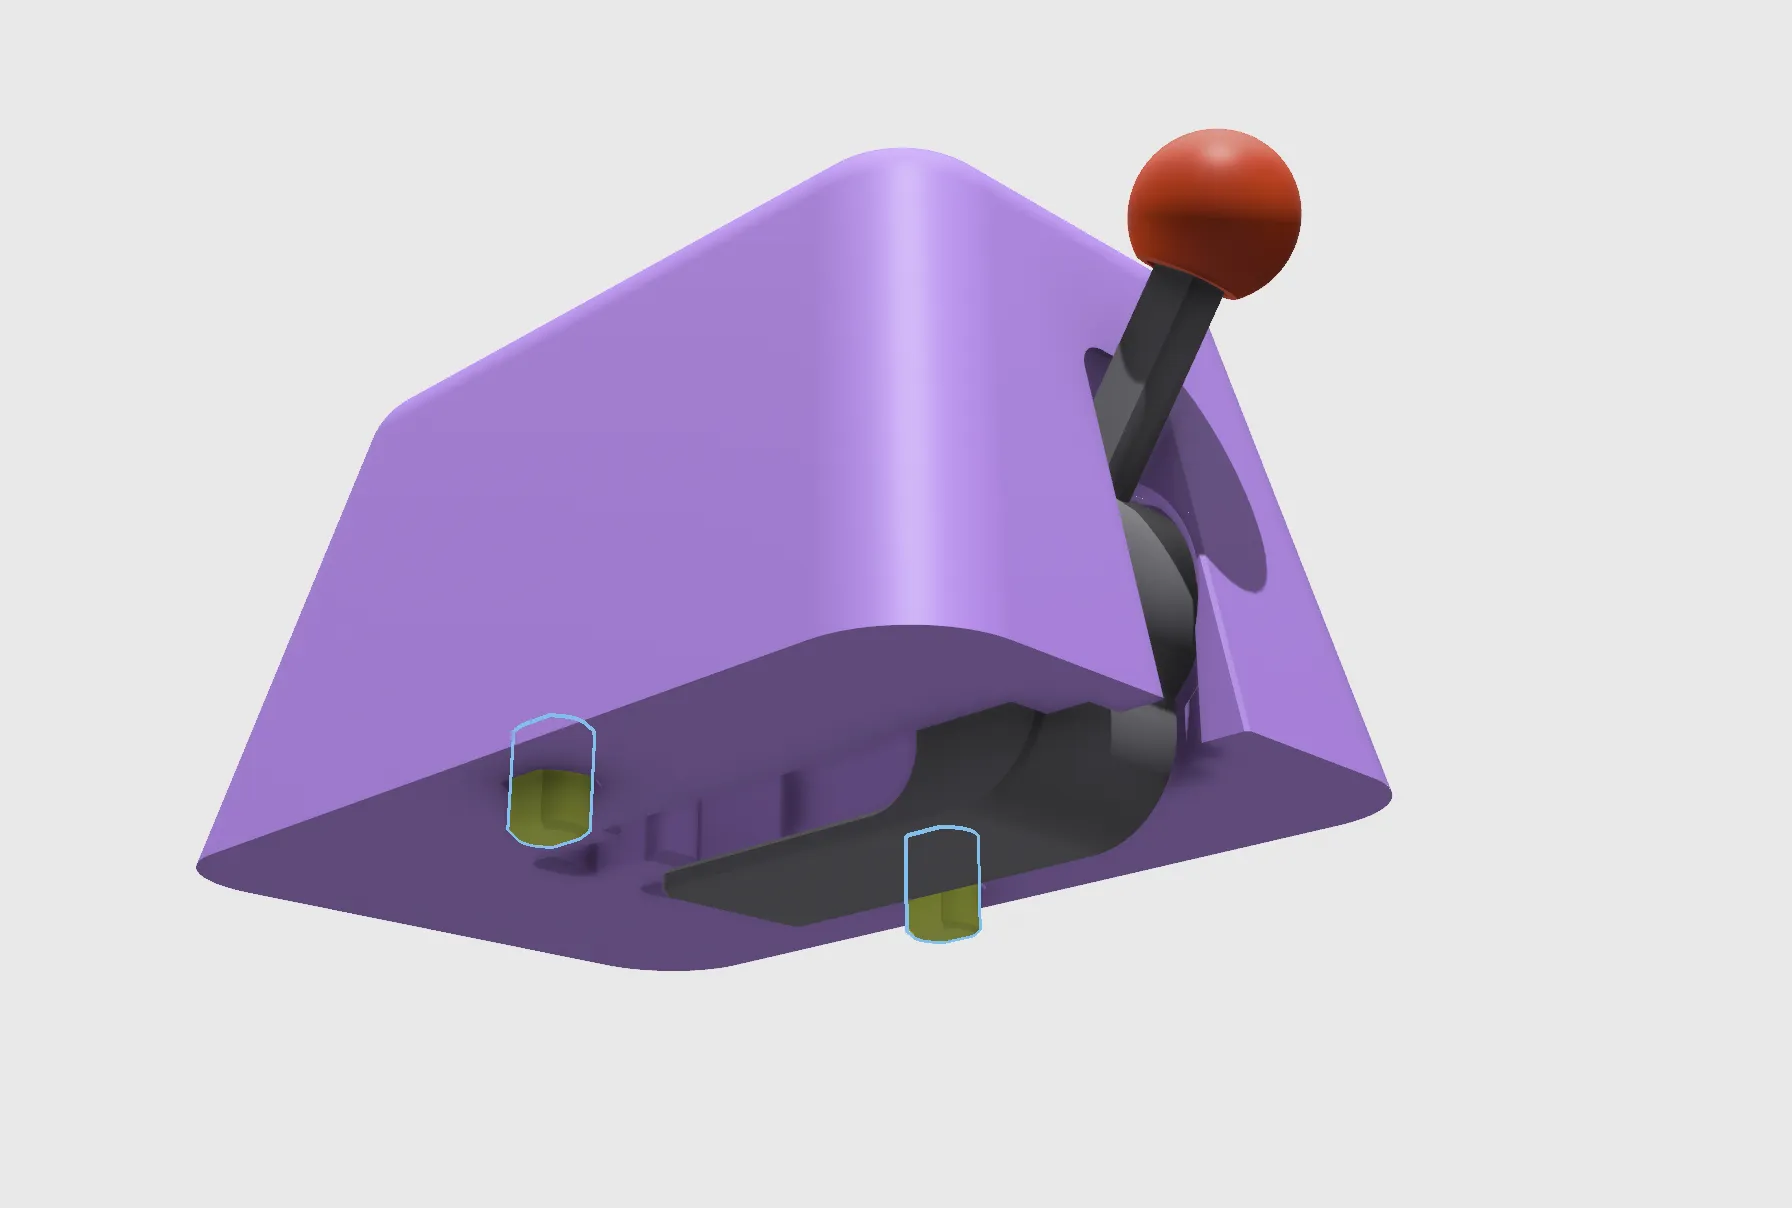
4. Complete the assembly of the lower part.
License

You shall not share, sub-license, sell, rent, host, transfer, or distribute in any way the digital or 3D printed versions of this object, nor any other derivative work of this object in its digital or physical format (including - but not limited to - remixes of this object, and hosting on other digital platforms). The objects may not be used without permission in any way whatsoever in which you charge money, or collect fees.


Comment & Rating (17)