Engine Fidget - VW VR6 - Keychain - EA390


Print Profile(4)


Bill of Materials


Description
Hello and Welcome to 3DEraTec!
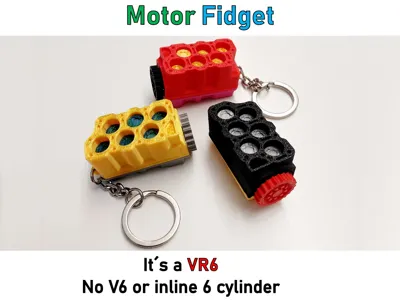
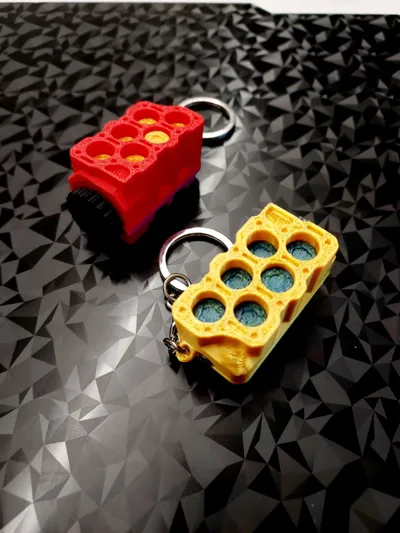
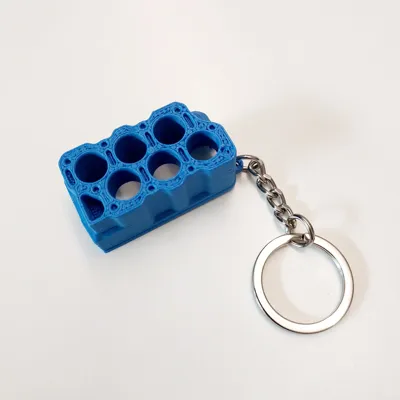
A motor fidget in the design of a VR6, I was inspired by other motor fidgets and remembered my youth and my dream car at the time. That was the Golf 3 with VR6. Engine designation VW EA390. …..
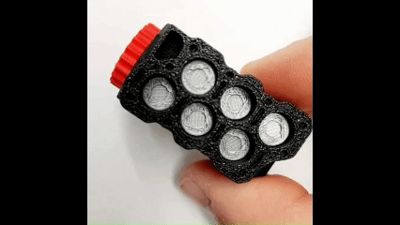
Now I have built it as well as possible as a fidget for you and it works. I needed several prototypes until everything fit.
As in real life, without lubrication, piston seizure is pre-programmed. If you like, use some oil for the pistons. Don't forget to break it in for the first 1000KM before you can go full throttle. (Enough fun for now)
Important Note!
- Please do not change the settings, use the existing print profile. Each part requires different supports, build plate adhesion, etc.
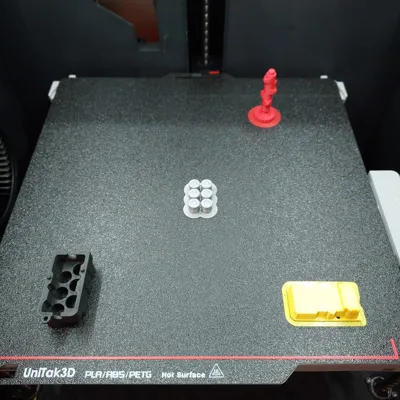
- Feel free to adjust colors, the parts are arranged on the print plate so you can create your own motor. Even without AMS
- Preferred Filament PLA

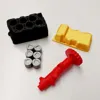
Assembly, even for hobby mechanics
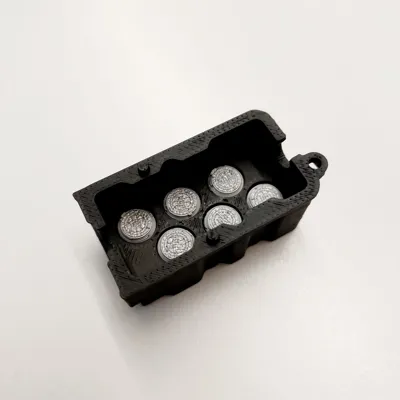
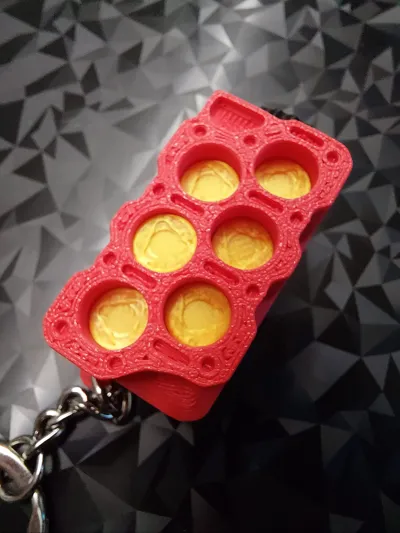
Step 1: Insert pistons into engine block

Step 2: Insert crankshaft at an angle

Step 3: Press into the crankshaft bearing at the arrows with some force. A drop of Lubricant Oil or Lubricant Grease helps with assembly and later as lubrication when the speed is increased.

Step 4: Assemble the oil pan. Glue with superglue to ensure it holds.

Finished! Don't forget to break it in for the first 1000KM please. ;-)

Have fun!

Important Print Note:
Print on a build plate that is flawless, clean, and grease-free!
In the print profile, the "First Layer" speed was specifically reduced to ensure ideal adhesion without additional adhesive. If you wish, use an adhesive, sometimes – better safe than sorry!
- The print profile was created on a P1S with 5000 hours. Print times may vary when using other printers!
License
You shall not share, sub-license, sell, rent, host, transfer, or distribute in any way the digital or 3D printed versions of this object, nor any other derivative work of this object in its digital or physical format (including - but not limited to - remixes of this object, and hosting on other digital platforms). The objects may not be used without permission in any way whatsoever in which you charge money, or collect fees.
Comment & Rating (5)