
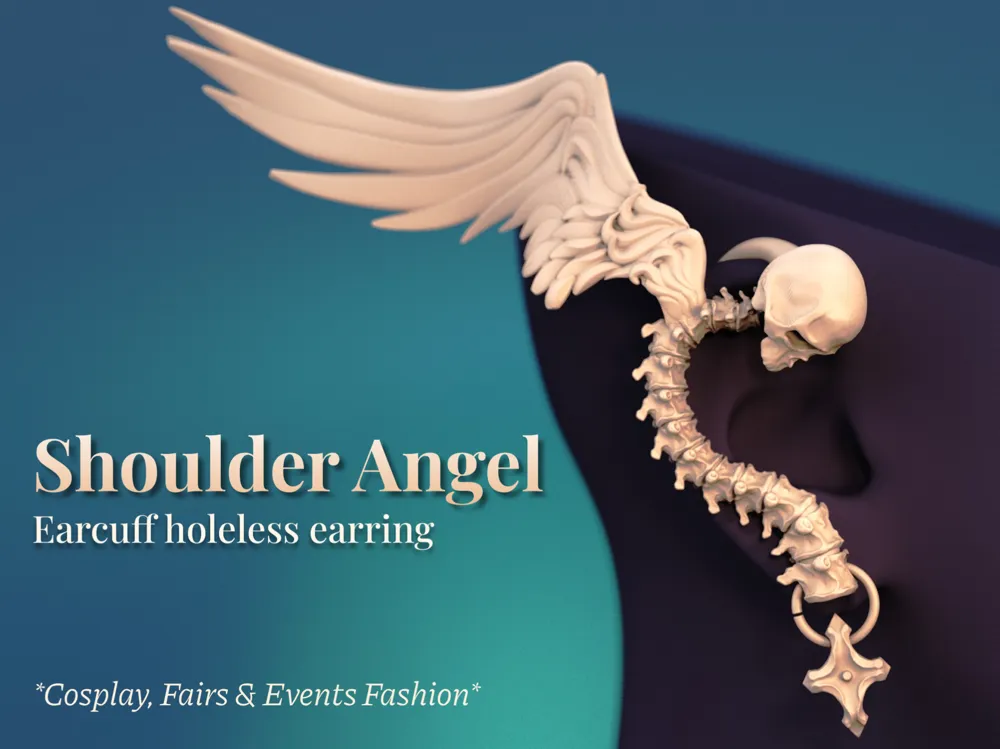
Shoulder Angel - Spine Inspired Earcuff Earrings
Print Profile(1)
Description
*Designer Message*
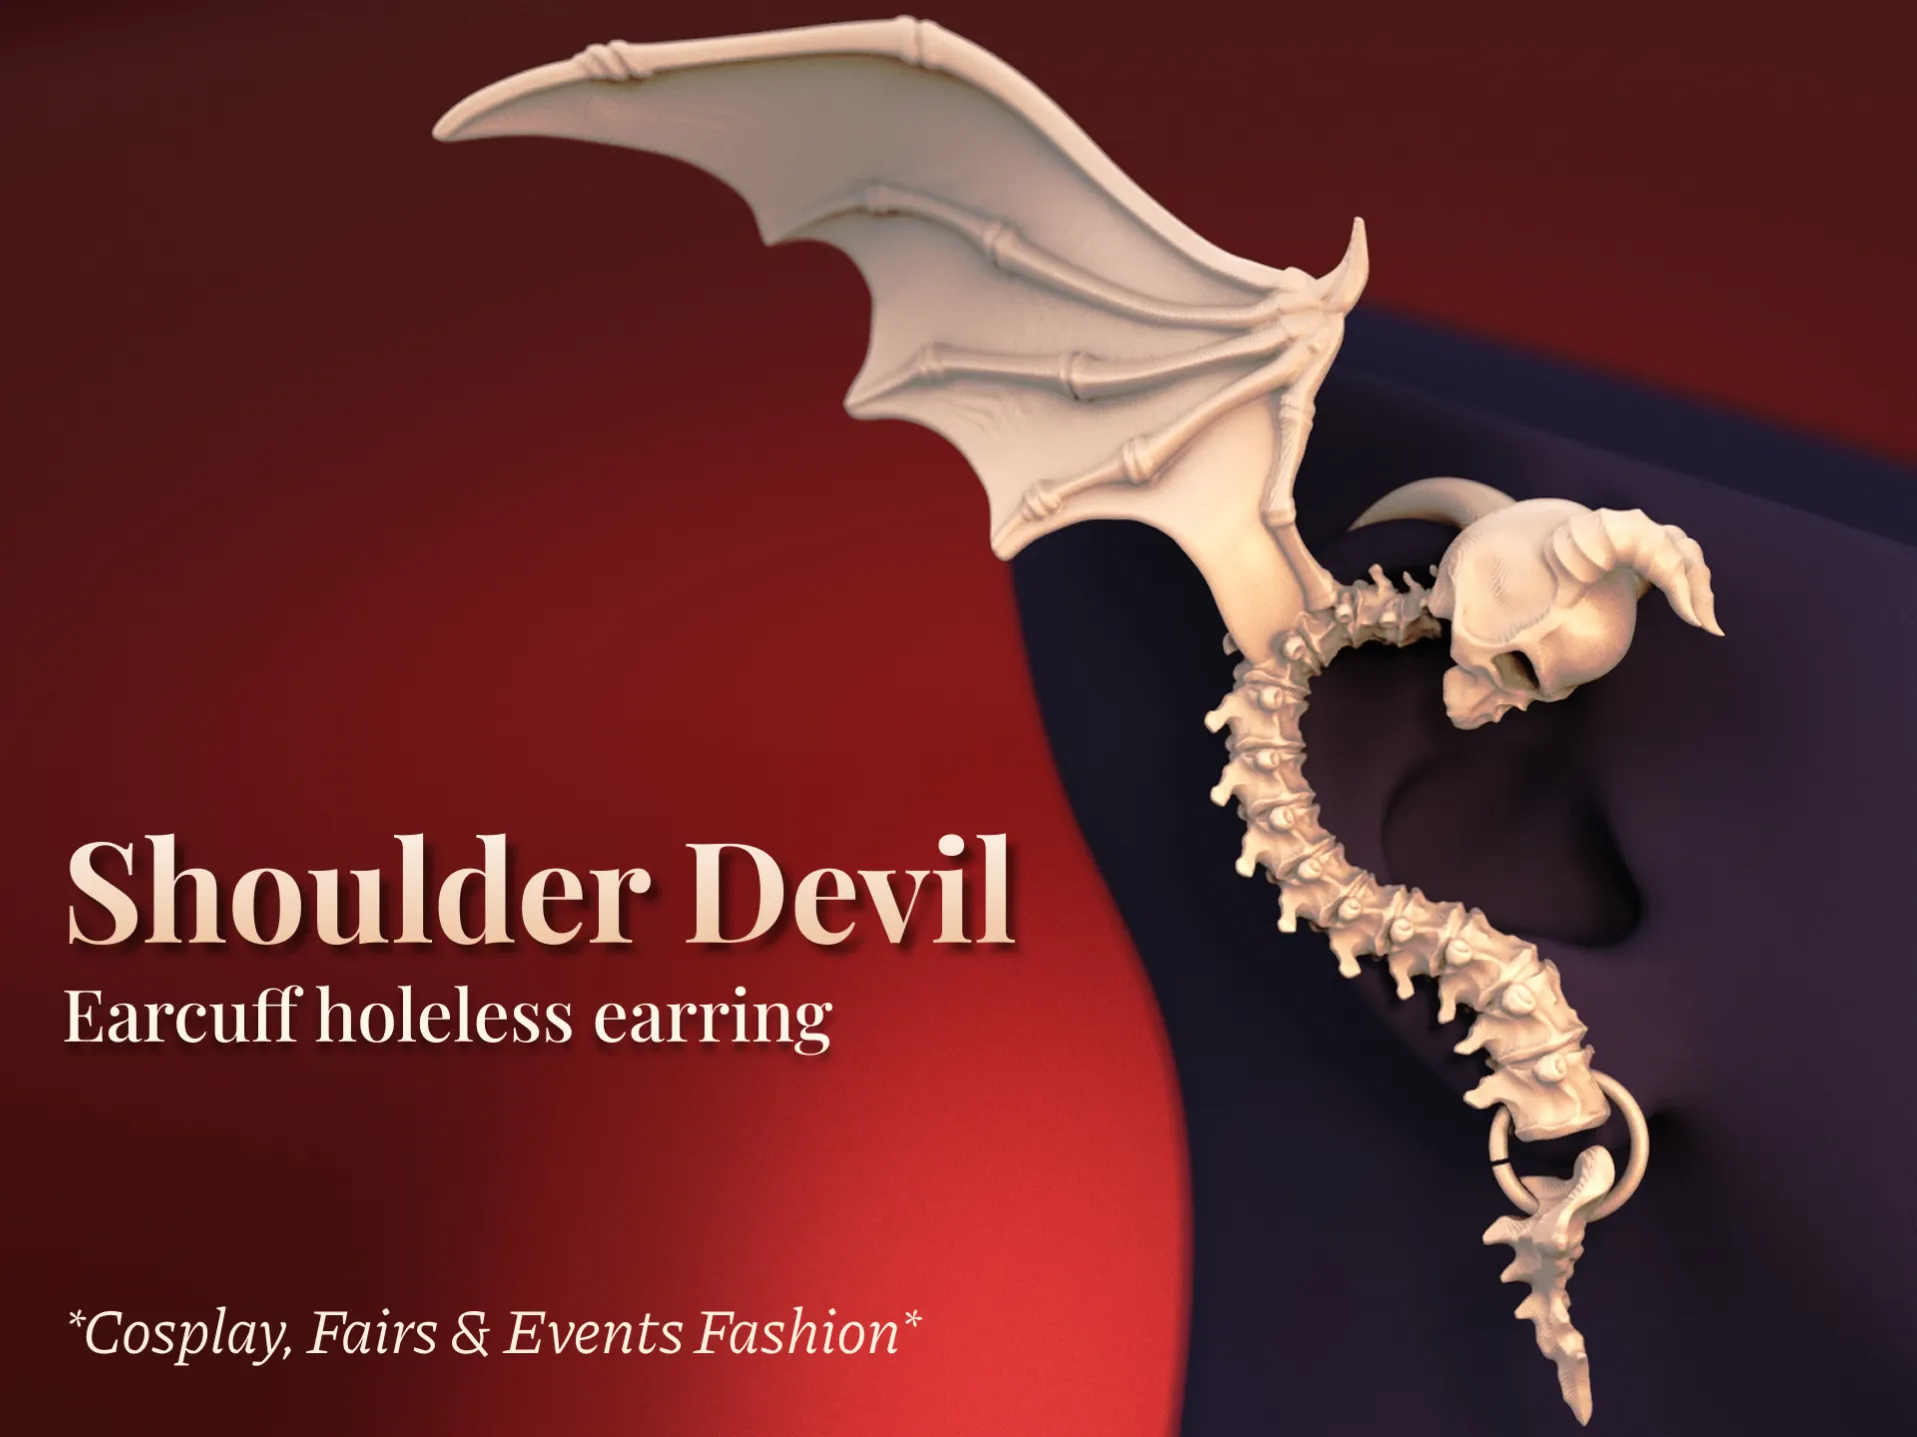
Because of your great feedback and requests on this model, I've created and uploaded its matching set, Shoulder Devil! Hope you enjoy! :)
*End of Designer Message*
Boost Me (for free)
Enjoyed this design? Show it a little love and help me keep creating! 🚀✨
Hey there! :)
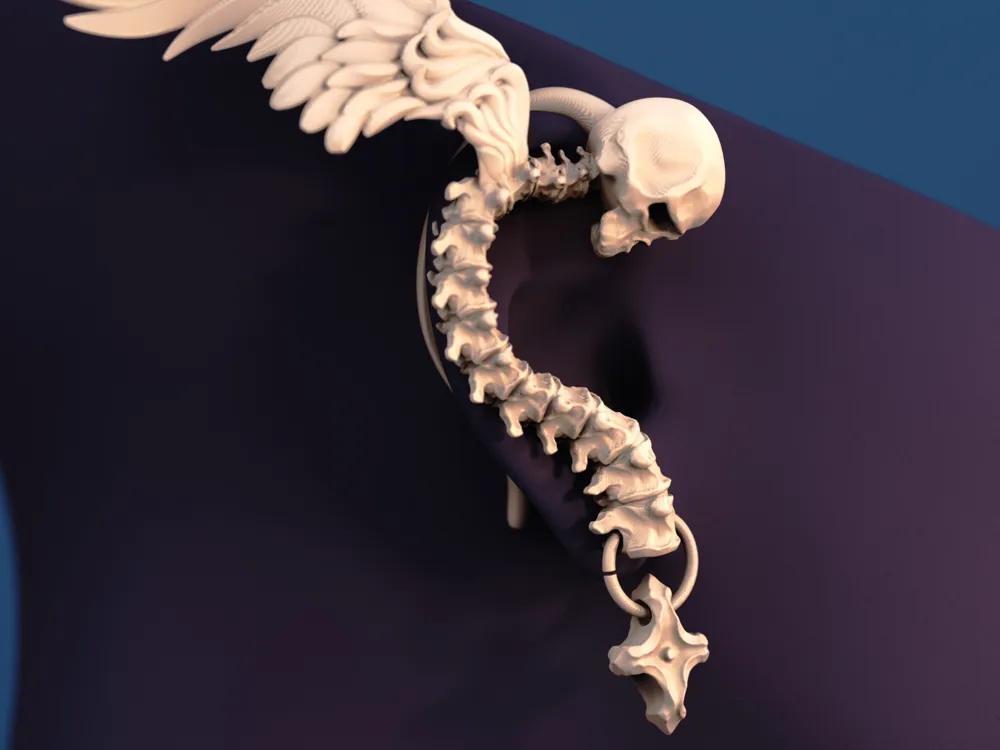
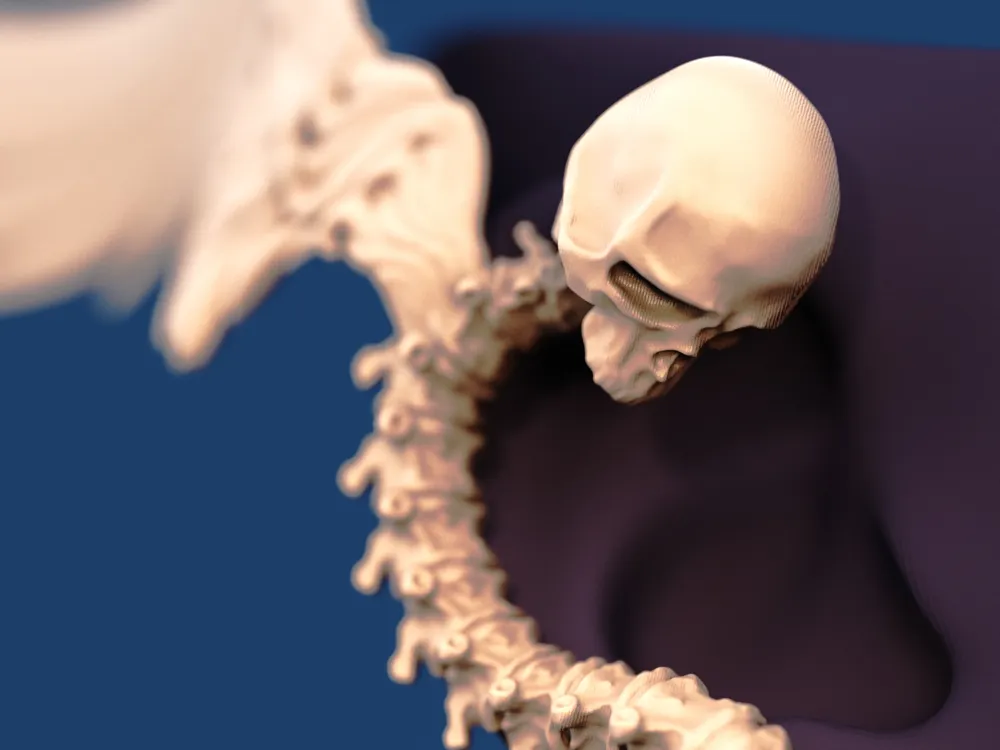
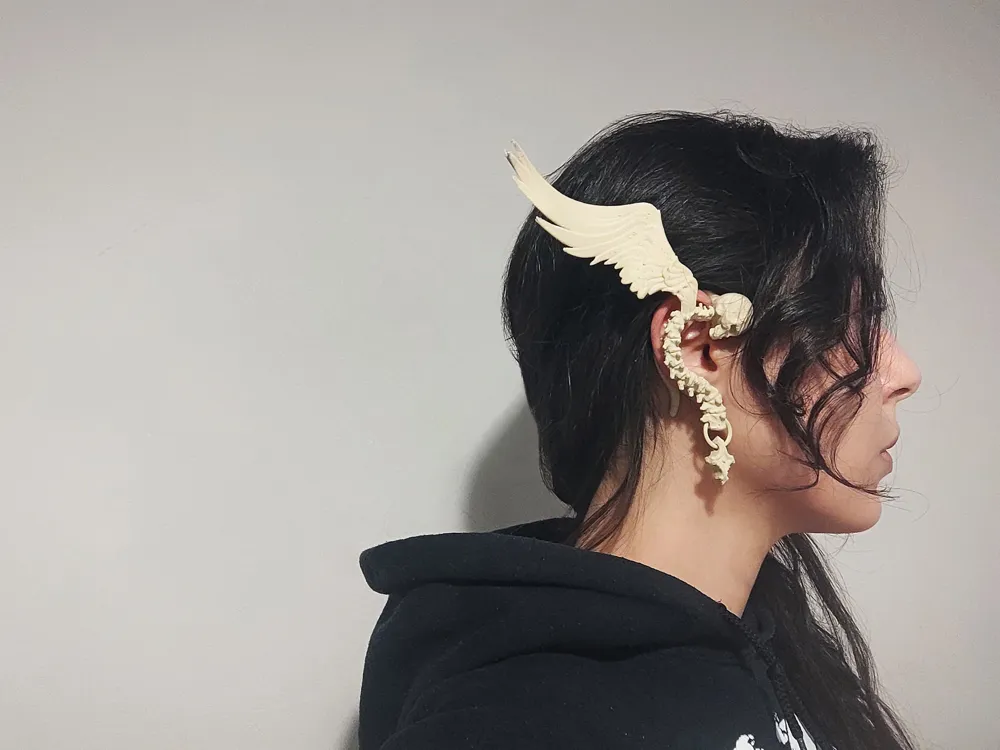
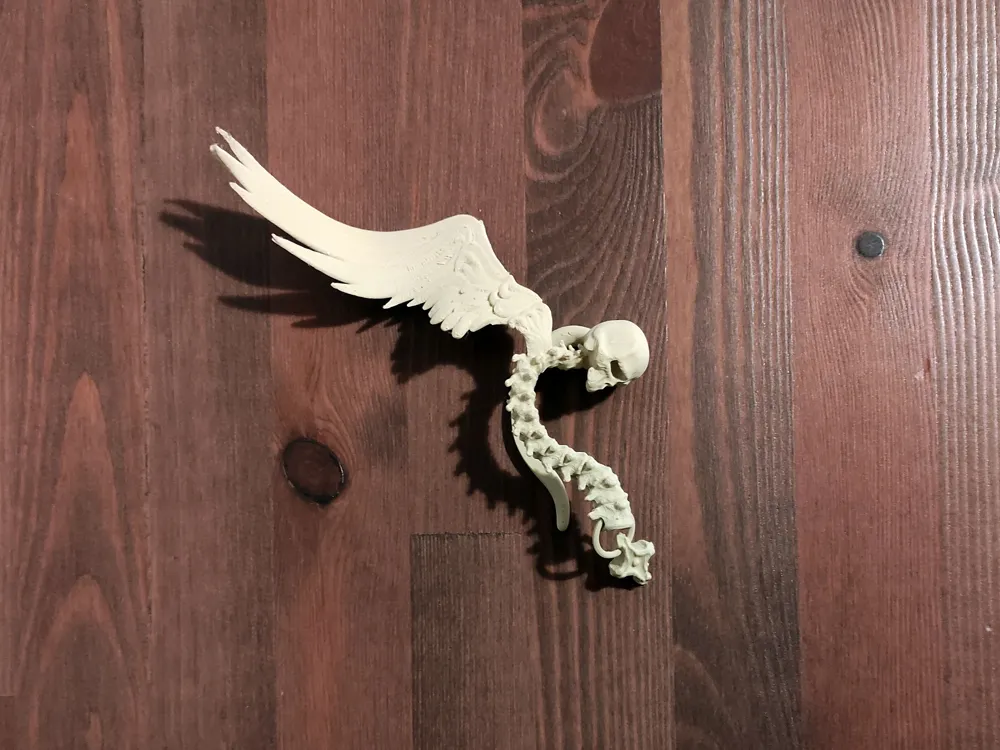
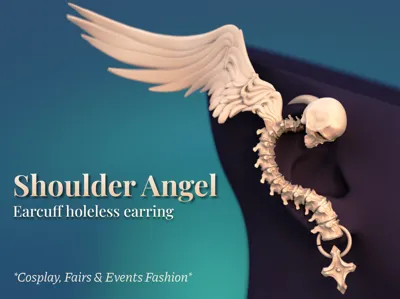
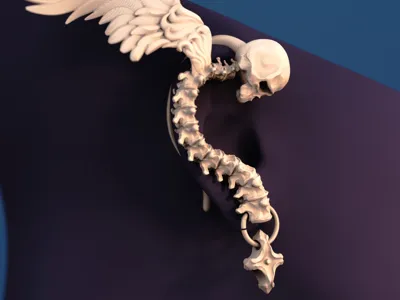
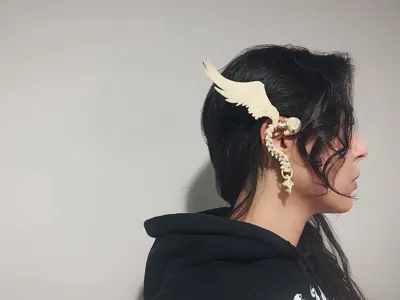
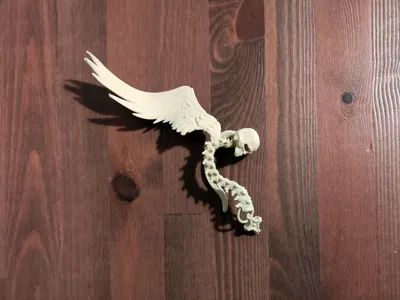
At first, I wanted to just design a detailed human spine as an earcuff earring. But then I tested the first prototype, and I really didn't like how.. plain it looked. So I had this brilliant idea of going in a mythical direction and turning it into a little floating winged body on your ear instead. You know, like the little angel that appears on your shoulder and tells you to do or not to do certain stuff. What does it tell you? Well, it depends on which ear you decide to wear it! :D
So, like my two previous earcuff holeless earrings, my goals for this design were comfort, stability, and being cool. :D However, I learned from your comments under the previous designs and did my best to modify the design to make the support removal easier. Also, I further tuned the print profile to give you clean surfaces and low-hassle supports that break away easily.
Sizing:
- The uploaded profile that fits me best is about 10 cm in the Y direction. To go one size up, select all components and scale them up by about 10%. Use 10% increments to scale it up more.
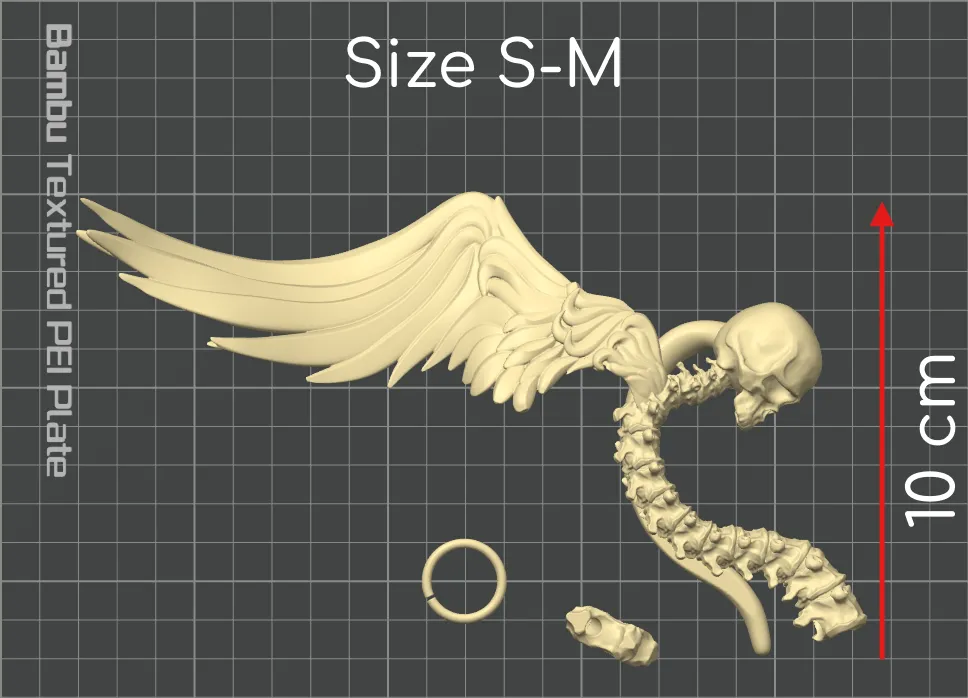
Print Notes (For anyone who's not using the profile I've uploaded):
- 0.12 or 0.16 mm layer heights, 2 walls & 0% infill (to make your print stronger, you can increase the number of walls, but it will make your earring heavier).
- Change the Seam Position to “Nearest”.
- For a better surface quality, you'll need to lower your printing speed quite a lot. I've uploaded this profile with a 90 mm/s wall-printing speed, but I suggest going even lower, to about 60 or 50 mm/s if your printer isn't a Bambulab.
- Enable outer brims generation.
Support Tuning (For anyone who's not using the profile I've uploaded):
- This is a rather support-intensive design, and for that reason, we need trustworthy supports that won't fail, but also break away easily and leave the final surface undamaged and as smooth as possible. Here's how I tuned the profile for that:
- Lower the threshold to about 20 or 25 degrees.
- Increase the initial support expansion to 5 mm.
- Increase the support wall loops to 2.
- Increase the support/object gap to about 0.28 mm.
- Change the Interface Pattern to “Rectilinear”.
And yeah, that's it! :) I hope you get to enjoy it, and happy printing! :) ✨🥂
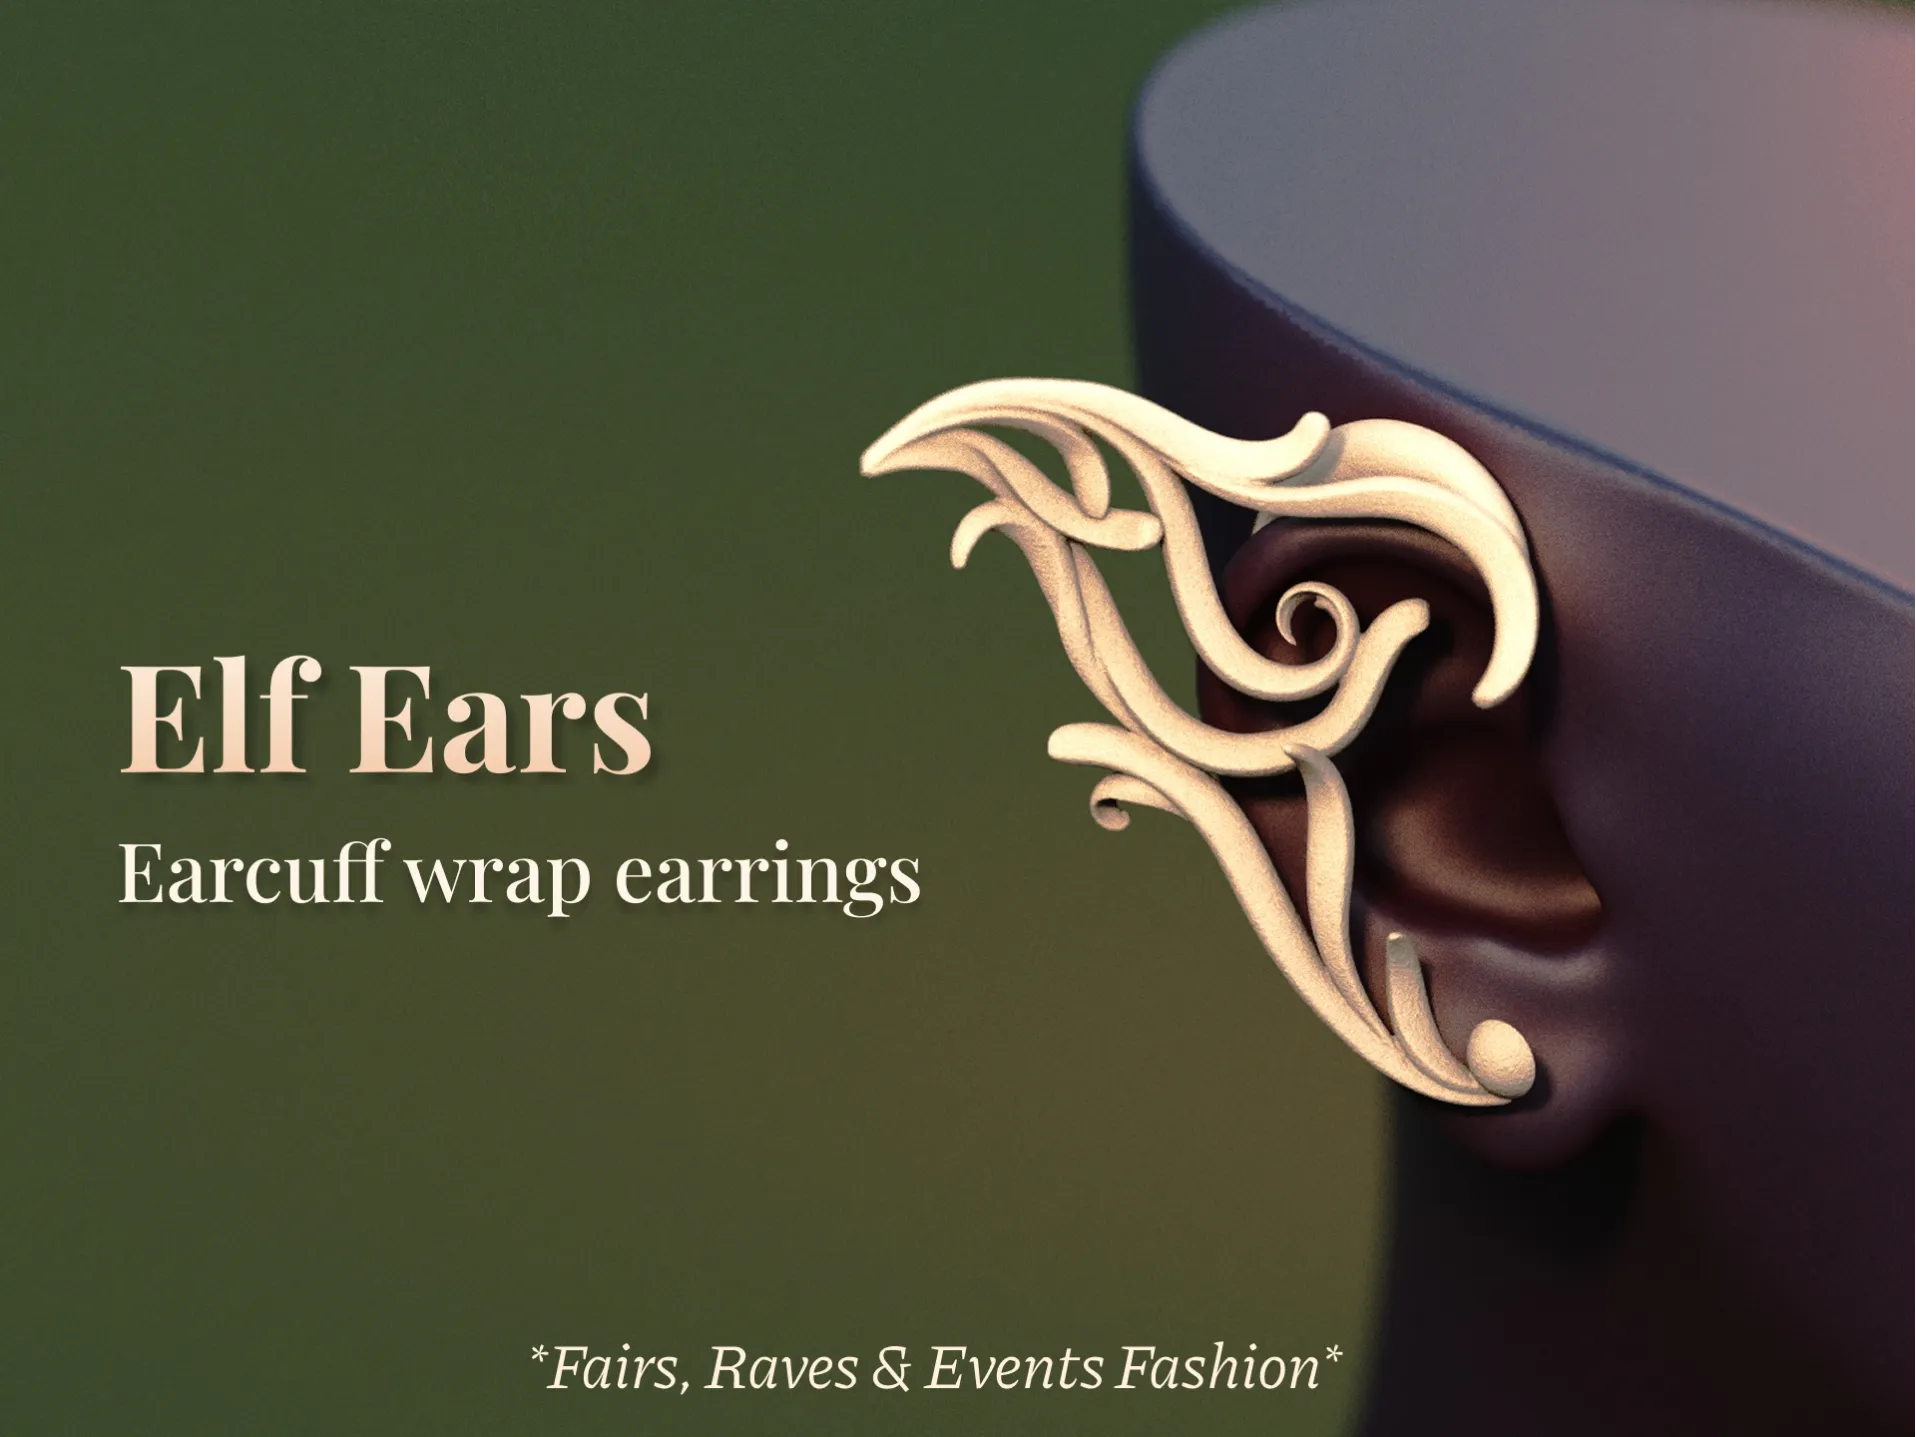
If you liked this print, make sure to check out my other earcuff earrings! (Click on the pictures to open)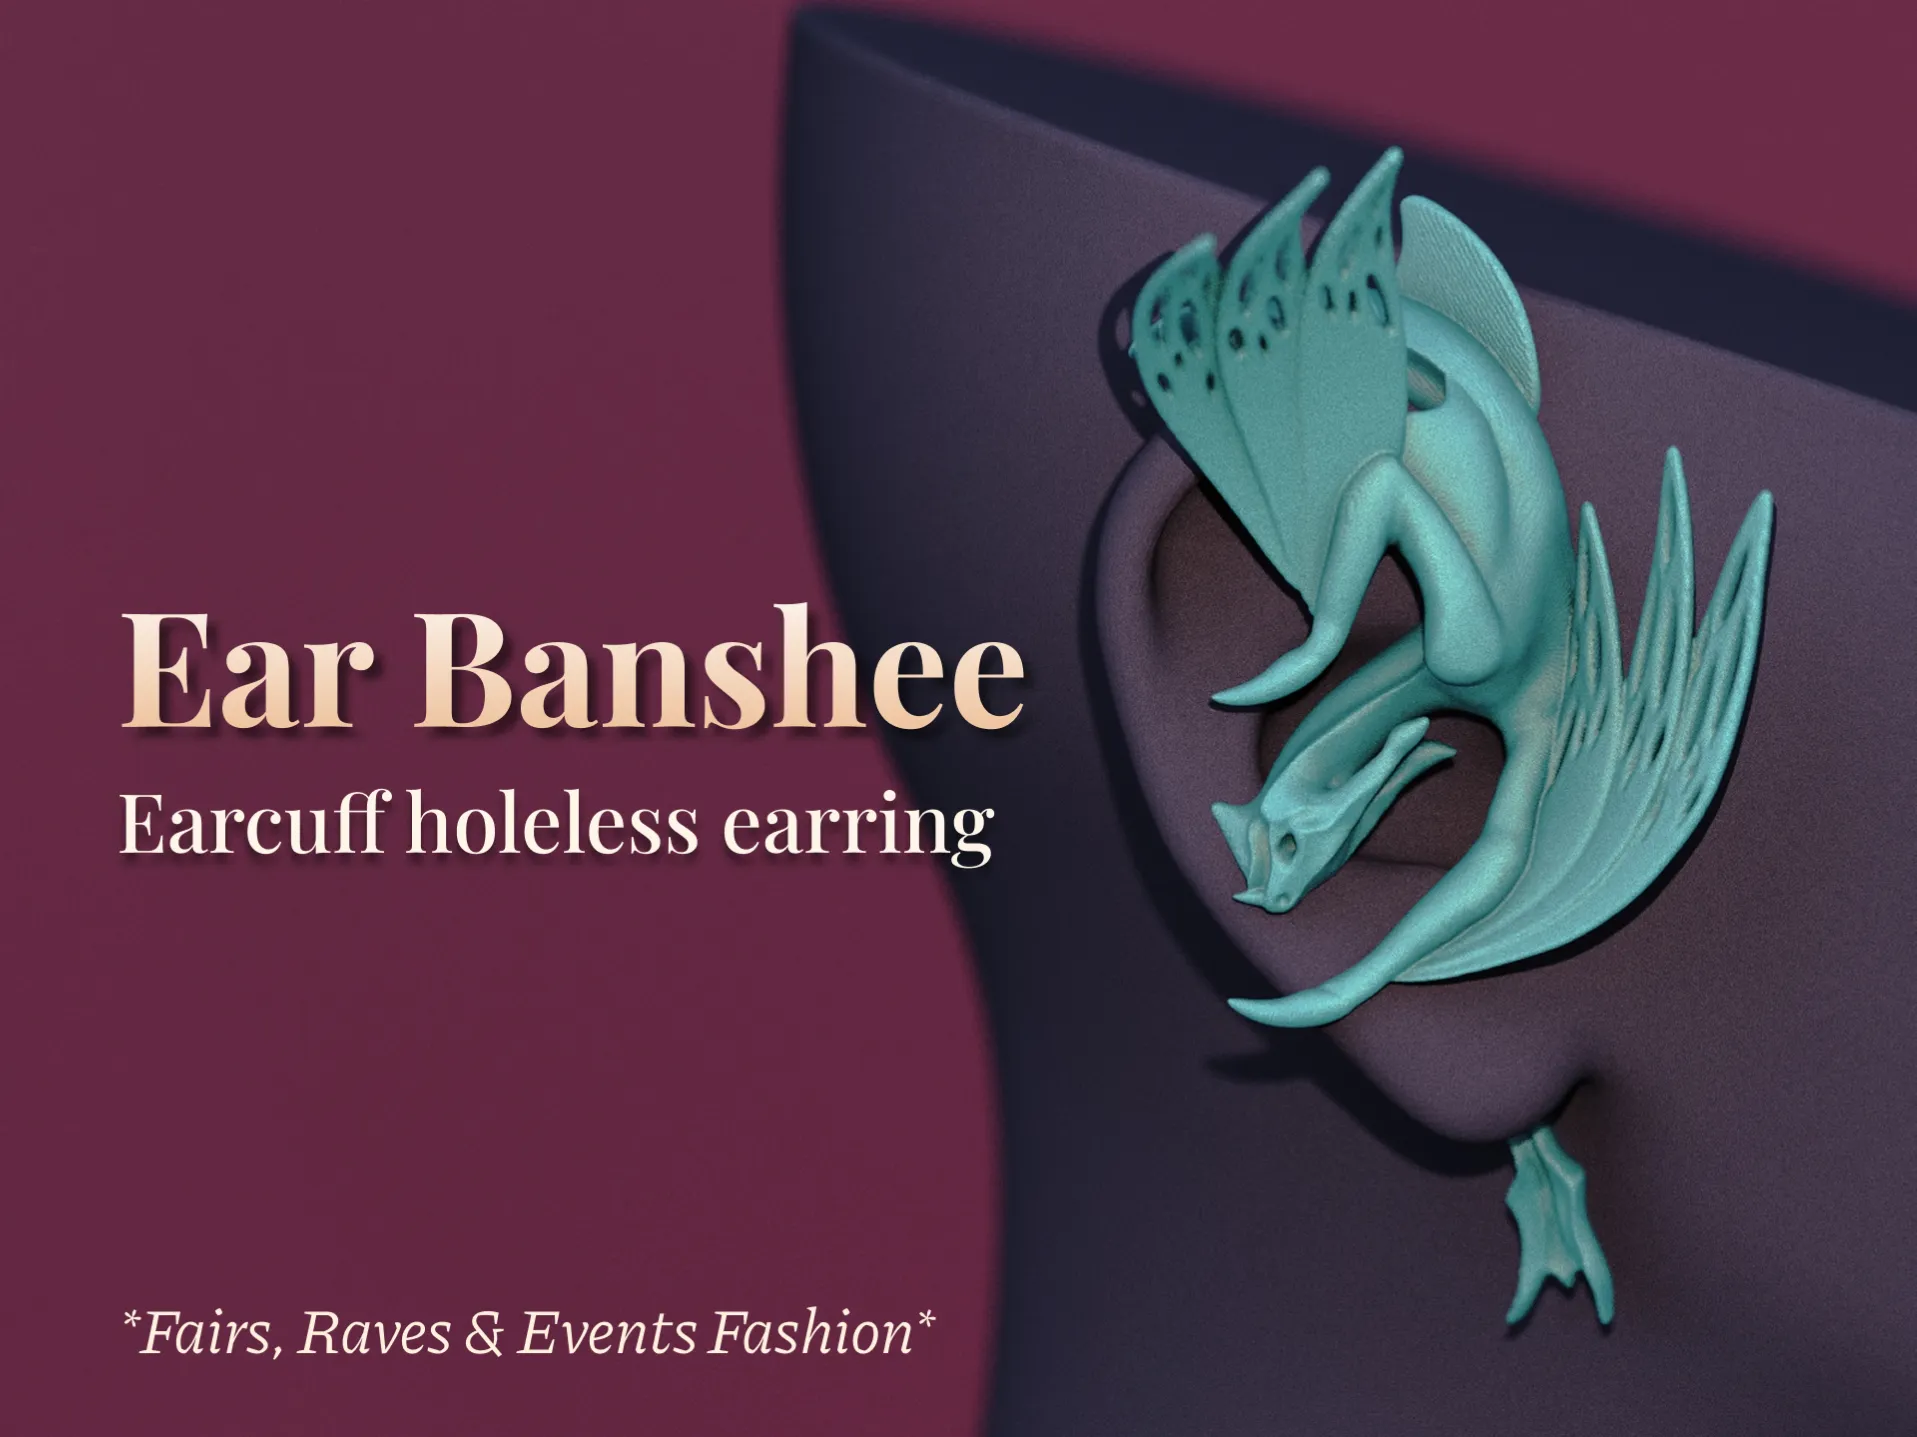
If you really loved my work, you can always get me a coffee :)
(Commercial licences and high-quality renders also available on Ko-fi)

License

You shall not share, sub-license, sell, rent, host, transfer, or distribute in any way the digital or 3D printed versions of this object, nor any other derivative work of this object in its digital or physical format (including - but not limited to - remixes of this object, and hosting on other digital platforms). The objects may not be used without permission in any way whatsoever in which you charge money, or collect fees.


Comment & Rating (42)