Search models, users, collections, and posts

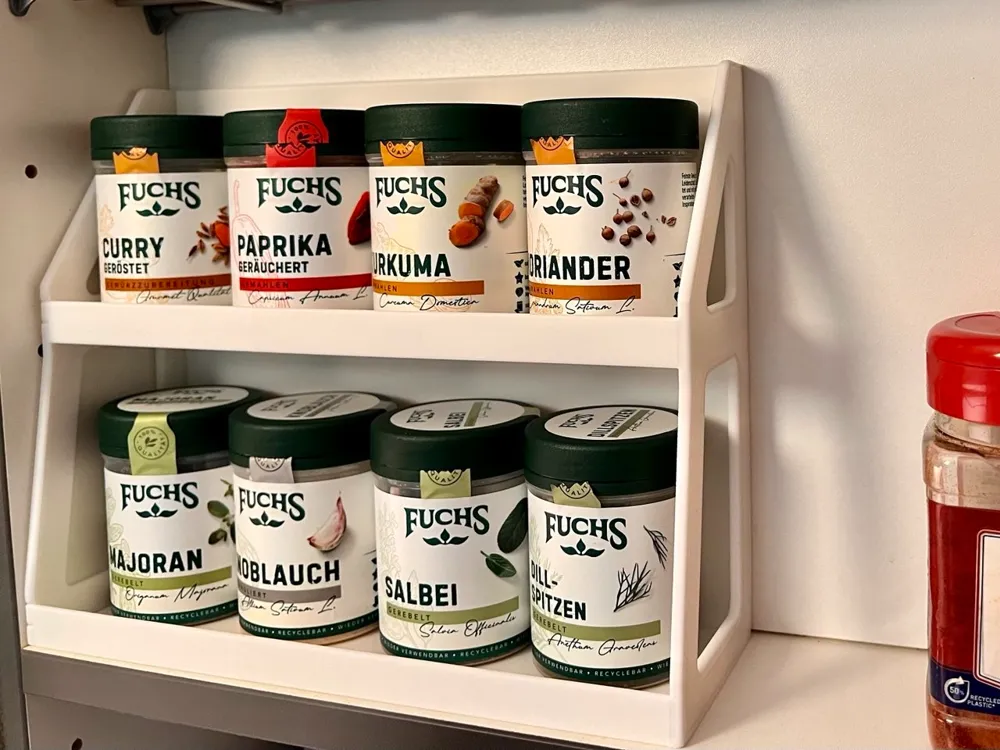
Parametric Two-Tier Spice Rack (No Supports)
IP Report
Print Profile(1)
0.6mm nozzle, 0.3mm layer, 2 walls, 35% infill
Designer
3.7 h
1 plate
Open in Bambu Studio
Boost
7
18
0
0
10
3
Released
Description
Parametric Two-Tier Spice Rack (No Supports)
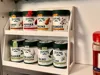
Organize your spices with this fully parametric two-tier spice rack, designed to maximize visibility and make efficient use of cabinet space.
The stepped two-level design allows spice jars to be stacked without hiding the containers in the back. The upper shelf raises the rear row, making labels easier to read and giving you quick access to all your spices.
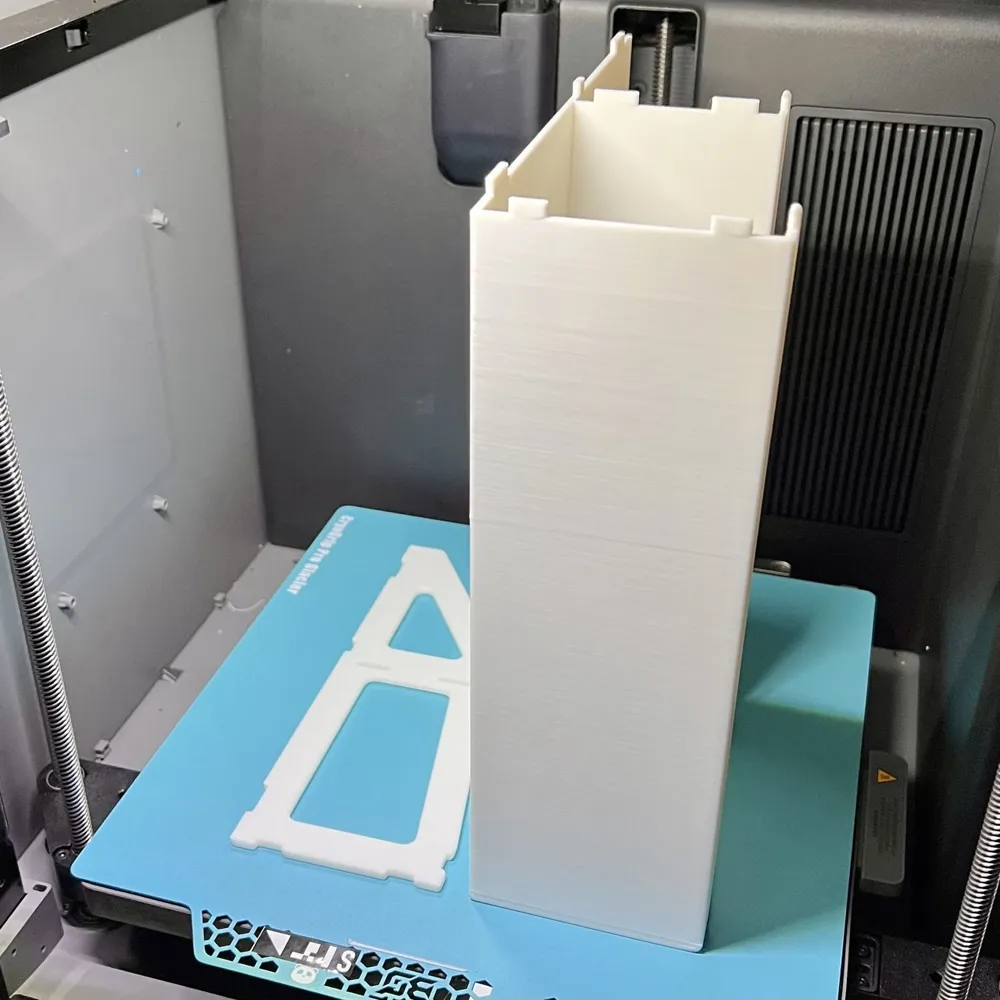
A key feature of this model is the detachable left side wall. It is printed as a separate part and then assembled using alignment pins before being glued in place. This design eliminates problematic overhangs, allowing all parts to be printed without support and with excellent surface quality.
Features
- Fully parametric design
- Two-tier stepped layout for improved visibility and easier access to all spice jars
- Detachable left side wall printed as a separate part
- Integrated tenons for precise alignment and easy assembly
- Optimized geometry for completely support-free printing
- No supports required
- Recommended assembly with thin CA glue applied after insertion
- Customizable dimensions to fit different spice jars and cabinet sizes
Printing Recommendations
- No supports required
- Recommended nozzle size: 0.6 mm
- Recommended layer height: 0.30 mm
- Recommended materials: PLA, PETG, or ABS
Assembly
- Print the main body and the detachable left side wall.
- Insert the integrated tenons on the side wall into the matching slots in the main body.
- Ensure all parts are fully seated.
- Apply a small amount of thin CA glue (cyanoacrylate / super glue) to the tenon slots and allow it to wick into the joints.
- Let the adhesive cure completely before use.
License

This user content is licensed under a
Creative Commons Attribution-Noncommercial


Comment & Rating (0)