


Print Profile(1)
Description
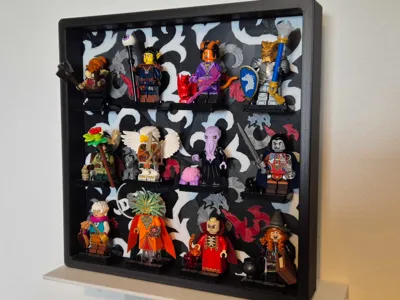
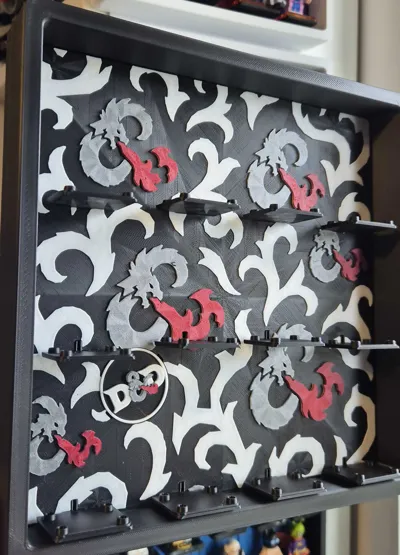
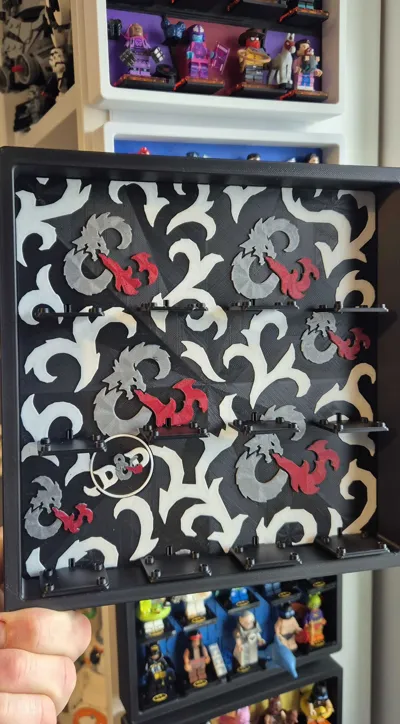
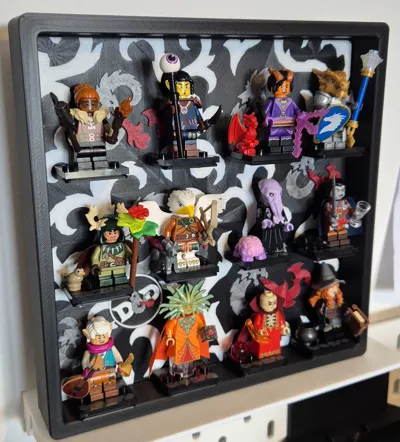
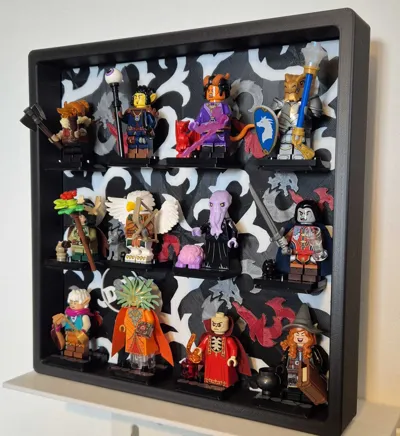
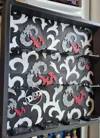
Display frame for the Dungeons & Dragons (71047) theme Collectable Brick Minifigure Series (CMF).
Completely 3d printed, no other hardware needed!
Will hold all 12 minifigures plus extra wide / deeper holders for the accessories.
----------------------------------------
Updates:
30/05/26 A new addition to the collection - a protective dust cover for these frames to keep your minifigures clean and dust free: https://makerworld.com/en/models/2864798-protective-dust-cover-for-minifigure-display-frame
See my other models for variations on this design holding different amount of minifigures: https://makerworld.com/en/collections/22219162-legos-minifigure-display-frames
I have updated the frame design so it uses less support material and will print fine with normal PLA supports and with the settings in the profile.
----------------------------------------
Easy to assemble, print which version of the background you want, print the frame and lower insert, print the pin plate (choice of one with a paper holder or hanger) and then print the minifigure bases.
The Background should slide in snugly to the frame first before adding the minifigure bases, slot in the lower piece and then push the pin plate in to secure.
Once this is assembled you can press into place the minifigure holders where you want them, I recommend putting the bases on first to all 12 holders and then adding the minifigures afterwards - there is one deeper holder on plate 5 compared to the rest, this is for the Tiefling Sorcerer due to her tail.
There is an integrated screw hook on the back to hang it (remember to remove supports), or just free stand it - and also included a pin plate that allows you to stack these as shown in the pictures.
AMS/No AMS
If you do not have an AMS pause at layer 30 to change to White, then on layer 36 to change to grey and then 42 for the red, same for the logo, you can pause at layer 9, 18, and 21 to change colours.
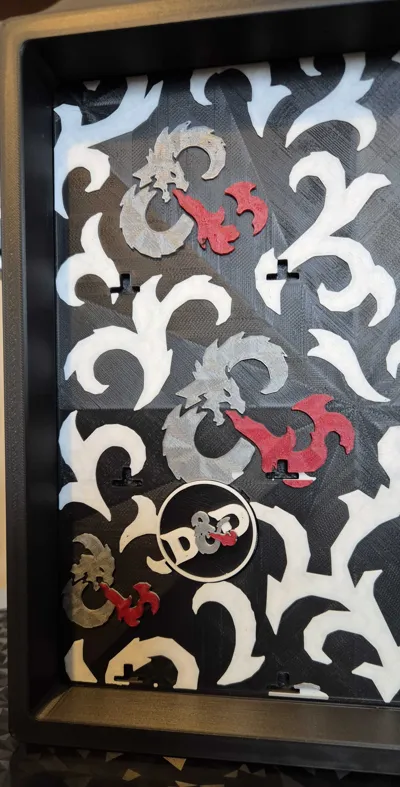
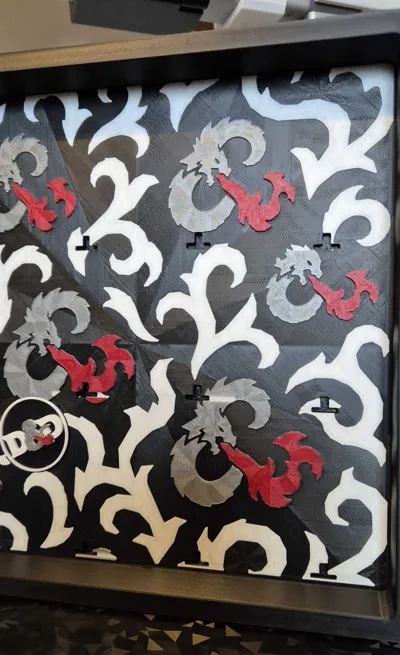
The background has designed in reliefs to help prevent the corners curling, it only adds a bit of time and extra filament but I have found it to be very effective.
Hope you like this, leave a comment and picture if you used other colours and drop a boost to support me if you can!
License
You shall not share, sub-license, sell, rent, host, transfer, or distribute in any way the digital or 3D printed versions of this object, nor any other derivative work of this object in its digital or physical format (including - but not limited to - remixes of this object, and hosting on other digital platforms). The objects may not be used without permission in any way whatsoever in which you charge money, or collect fees.
Comment & Rating (1)