
War of 1812 Soldiers: "Standing Infantry" (23 tot)
Print Profile(1)
Description
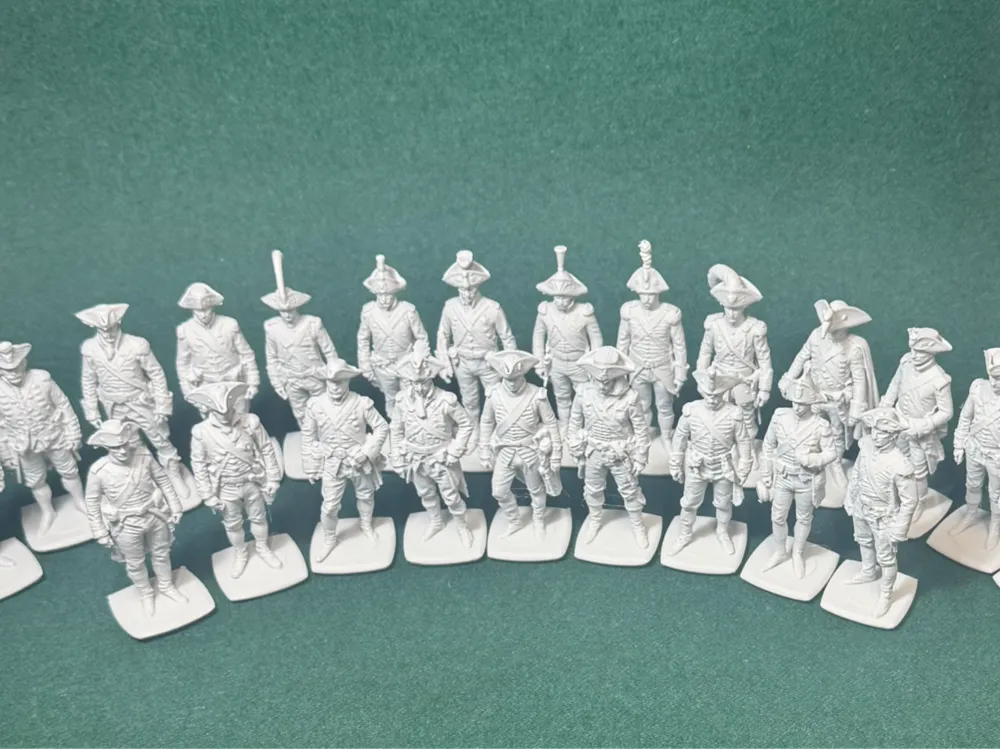
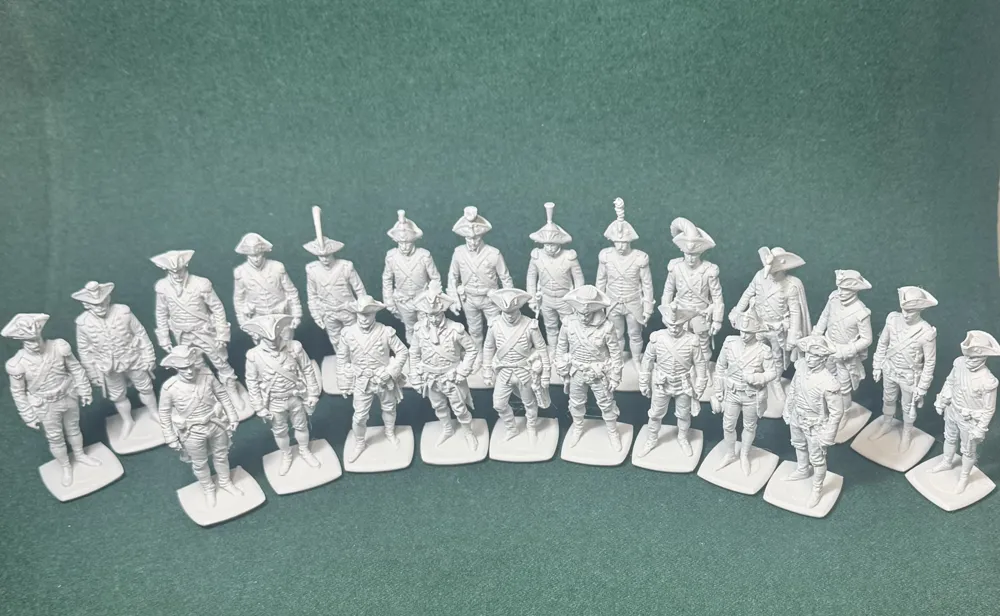
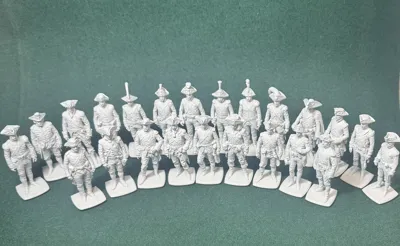
Soldier War of 1812
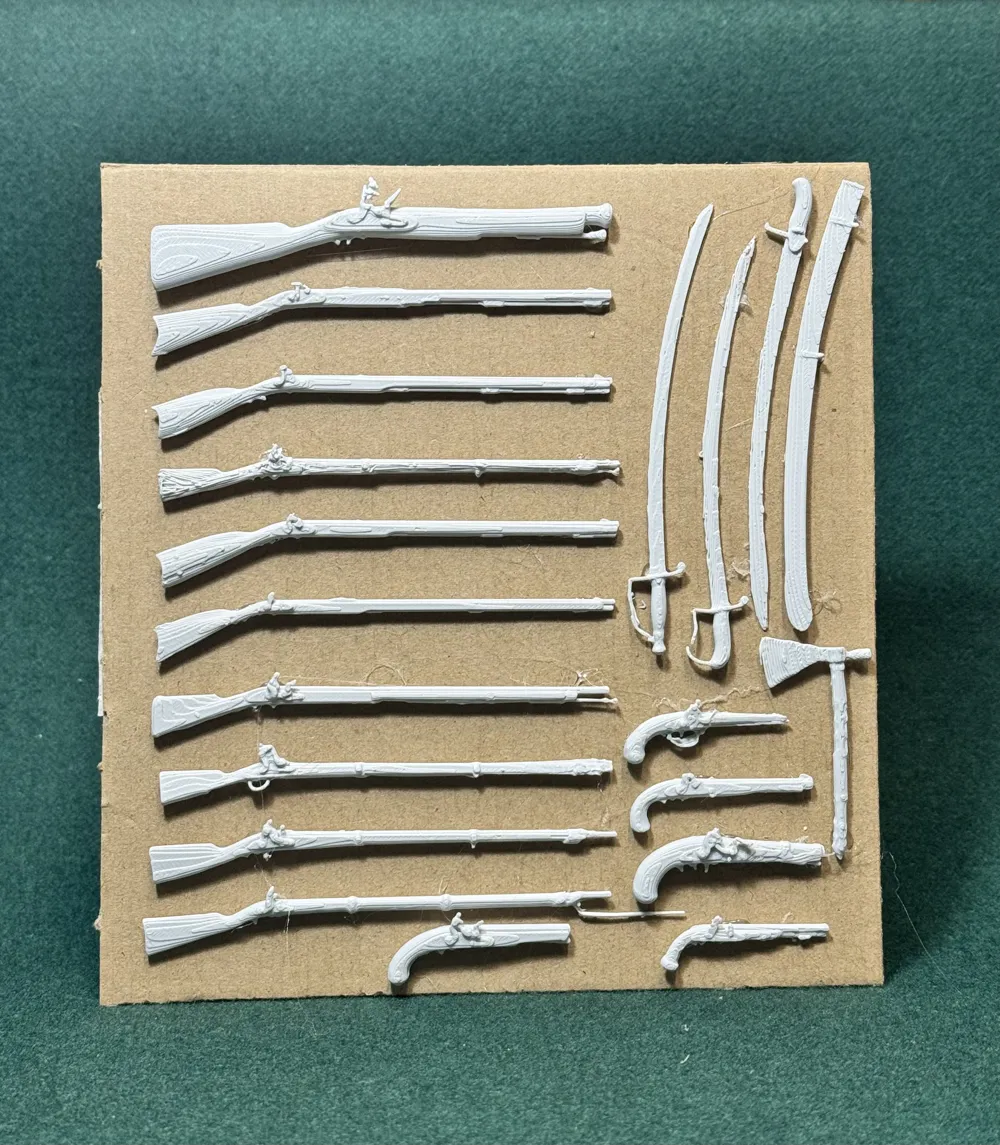
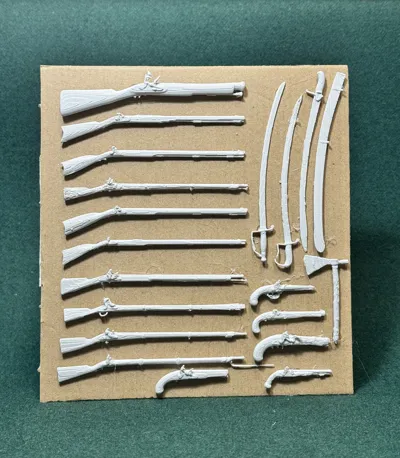
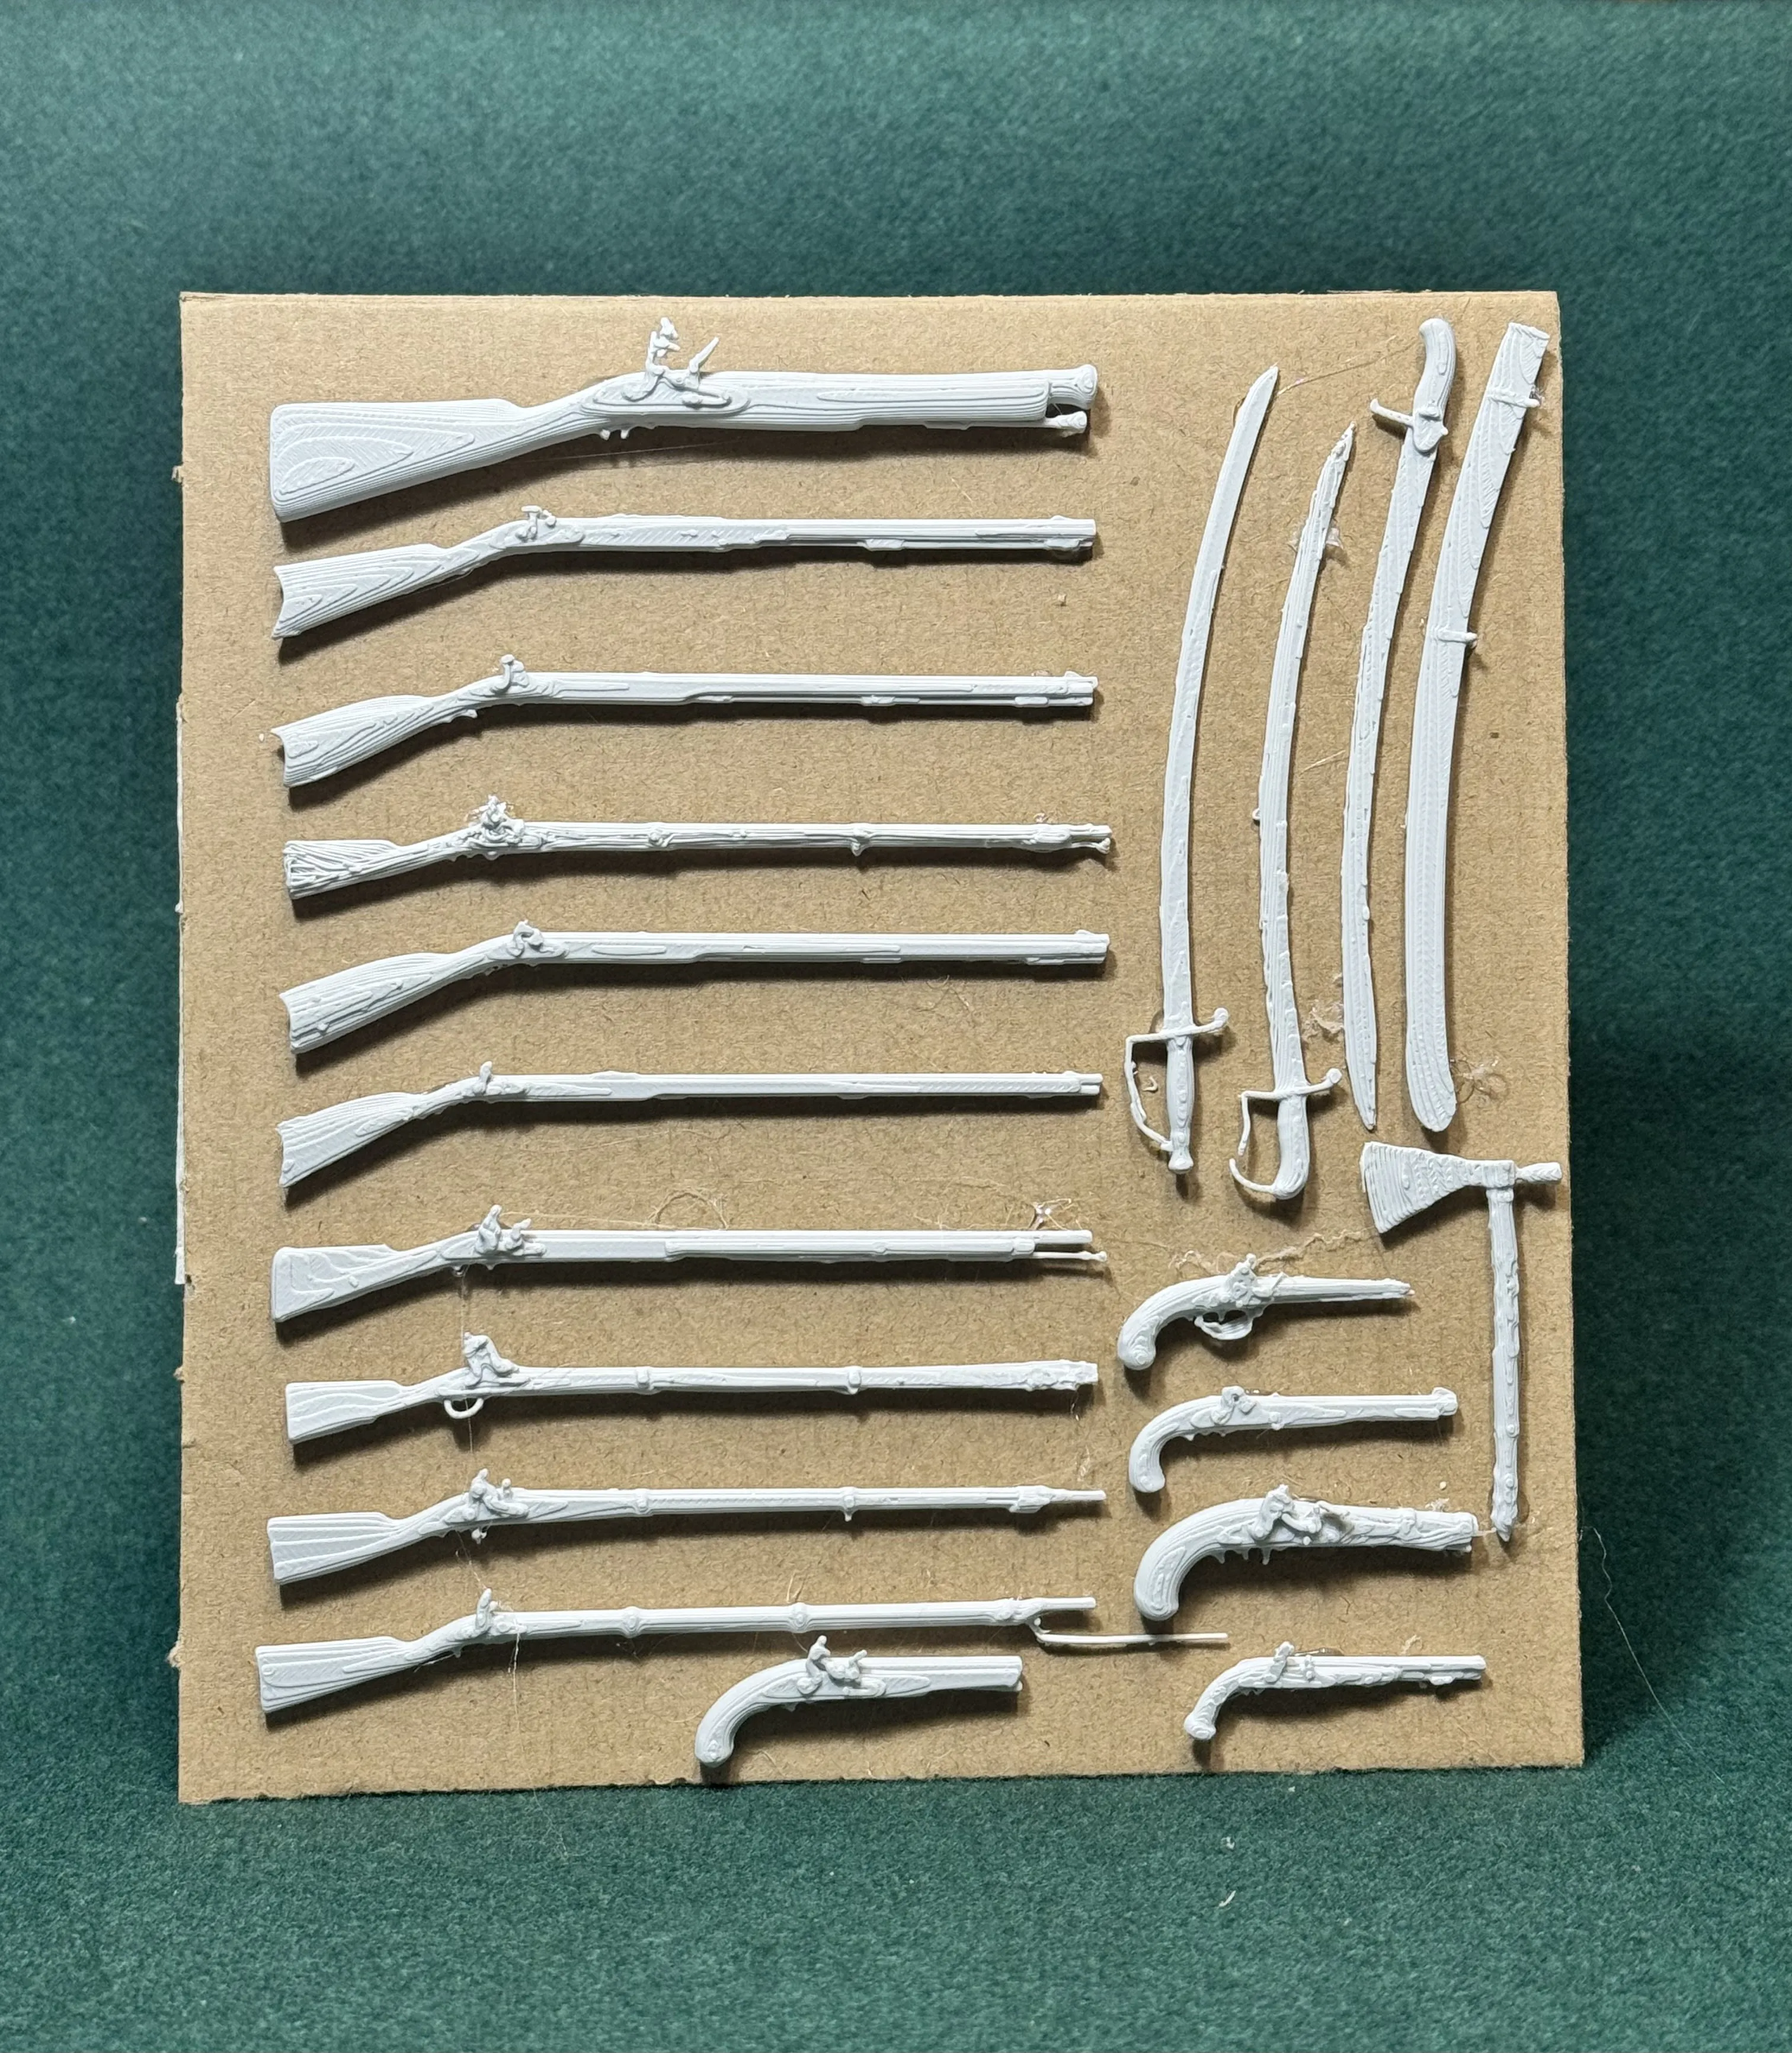
“These models are provided WITHOUT weapons, allowing you to choose which weapons each soldier will carry. Also included is an STL file containing a selection of weapons used during this war.
To achieve the best fit, both the soldier model and the weapon files will need to be scaled together inside your slicer program. This process can only be done using a computer-based slicer, with both files loaded at the same time.
Once you determine the correct scaling percentage, you can reuse the same settings for future soldiers and weapons in the series, making all future assembly much easier.”
21 of the 23 in this upload. (For some reason MakerWorld will not allow the full list of images.)
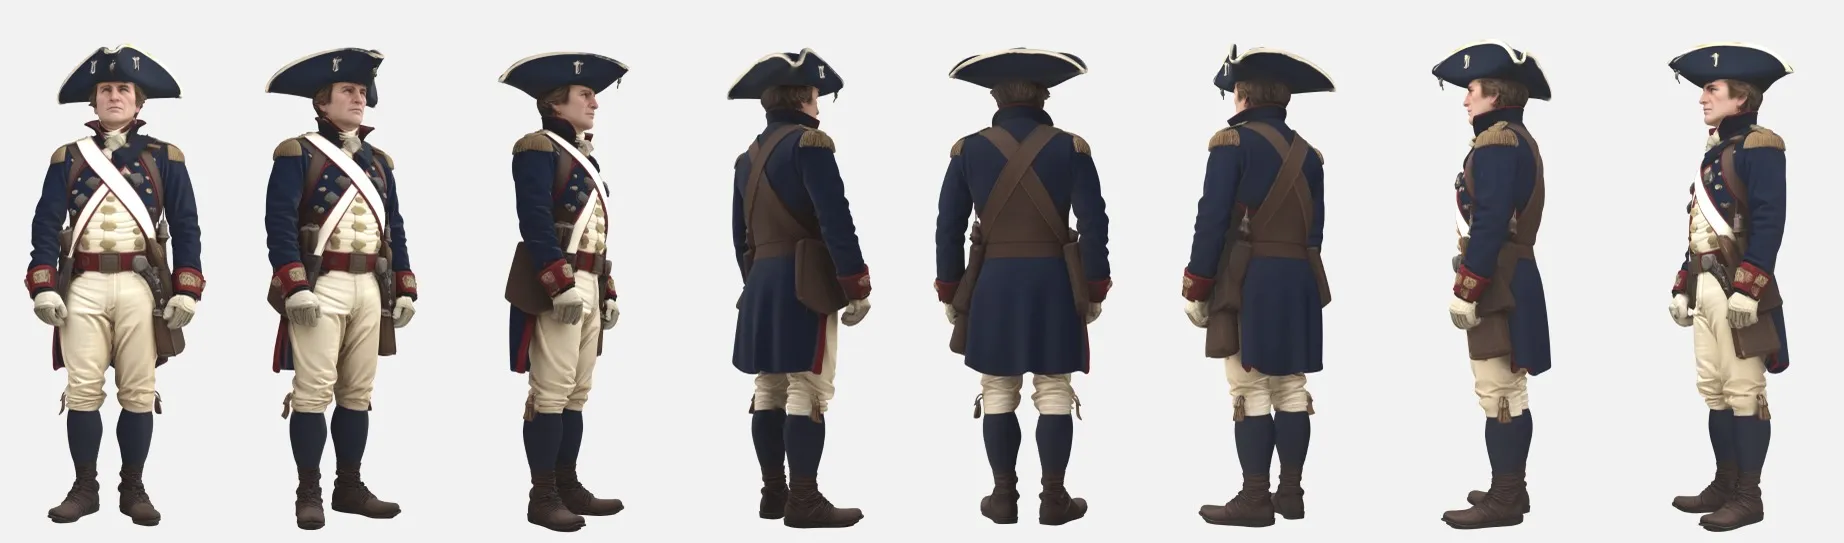
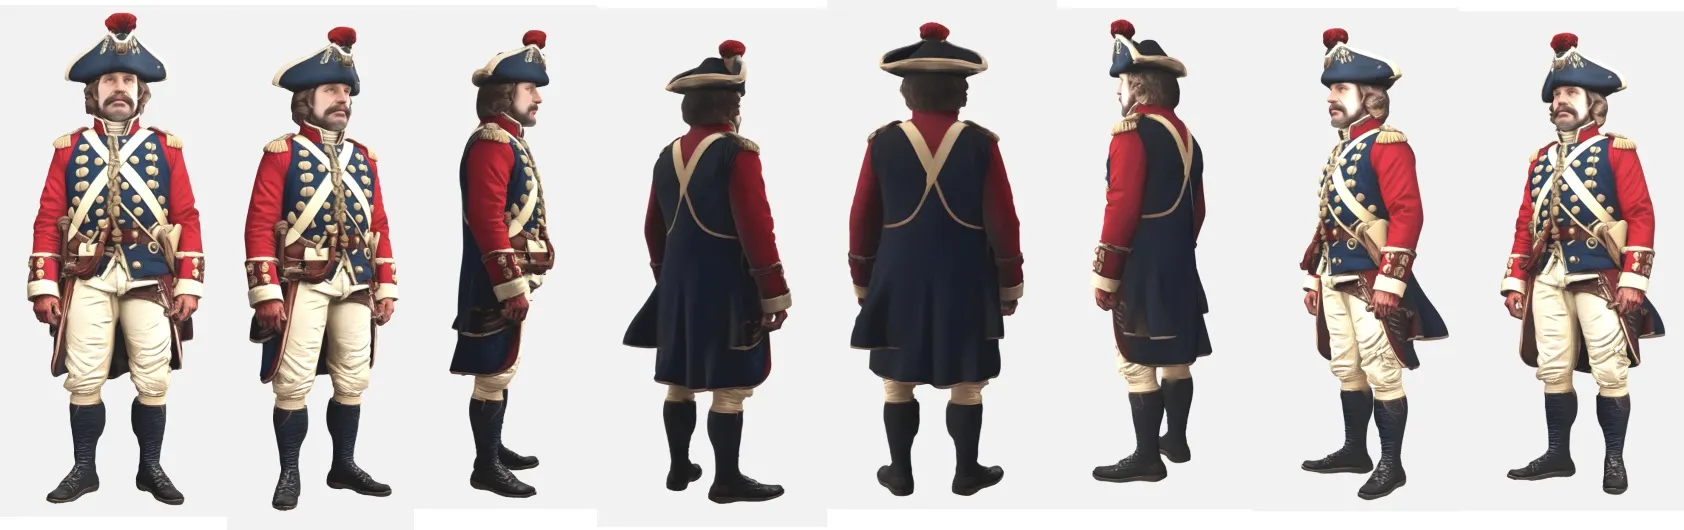
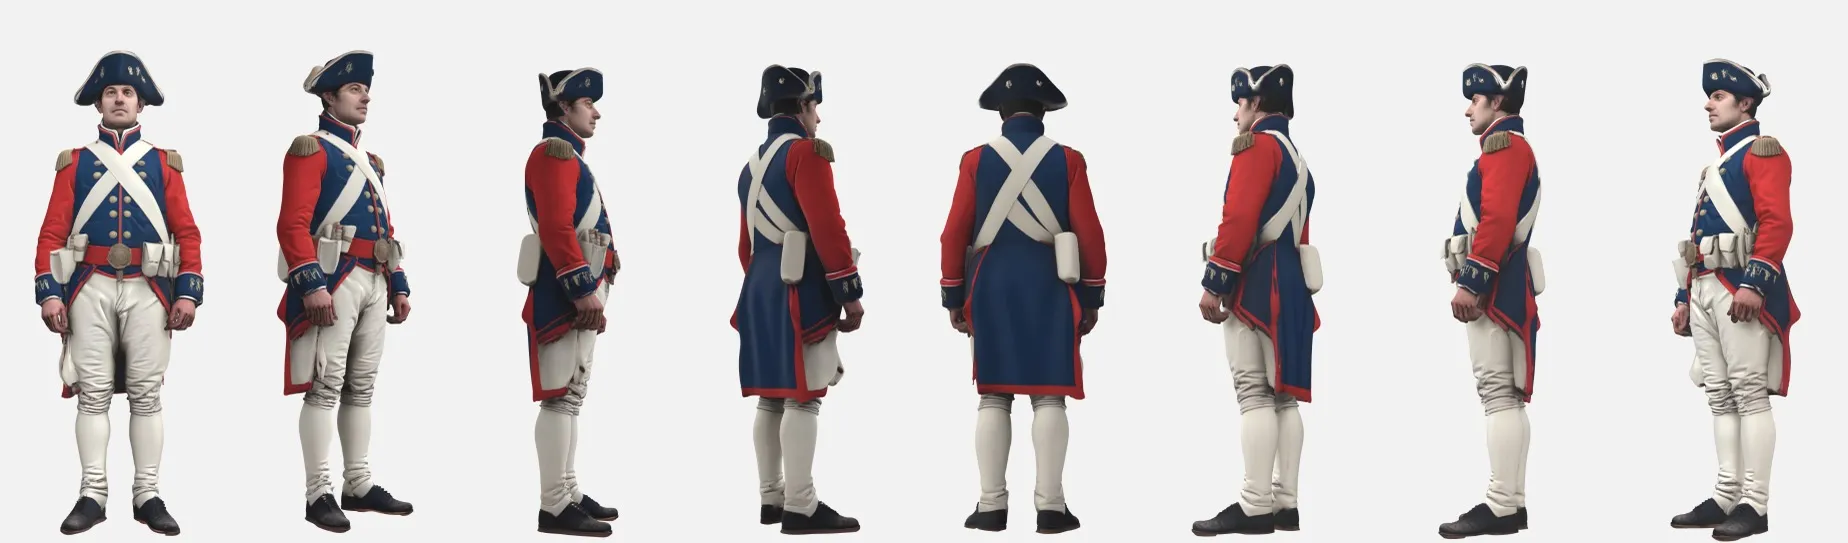
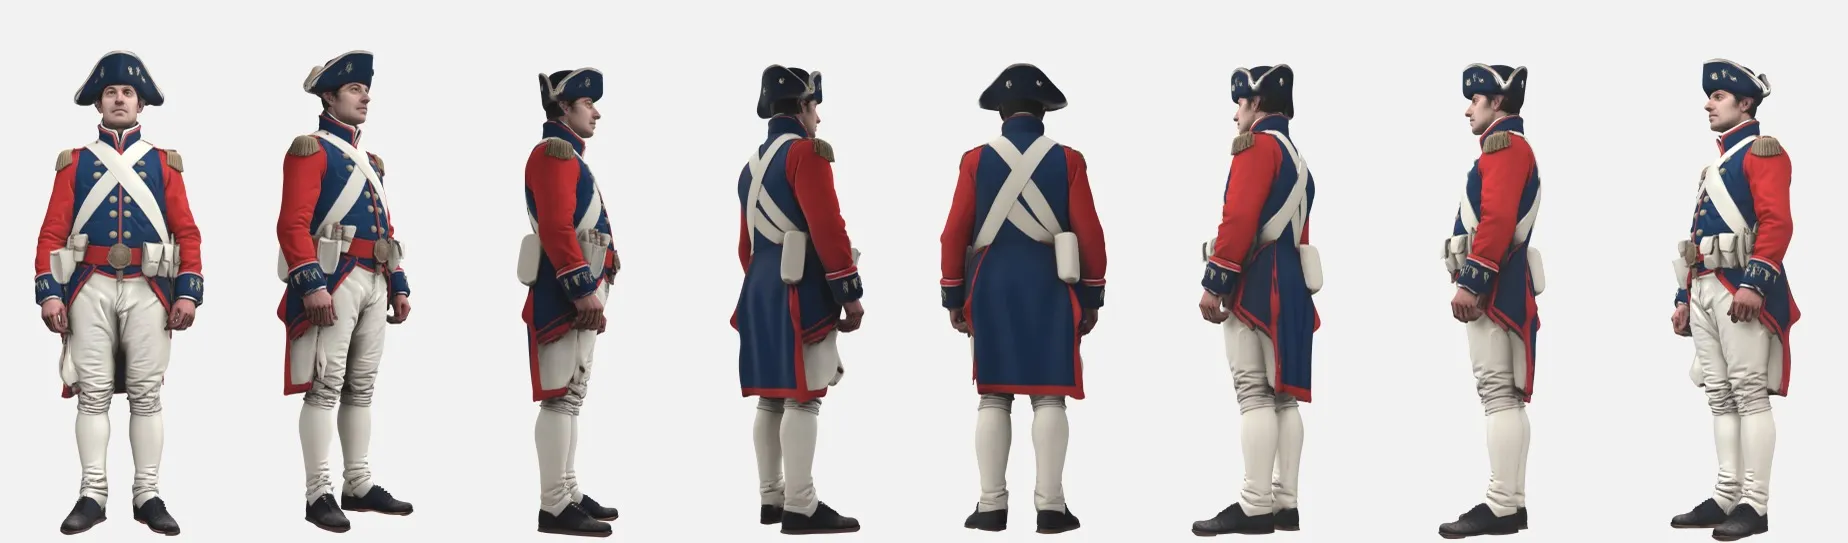
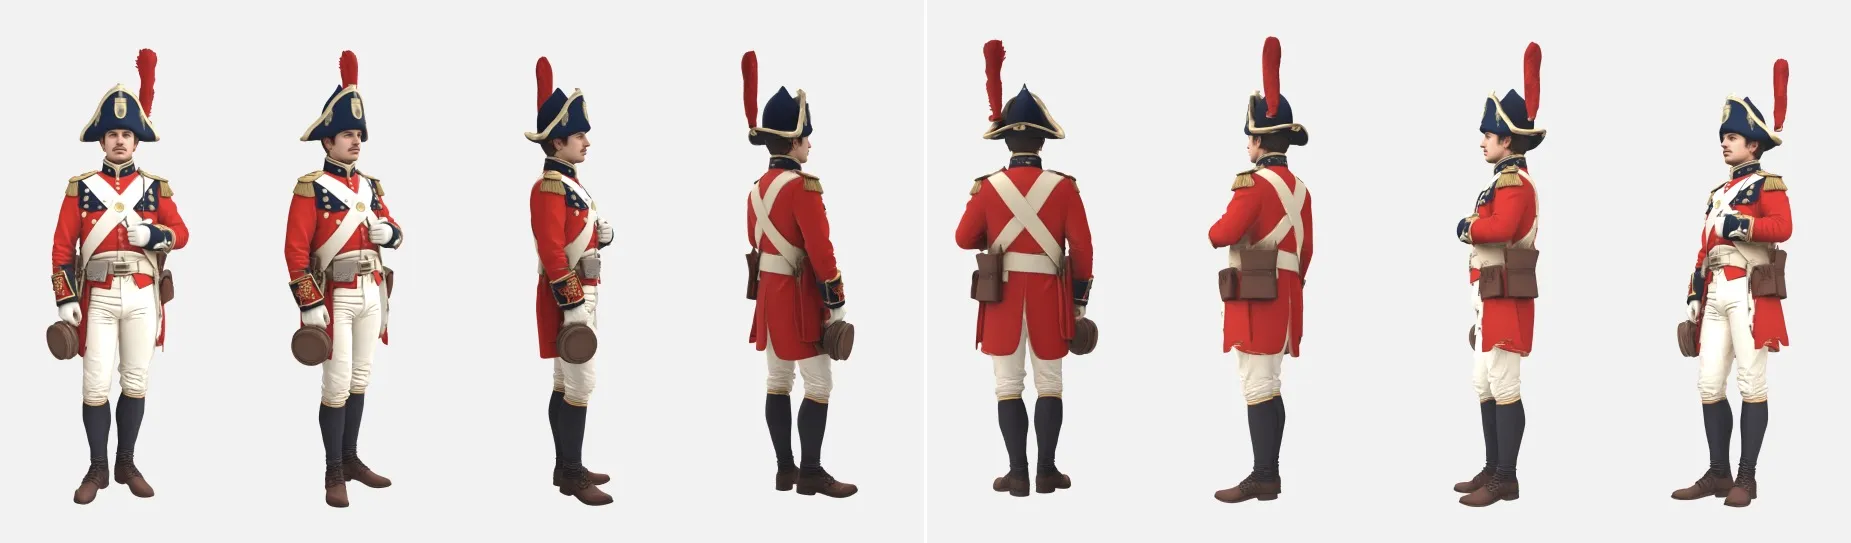
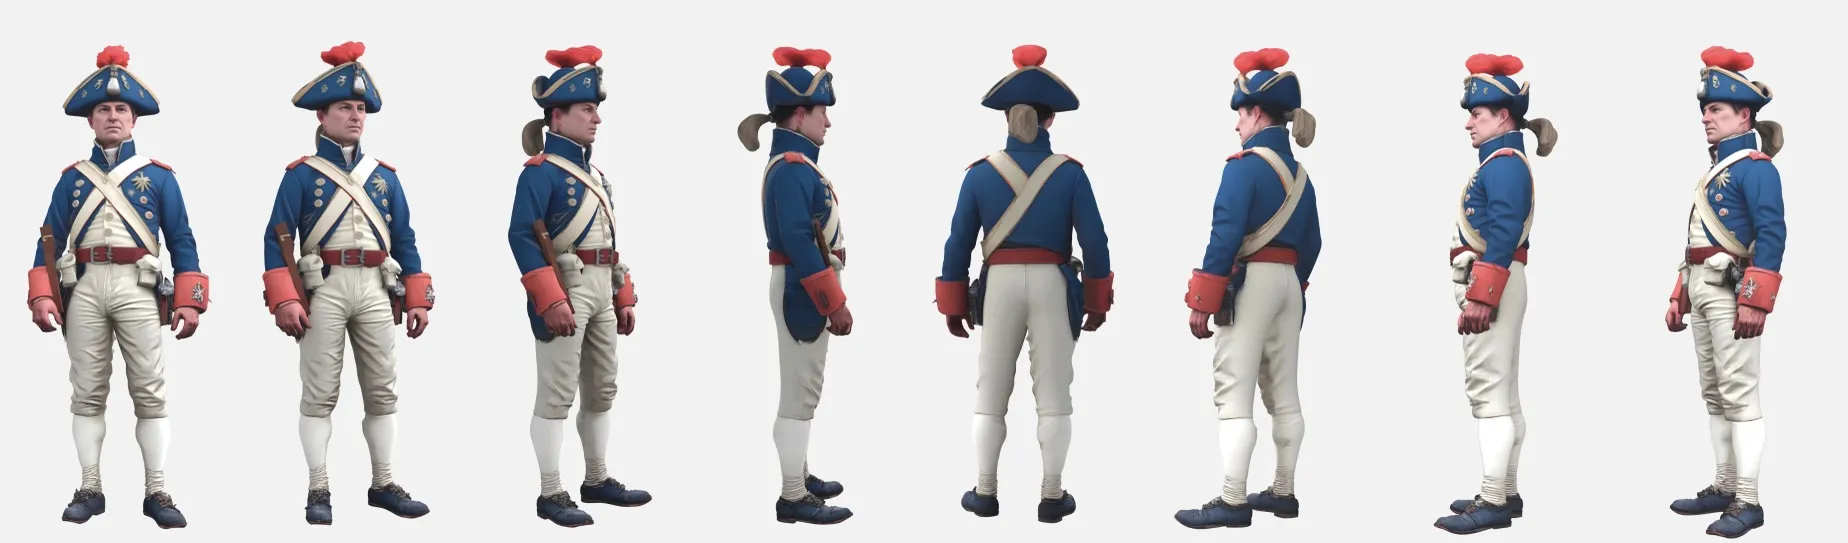
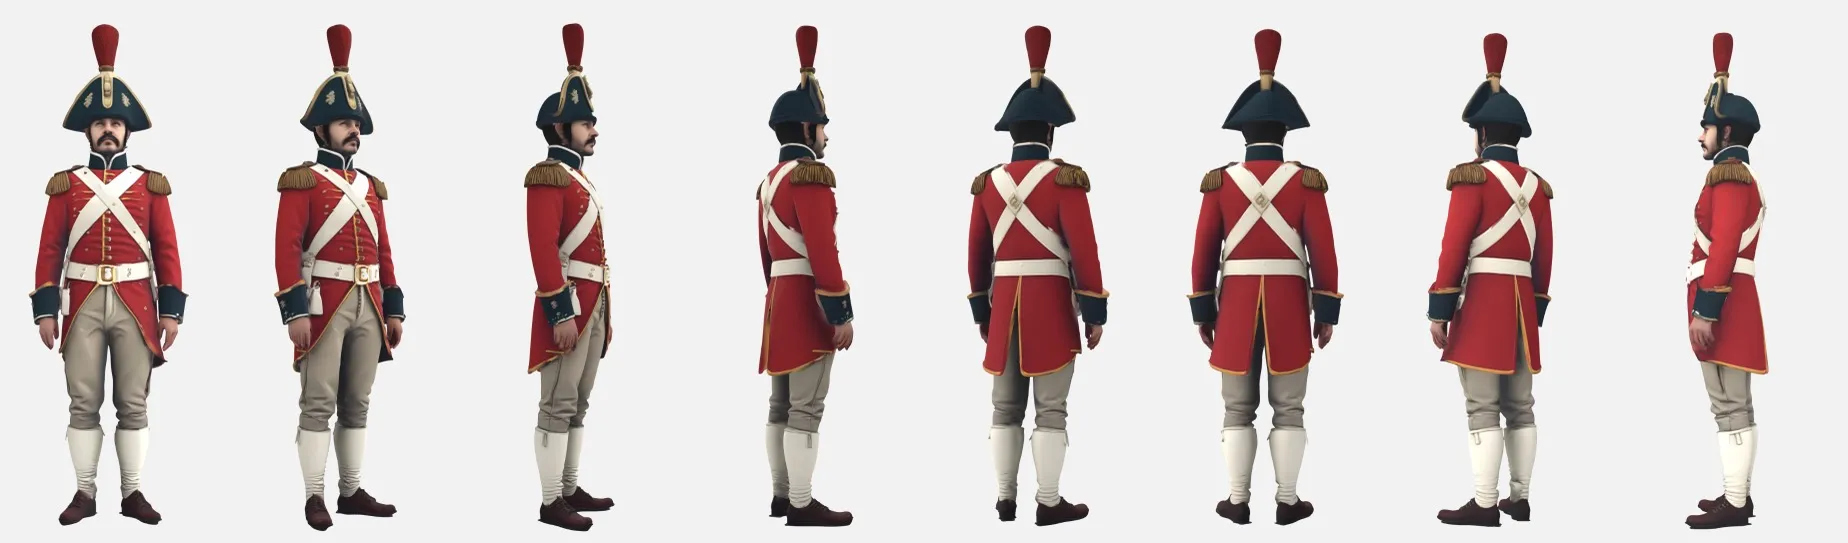
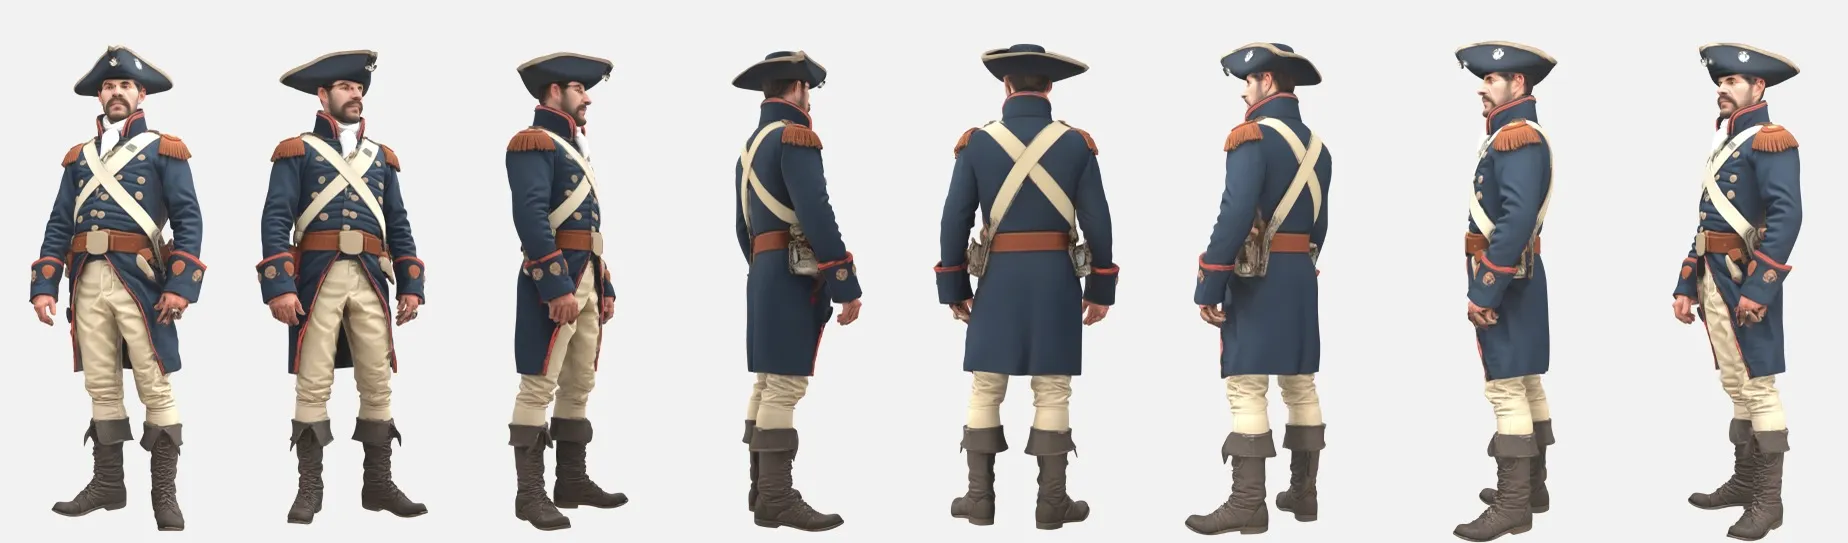
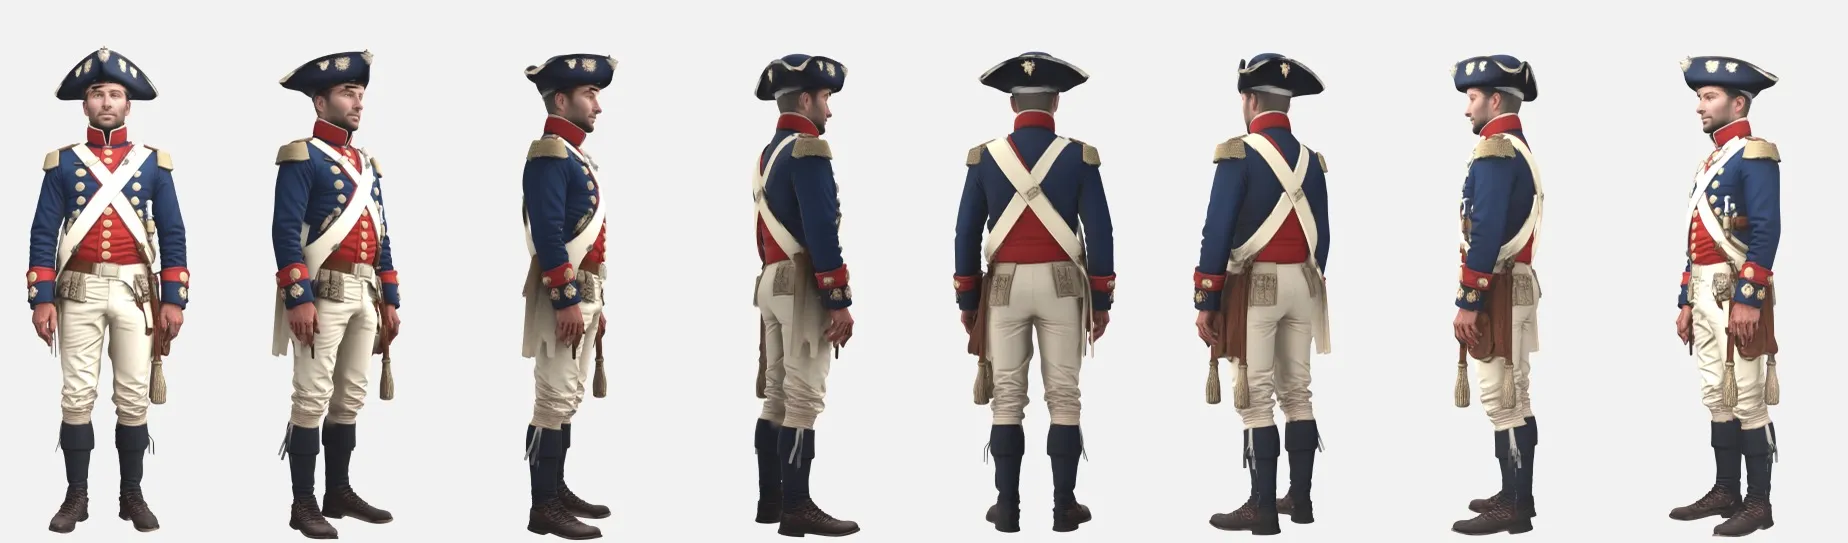
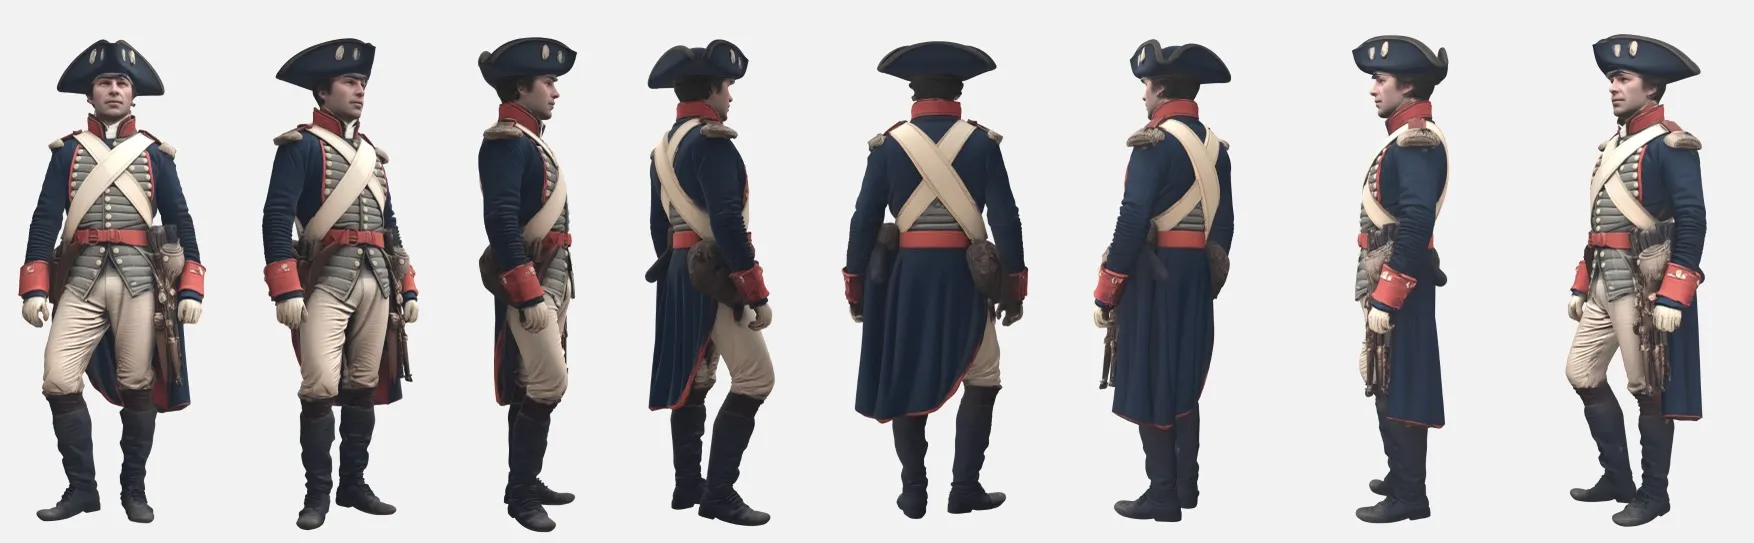
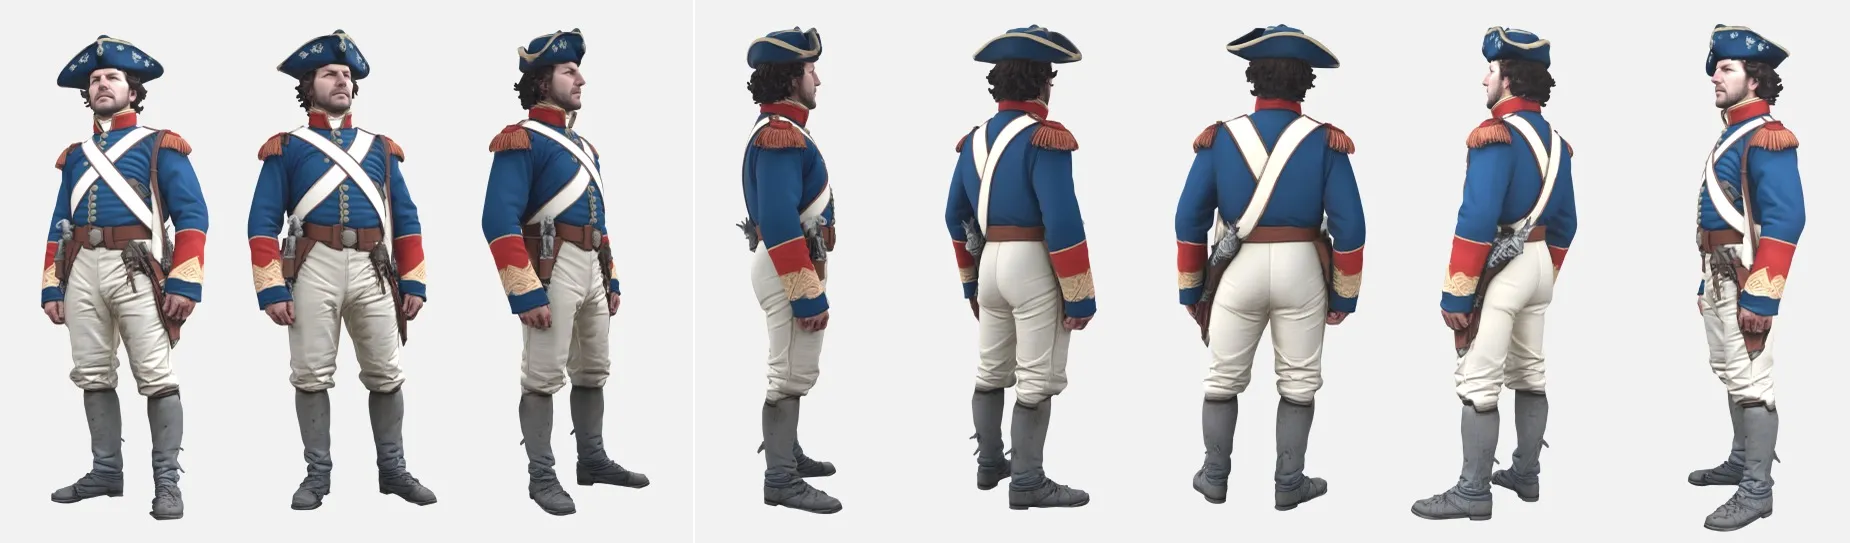
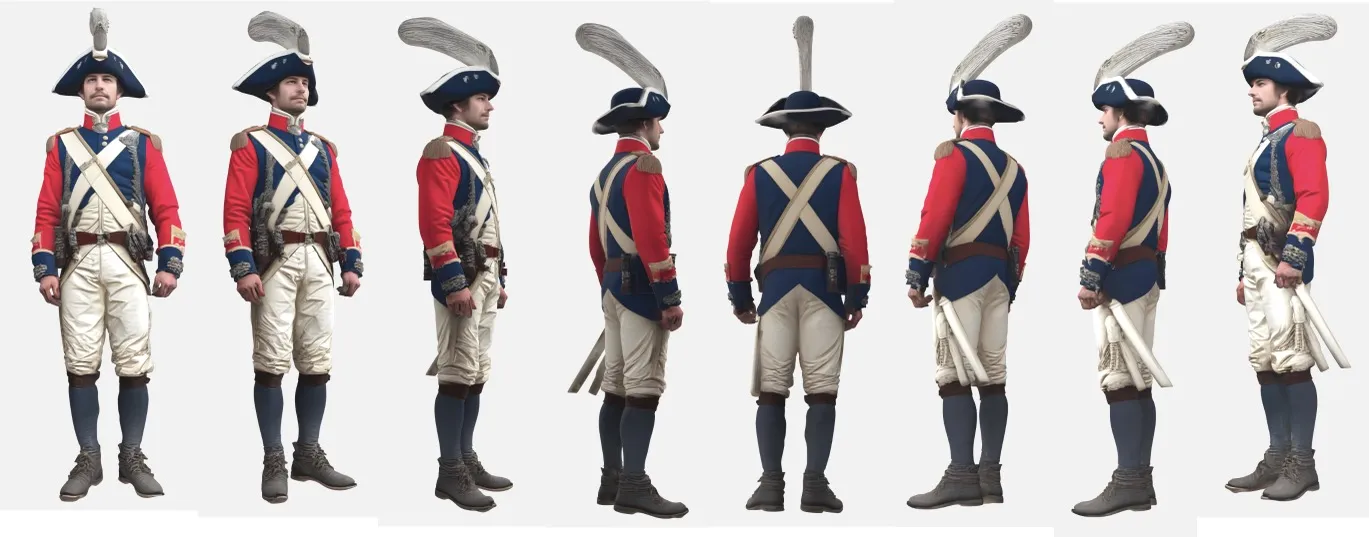
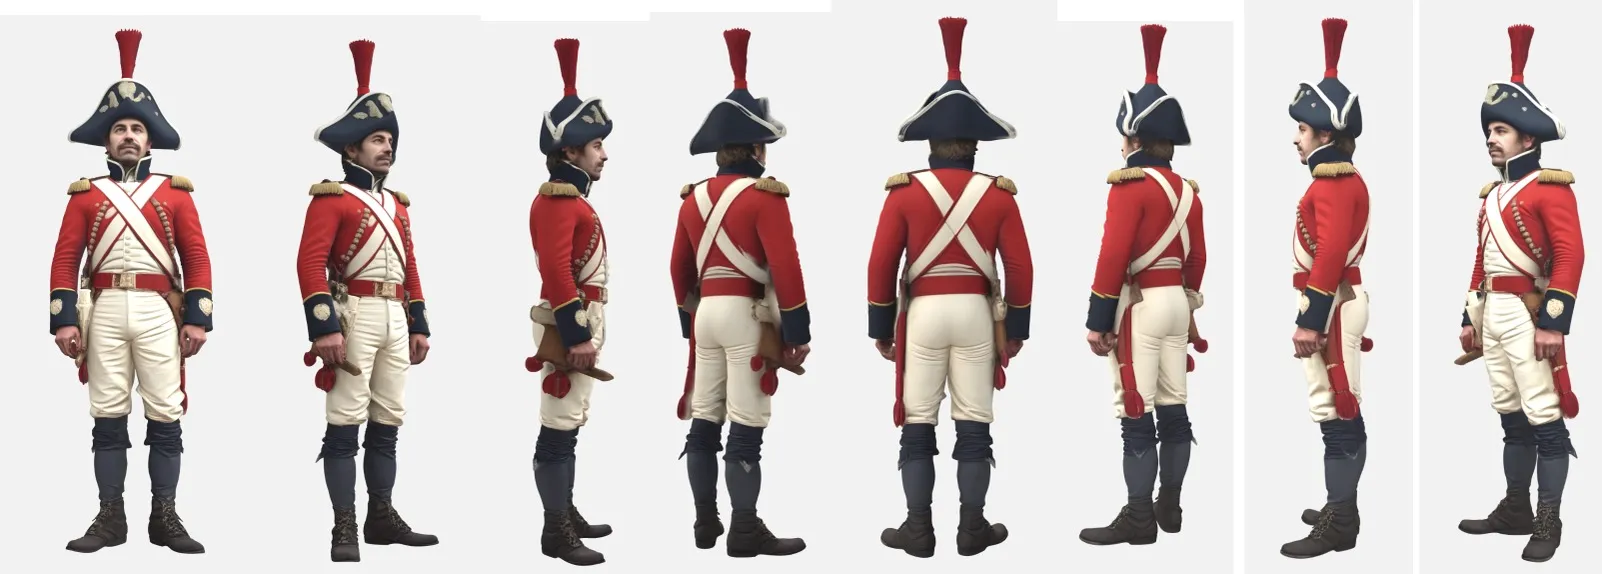
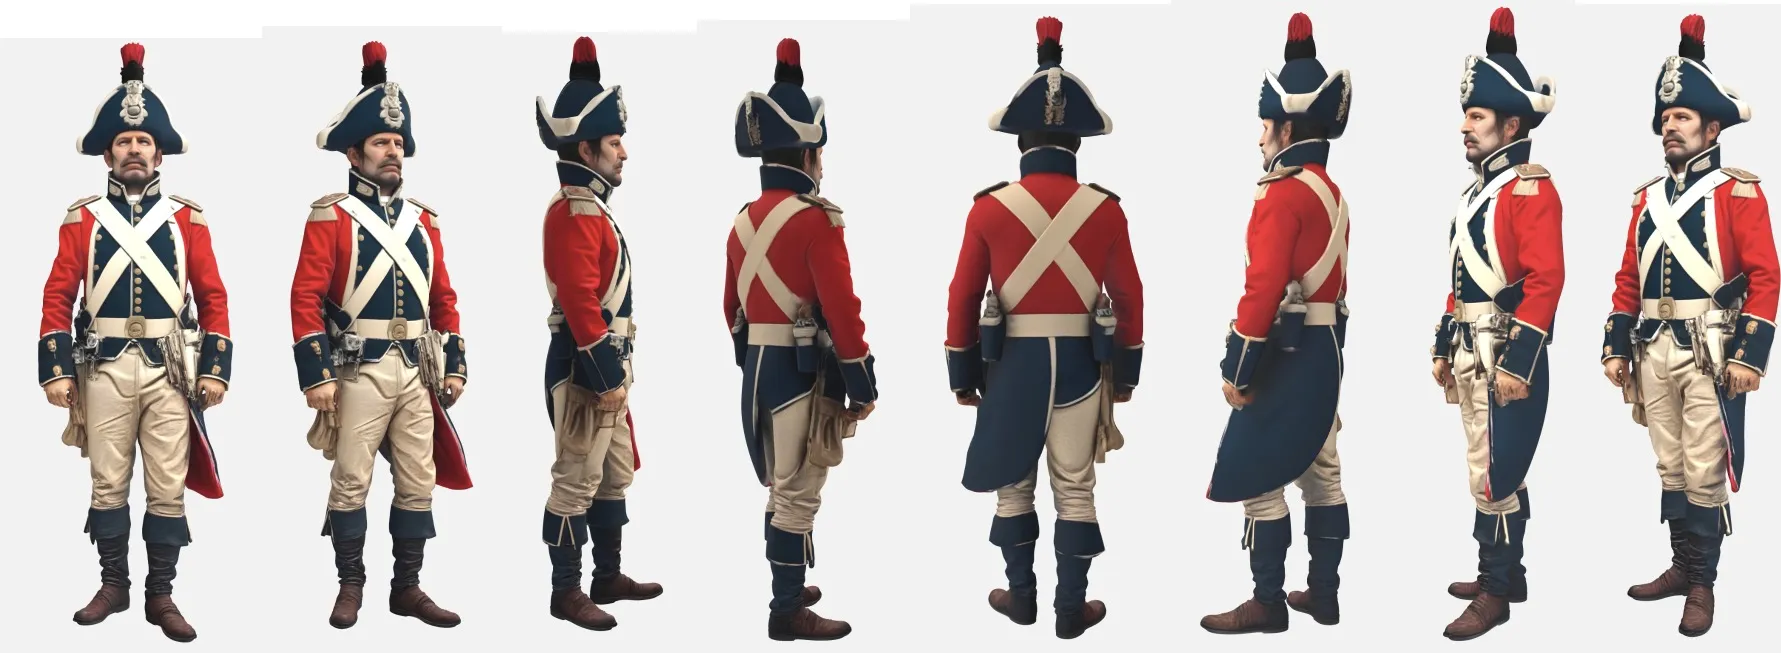
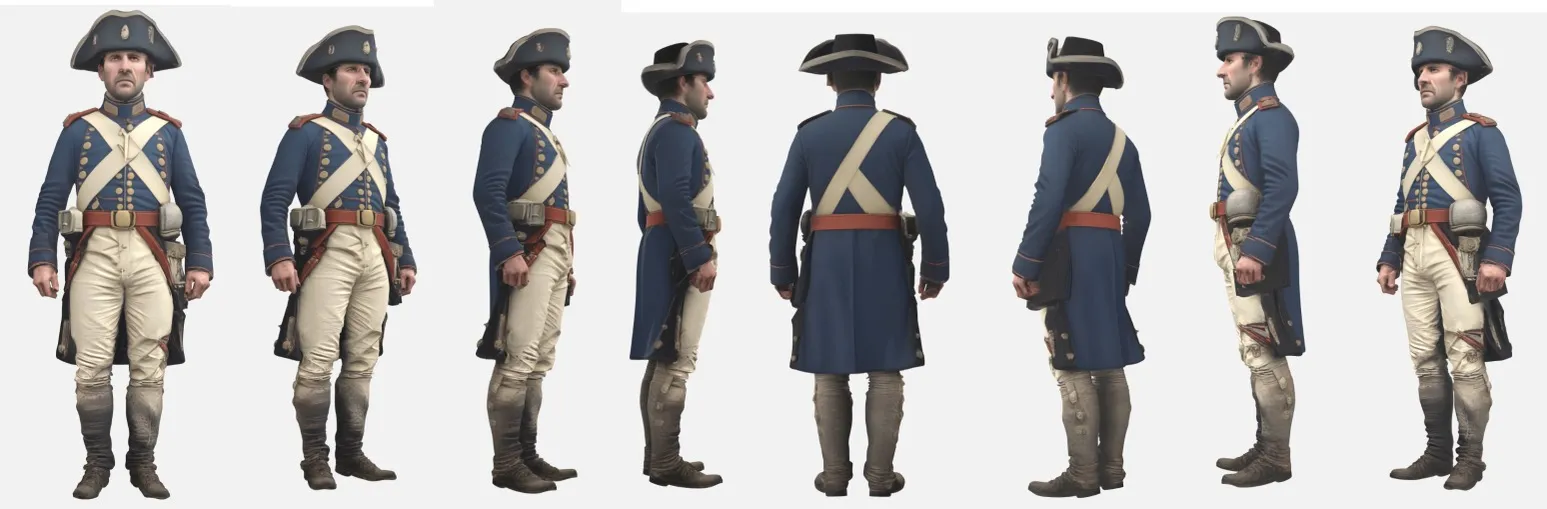
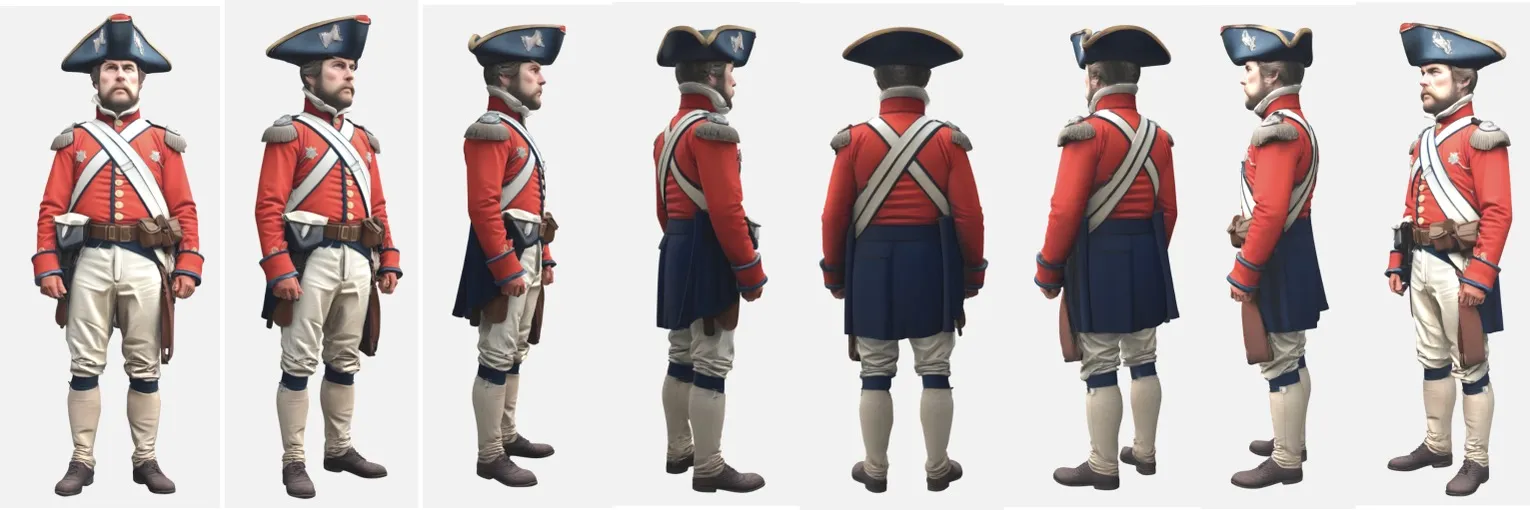
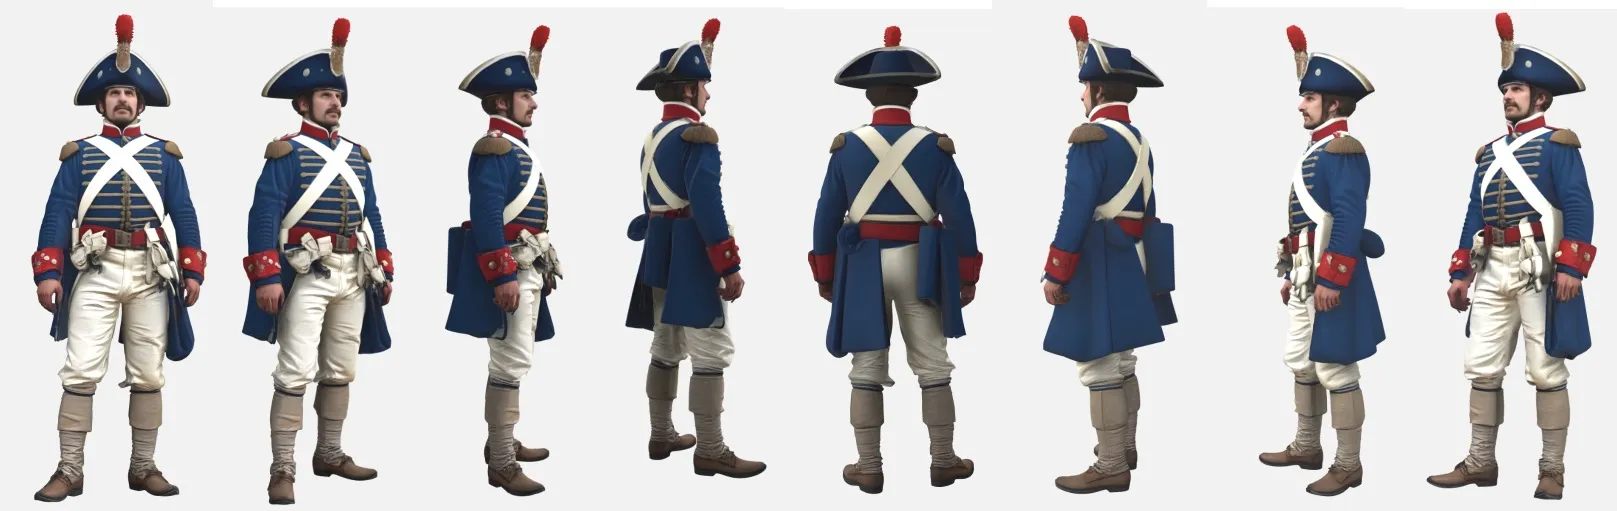
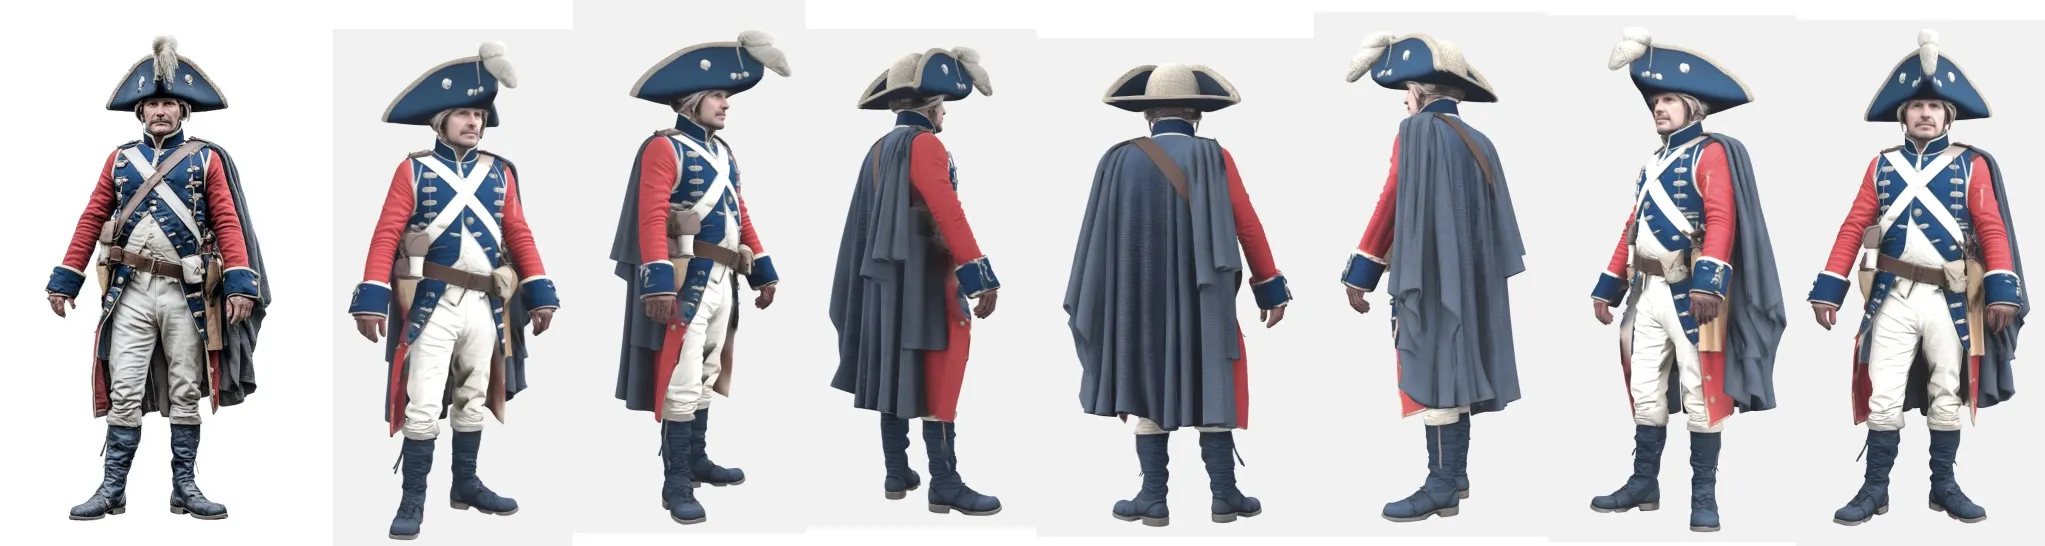
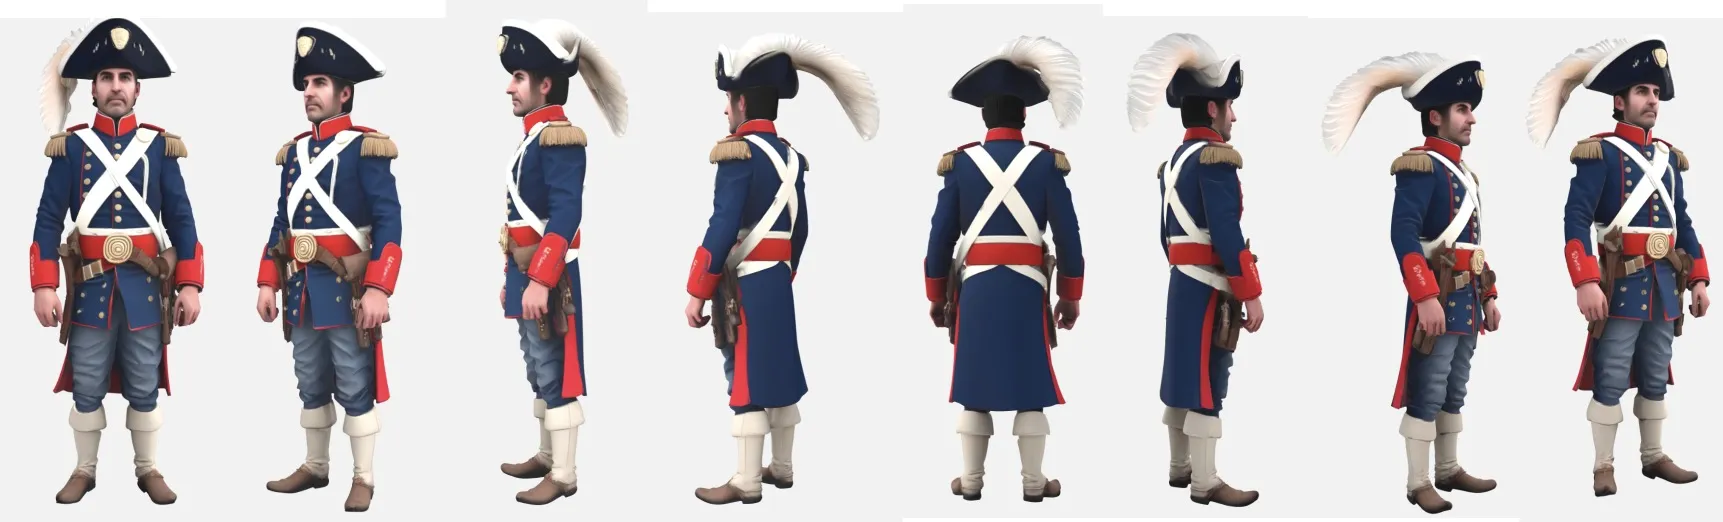
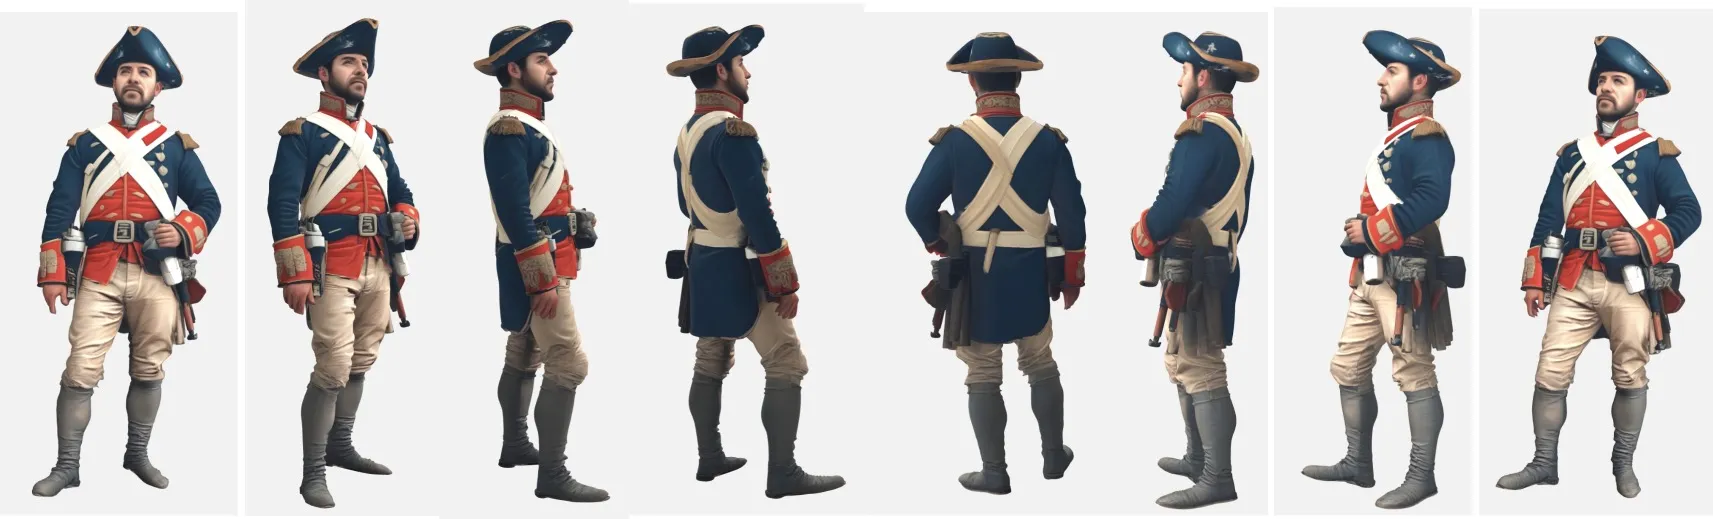
NOTICE:
The following list of "Topic/Subject" classification will be pursued by me ONLY IF enough 'users' are interested in models of this nature. Having said that, I will consider the following if there is an interest.
Infantry at Rest ~ This Upload
Advancing Infantry
Infantry in Combat
Officers & Command
Artillery Crews
Cannons & Field Weapons
Camp & Support Personnel
Musicians, Flag Bearers & Specialists
Weapons & Equipment Packs
—♚—♛—♝—♞—♜—♟—
⚠️ Print & Handling Notes
These models include fine, delicate details.
A strong filament is recommended — or anneal your set for additional strength (see below).
Bambu Studio Settings
Printer Settings
• Nozzle Diameter → 0.4 mm
• Compatible Material → PLA+
Filament Settings
• Nozzle Temperature (first layer) → 205 °C
• Nozzle Temperature (others) → 200 °C
• Bed Temperature (first layer) → 60 °C
• Bed Temperature (others) → 50–55 °C
• Cooling Fan:
◦ Layer 1–2 → OFF
◦ Layer 3+ → 100%
Quality
• Layer Height (Standard) → 0.20 mm
• Initial Layer Height → 0.20 mm
• Line Width → 0.45 mm
• Elephant Foot Compensation → 0.15 mm
Speed
• First Layer Speed → 20 mm/s
• Outer Wall Speed → 35 mm/s
• Inner Wall Speed → 50 mm/s
• Infill Speed → 50 mm/s
• Travel Speed → 120 mm/s
Acceleration / Jerk
• Default Acceleration → 1000 mm/s²
• Outer Wall Acceleration → 500 mm/s²
• First Layer Acceleration → 300 mm/s²
• Travel Acceleration → 2500 mm/s²
• Jerk (XY) → 8 mm/s
Strength / Infill
• Wall Loops → 3
• Top Layers → 4
• Bottom Layers → 4
• Infill Density → 20%
• Infill Pattern → Gyroid
• Sparse Infill Anchor Length → 5 mm (🔔 Note: increase to 10 mm if you see weak infill connections)
Skirt & Brim
• Skirt Loops → 3
• Skirt Distance → 2 mm
• Skirt Layers → 1
Retraction
• Retraction Distance → 4 mm
• Retraction Speed → 40 mm/s
• Z-Hop → 0.2 mm
• Wipe While Retracting → Enabled
• Retract on Layer Change → Disabled
• Minimum Travel Before Retraction → 1.0 mm
Supports
• Support Style → Tree
• Top Contact Z Distance → 0.25 mm (detachable, fixed)
• Support Density → 15%
• Support Interface Pattern → Grid
• XY Distance → 0.5 mm
• First Layer Support Gap → 0.3 mm
—♚—♛—♝—♞—♜—♟—
♨️ ANNEALING — Hardening Your Chess Pieces
Annealing your PLA models can improve strength by 10 – 20 %.
If you plan to play with these sets regularly, annealing is highly recommended.
If your goal is display or occasional play, annealing is optional.
The appearance and finish remain unchanged.
🔗 More info: Annealing PLA Prints for Strength — Easy Ways (All3DP)
https://all3dp.com/2/annealing-pla-prints-for-strength-easy-ways/
—♚—♛—♝—♞—♜—♟—
Please note:
Because I’m retired and on a fixed income, I print these models at a smaller scale to save on filament. All of these models are printed at 70% - 80% of the model uploaded size.
♟️
Thank you! Thank you! To all of you who Boost my uploads. Because of YOU I can get my filament now from “Maker's Supply”, saving me from using real money.
♟️
These creations are made purely for the joy of sculpting and sharing. Printing at a reduced scale can sometimes affect the quality of fine details; printing at full or larger sizes will yield smoother, more refined results.
♟️
Also, as a 77-year-old maker with hands that sometimes have a mind of their own, I occasionally have to use a little hot-glue surgery to reattach delicate parts. Please handle models with care—especially thin necks, joints, and fragile connectors. Take a moment to study your model before removing supports… or you might find yourself reaching for the glue gun too! 🥲


License

You shall not share, sub-license, sell, rent, host, transfer, or distribute in any way the digital or 3D printed versions of this object, nor any other derivative work of this object in its digital or physical format (including - but not limited to - remixes of this object, and hosting on other digital platforms). The objects may not be used without permission in any way whatsoever in which you charge money, or collect fees.


Comment & Rating (11)