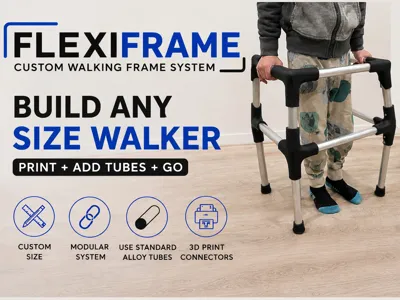
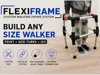
FlexiFrame Connectors- Custom Walking Frame System


Print Profile(1)
Description
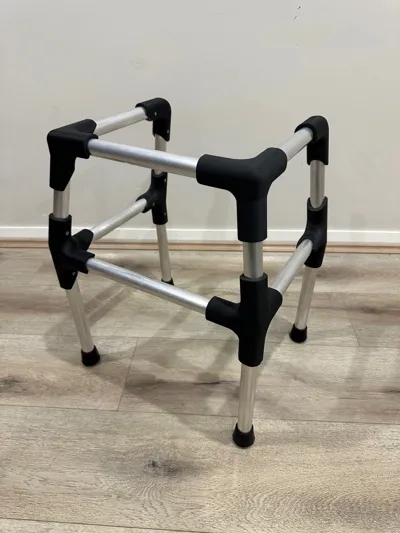
FlexiFrame Connectors
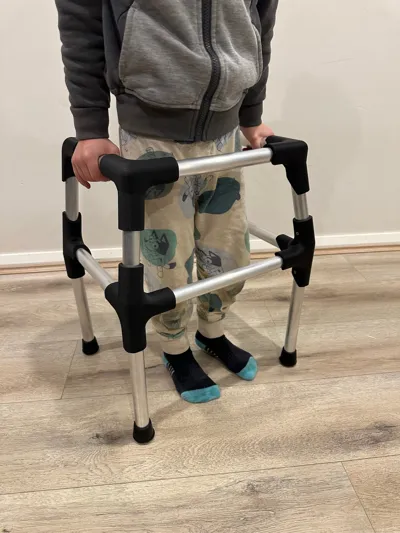
Create a fully customizable walking frame using common aluminum tube sizes and these strong printable connector parts.
This system lets you build frames in almost any width or height simply by changing the tube lengths. Great for prototyping, lightweight mobility projects, rehab concepts, cosplay supports, camera rigs, or custom assistive setups.
Designed to work with standard 25mm alloy tubing and easy-to-print connector pieces.
Features
- Modular connector system
- Custom height and width
- Lightweight alloy tube construction
- Easy assembly
- Compact printable parts
- Replace or reprint individual connectors
- Adjustable for different users or projects
Compatible Tube Sizes
Included Versions
- 25mm x 1mm aluminum tube
Parts Required
- 25mm x 1mm aluminum tube (length will be determined by size of frame required)
- 6g x 15mm screws for securing the tube to the connectors
- 4 x 25mm rubber feet
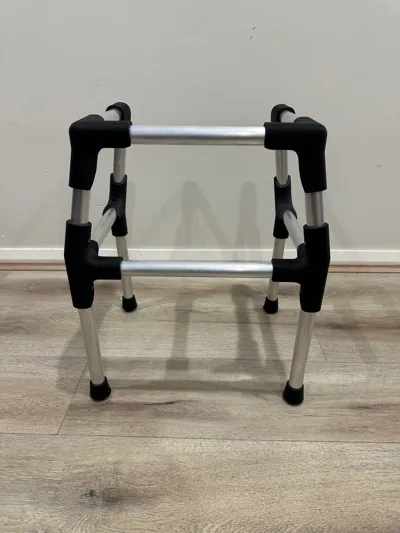
Assembly
- Print required connector parts
- Start with the top of the frame and cut aluminum tubes to desired lengths for the top front and side of the frame
- Once you are happy with the size, screw the top of the frame together. (easiest way is on a level surface making sure the connectors a flat)
- Cut alloy tubes to desired lengths for the top vertical pieces and insert into the already constructed frame
- Screw these to the frame
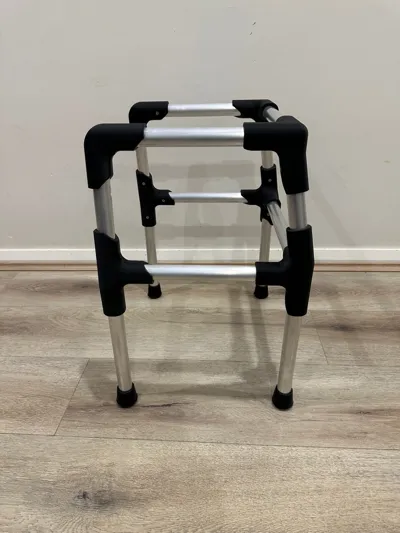
- Fit the middle connectors but don't screw at this time
- Measure between the middle connectors and record the required tube length
- Cut the aluminum tube to the measured length and test fit. adjust if required
- Once you are happy with the fit, screw in place making sure that the frame is square
- Have the user hold the frame with slightly bent eblows and measure from the bottom of the frame to the ground. this will give you the leg lengths.
- Cut the aluminum tube to the measured length and test fit. adjust if required
- Once you are happy with the fit, screw in place
- Add rubber feet or grips if desired
Assembly
Example sizing for aluminum tube. This frame was for a 4 year old child and when complete was 49cm tall.
- Top front tube - 280mm x 1
- Top side tubes - 230mm x 2
- Rear top vertical tube - 160mm x 2
- Front top vertical tube - 150mm x 2
- Middle front tube - 335mm x 1
- Middle side tubes - 257mm x 2
- Legs - 250mm x 4
Total length of tube required = 3.209m
Important Safety Notice
This design is intended for prototyping, hobby, educational, and non-certified assistive applications only. Always test thoroughly before use. Use appropriate materials and hardware, and inspect parts regularly for wear or cracking.
Comment & Rating (0)