


Print Profile(2)


Bill of Materials


Description
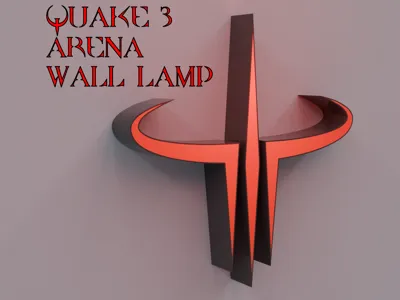
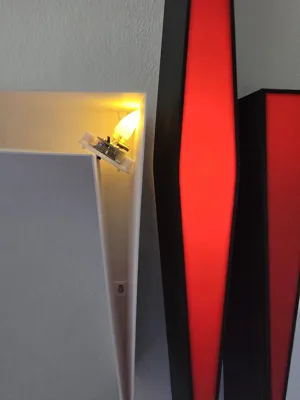
🔥 Quake III Arena Logo Wall Lamp
Bring one of the most iconic arena shooters to your setup with this Quake III Arena inspired wall lamp. Designed around the legendary logo shape, this model combines nostalgic gaming aesthetics with functional ambient lighting, making it a perfect addition to gaming rooms, desks, or display walls.
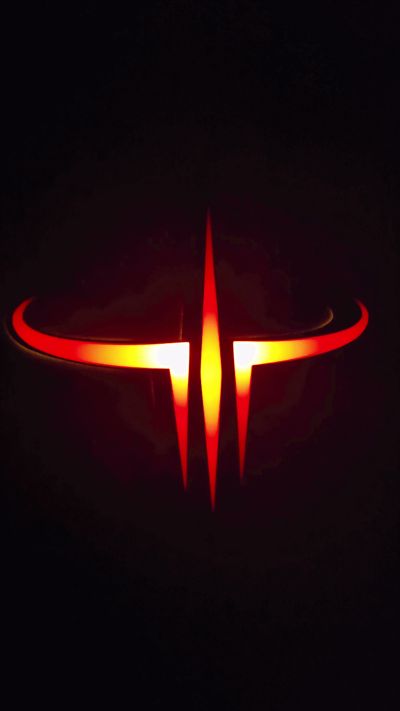
The lamp is designed for use with a small internal LED light source, creating a clean illuminated silhouette while preserving the bold and aggressive style of the original emblem.
🔧 Key Features
- Quake III Arena inspired logo design
- Integrated wall lamp housing for internal lighting
- Clean illuminated effect with translucent front details
- Minimal visible hardware for a polished appearance
- Lightweight and easy to mount
💡 Lighting Compatibility
The model is designed to work with:
- Small LED tea lights
- Battery-powered LEDs
- Compact low-heat LED modules
For stronger illumination, reflective material such as aluminum foil can optionally be added inside the housing to help diffuse and amplify the light output.
🖨️ Printing Recommendations
- Material: PLA recommended
- Layer height: 0.16–0.2 mm
- Supports: Not required
- Infill: 10–15%
- Walls: 1 perimeter
- Recommended colors:
- Matte black for the main body
- Red, orange, or translucent filament for illuminated front sections 0.6mm thickness
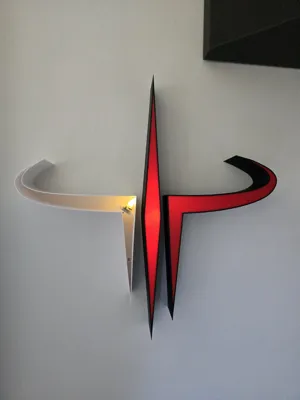
- White inserts with mounting attachments for better light dispersion
🔩 Assembly
Assemble the inserts with the main parts accordingly. Insert the LED light source into the rear housing section and route the switch or battery pack as desired. Mount the lamp to the wall using adhesive strips, screws, or wall-safe mounting solutions depending on your setup.
Attention: Originally designed for printing with H2S. Scale everything accordingly if parts don't fit print-plate.
Drawing below contains dimensions for original H2S model.
!!!ALL DIMENSIONS IN MM!!!

License
You may create derivative works based on this object, provided that all such derivative works are published exclusively on the MakerWorld platform and include proper attribution to the original creator. You may not share, upload, host, distribute, or publish this object—or any derivative work of this object—on any other digital platform, marketplace, or distribution channel. Commercial use of this object and any derivative works is strictly prohibited. This includes, but is not limited to, selling, renting, sublicensing, or using the object in any context in which you receive monetary compensation or other financial benefits.
Comment & Rating (9)