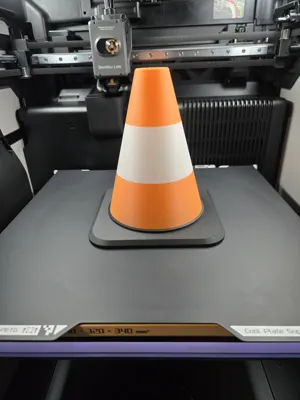
Traffic Cone with Light


Print Profile(1)

Bill of Materials


Description
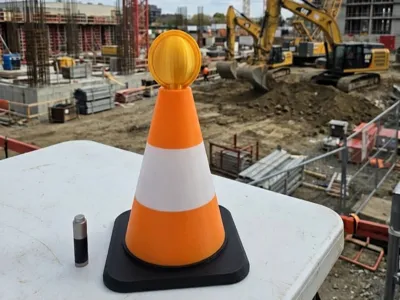
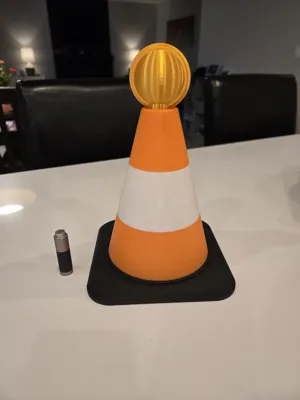
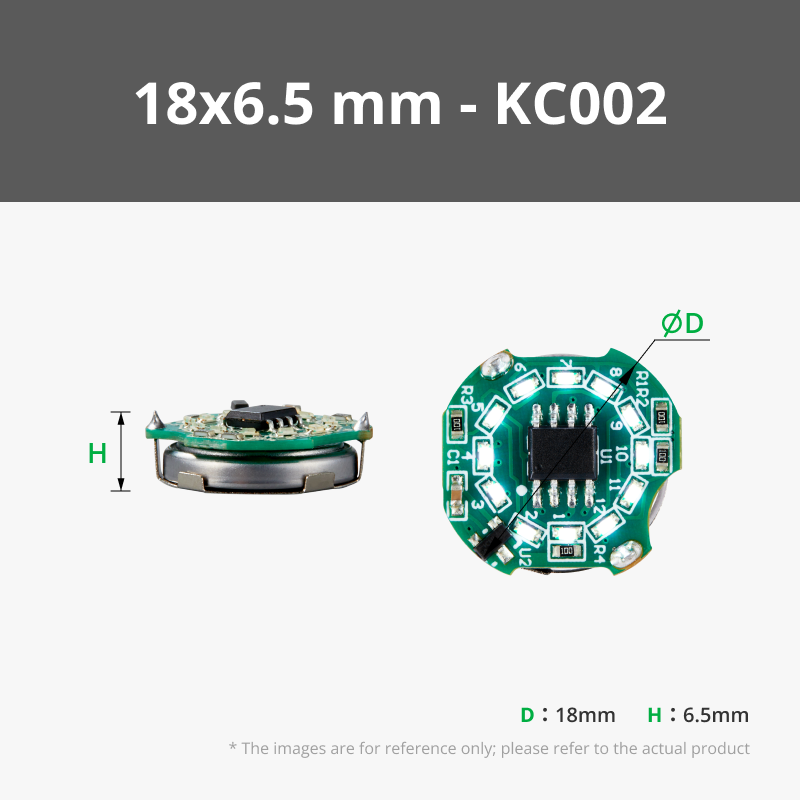
I had been sitting on one of these cool Bambu Lab Ring LED Magnetic Control Switch lights, and took me awhile to figure out what I was going to make. I certainly didn't want to deviate from how random my designs are…. (take a look at my published works to admire the randomness and lack of theme! lol). Hence the birth of this sweet little traffic cone with light! :)
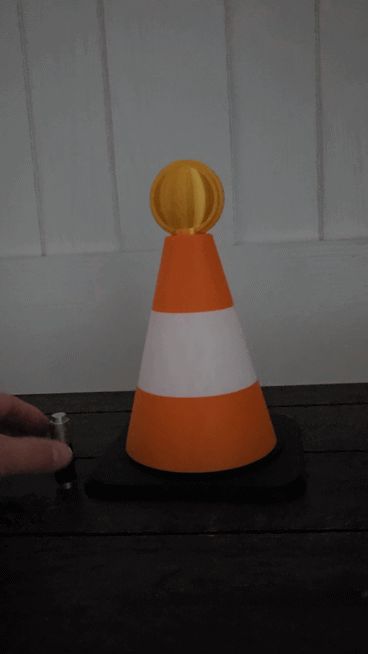
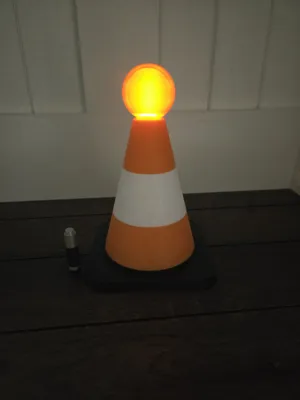
The 3D printed “battery” is the perfect vessel for the little magnet that comes included with the LED light from Bambu. Just tap the collar of the cone to turn on and change modes (solid, slow flash, fast flash, off etc.) See the GIF I have attached.
Everyone needs a little traffic cone in their life….
Spilt milk in the kitchen? just set this bad boy out to let the family know you're on the case!
Kids playing outside after dusk? let the little cone flash away to let those reckless and inconsiderate drivers know to slow the beep down while children are at play!
Is your spouse or partner upset with you? set this cone out in plain site to let the household know there is a disturbance in the air!
The possibilities are endless!
Print Profile: Traffic_Cone_H-P-X-A-Mini Series
Plate #1 - Traffic_Cone
Nozzle 0.4
Layer Height 0.2 / Walls 2
Infill 10%
Manual painting done within the slicer. Adjust as you like.
Note: For those wanting to save a bit of filament, the prime tower isn't 100% necessary.. but I used one anyway. For folks wanting to print this with the A1 Mini, you may not be able to fit the prime tower on the plate with the cone but will still turn out good.
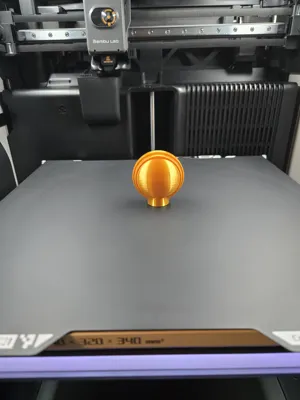
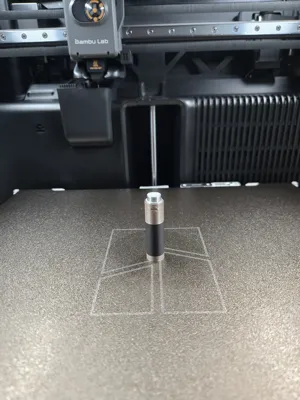
Plate #2 - Light
Nozzle 0.4
Layer Height 0.2 / Walls 2
Infill 35%
Brim 7mm
Note: If you have a SuperTack plate, I recommend using that for this part as you will not need a brim. There is little print surface area on this part so adhesion can be tricky with other plates. Glue stick & brim may be required for other plates.
Plate #3 - Battery (Magnet Holder)
Nozzle 0.4
Layer Height 0.2 / Walls 2
Infill 25%
Cylinder modifier applied for the top with 0% infill so that the magnet can be inserted.
Note: A pause has been set for layer 255 so that the magnet can be inserted before resuming print.
Boost Me (for free)
For the love and support
Have fun!
License
You shall not share, sub-license, sell, rent, host, transfer, or distribute in any way the digital or 3D printed versions of this object, nor any other derivative work of this object in its digital or physical format (including - but not limited to - remixes of this object, and hosting on other digital platforms). The objects may not be used without permission in any way whatsoever in which you charge money, or collect fees.
Comment & Rating (0)