
Scrocket - The screaming rocket
Print Profile(2)

Bill of Materials







Description
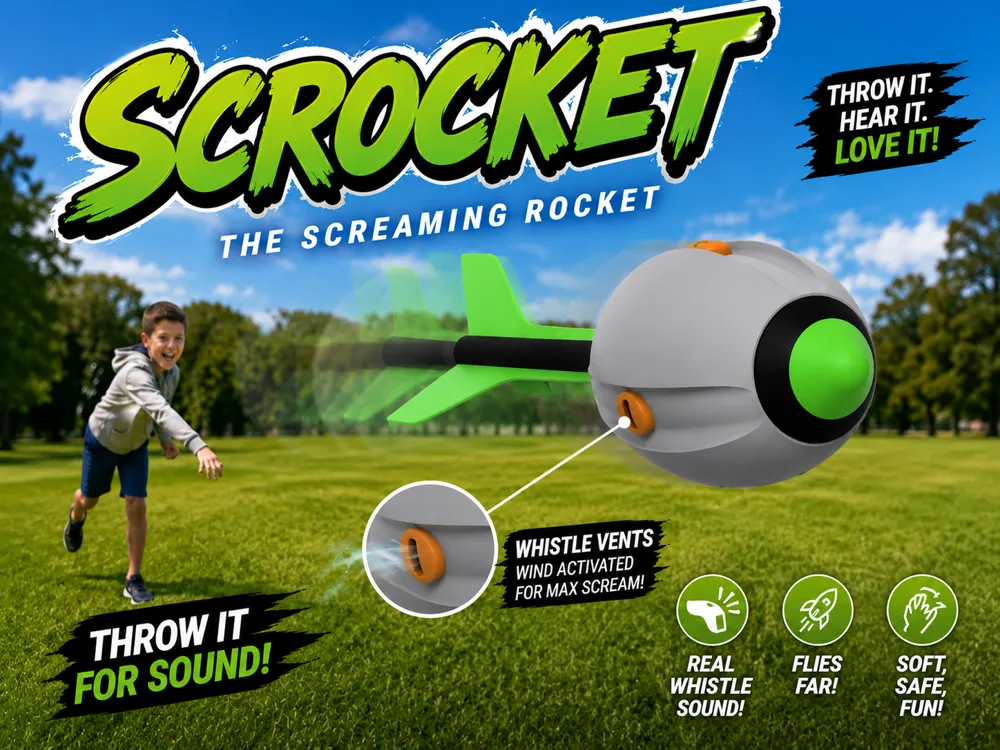
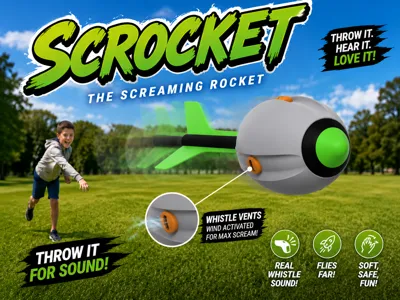
SCROCKET - The Screaming Rocket!
Throw it. Hear it. Love it!
+++ Now also available for X2/H2 Series! +++
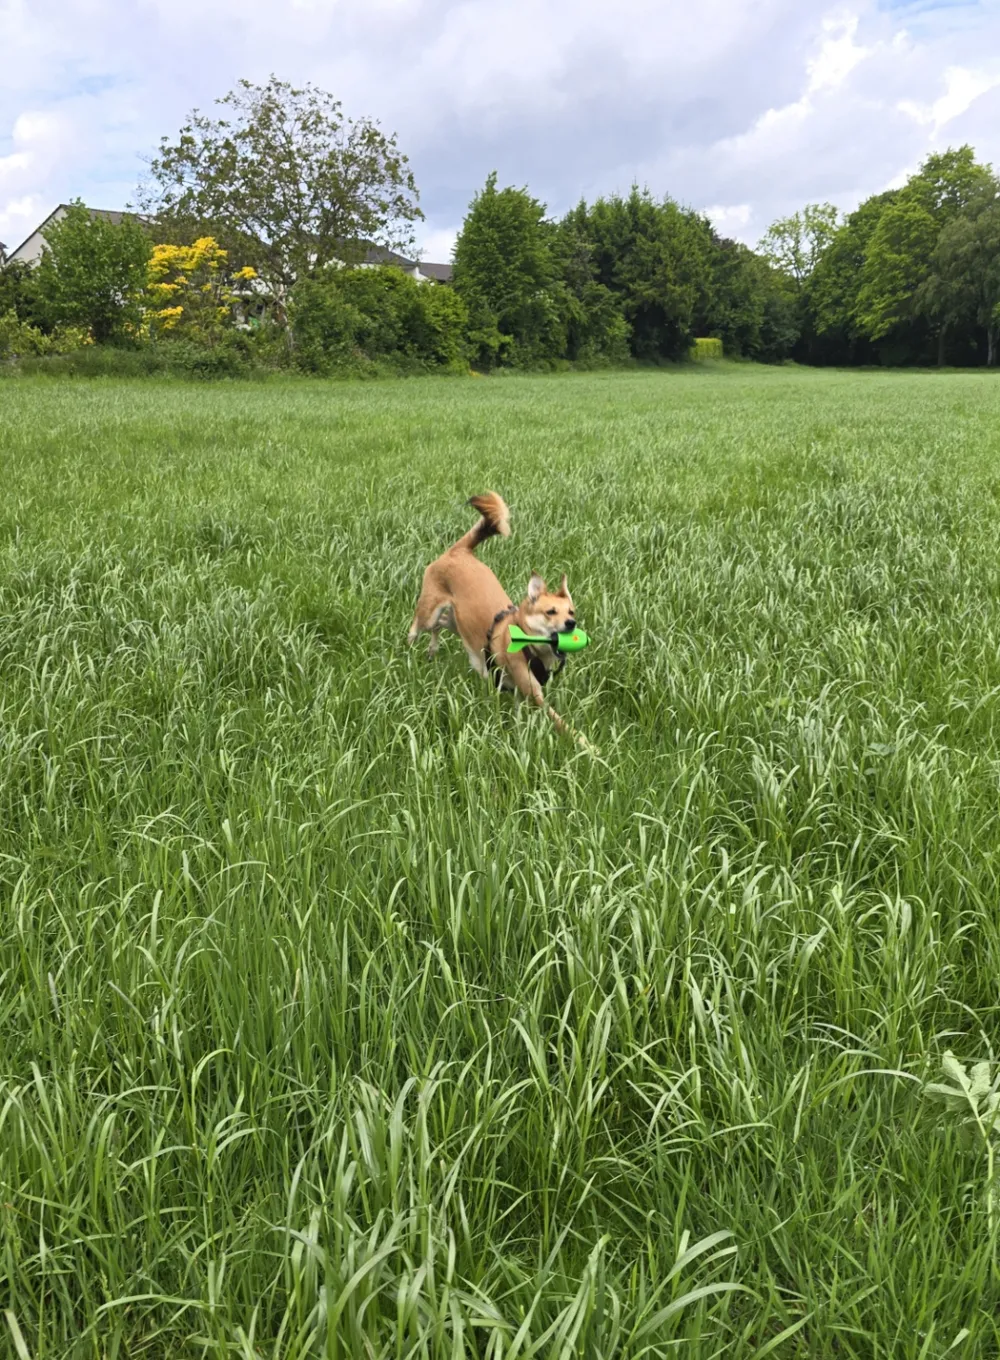
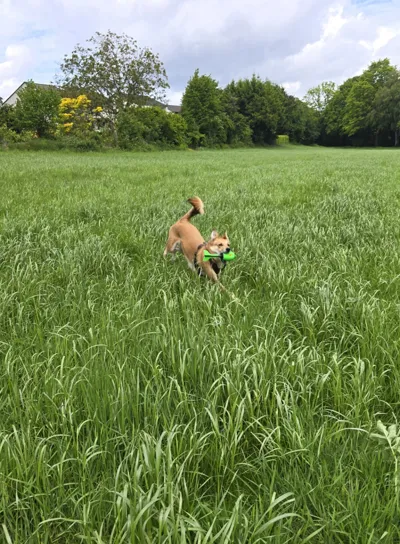
Spring time is outdoor time! Take my latest creation with you to the park!
We all remember these rockets that screached when being thrown. I decided to attempt at creating one myself.
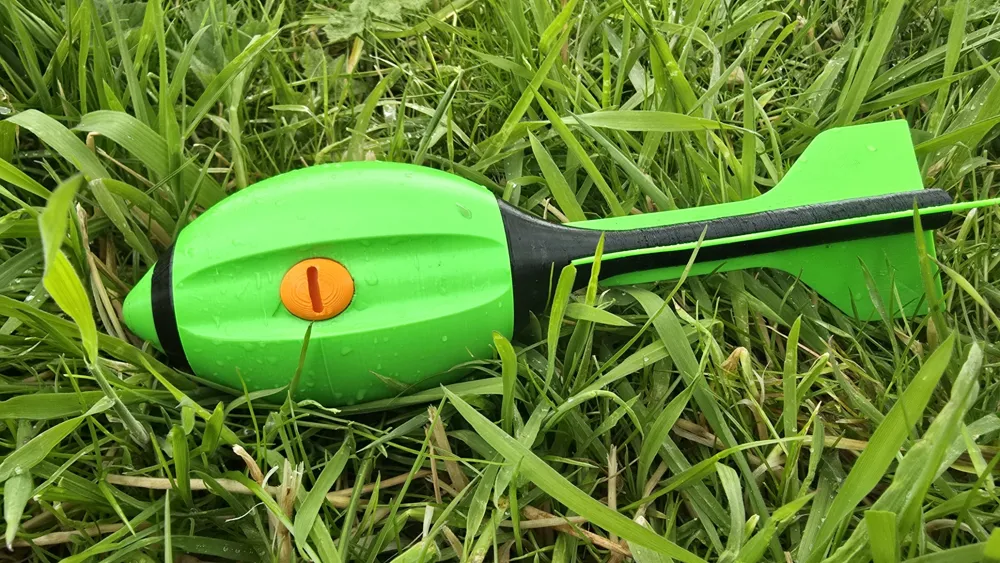
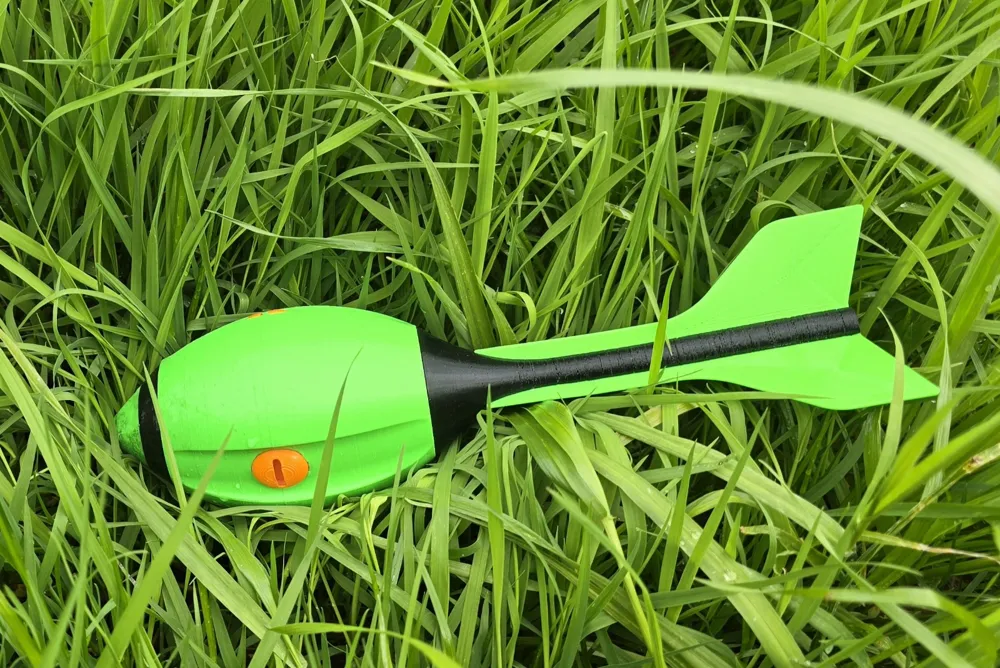
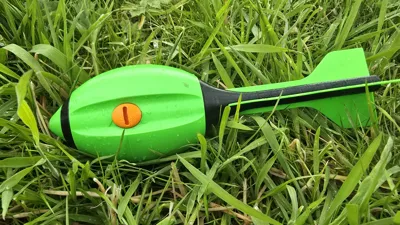
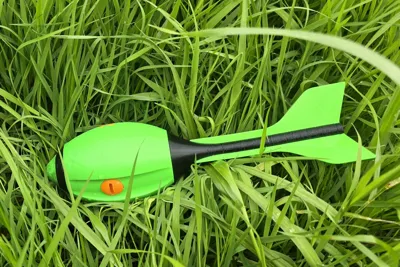
I designed this throwing rocket which is to be printed in multiple parts. It has some clip in whistles that can be interchanged for different tunes.
The model has a variety of infills to optimize the center of gravity for optimal flight properties.
For printing I used Shore 95 A TPU. If you want to print it with an AMS you need to use Bambus TPU for AMS Shore 68D, which is similar in properties.
It is planned to release new, improved and different sounding whistles in the near future.
I hope you enjoy playing with it.
Disclaimer: This is kind of a work in progress. I might be changing the geometry and modifiers in the print profile to optimize aerodynamics.
Assembly:
The parts are designed to have a very snug and tight fit so you don't need to reassemble it everytime it crashlanded somewhere. That means you will need some small pliers to assemble. I assembled it this way (Please ignore the dirt on the model, it has been to the park with me already):
Threaded parts
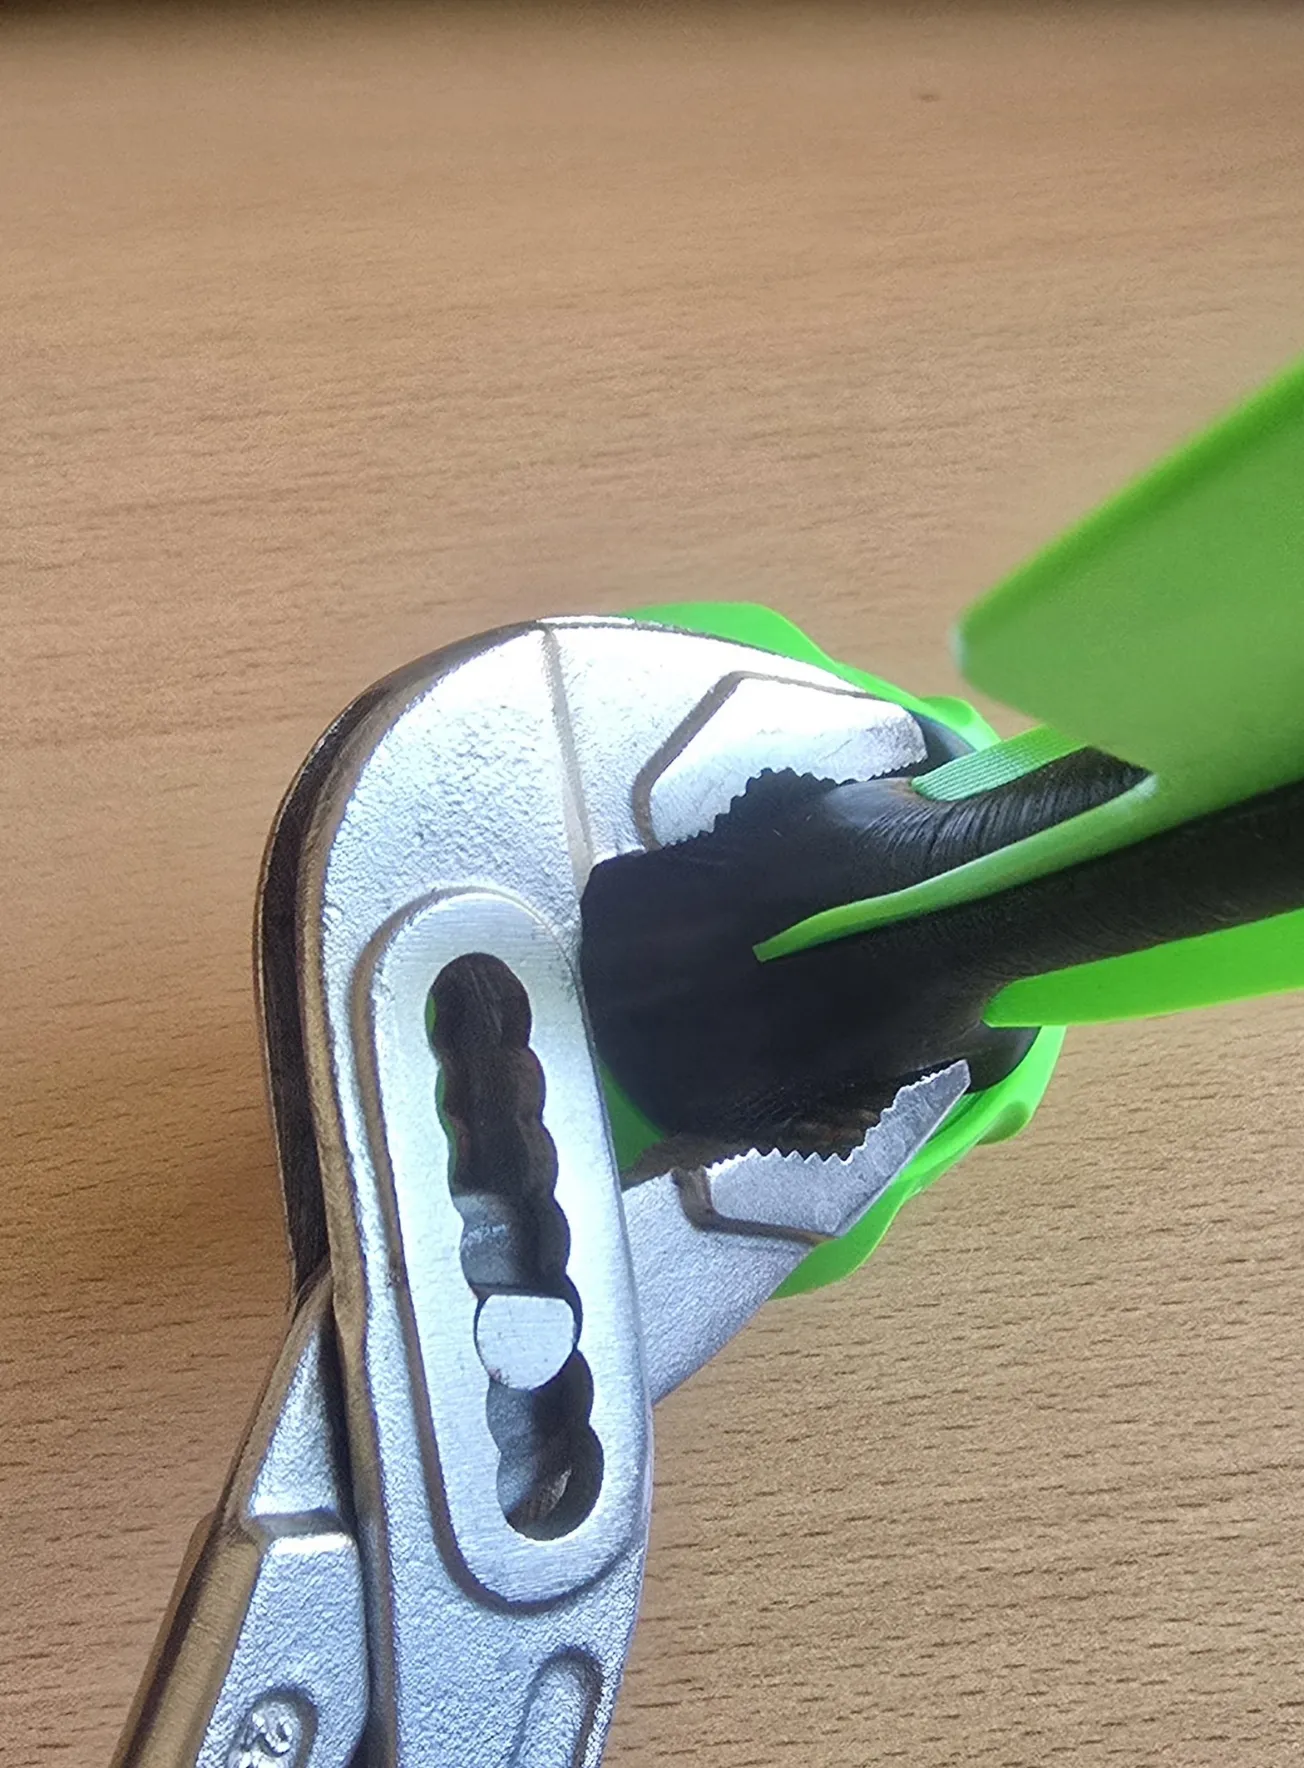
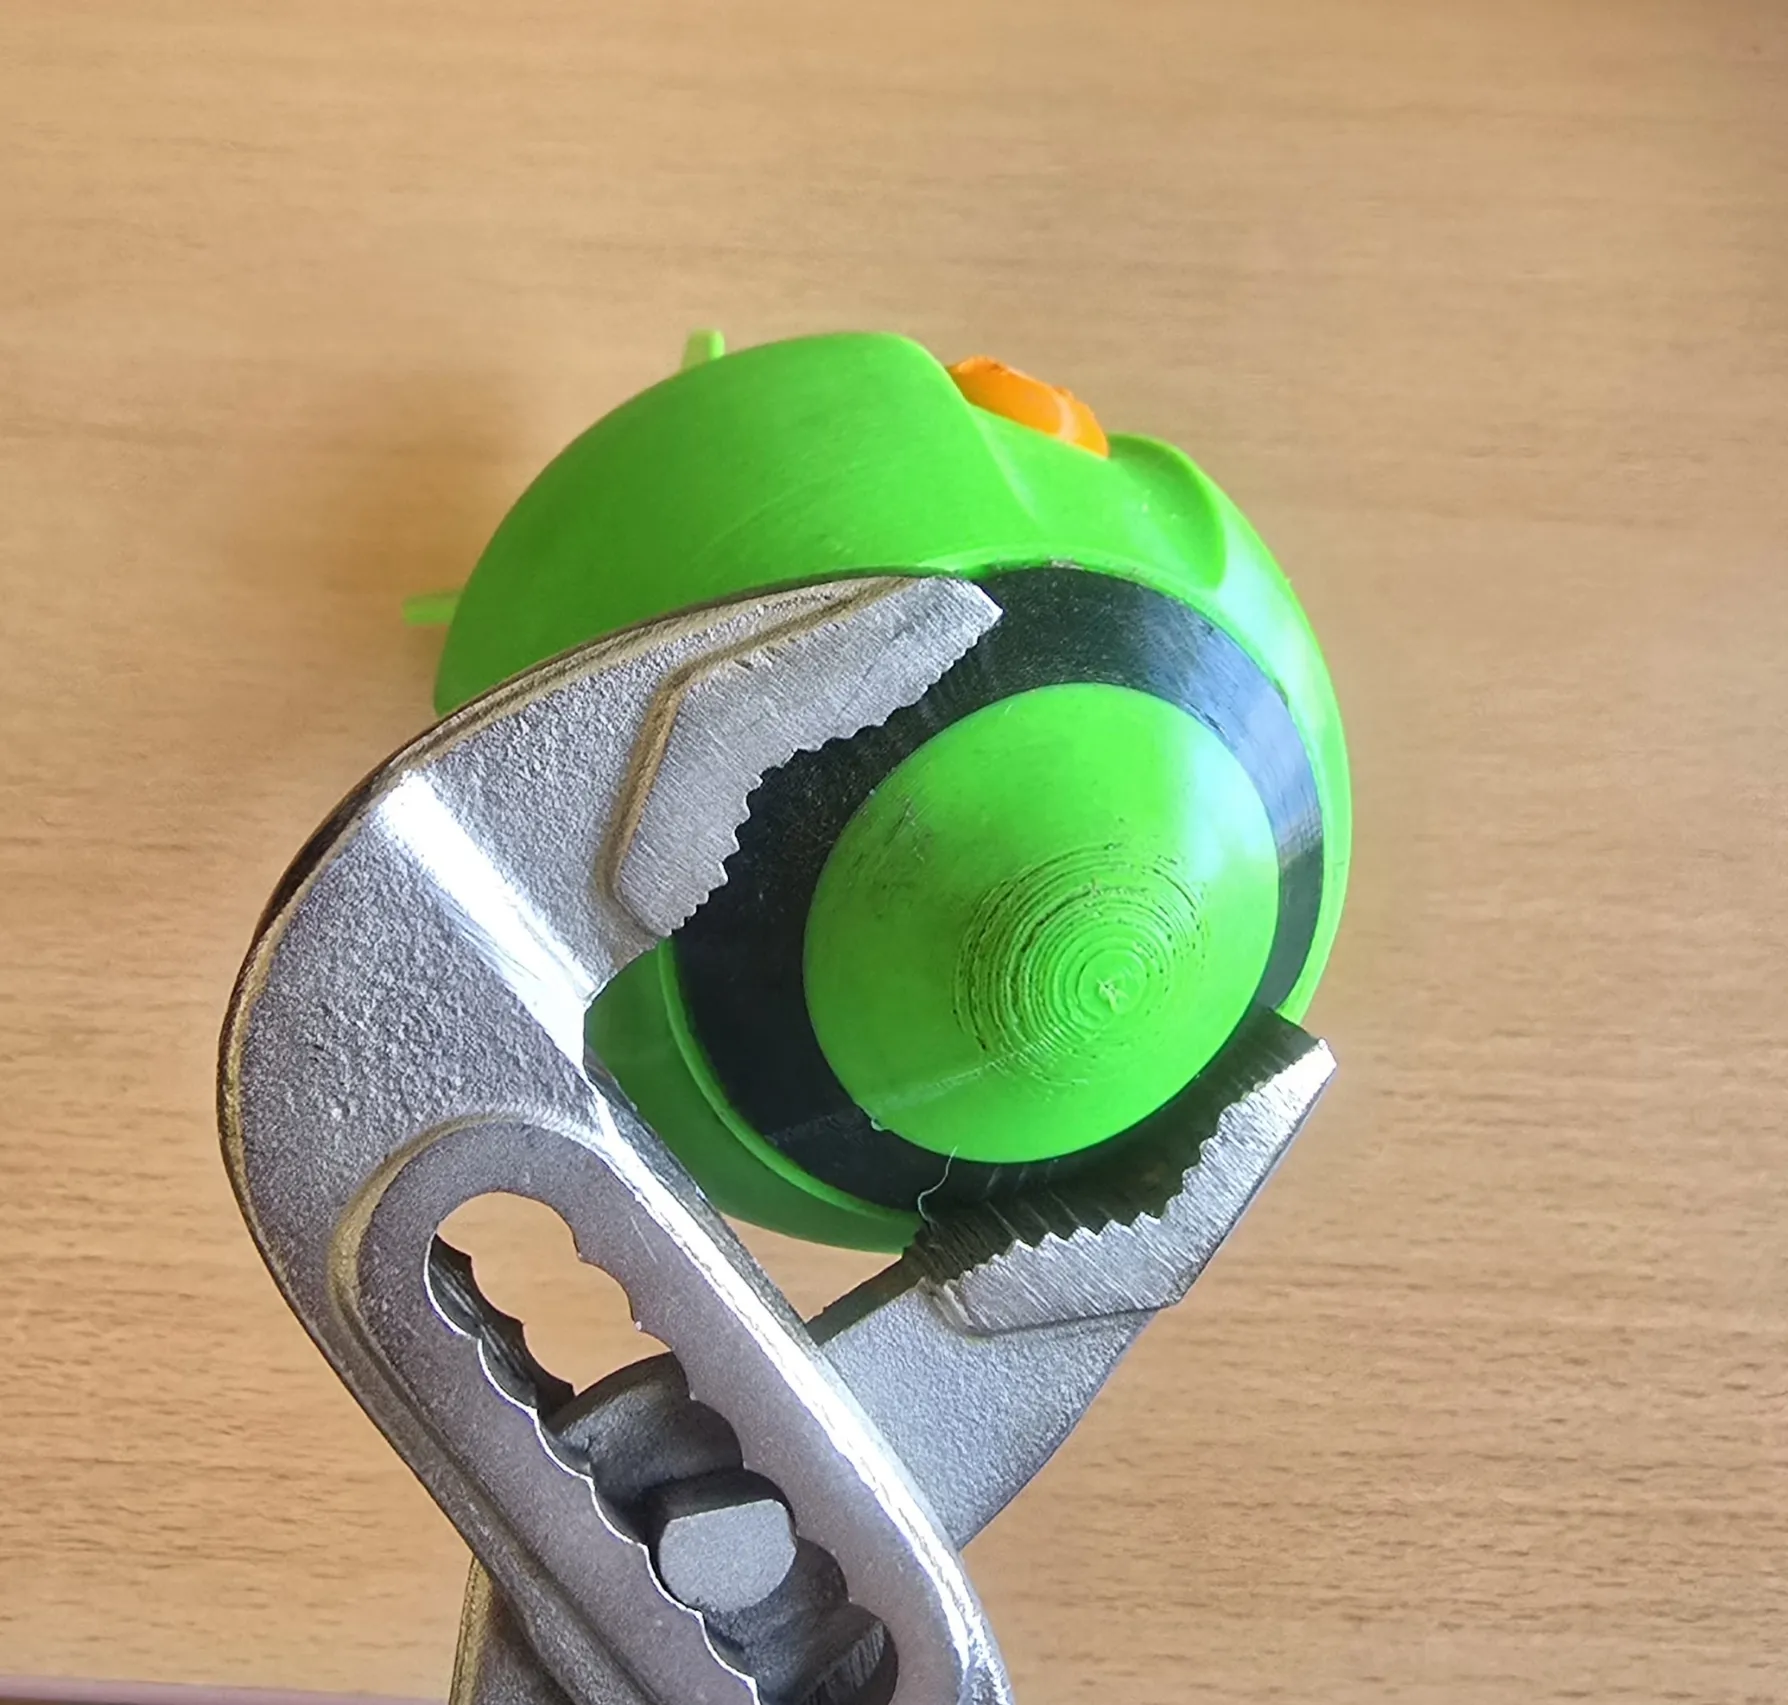
First I screwed in the threaded parts, compressing the parts with outer threads just at the upper thread and and screwing it in. I found it the easiest way to do this.
Fins
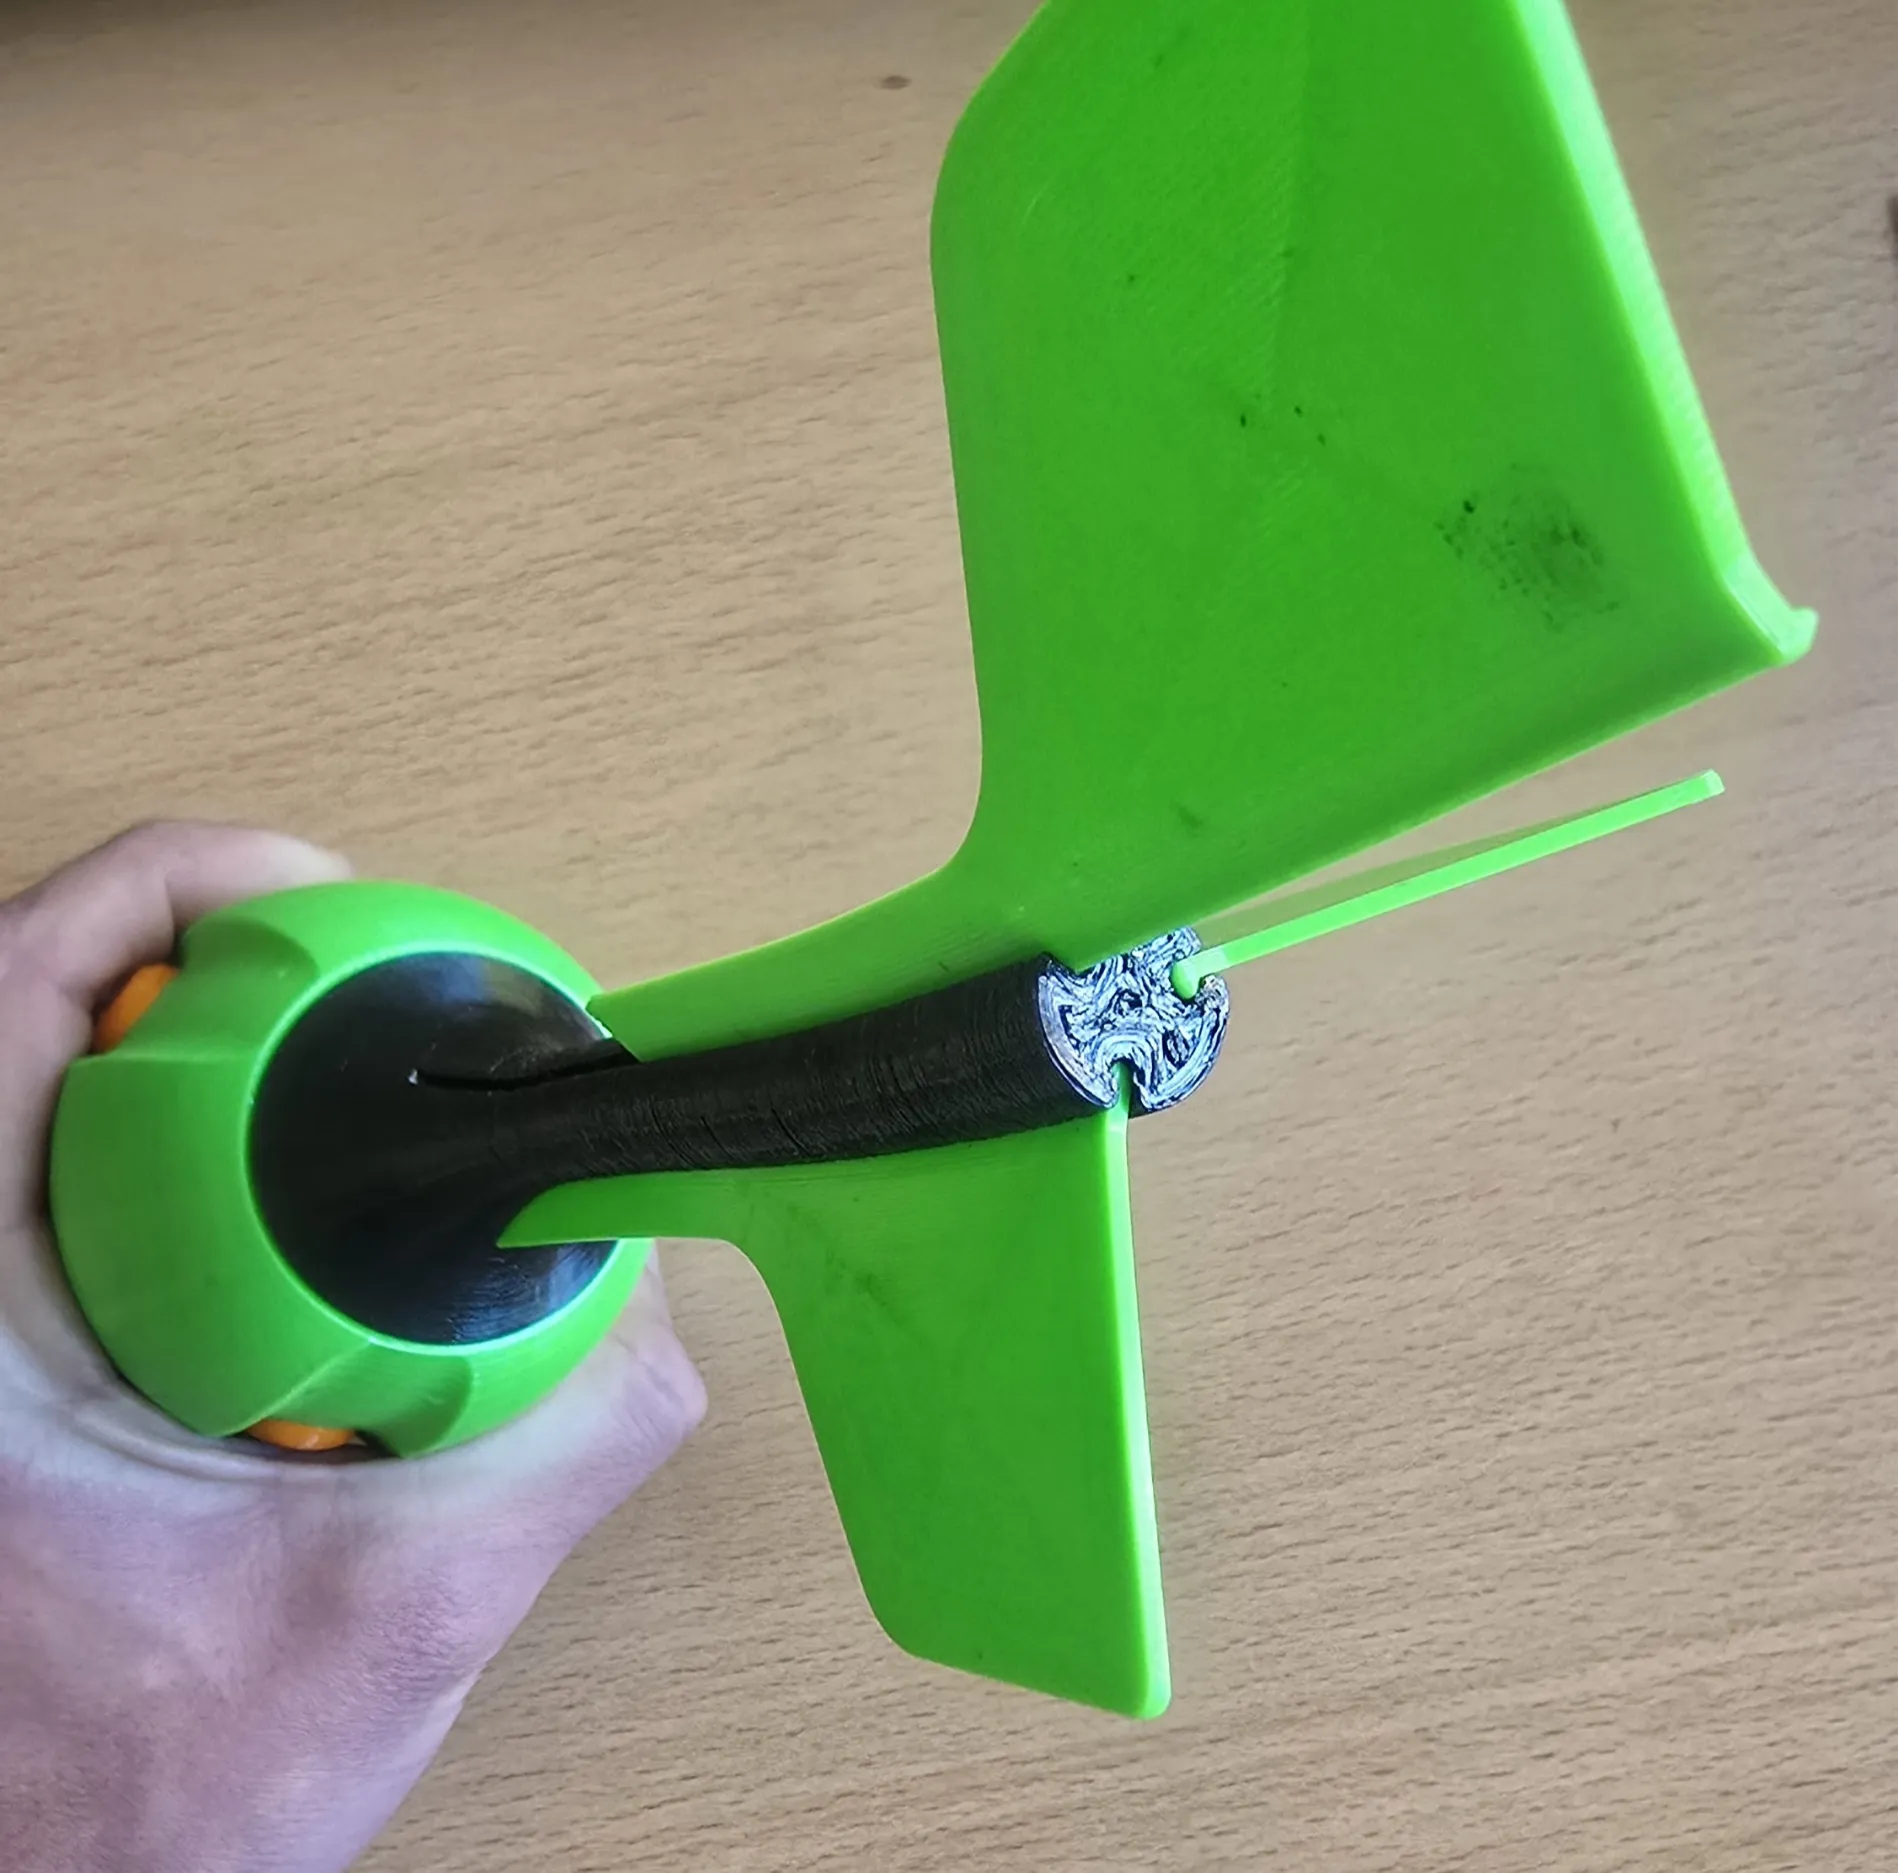
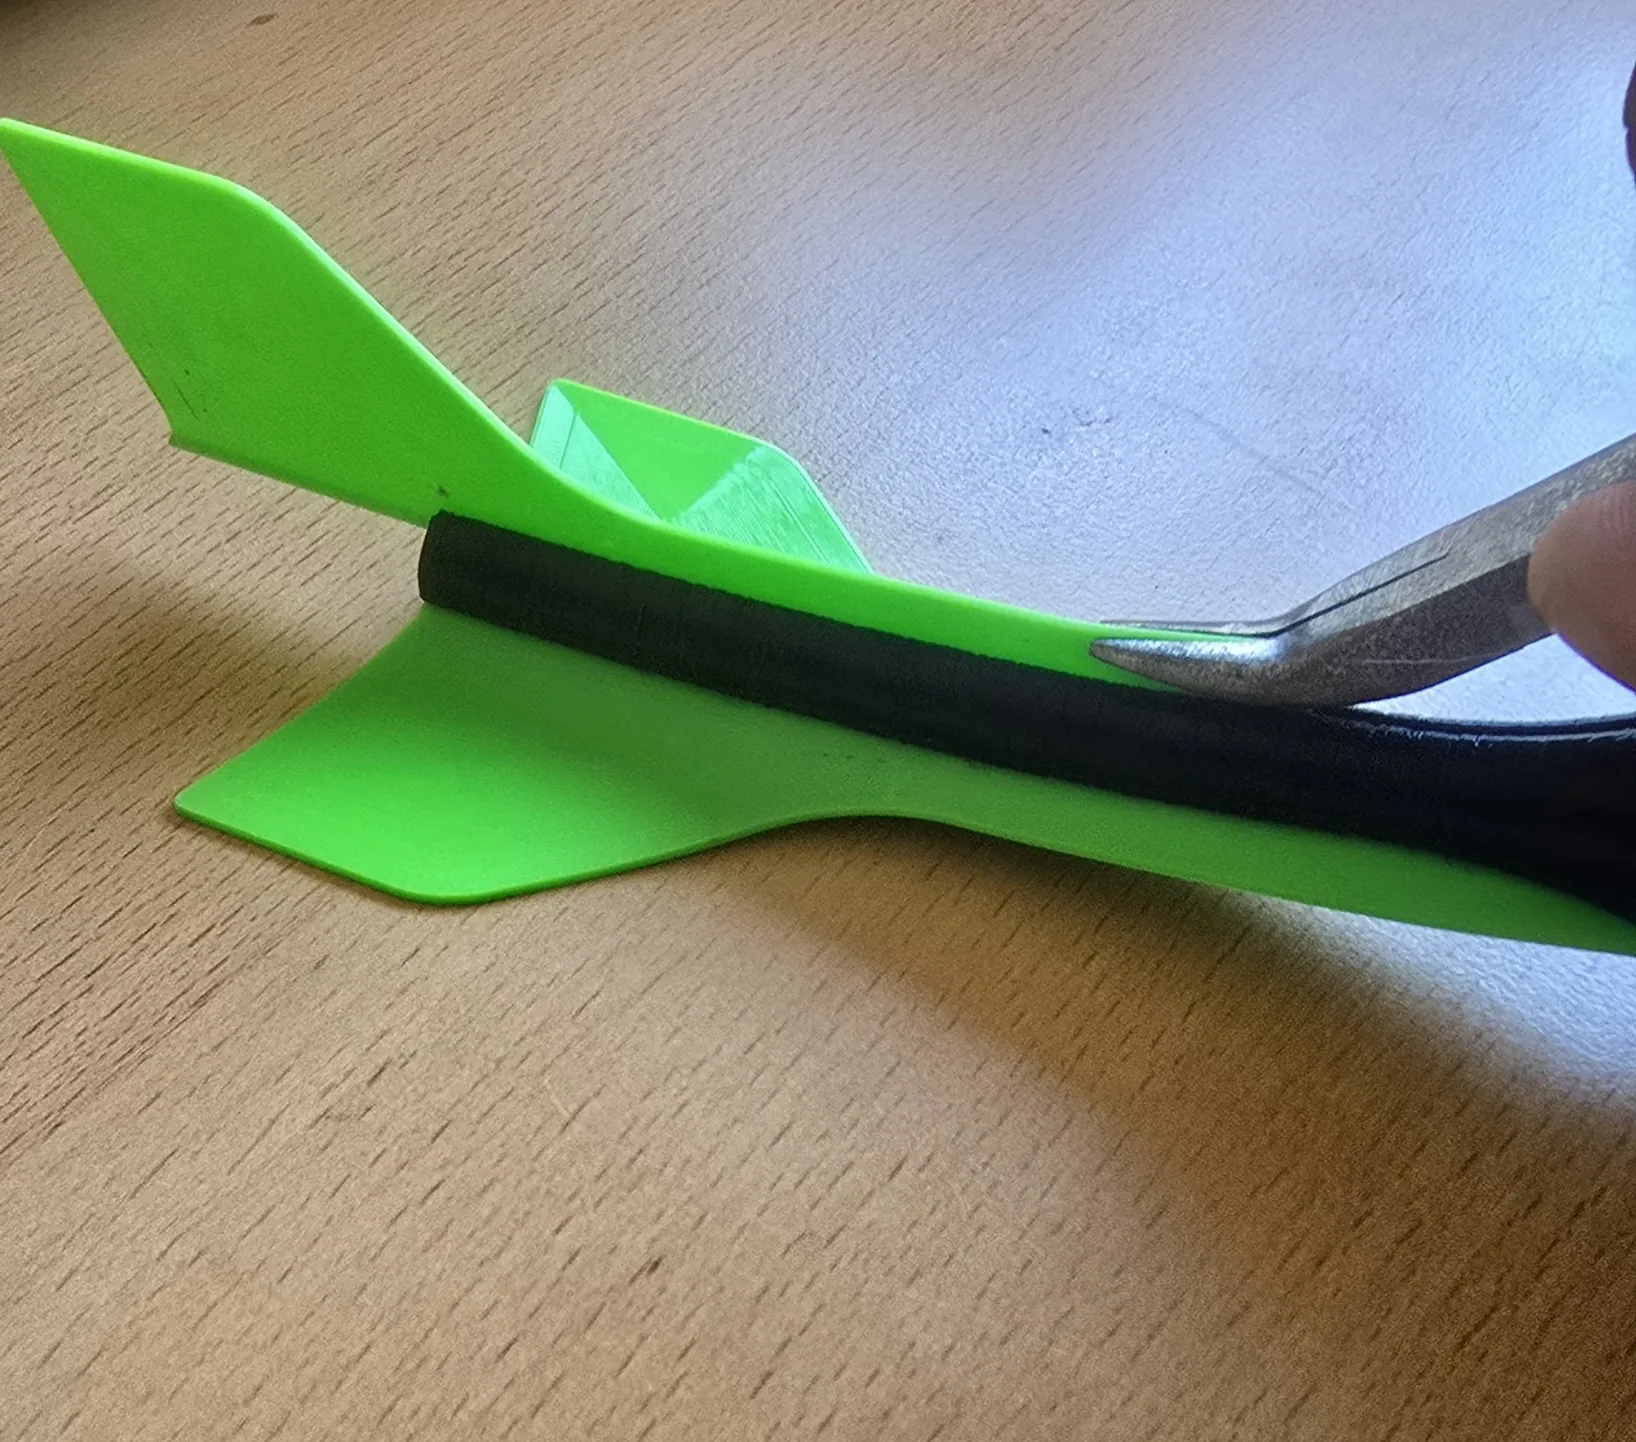
Then I slid in the fins from the back and pulled them forward using a small pair of pliers. The tail bit itsself will flex when you pull it along like this, but you can just hold the fin in place with your pliers and gently bend back the tail. Wiggle each fin in like this.
Whistles
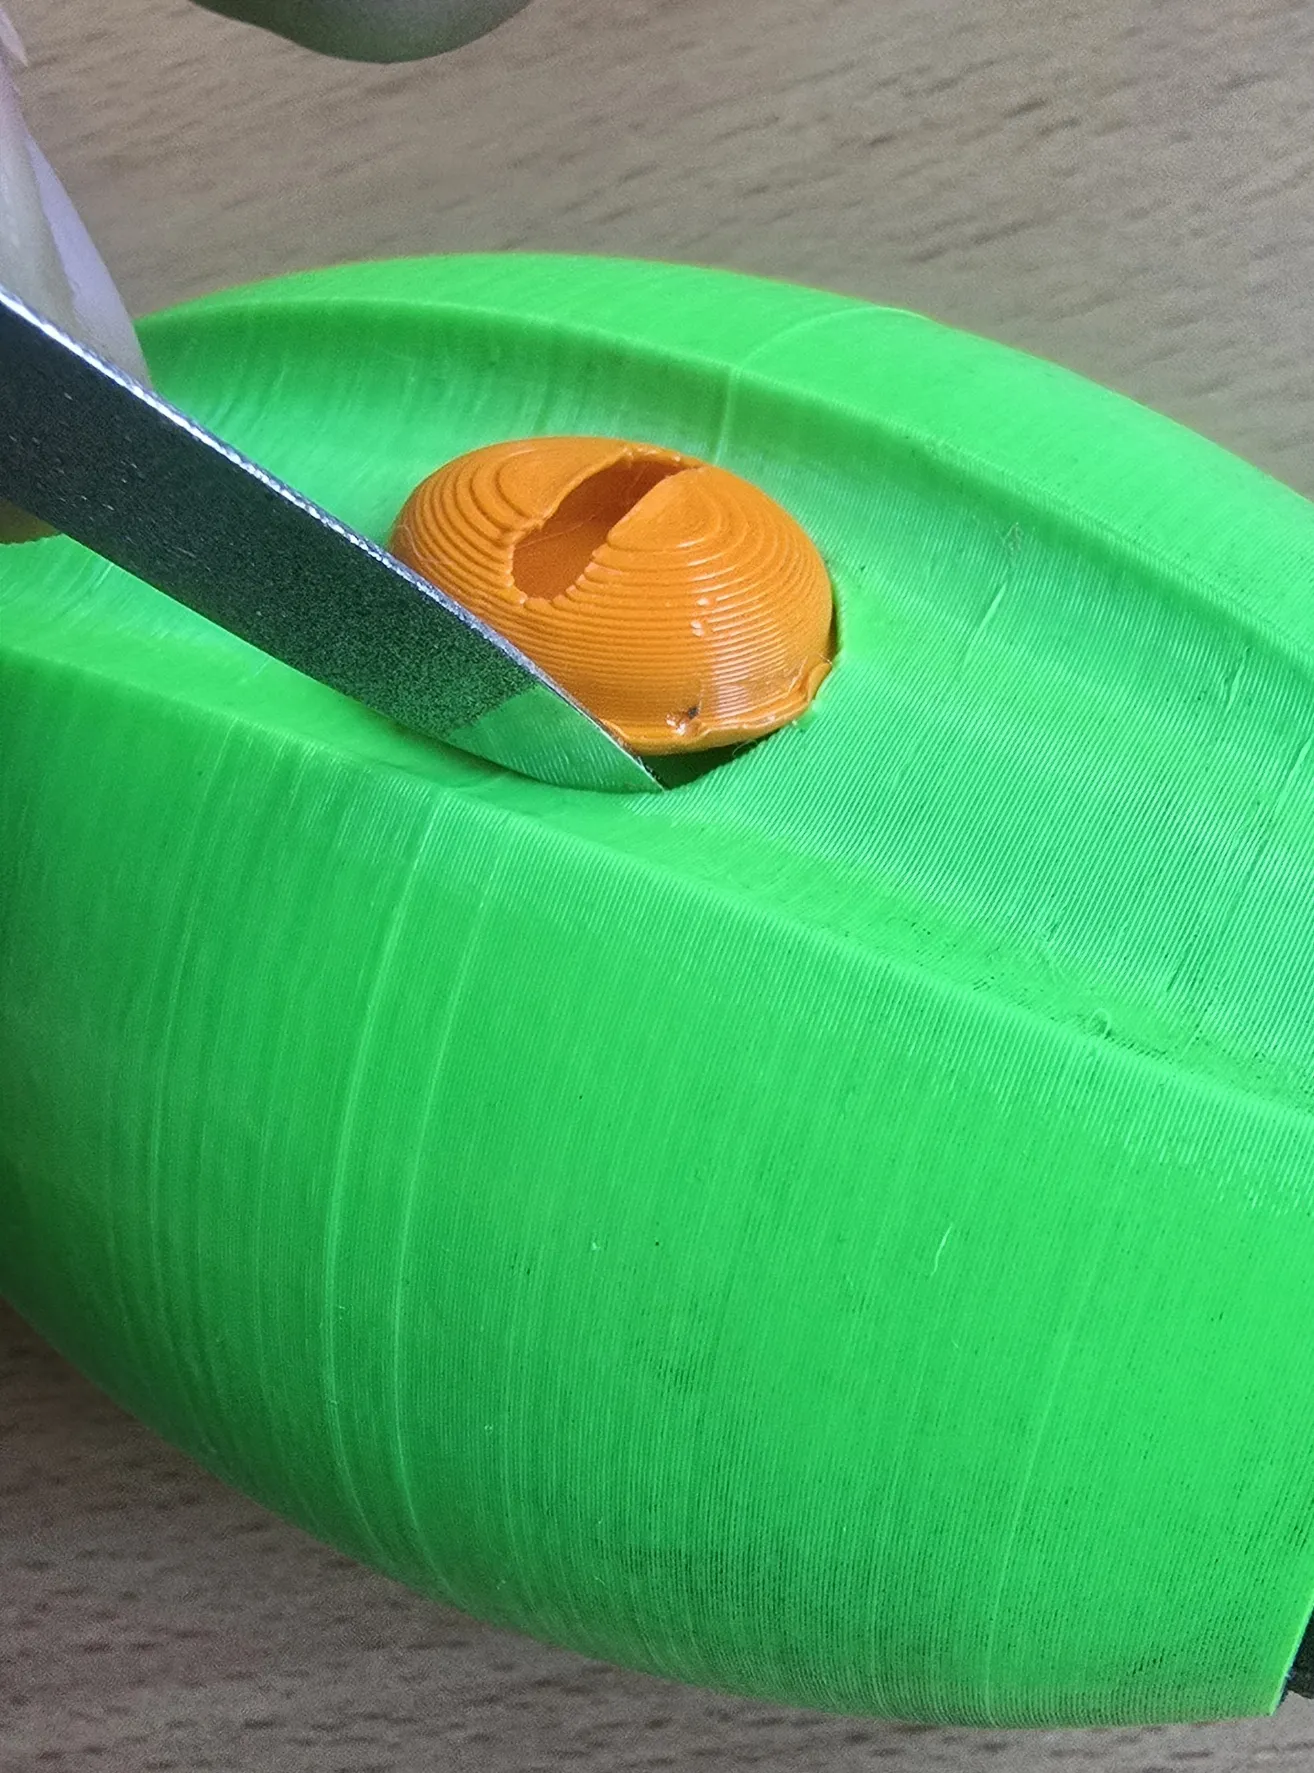
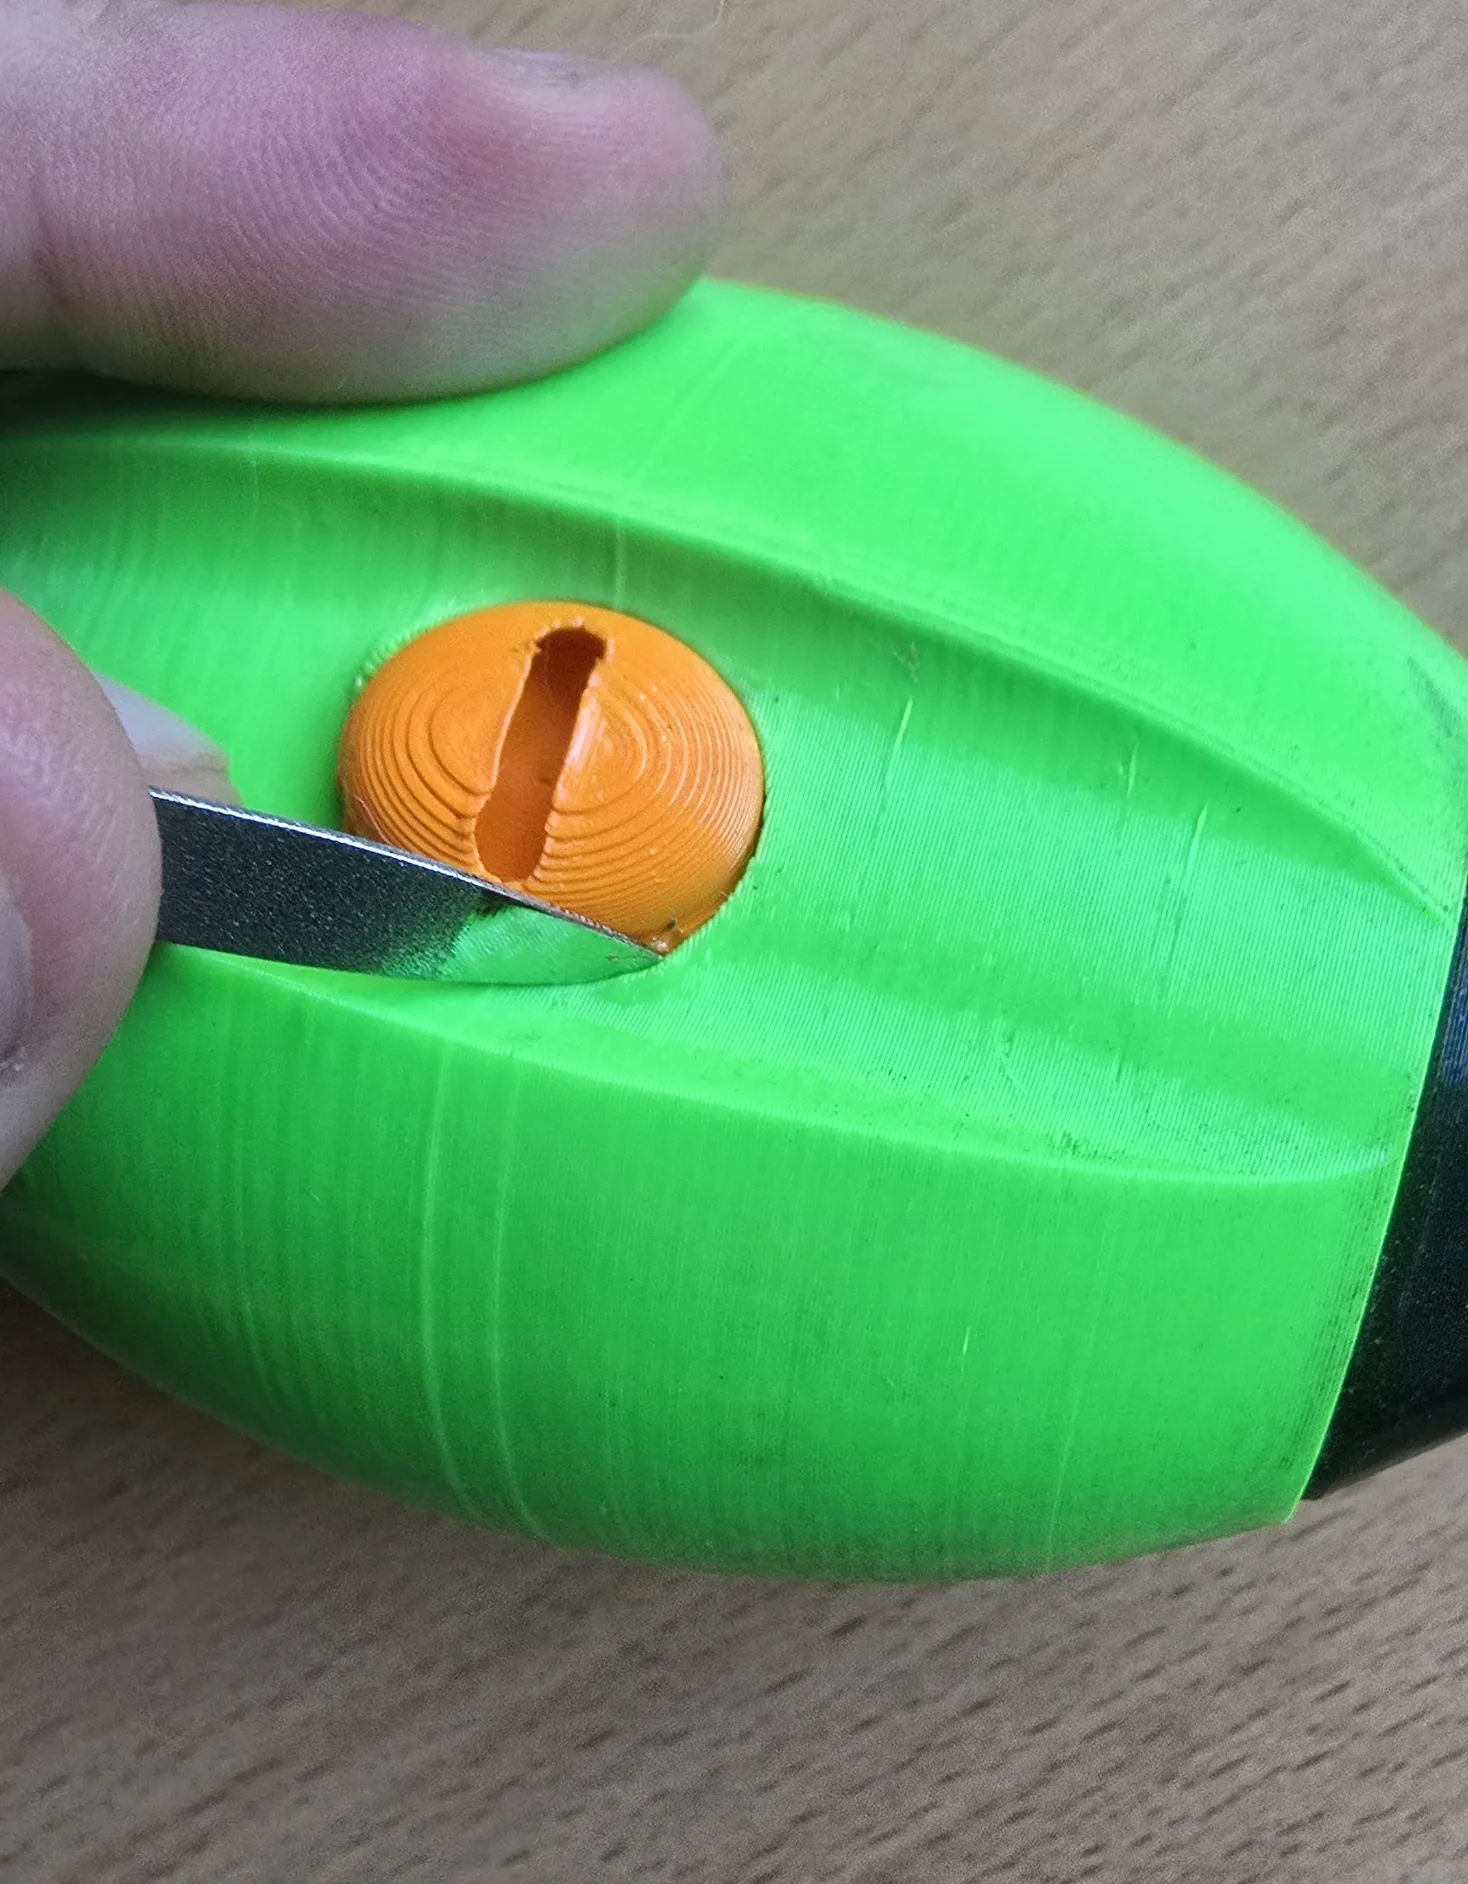
For the whistles i pushed the parts in on one side and then used a small nail file to get underneath the lip and push them in with some leverage. I had to go around the hole for a tiny bit, just like mounting a bike tire!
Please feel free to contact me whenever you have feedback, requests or questions on the model!
Boost Me (for free)
If you like my work please consider liking and boosting the model and following me.
License

You may create derivative works based on this object, provided that all such derivative works are published exclusively on the MakerWorld platform and include proper attribution to the original creator. You may not share, upload, host, distribute, or publish this object—or any derivative work of this object—on any other digital platform, marketplace, or distribution channel. Commercial use of this object and any derivative works is strictly prohibited. This includes, but is not limited to, selling, renting, sublicensing, or using the object in any context in which you receive monetary compensation or other financial benefits.


Comment & Rating (126)