Samurai Warlord Bust HD


Print Profile(1)
Description
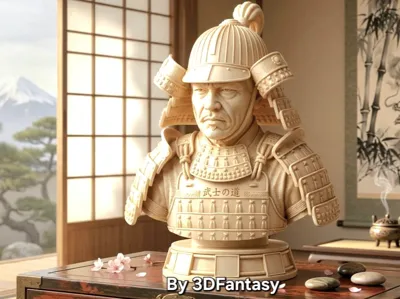
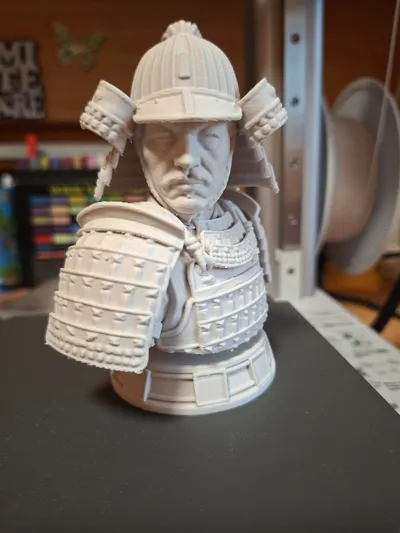
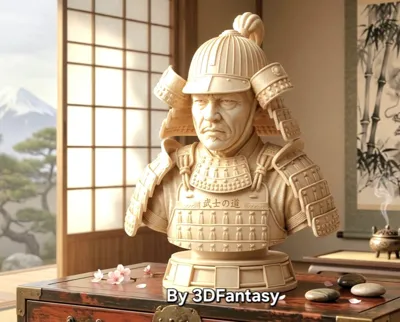
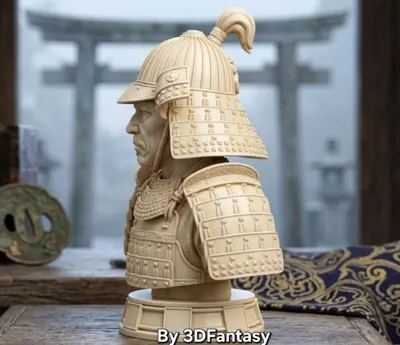
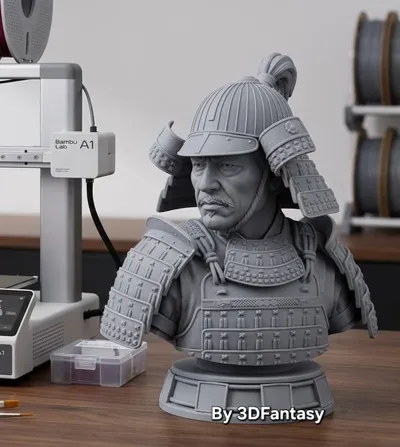
Bust of a Samurai Warlord.
This sculpture captures the intense gaze and determination of a veteran warrior. Every element of the traditional samurai armor (Ō-yoroi) has been meticulously designed to stand out maximally after printing: from the layered shoulder guards (Sode) to the intricate weaving of the breastplate (Dō), up to the iconic helmet (Kabuto) with its neck guard (Shikoro) and the typical topknot (Chonmage).
It's the perfect display piece, an excellent painting project, or a great test to challenge your printer's precision on the finest details.
🖨️ Print Tips and Settings
This model is rich in intricate textures and protruding geometries. To achieve the absolute best result, we recommend this configuration:
- Layer Height: from 0.12mm to 0.16mm (optimal for capturing armor details). A 0.08mm high-quality profile works wonders if you plan to enlarge or paint the model.
- Infill: 10% - 15% (recommended Gyroid or Grid for structural stability).
Walls (Wall Loops): 3 (ensures that the fine details of the face and armor have the correct thickness).
⚠️ Support Removal Guide (Crucial!)
Due to the historical accuracy of the armor, this model features several undercuts that require the use of supports. Handle removal with extreme care to avoid breaking the most delicate parts.
- Support type: Tree Supports (Auto) are highly recommended. They are much easier to detach from complex organic shapes (like the face) and from under the shoulder guards.
- Z-Distance: Set a distance of approximately 0.2mm between the support and the model for clean and effortless detachment.
- Critical areas to pay attention to:
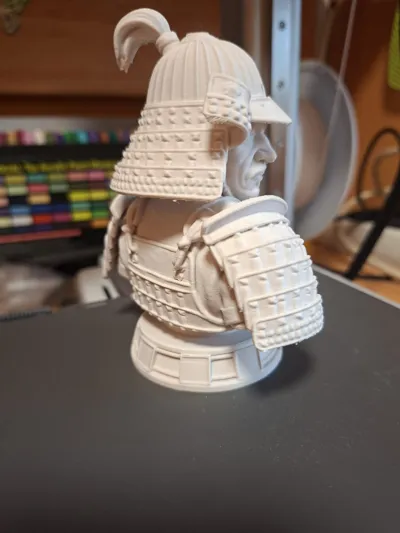
- The edge of the helmet and the neck guard (Shikoro): The flared plates on the back and sides of the helmet are thin and delicate. Use model clippers to cut the support pins before trying to pull them off.
- The shoulder guards (Sode): These plates remain slightly suspended from the body. Do not pull the support downwards forcefully; instead, cut the support pillars in half and gently 'peel' them off the armor plates.
- Under the chin and laces: The space under the chin and around the helmet laces is very tight. Use precision tweezers or a craft knife to slide out the support material without prying the model.
Boost Me (for free)
Support my work! (If you like my work, please Boost!)
🇮🇹 If you like this model, leave a Like, a comment with a photo of your print, and if you want, a BOOST! > Every little support helps me cover filament costs for print tests and motivates me to always design and share new high-quality models with the community. Happy printing everyone!
License
You shall not share, sub-license, sell, rent, host, transfer, or distribute in any way the digital or 3D printed versions of this object, nor any other derivative work of this object in its digital or physical format (including - but not limited to - remixes of this object, and hosting on other digital platforms). The objects may not be used without permission in any way whatsoever in which you charge money, or collect fees.
Comment & Rating (1)