
Phone Charger Stand MagSafe, Pixelsnap, Qi2

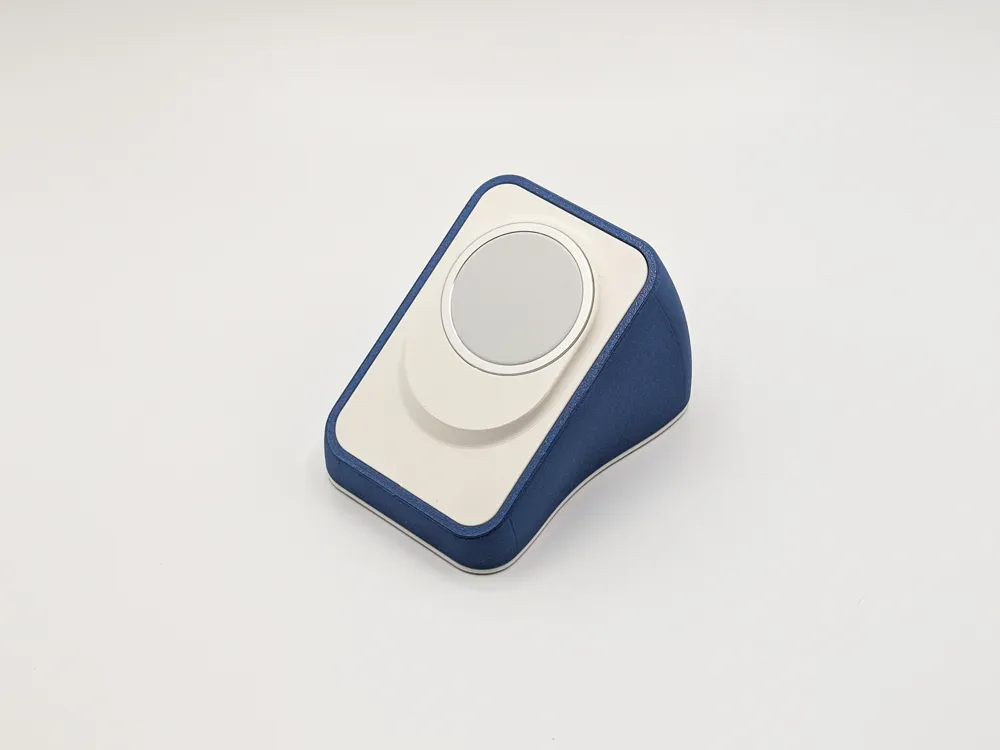
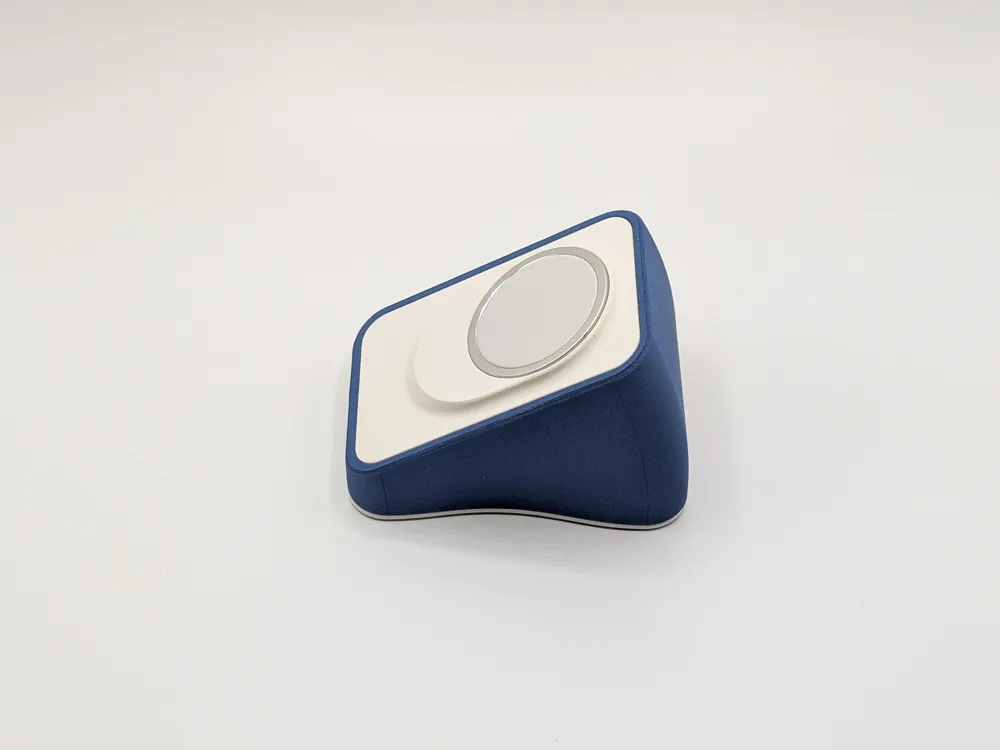
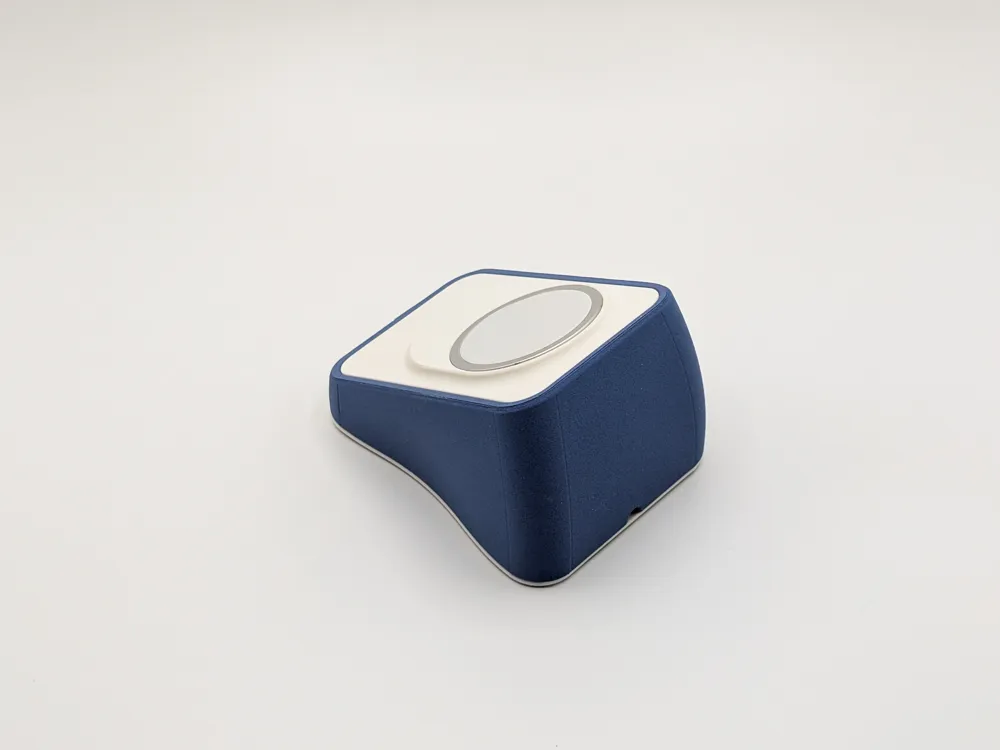
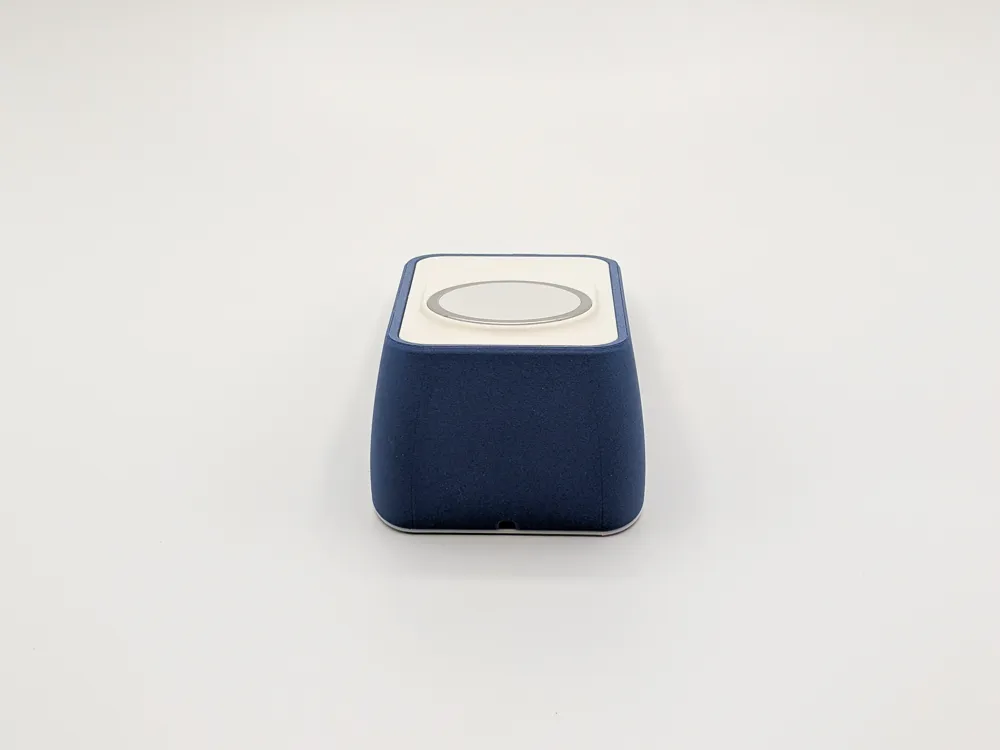

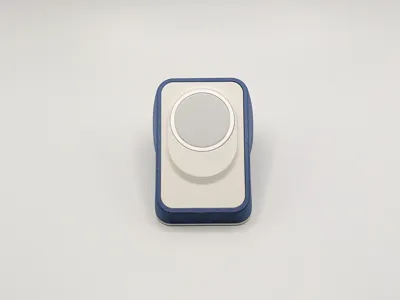
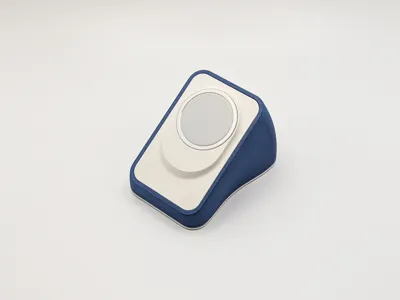
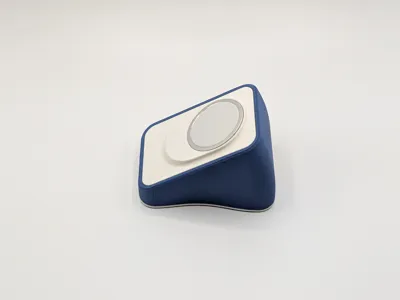
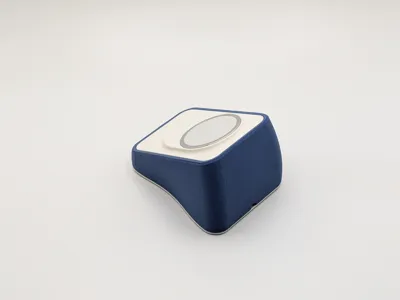
Print Profile(2)



Description
This model was designed using coffee, filament, and questionable life choices.
If it earned a spot on your printer, it might deserve a 👍 Like too. 😄
Checkout my newest release:
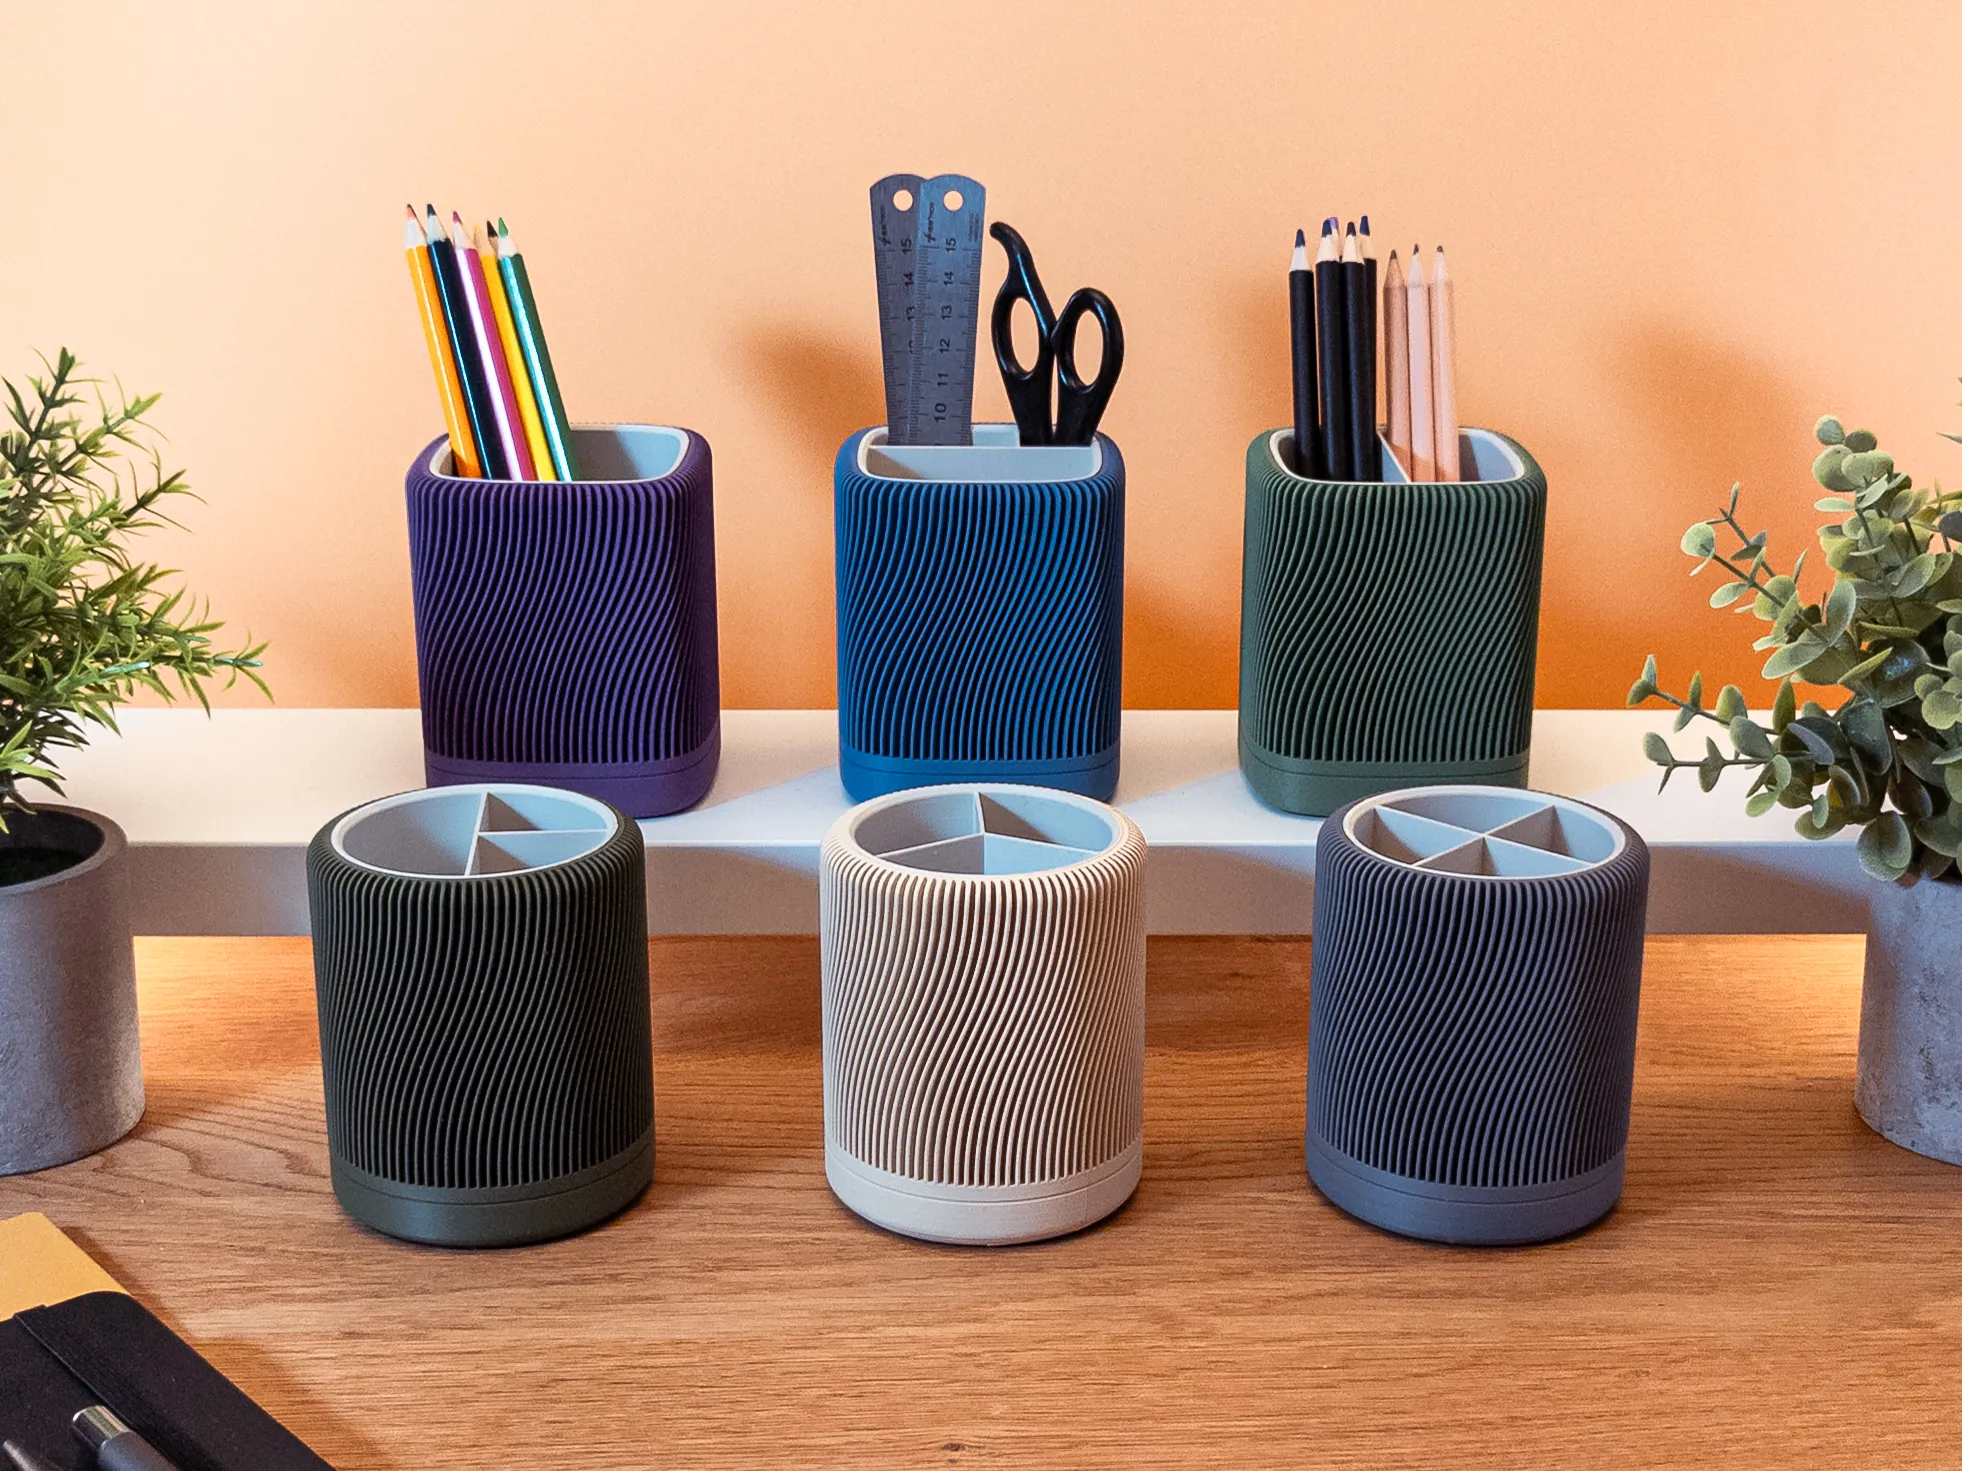
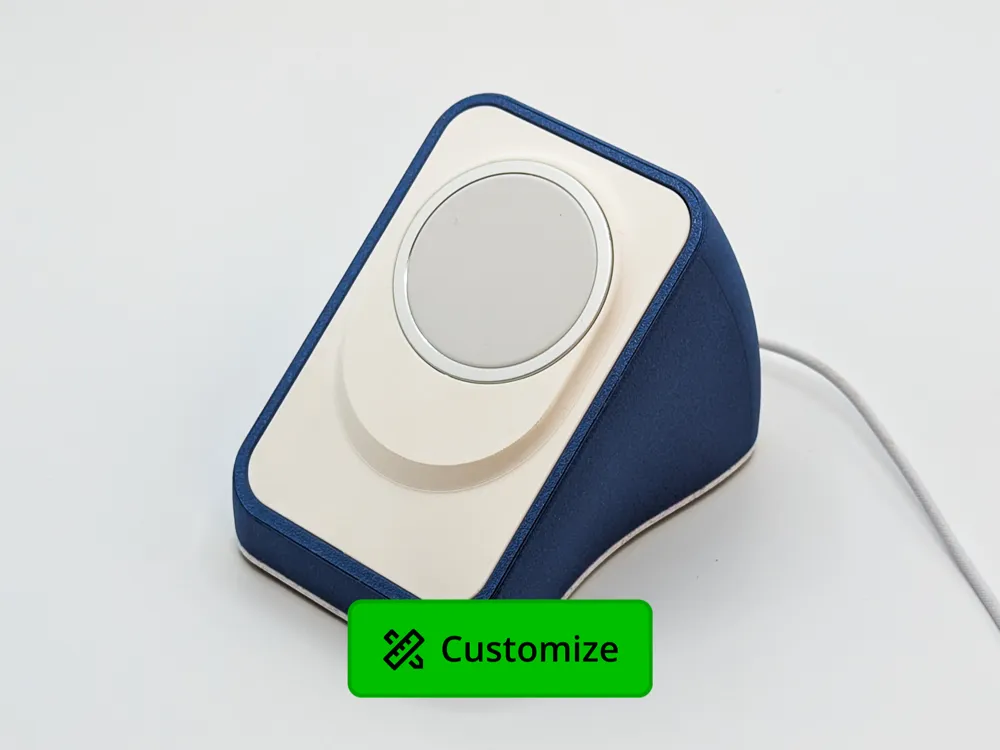
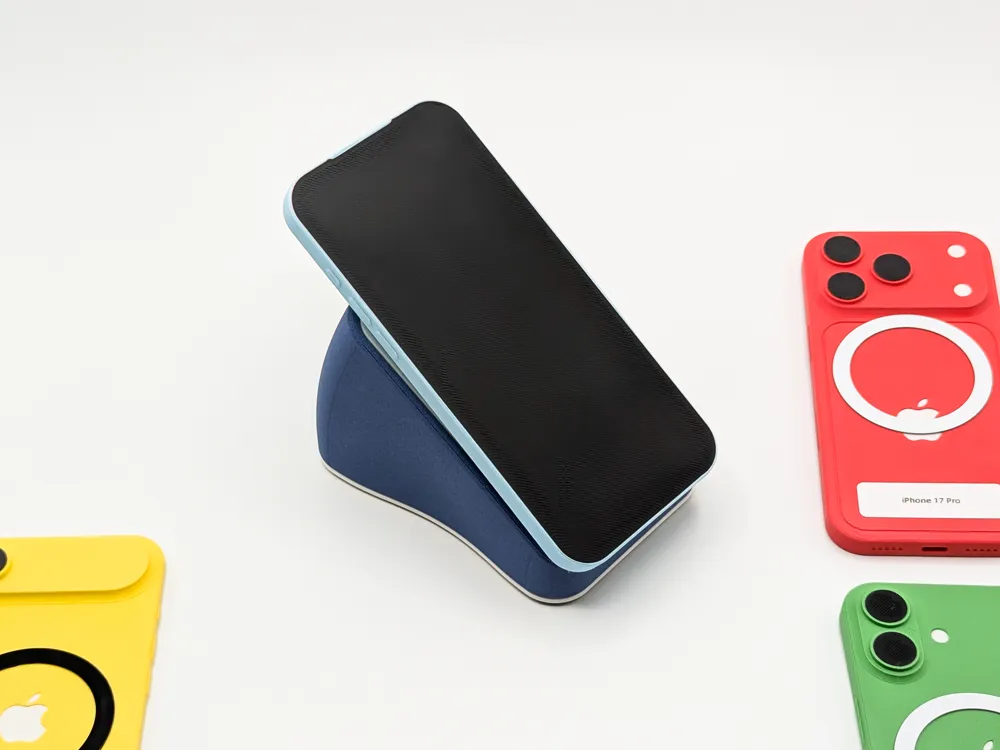
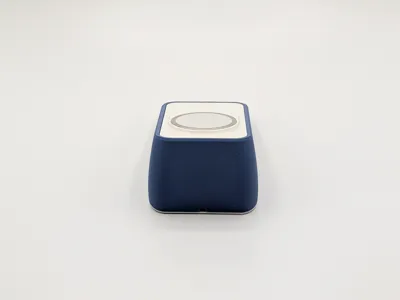
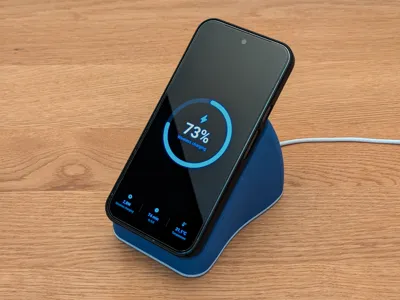
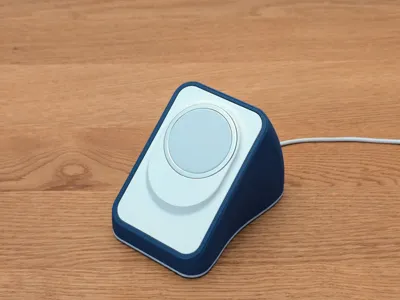
Modular three-part stand for MagSafe, PixelSnap & Qi2 chargers. Six inlays included (Apple Gen 1/2, Pixel Snap, Anker Zolo, JSAUX, C10) plus a MakerWorld customizer for your own. Five fixed tilt angles (20° to 40°). Hollow body for weight, clip-on bottom plate with non-slip pad cutout. Built chunky on purpose. Your charger stays put when you pull the phone off.
Phone Stand for MagSafe, PixelSnap & Qi2 Wireless Chargers
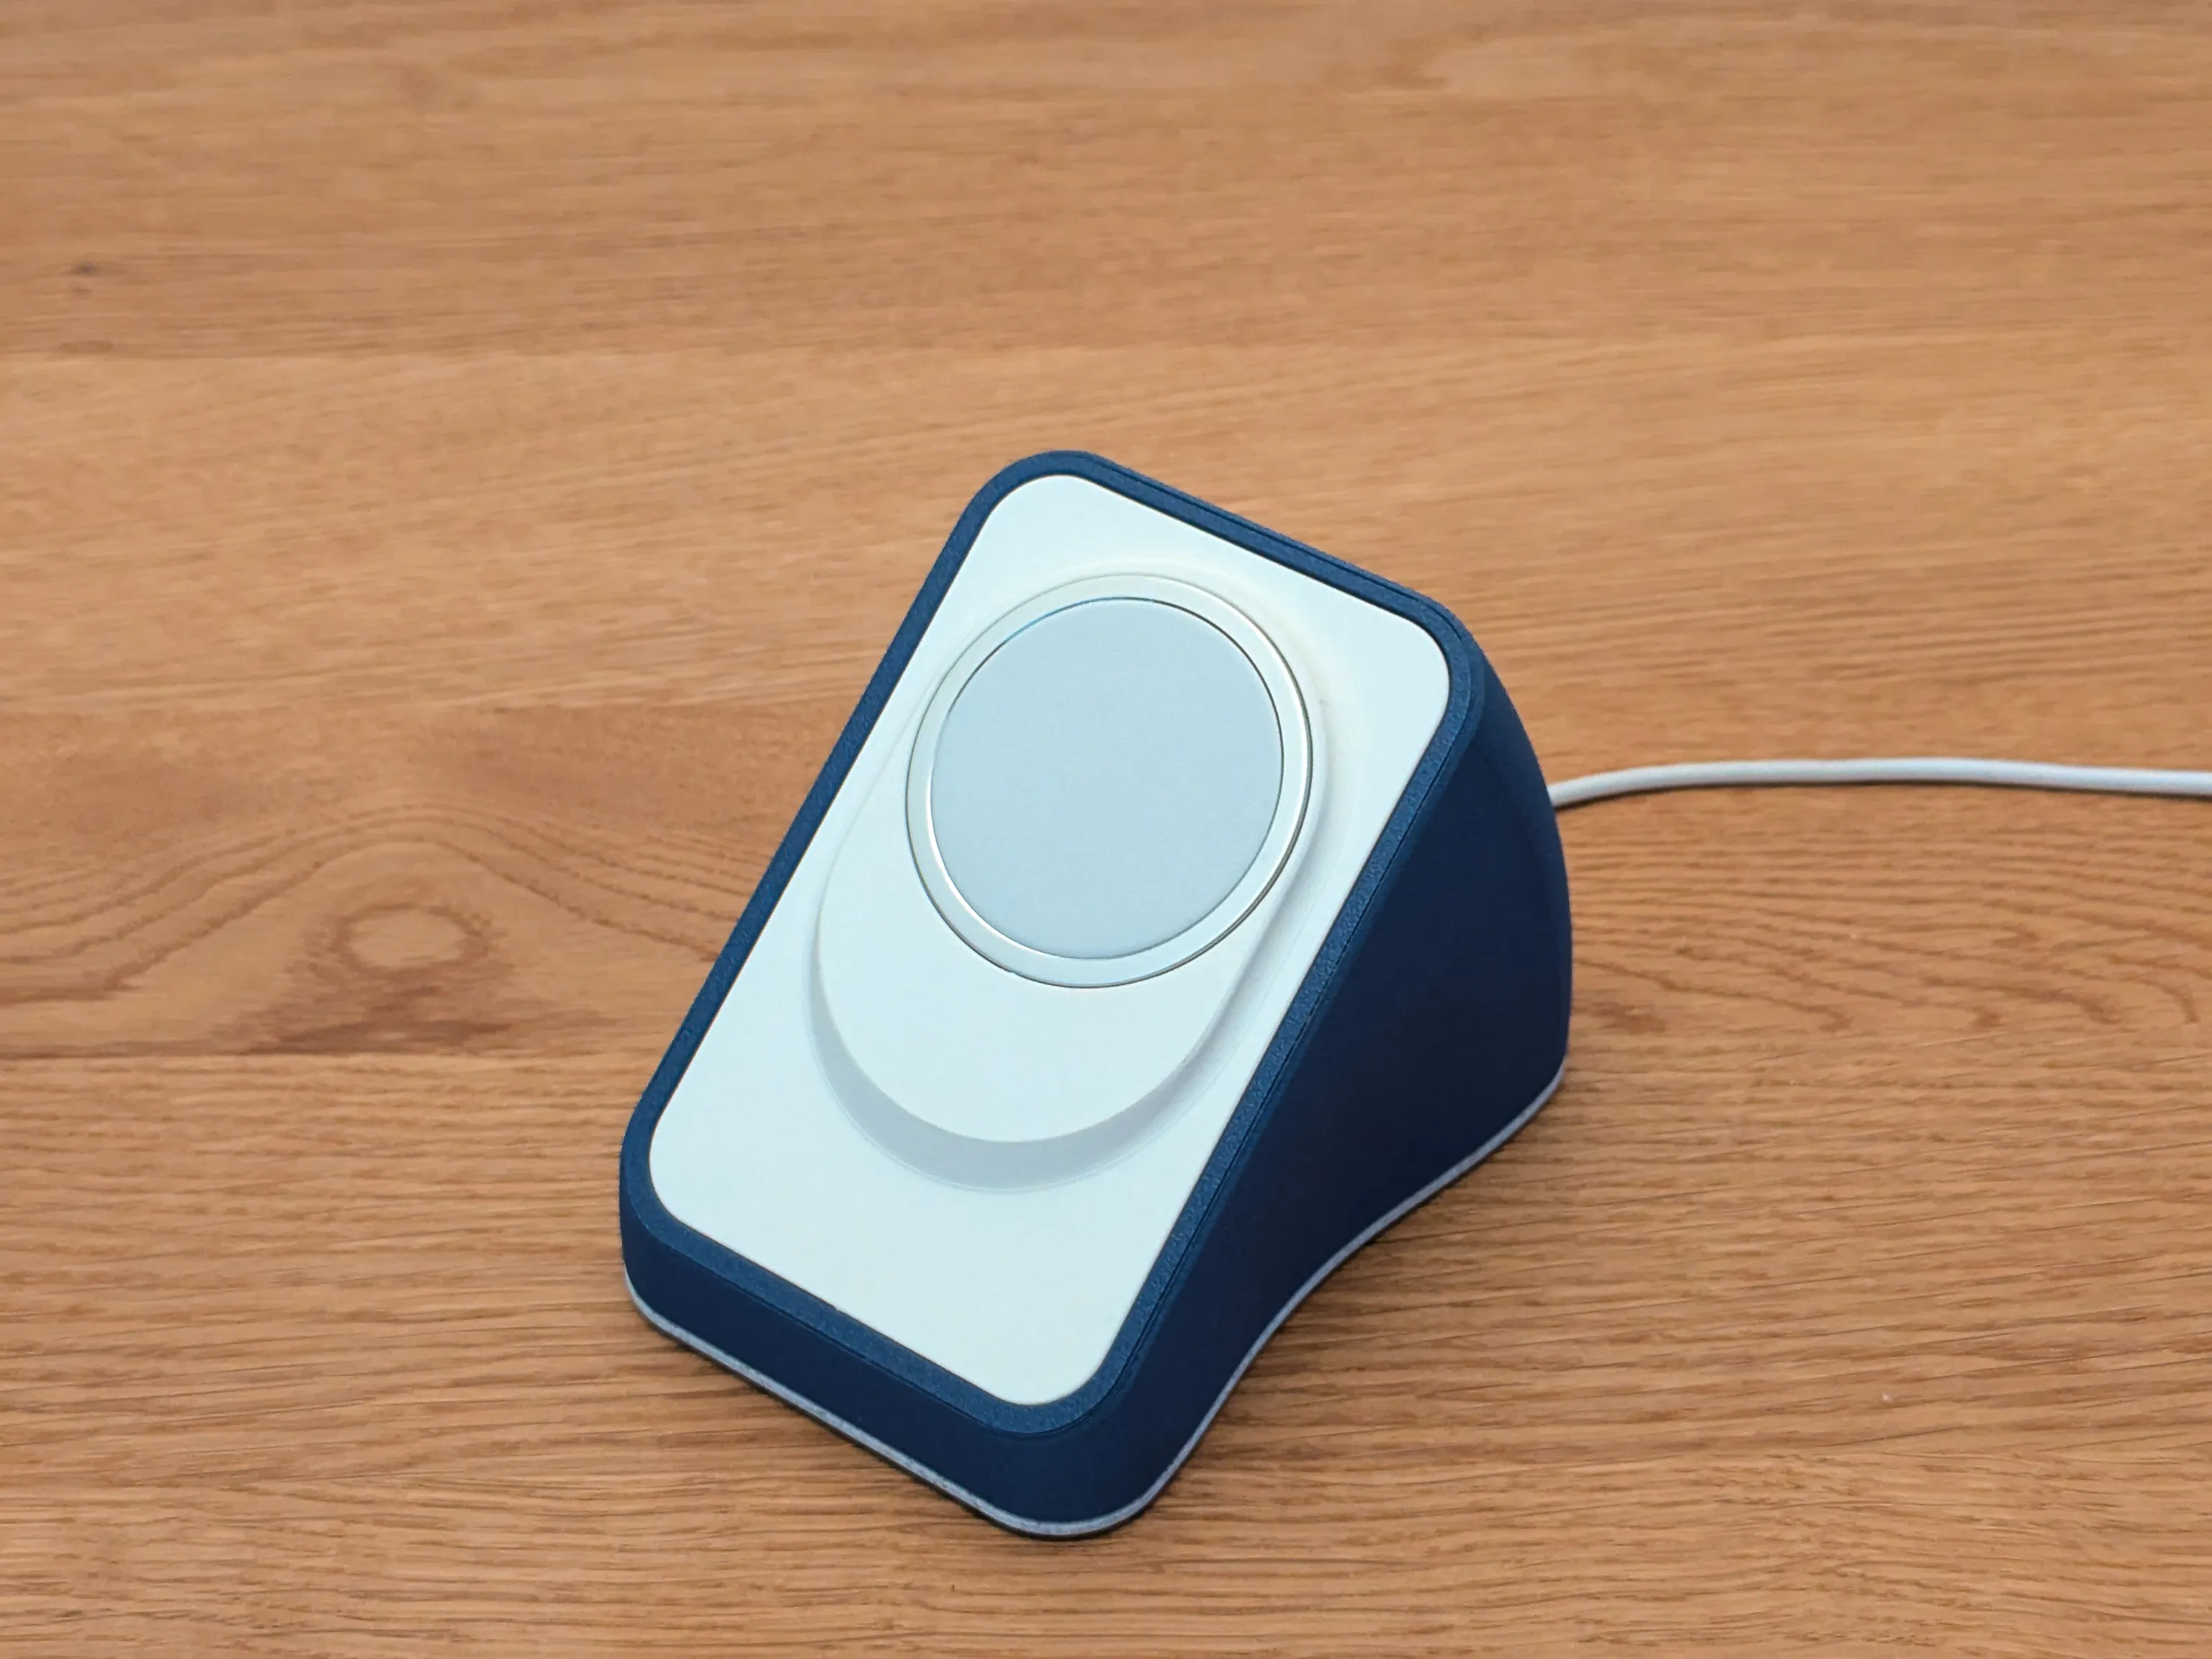 | 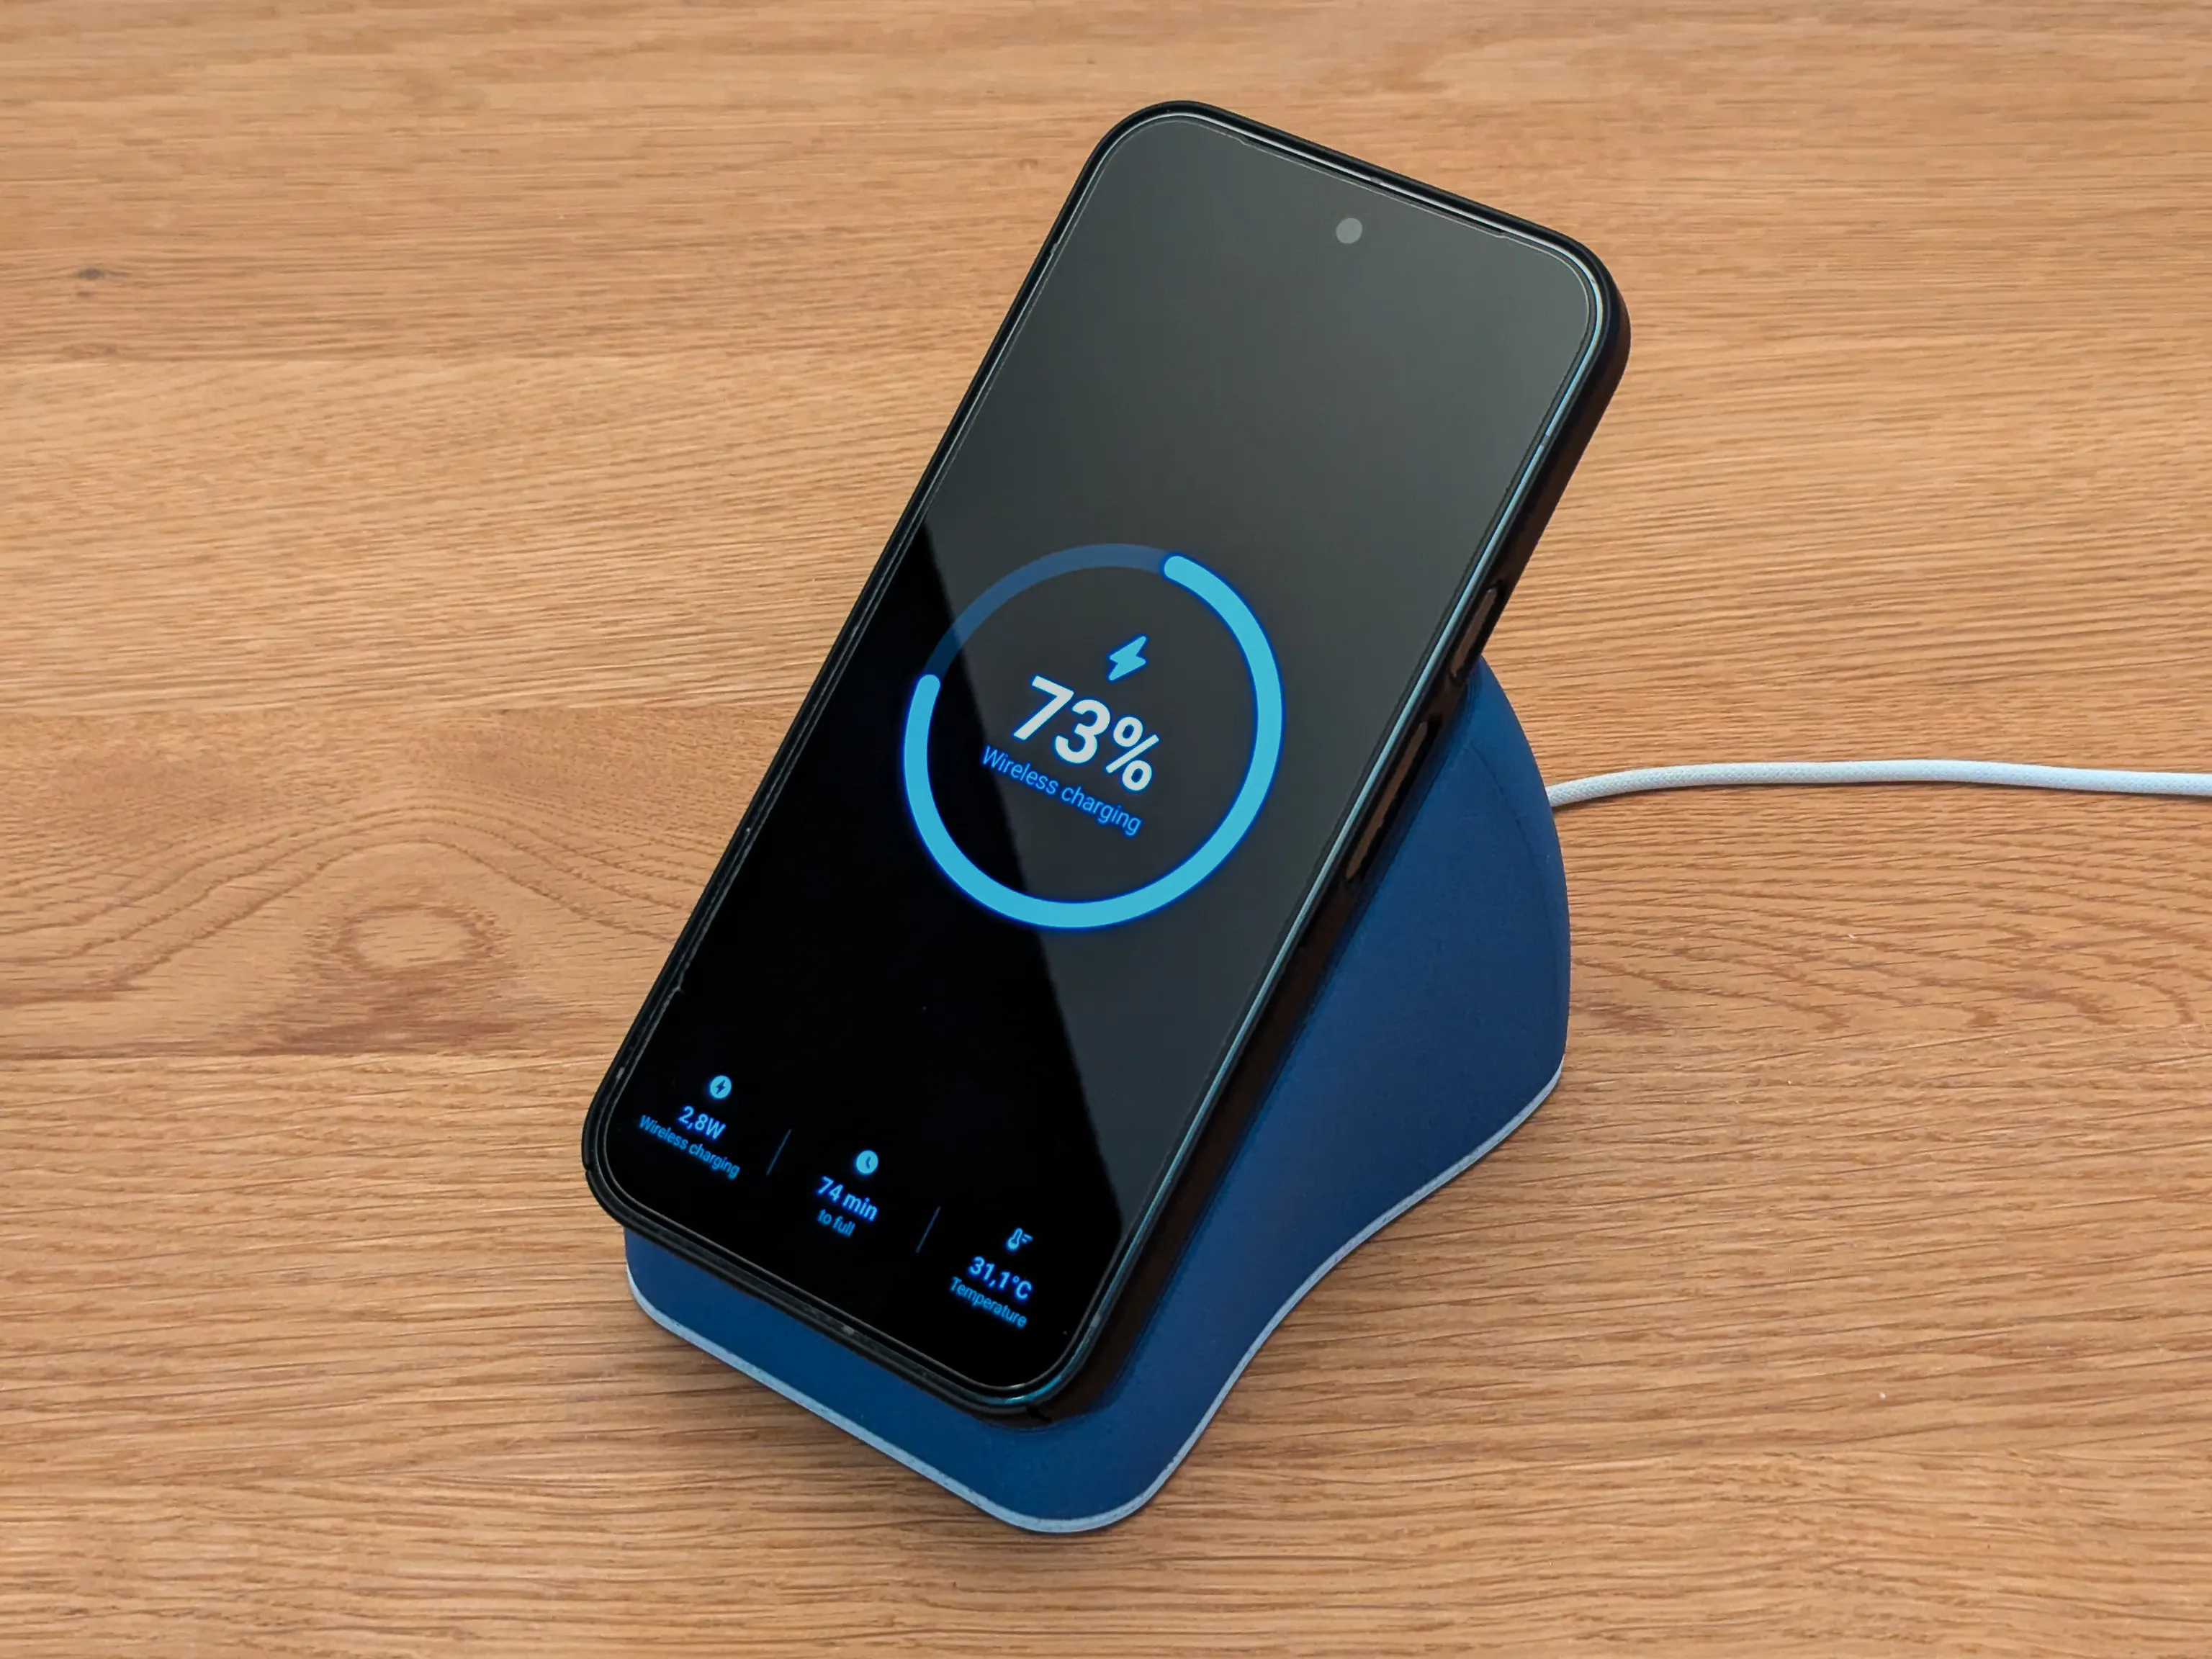 |
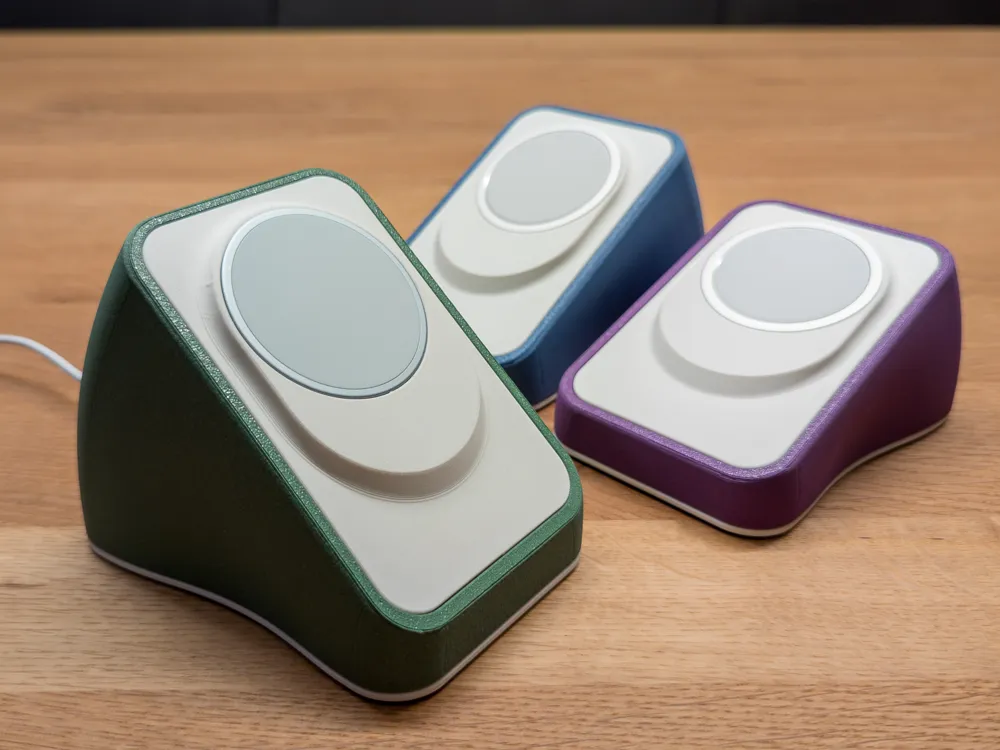
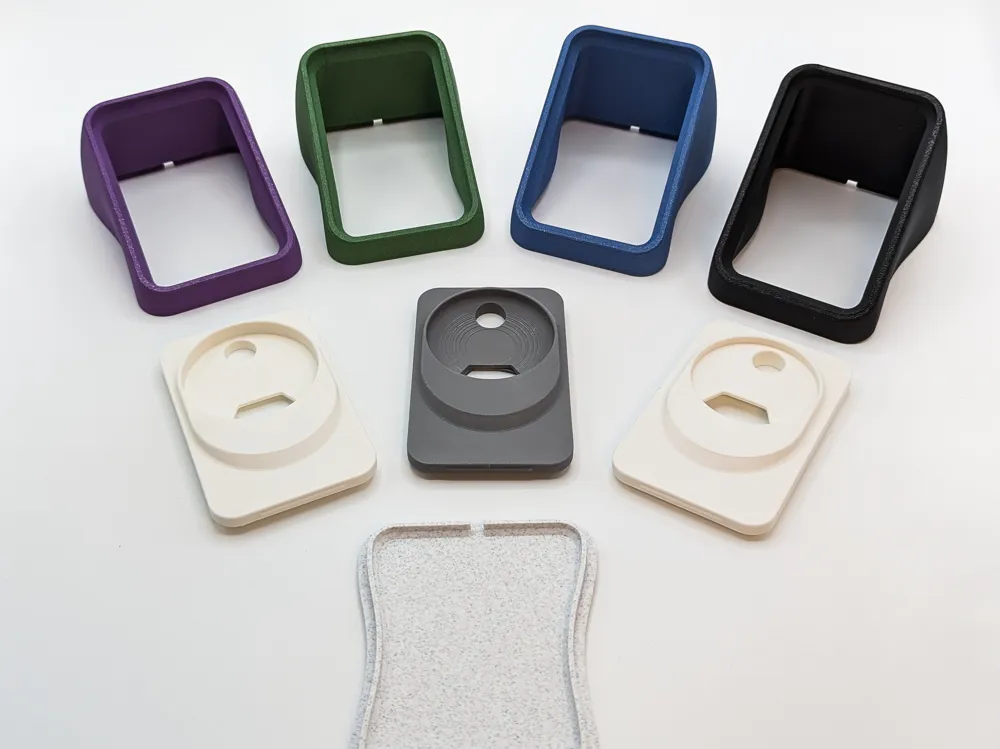
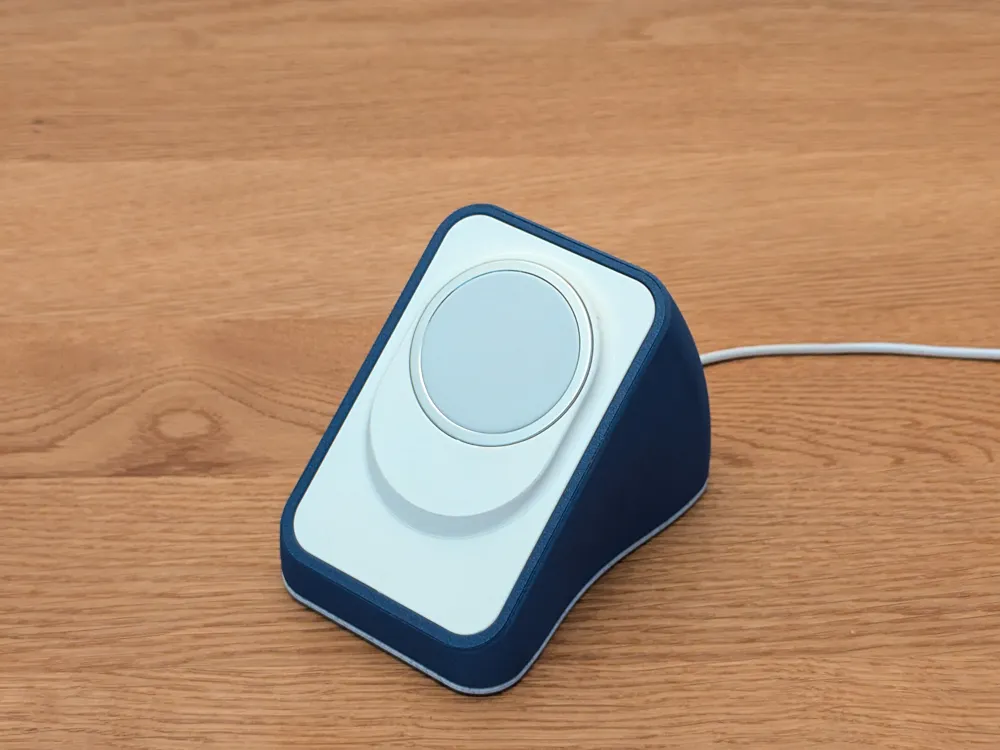
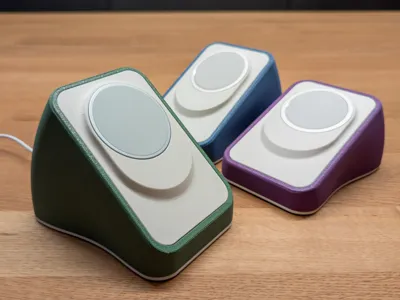
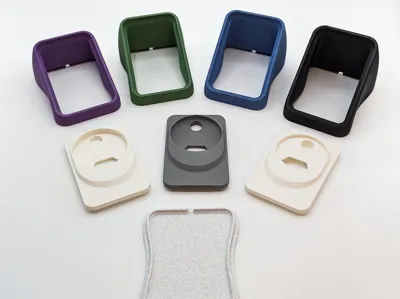
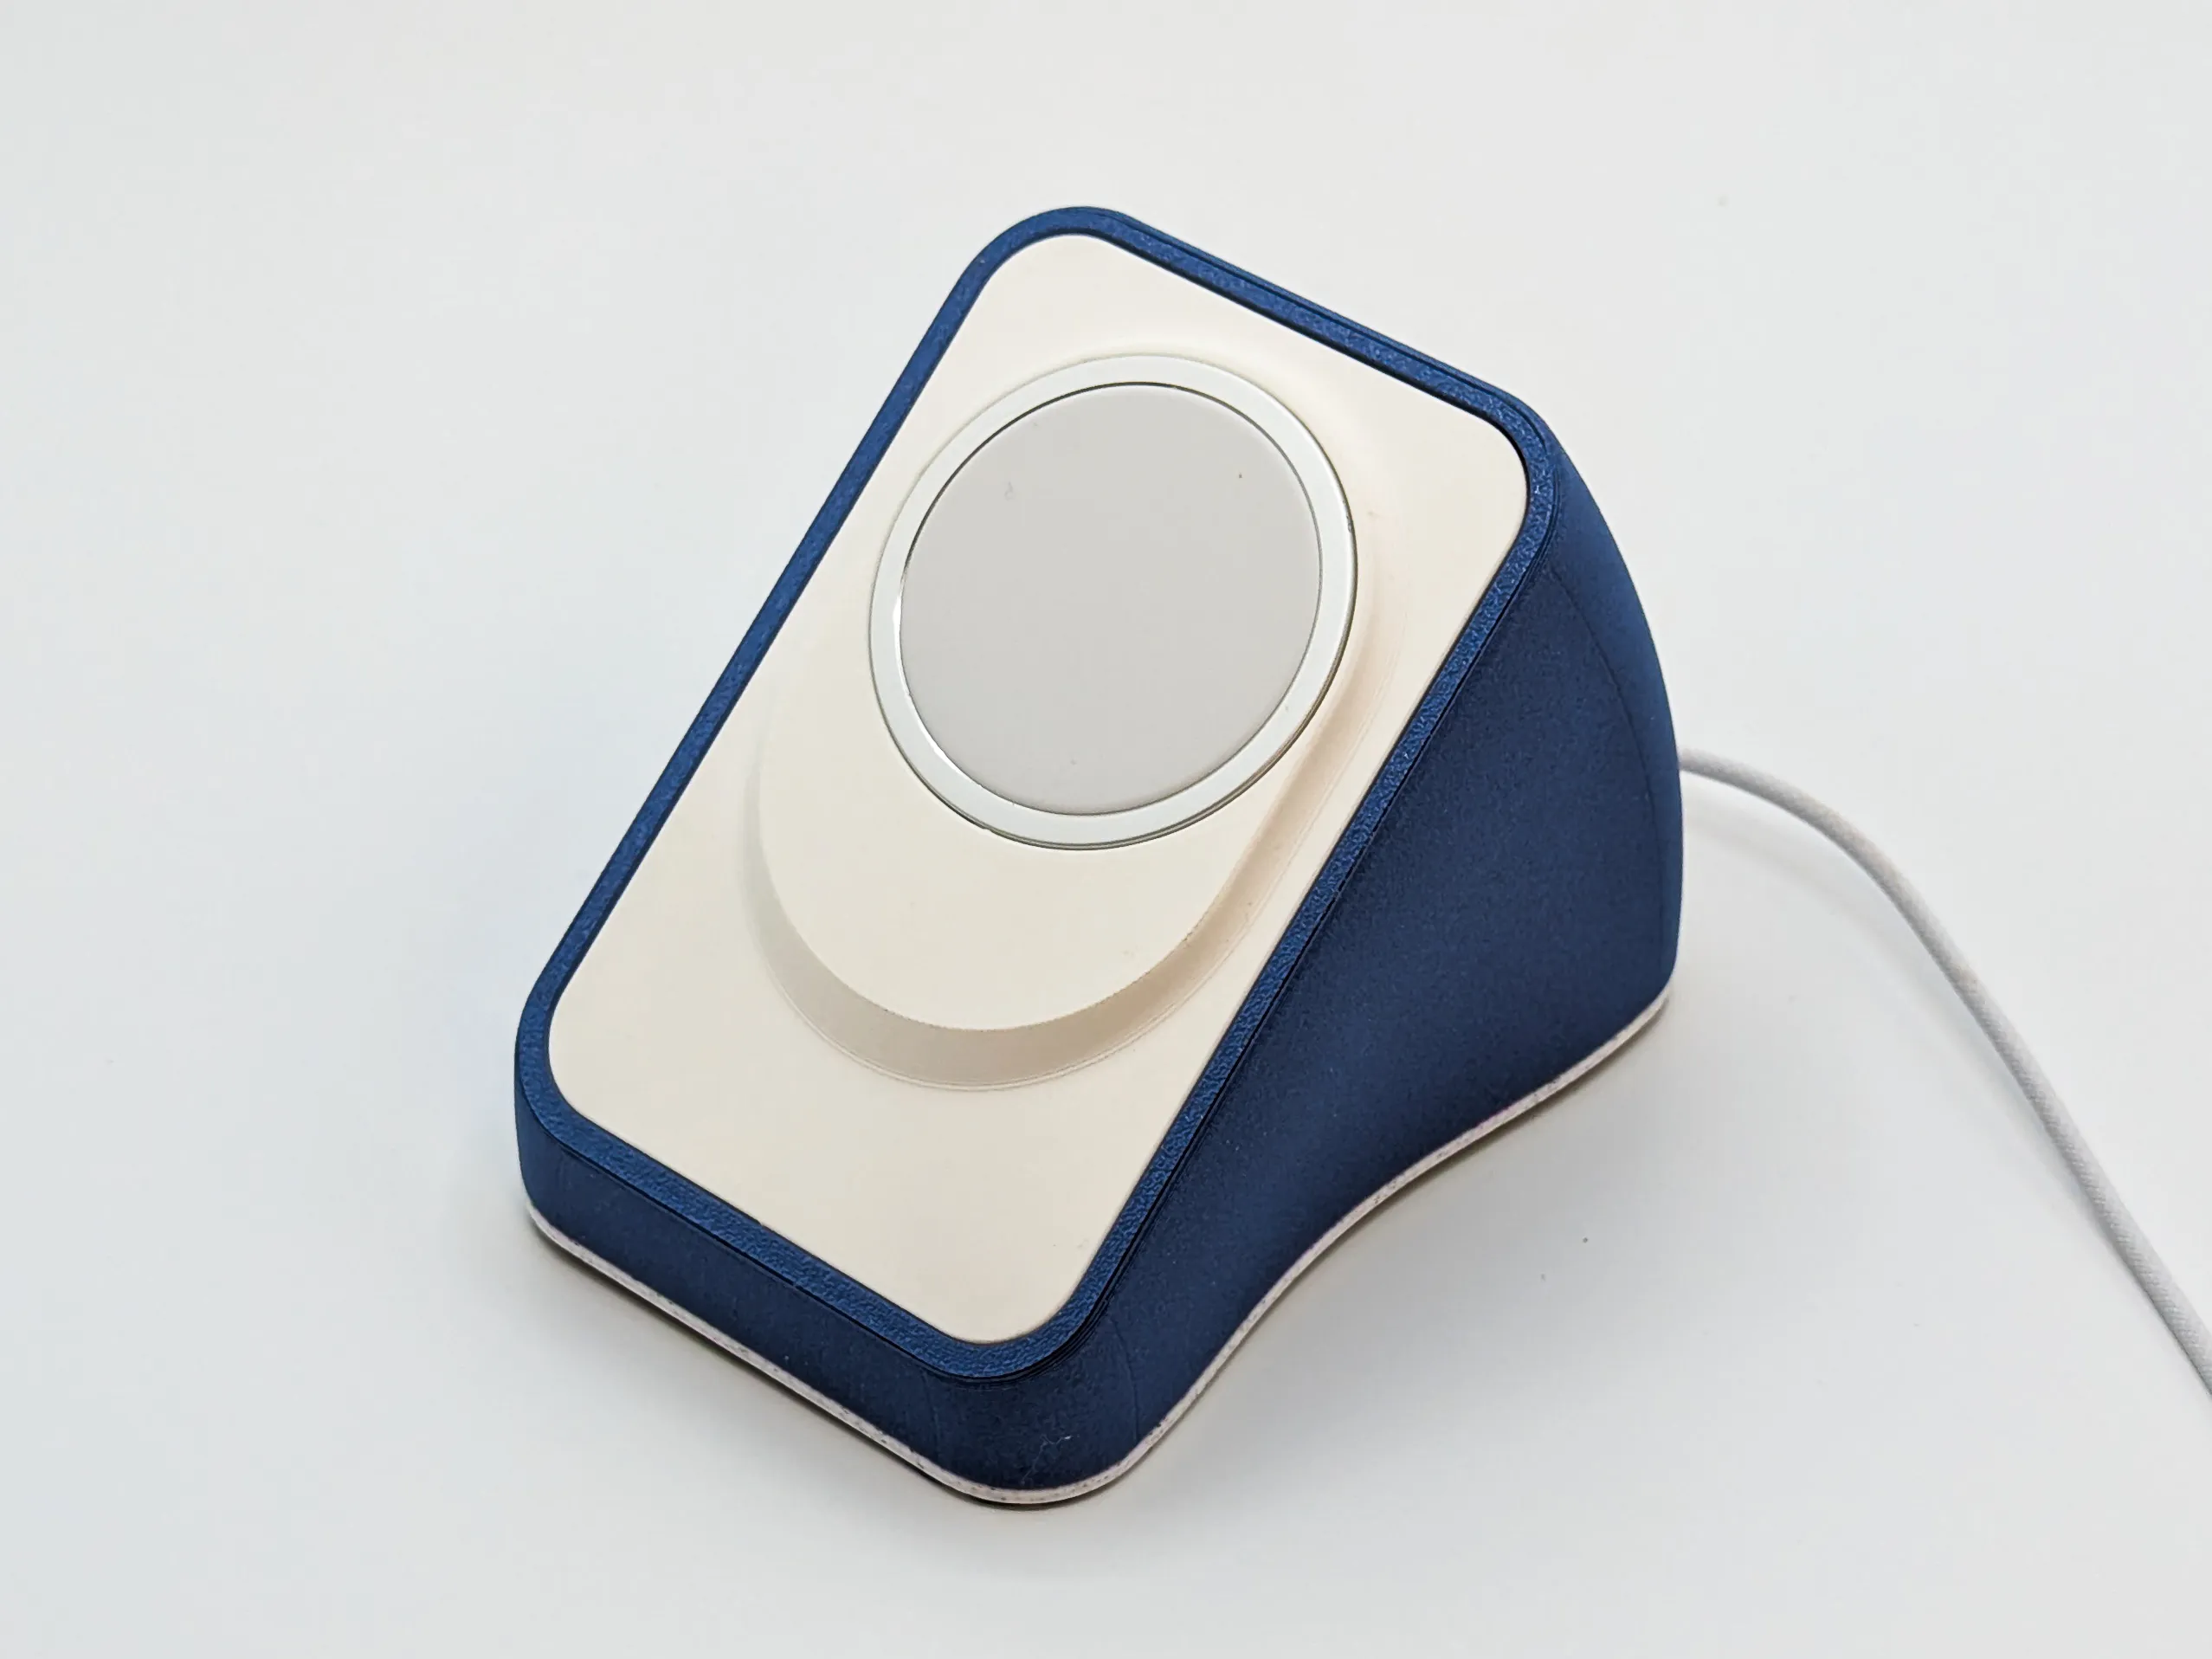
A proper home for your wireless charger. Three-part construction. Angled shell, charger-specific inlay, clip-on bottom plate. Each part prints separately, so you can mix colors freely. Pick your charger, pick your angle, pick your palette, print, done.
Why this exists
Full disclosure: I don't own an iPhone. I'm a proud Google Pixel user, and I felt mildly discriminated against by the sea of iPhone-only MagSafe stands on MakerWorld. PixelSnap works on the same Qi2 standard with magnets in the same places. So this one explicitly supports both and treats Android phones as first-class citizens. There are countless wireless charger stands on MakerWorld. I made another one because every one I tried had at least one of five problems:
- They only fit one charger.
Most stands are designed around a single puck. This one splits the structural shell from the charger-specific inlay, so you only reprint the small part when something changes. The inlay slot is universal. Any future inlay fits any existing shell.
- Adjustable ones tend to be fragile.
Pivot stands look great in renders, but in practice the joints loosen over time, the angle drifts under the weight of the phone, and putting the phone on feels like a careful operation. I wanted to set my phone down without thinking about it. So instead of one adjustable stand, this is five fixed-angle
shells. Rigid, solid, no moving parts.
- Most stands are too upright.
That works for video calls, but it's wrong for a desk where the phone sits next to a monitor and gets glanced at occasionally. At a near-vertical angle the screen catches every ceiling light. A flatter tilt (30° to 40° from the desk) keeps the screen in your natural line of sight and out of the glare. The default assumption seems to be that you want the phone standing up. This one assumes you don't.
- Most stands can't handle being touched.
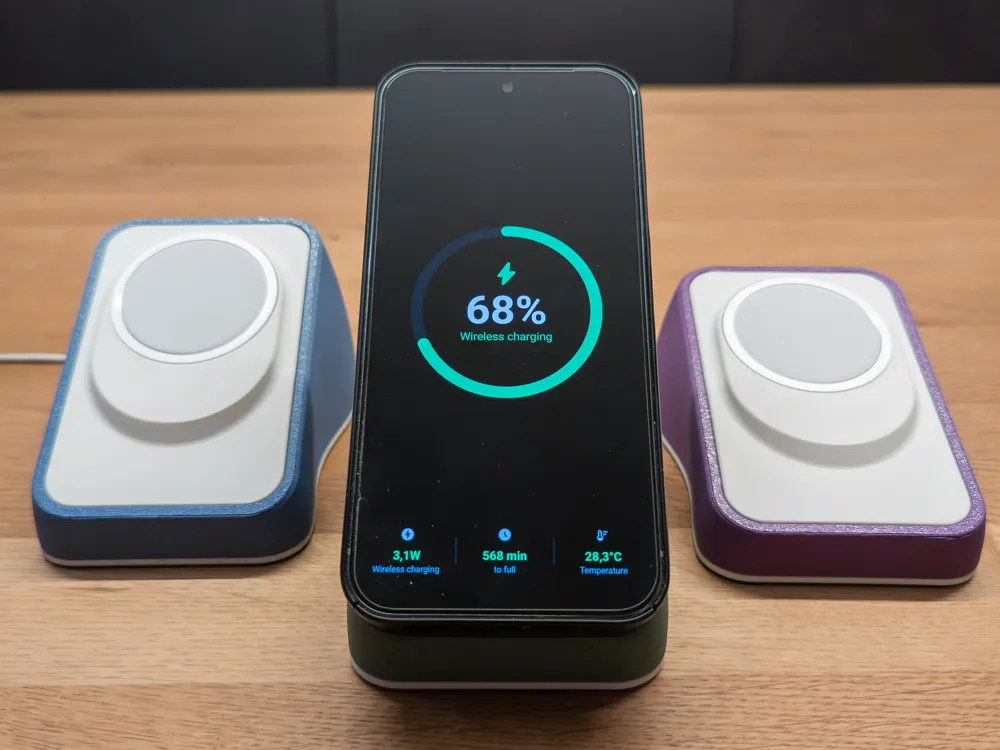
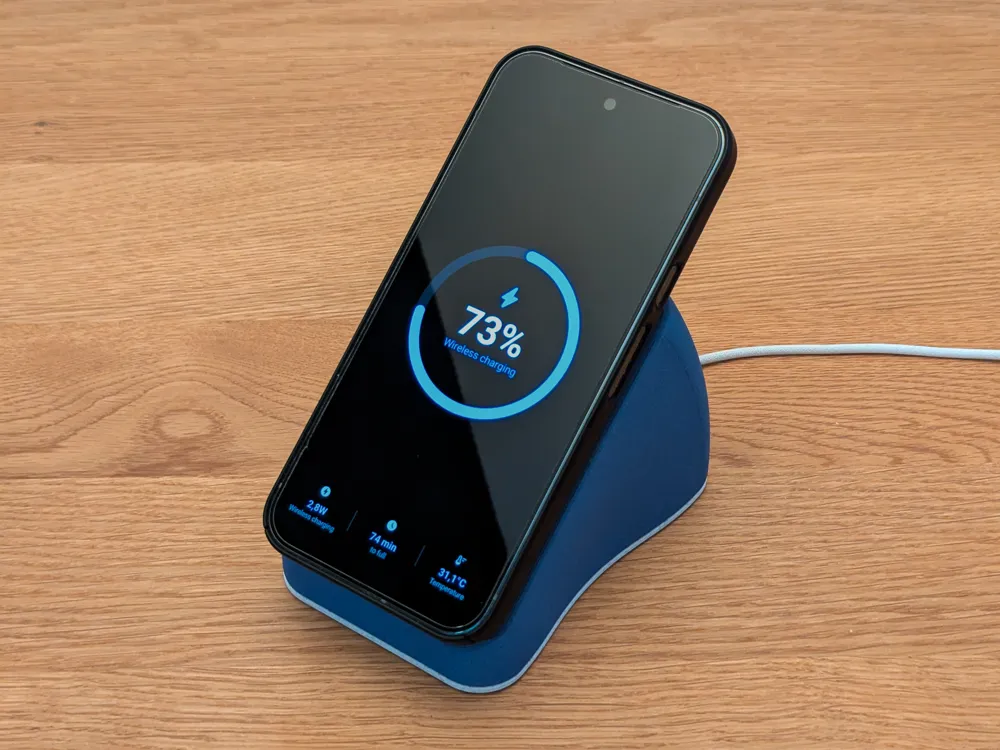
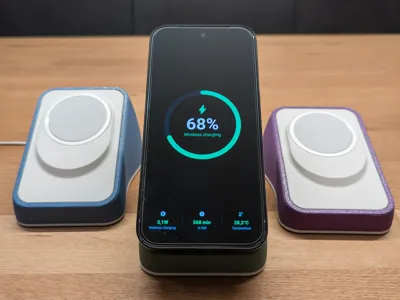
I actually use my phone while it's on the dock. Tap notifications, swipe through messages, scroll a recipe while cooking. Many stands look great empty but flex, tip back, or slide across the desk the moment you interact with the phone. This stand is rigid where it needs to be rigid and weighted where it needs to be weighted, so you can poke at your phone like it's mounted to the desk. Because functionally, it is.
- The charger moves when you take the phone off.
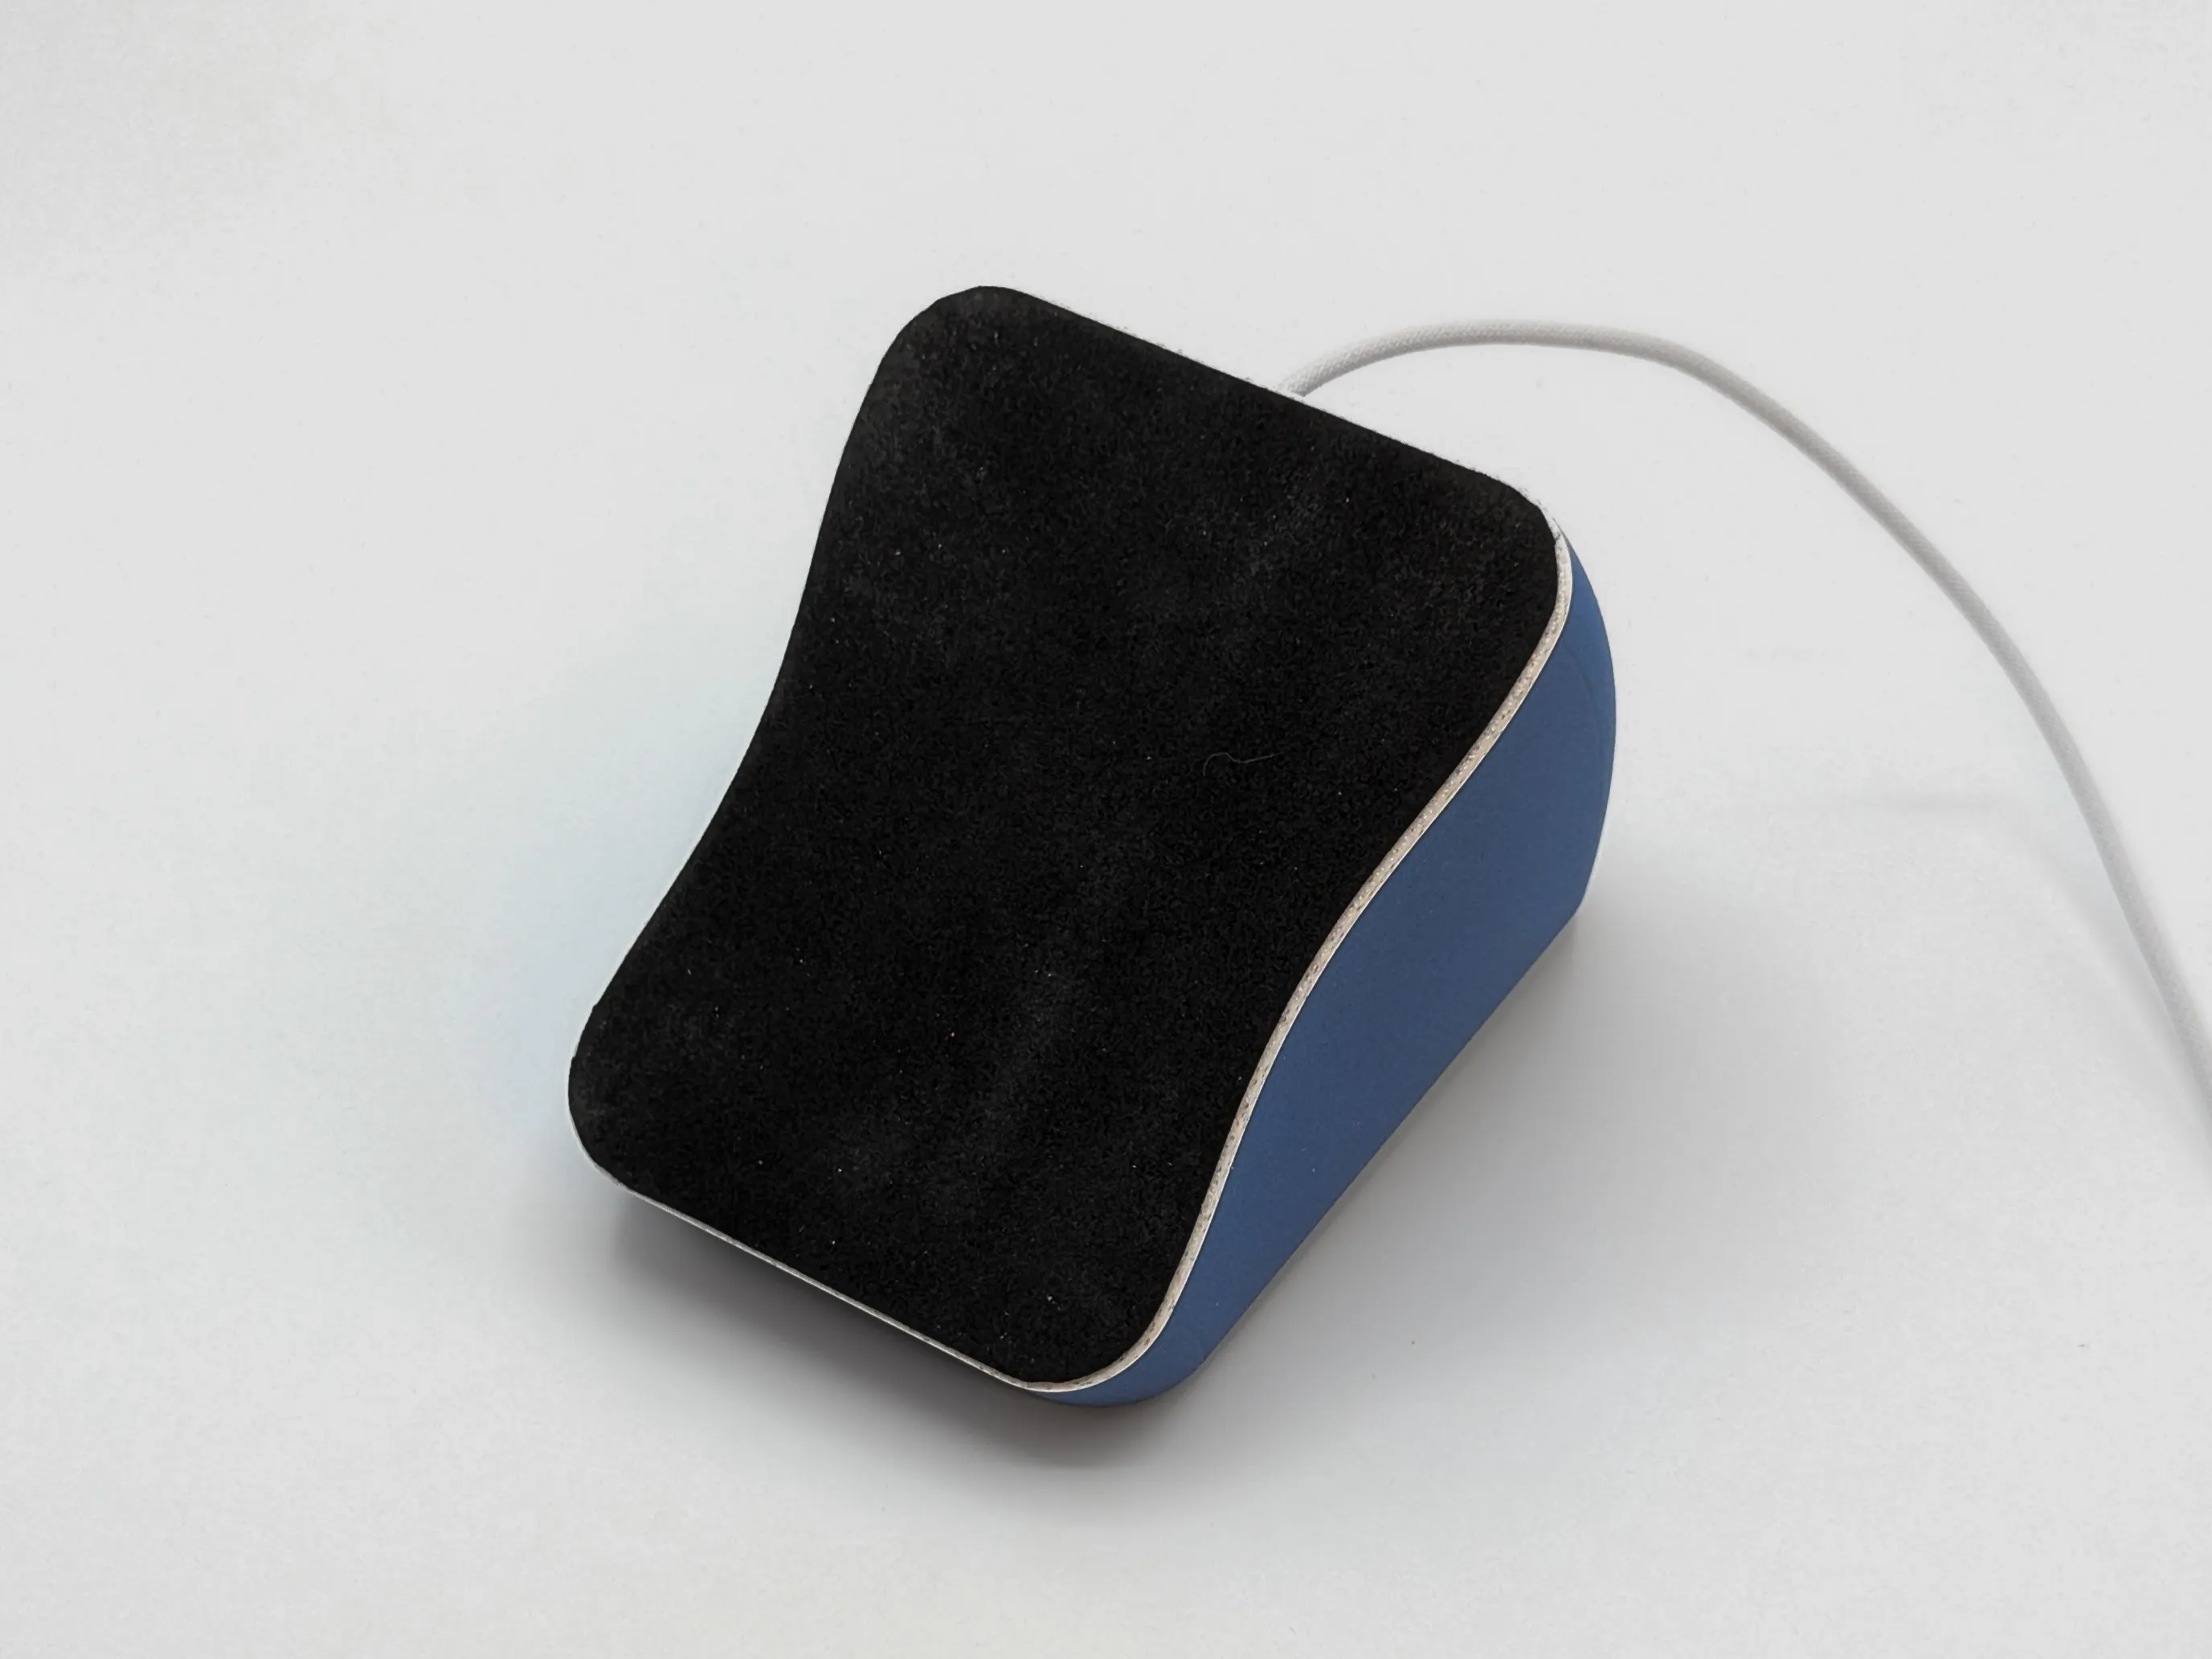
MagSafe magnets are strong enough that pulling the phone straight up often lifts the charger too. So this stand is deliberately chunky on the sides, wide enough that you can push the phone off sideways with your thumb against the shell, breaking the magnetic grip without disturbing the charger. The body is also hollow with a clip-off bottom plate, so before you close it up you can fill it with weight (coins, washers, steel shot, sand). Add a non-slip pad and the stand becomes effectively immovable.
Yes, it uses more filament than a minimal design. That's the point.
Camera bumps and landscape mode
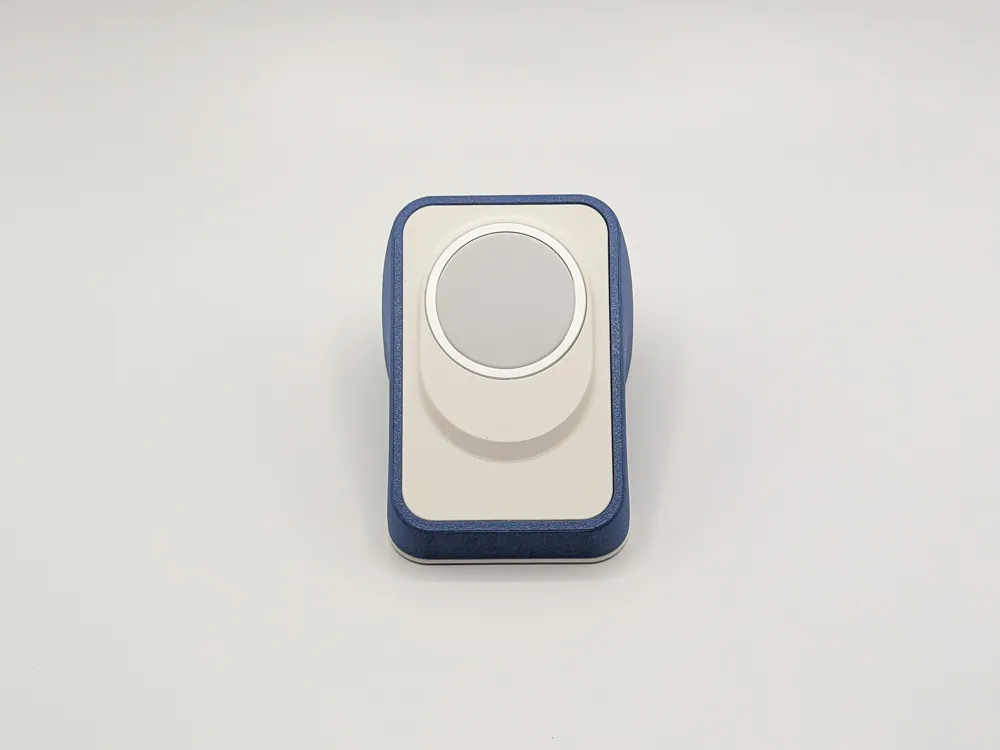
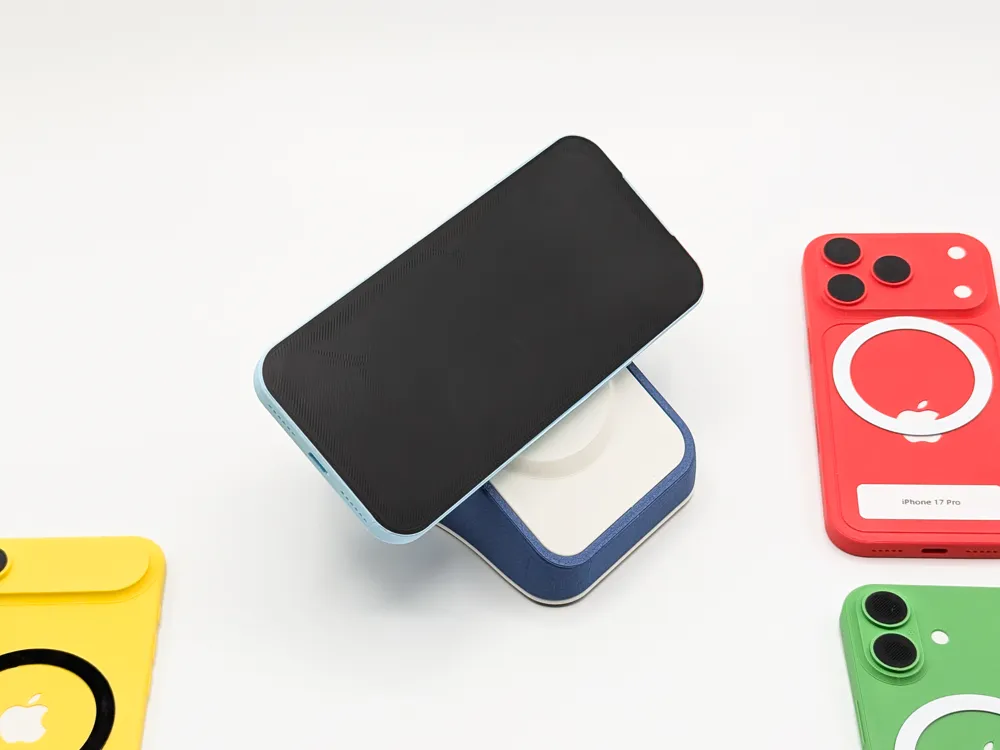
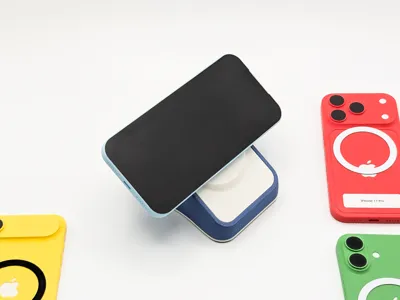
The inlay has a slight raised ring around the charger puck. This gives modern iPhone camera bumps somewhere to sit without lifting the phone off the magnets, and it also keeps the phone stable in landscape orientation, which is useful for watching content while charging. Pixel and other Android phones sit fine either way.
How this was tested
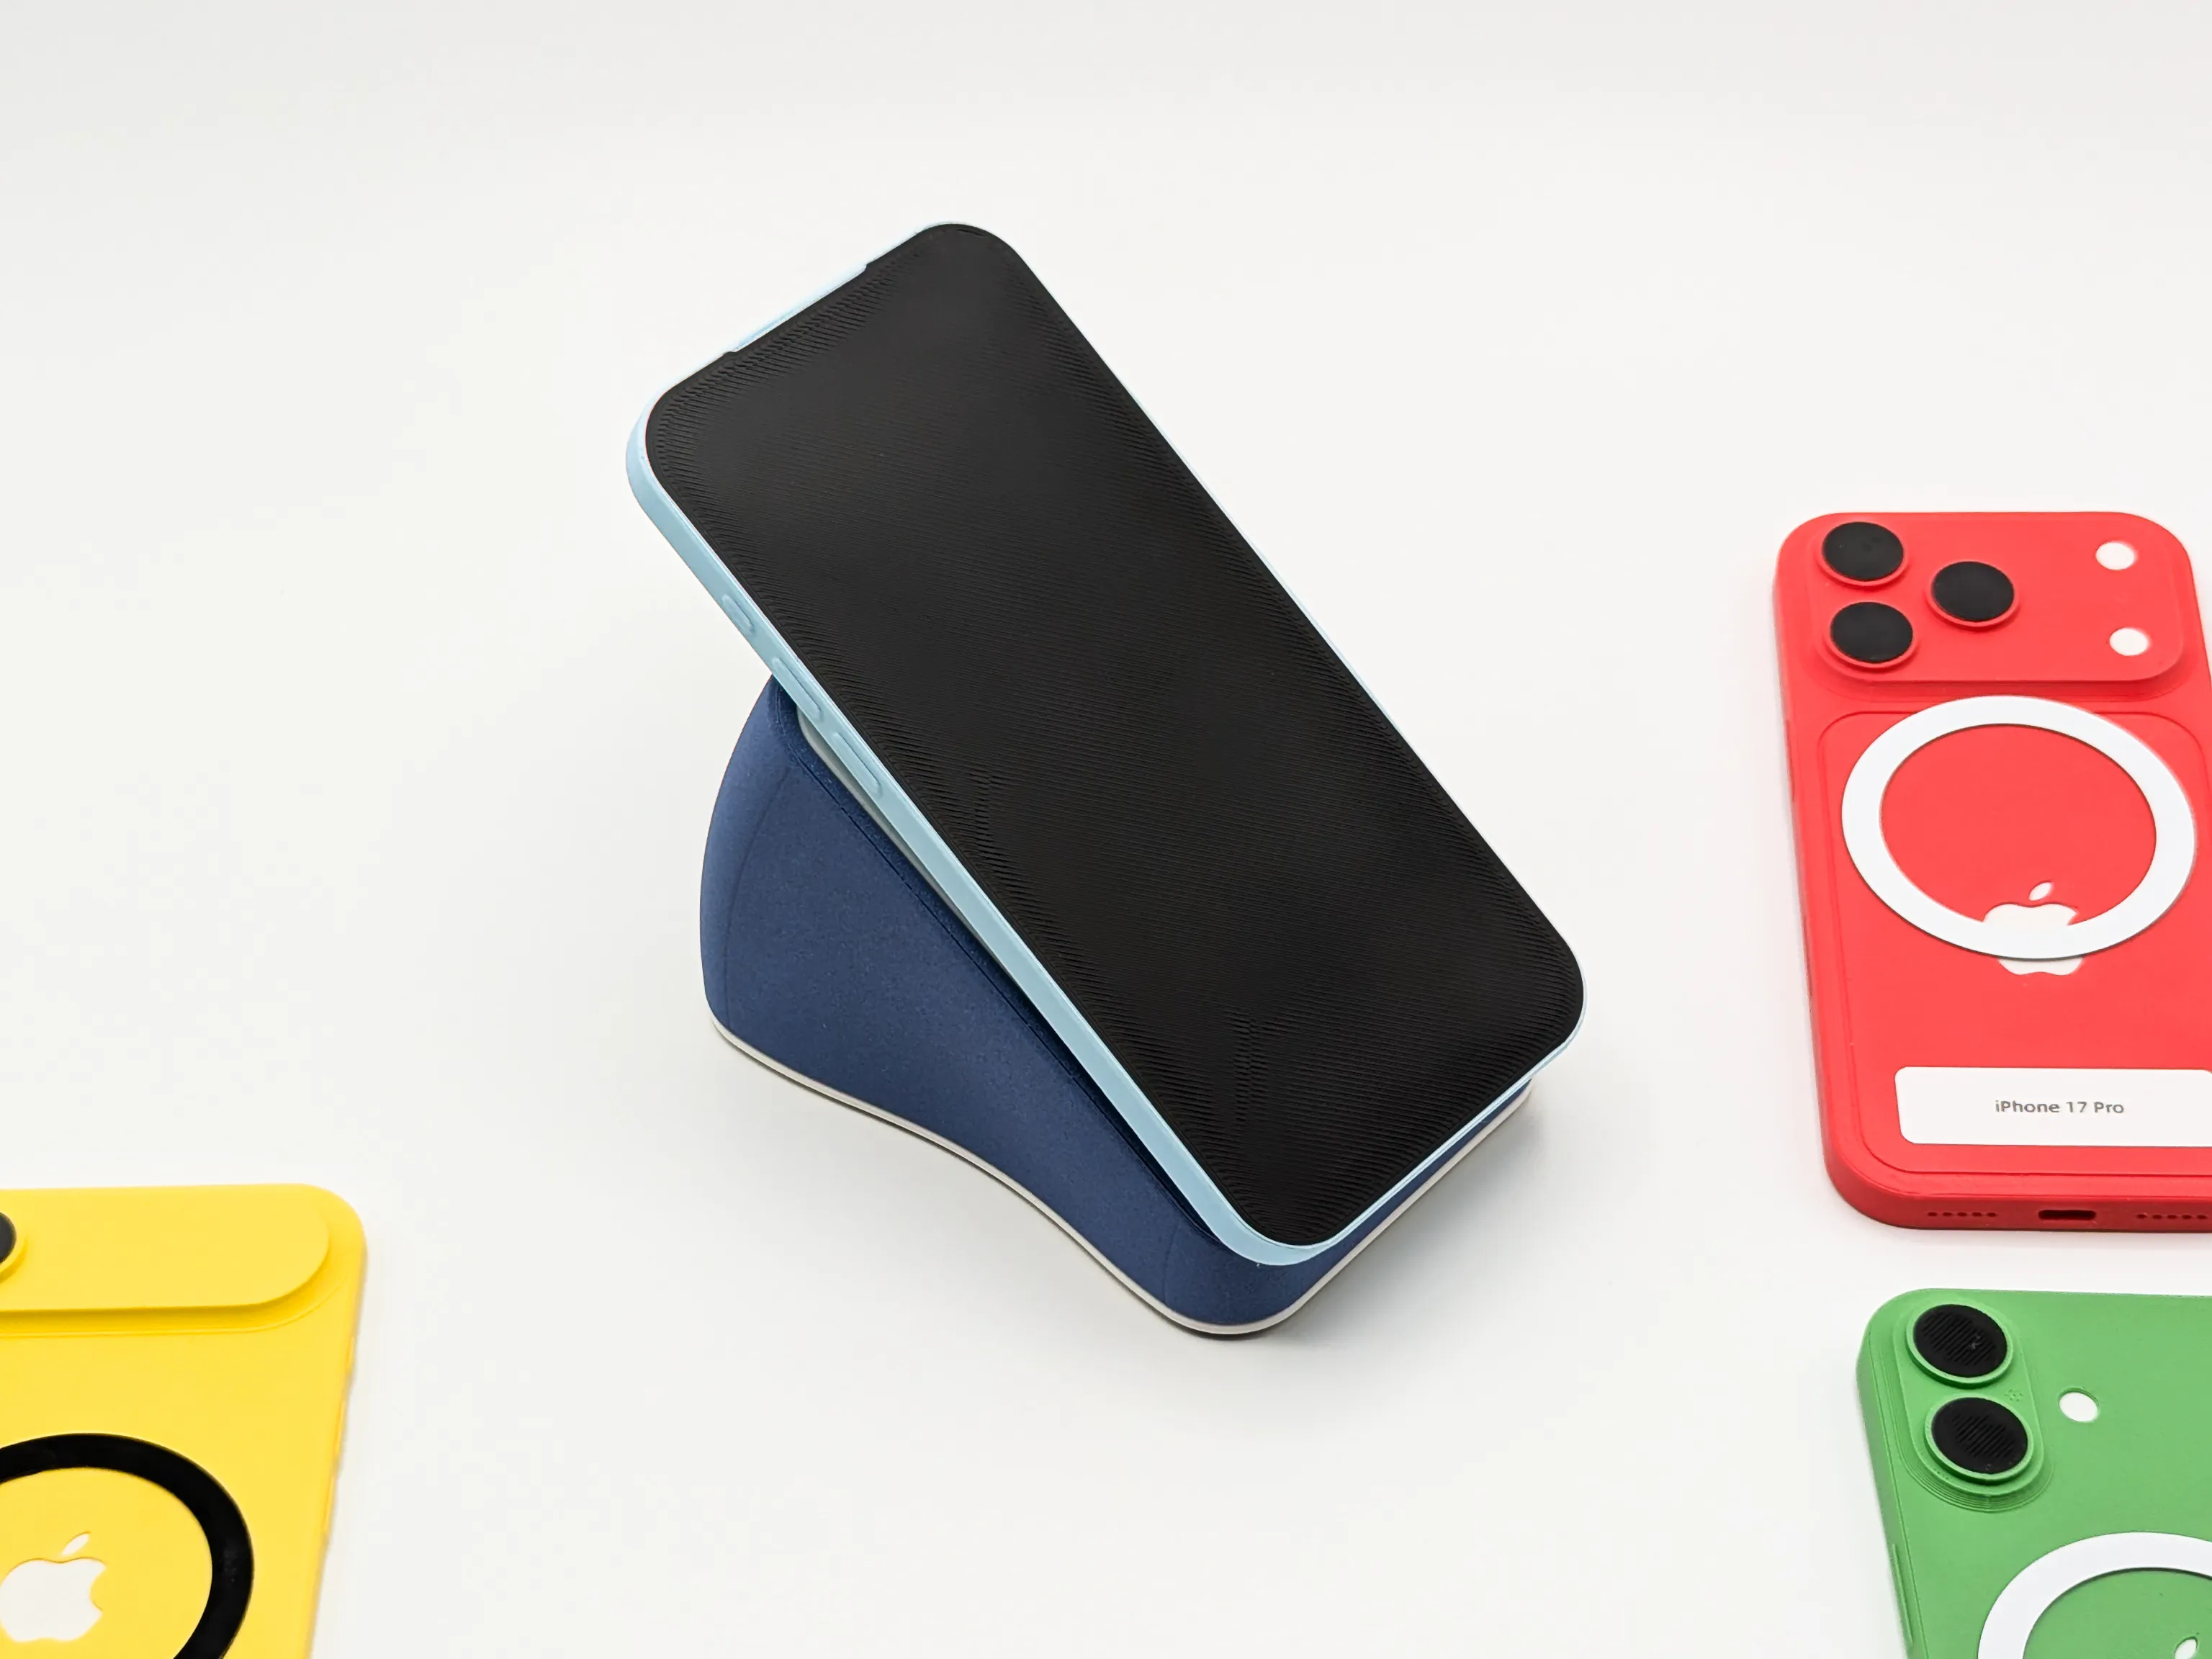
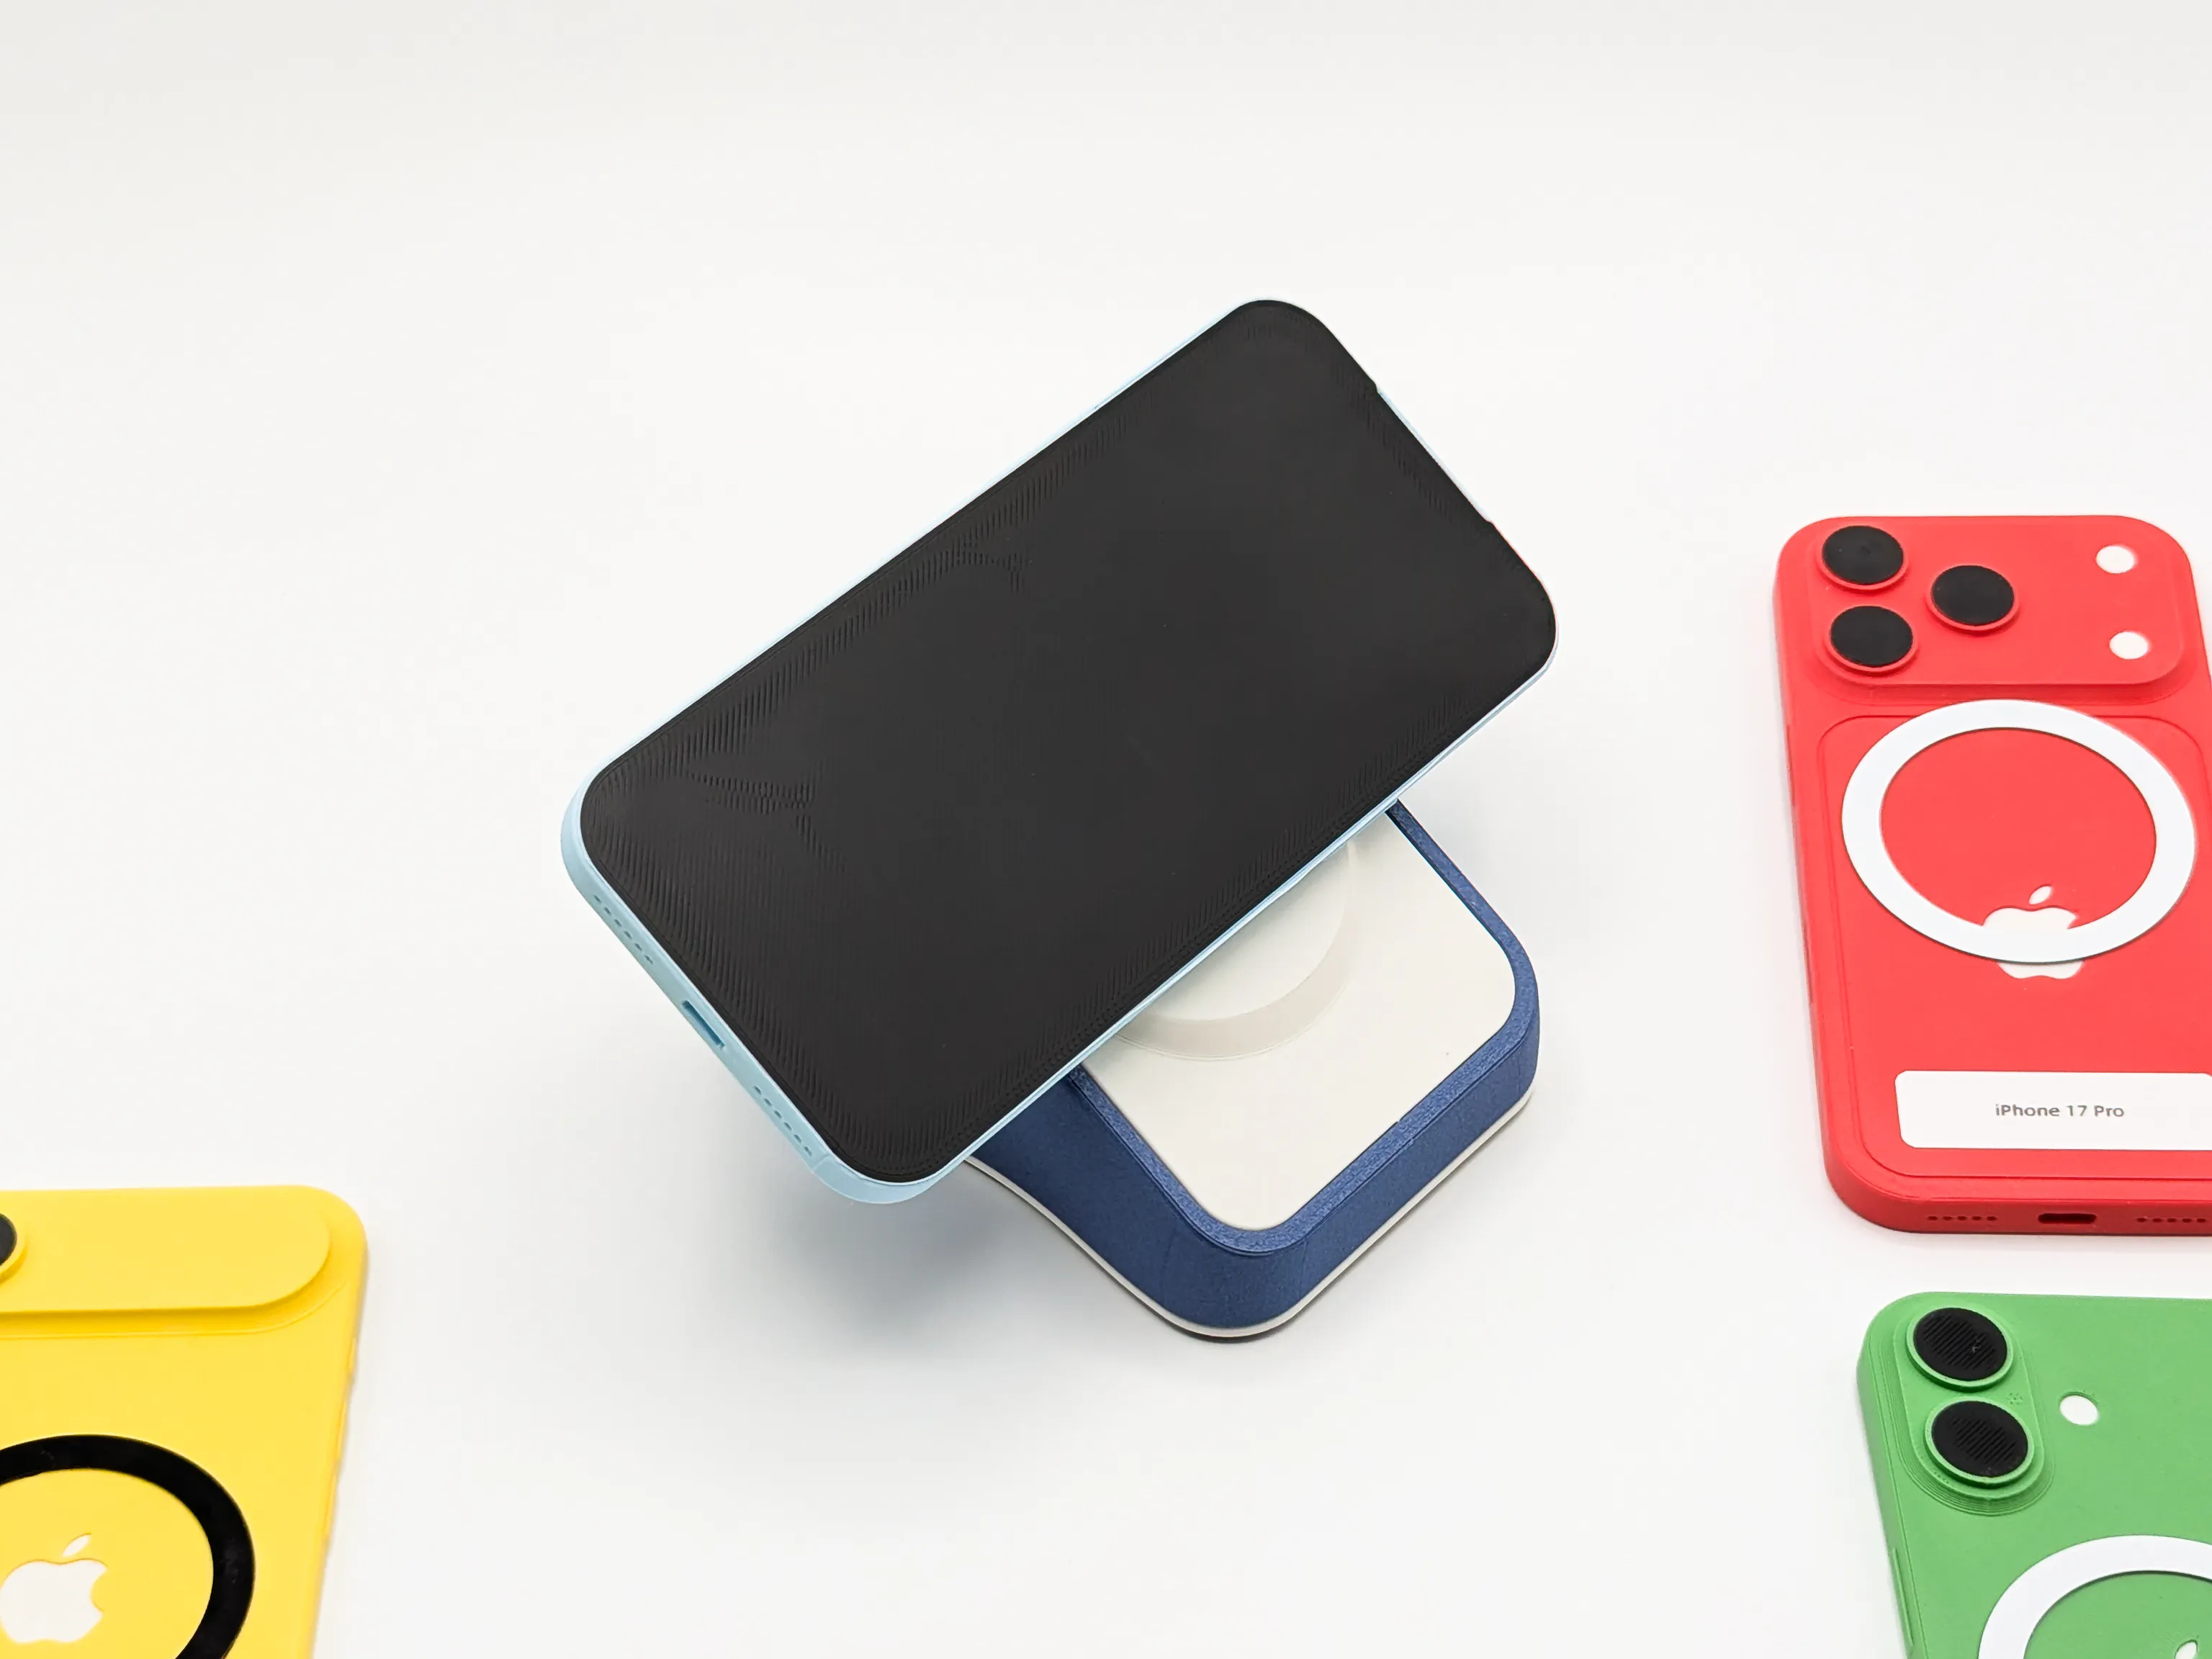
I don't own an iPhone, so I used Mr_byrm's iPhone 17 dummy models with MagSafe magnet rings embedded at the positions specified in Apple's design documentation. That gave me dimensionally accurate test phones for validating inlay alignment, camera bump clearance, and landscape stability.
The Pixel side was tested with the real device, in addition a Collegue jumped in to verify iPhones working (thx Andi).
Dummy models:
https://makerworld.com/en/models/1458879-iphone-17-pro-max-air-3d-models-with-ams
 |  |
Included charger inserts
All six inlays are tested against real chargers. Just print the one that matches yours:
- Apple MagSafe Charger (Gen 1) - https://amzn.eu/d/0icfffyk
- Apple MagSafe Charger (Gen 2) - https://amzn.eu/d/005gNeSB
- Google Pixelsnap - https://amzn.eu/d/05sfpCrm
- Anker Zolo - https://amzn.eu/d/09Mwmcnm
- JSAUX MagSafe Charger - https://amzn.eu/d/02zVlP91
- KLiHD C10 MagSafe Charger - https://amzn.eu/d/0fiPr70C
Got a charger that's not on the list? See "Make your own inlay" below.
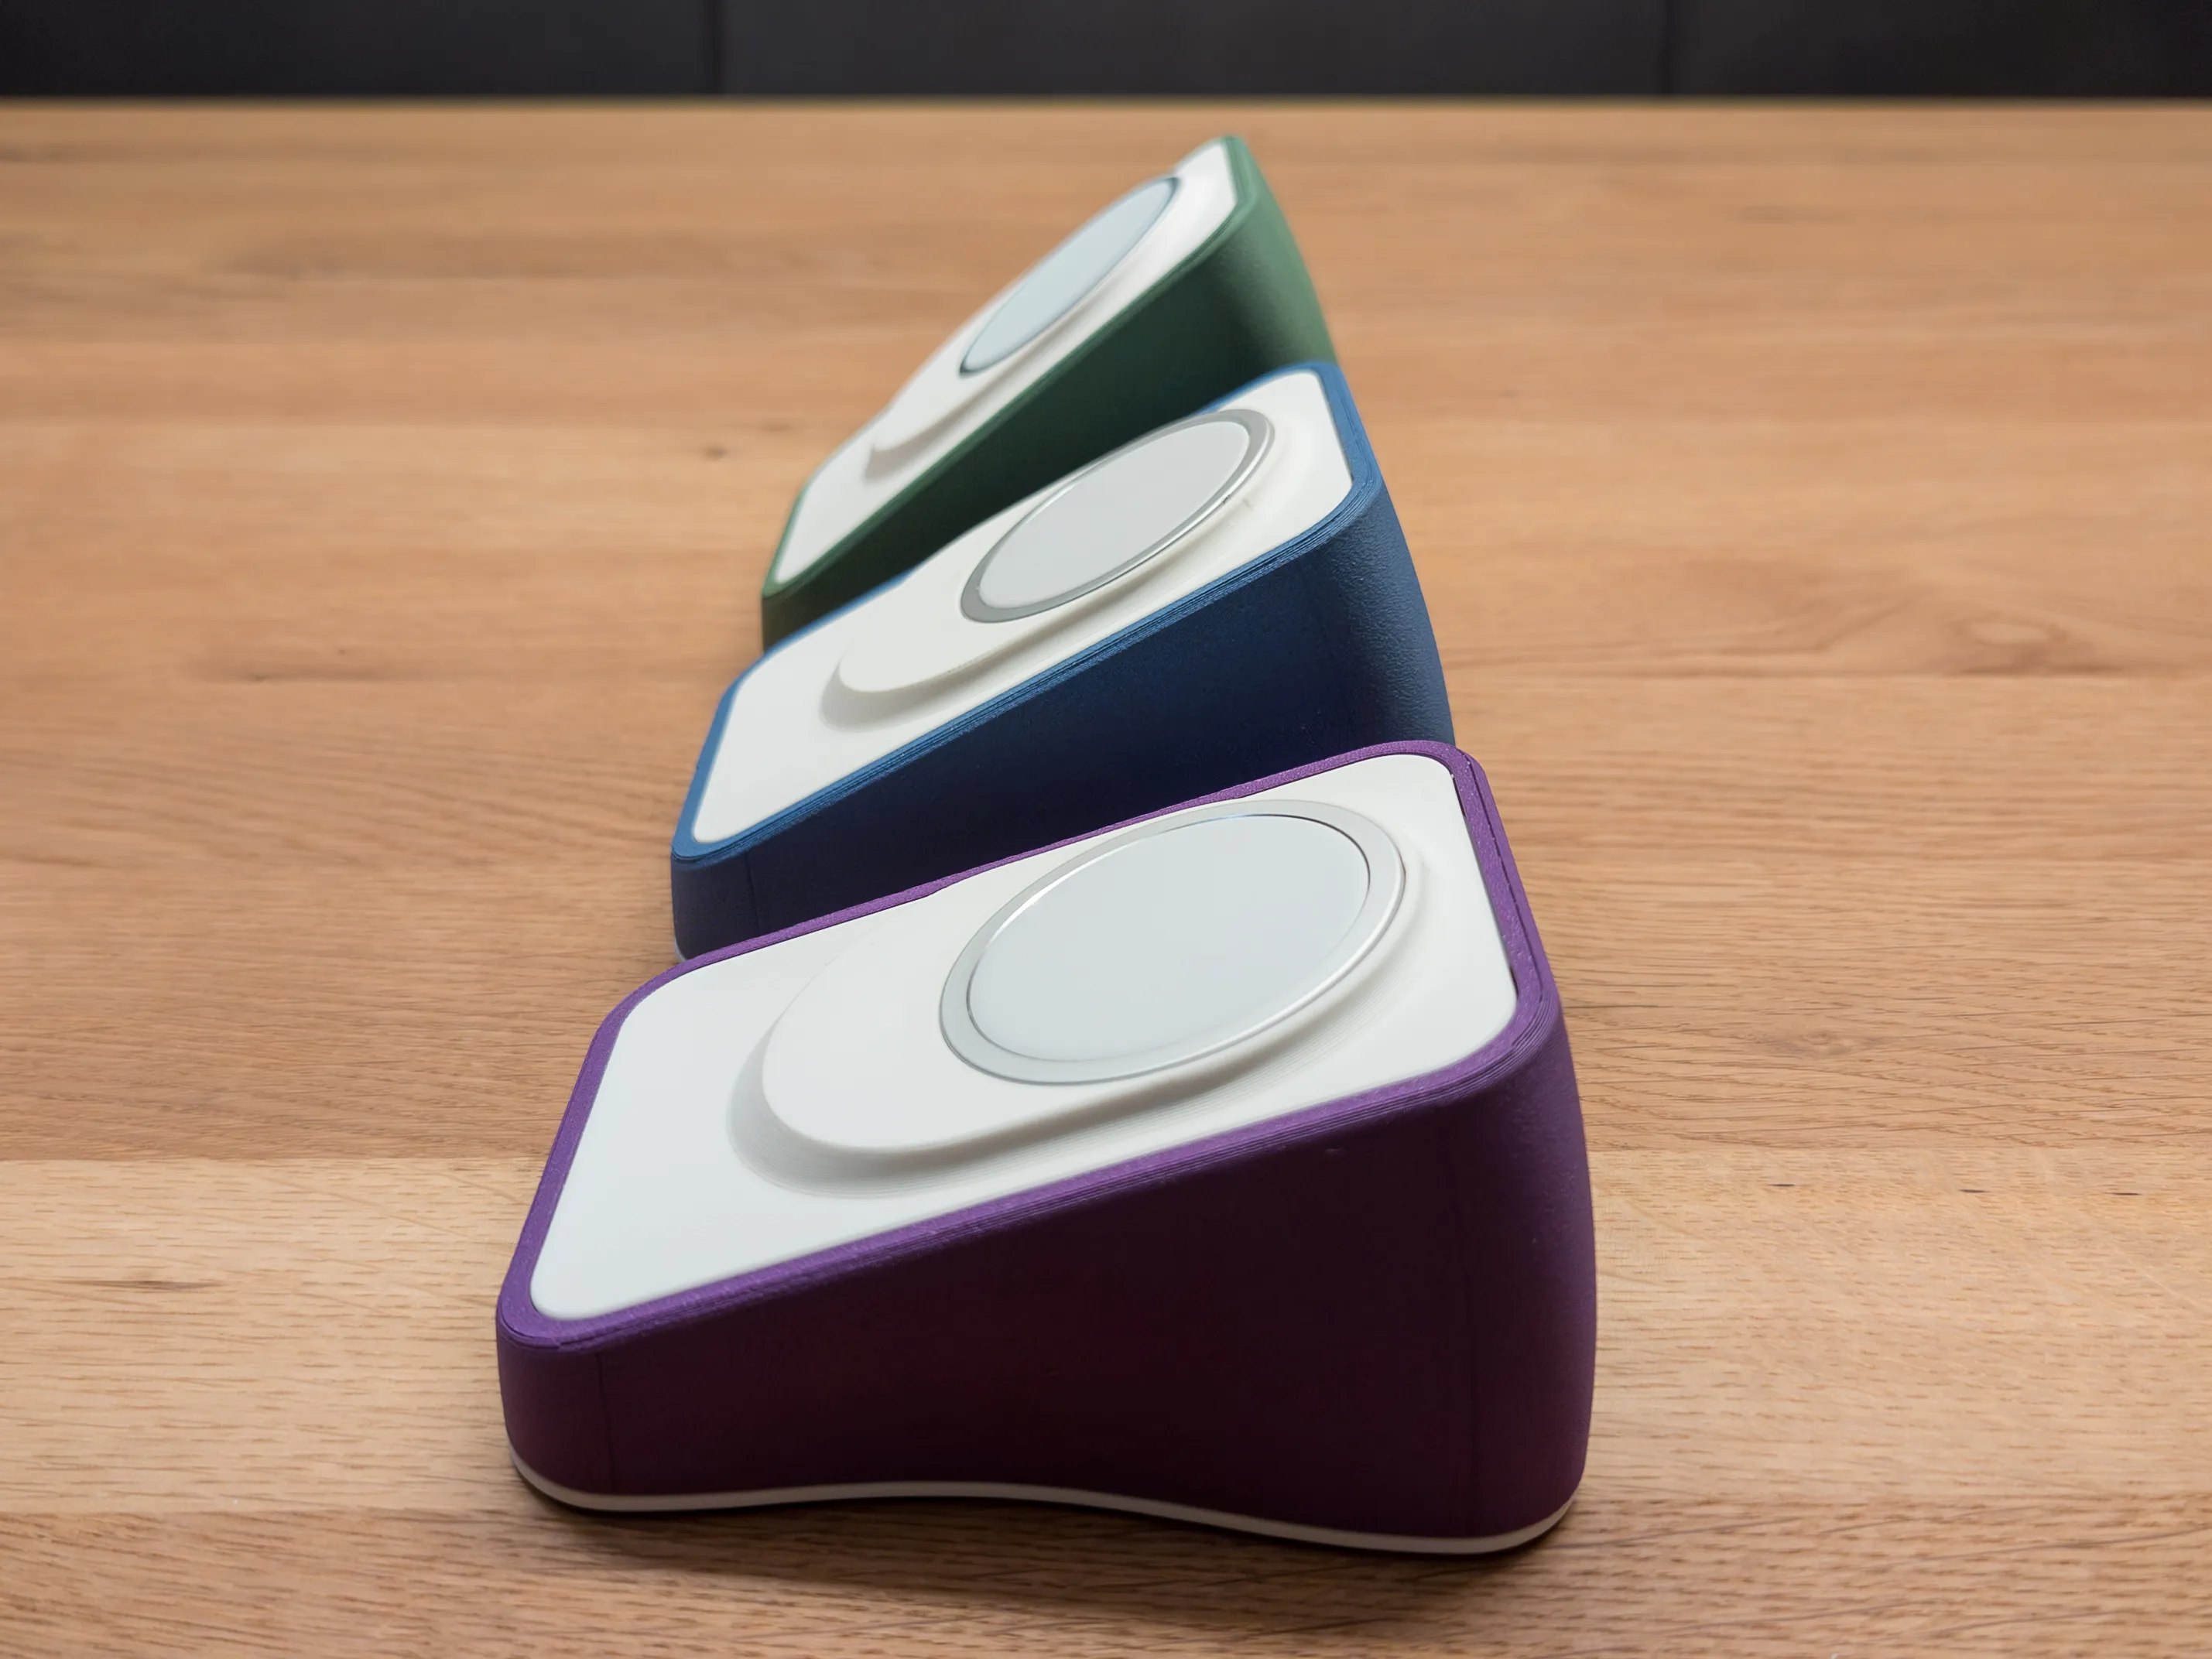
Viewing angles
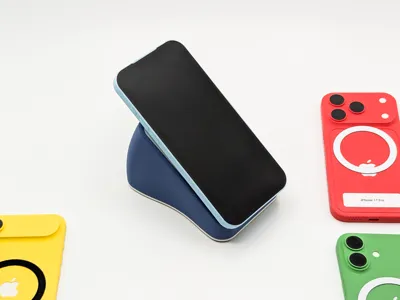
 Shown 20°, 30° 40° | 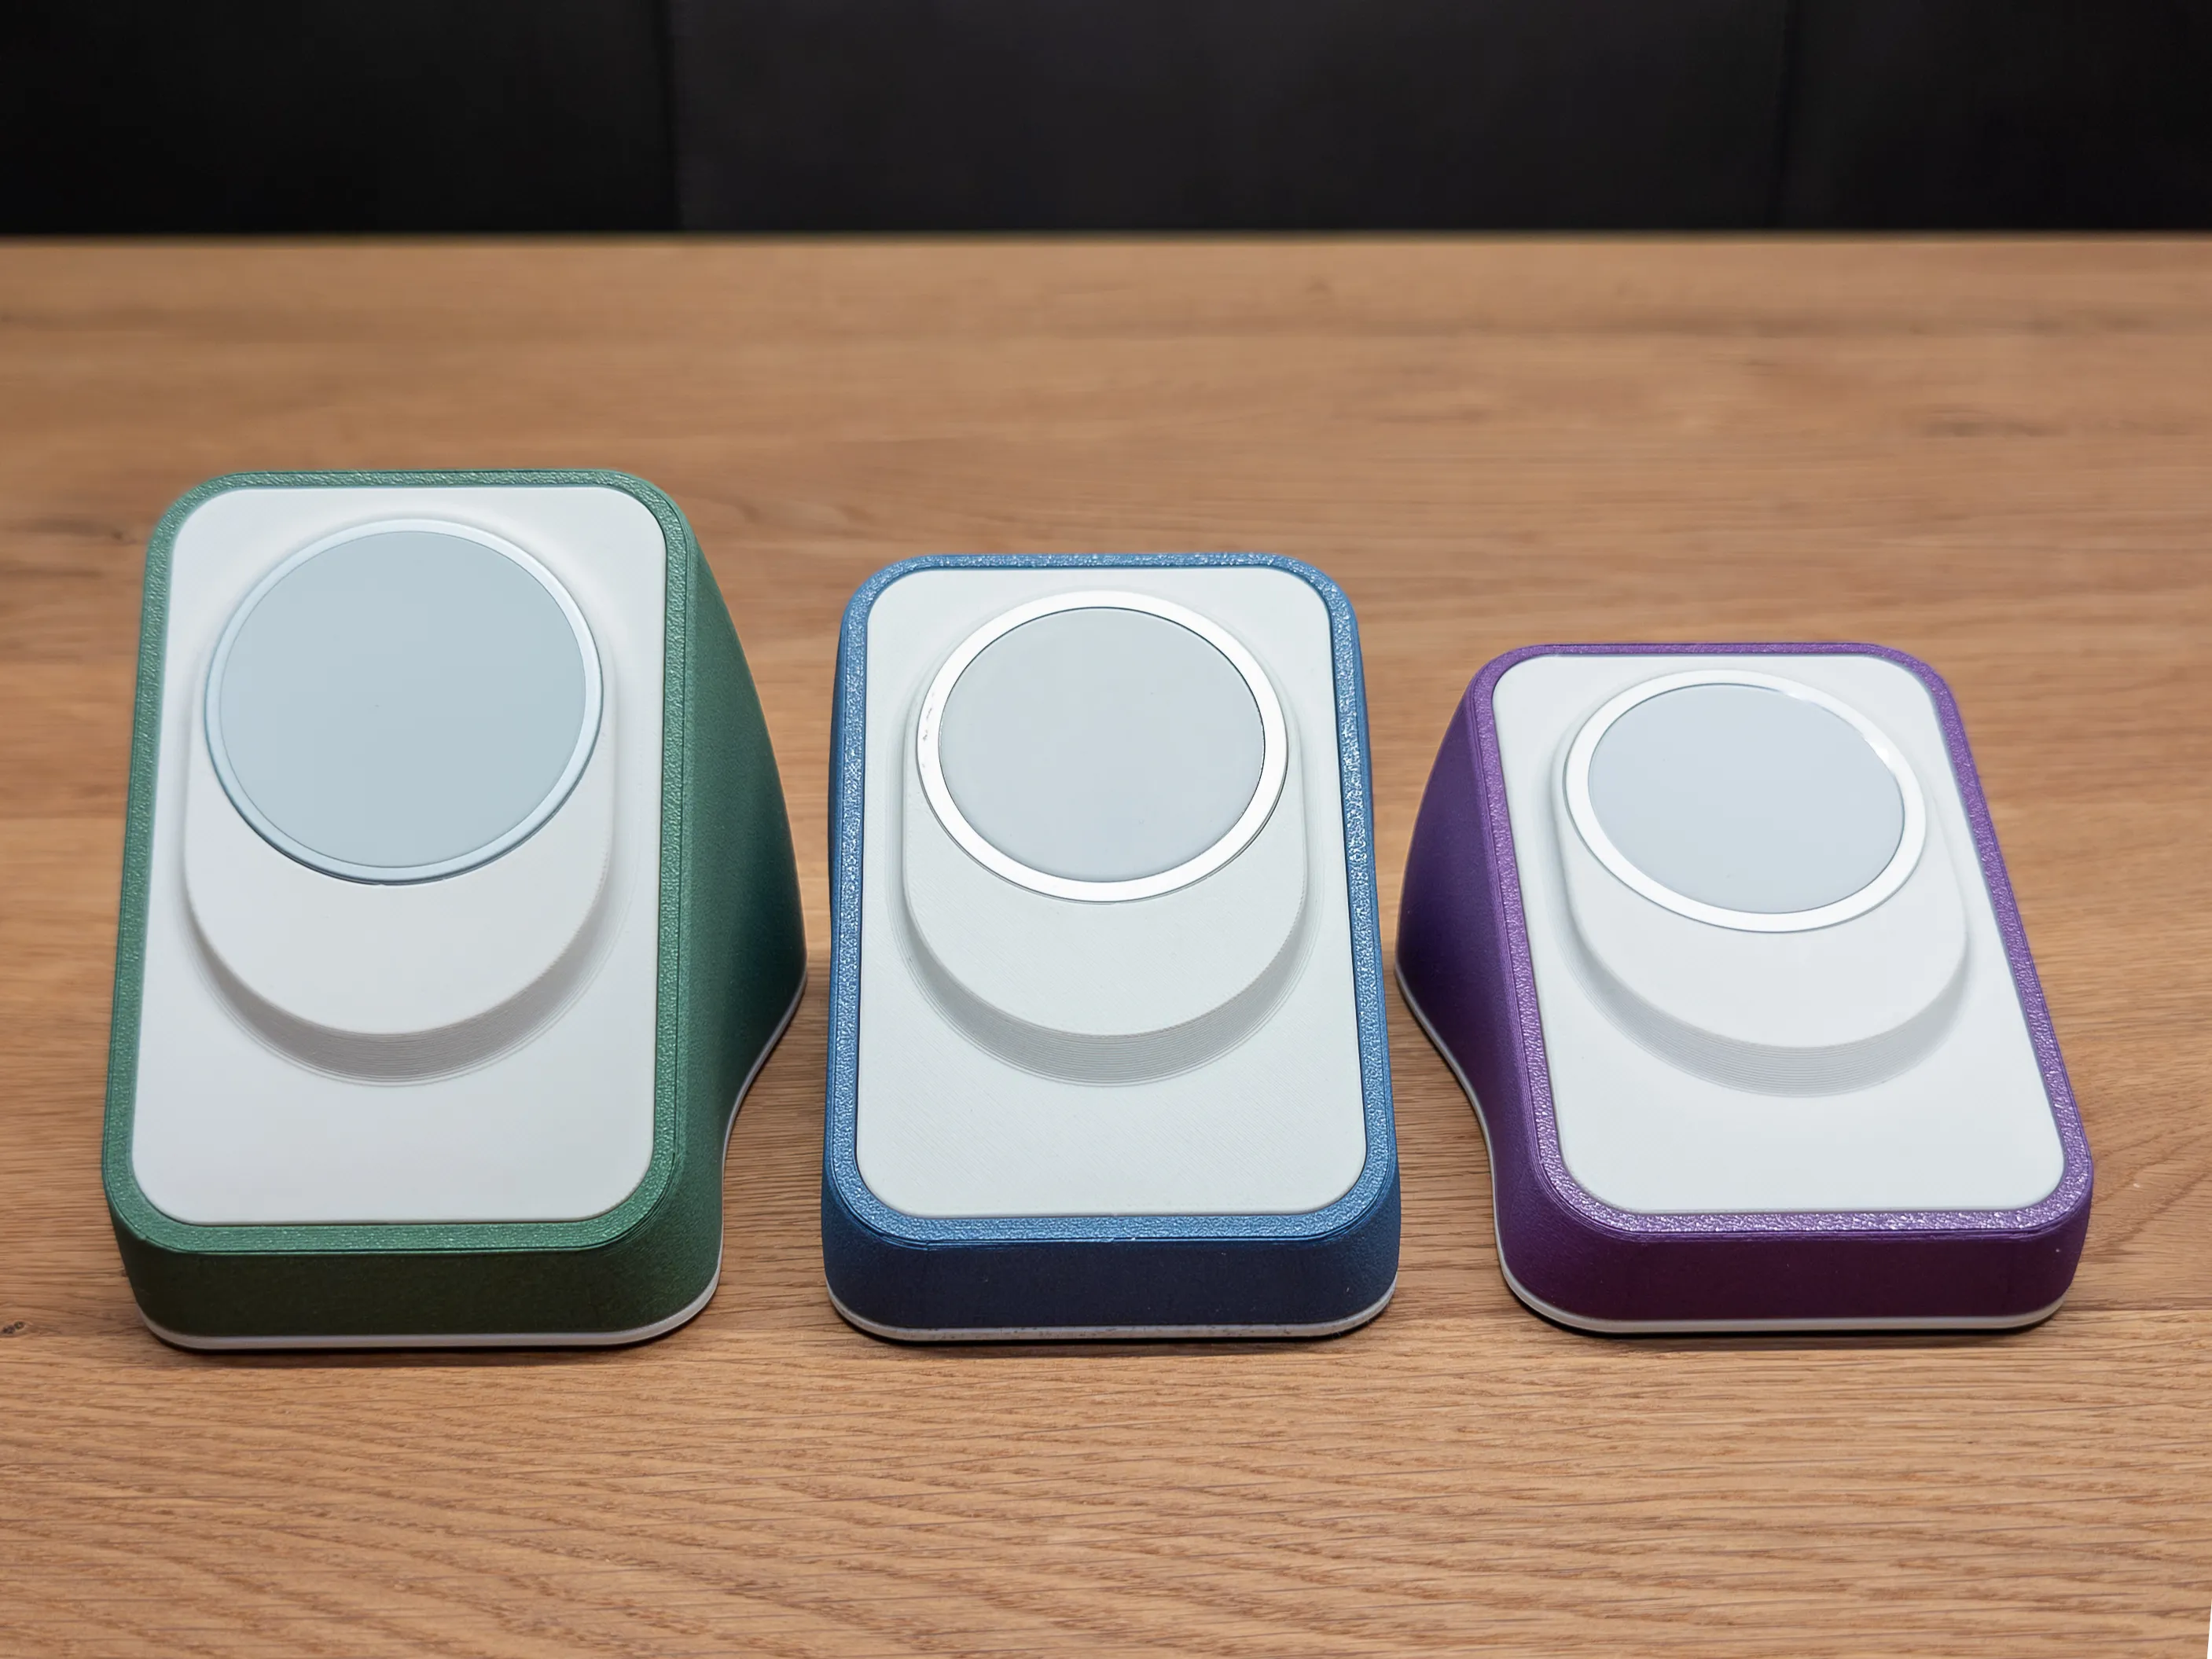 Shown 20°, 30° 40° |
Five fixed tilts in 5° increments, measured from the desk surface (0° flat, 90° vertical):
- 20°, laid back, almost flat
- 25°, slightly raised
- 30°, moderate tilt
- 35°, sweet spot for most desk setups
- 40°, sweet spot, a bit more upright
What's in the profile
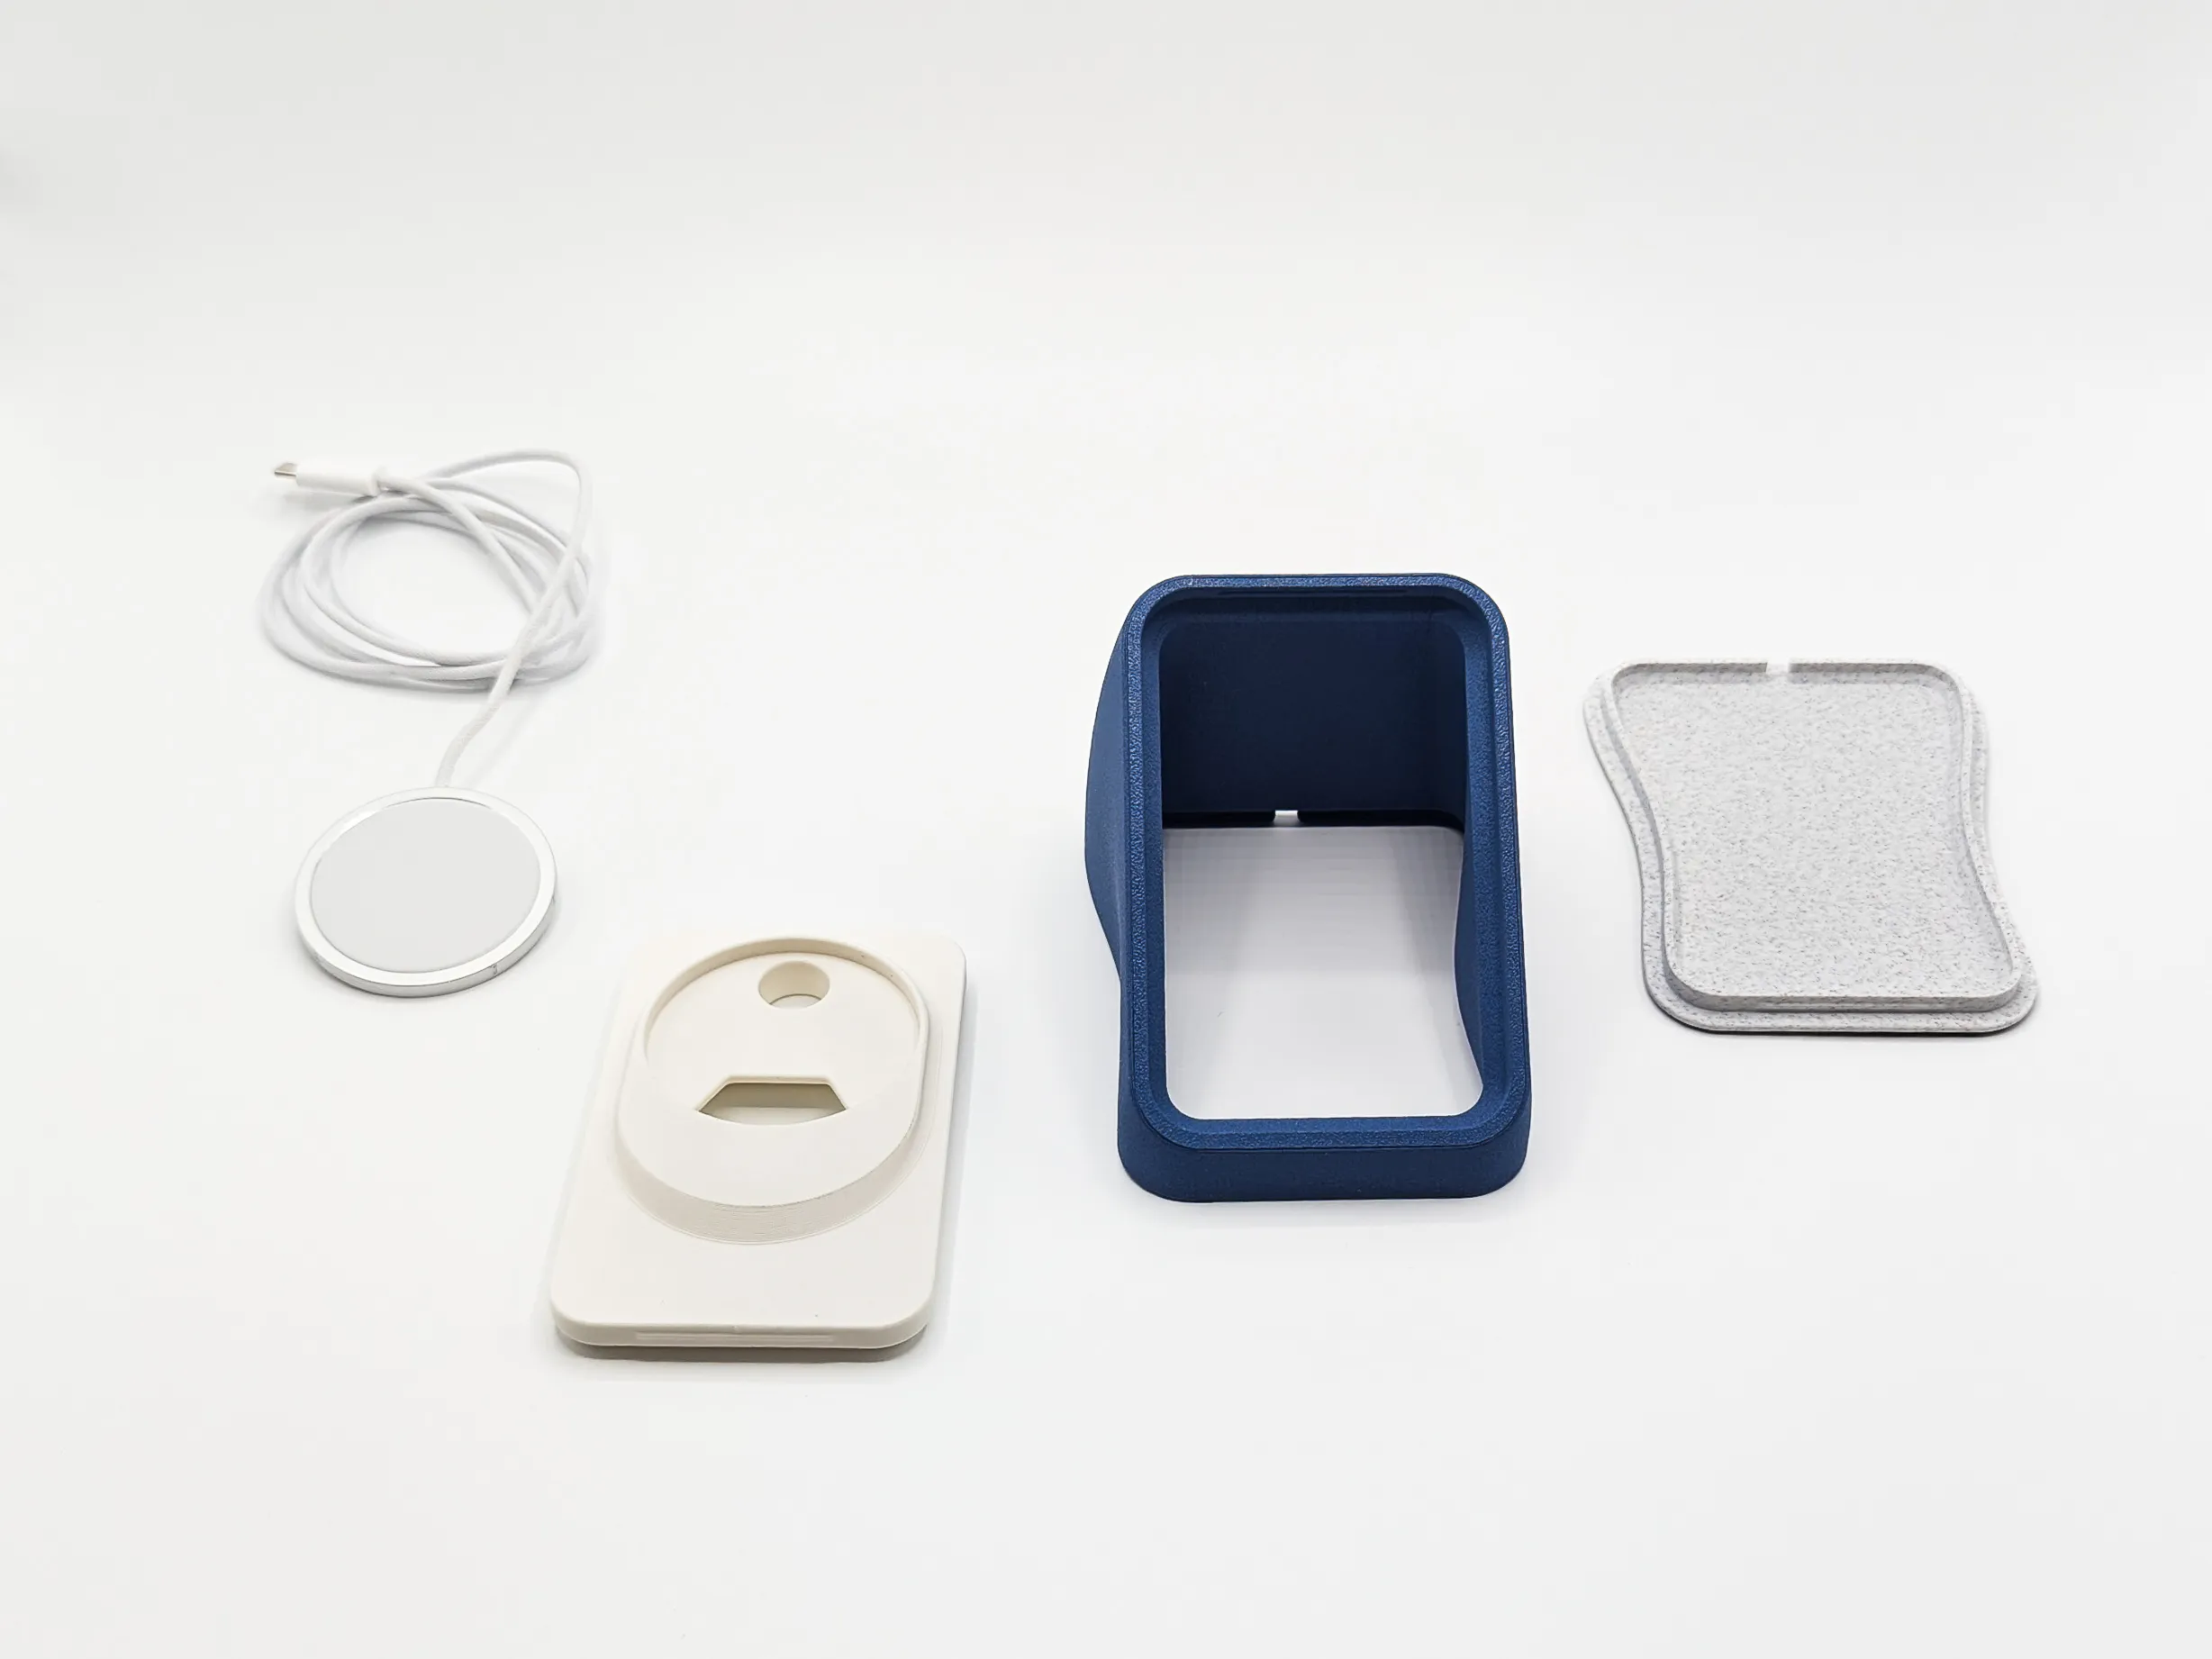 | 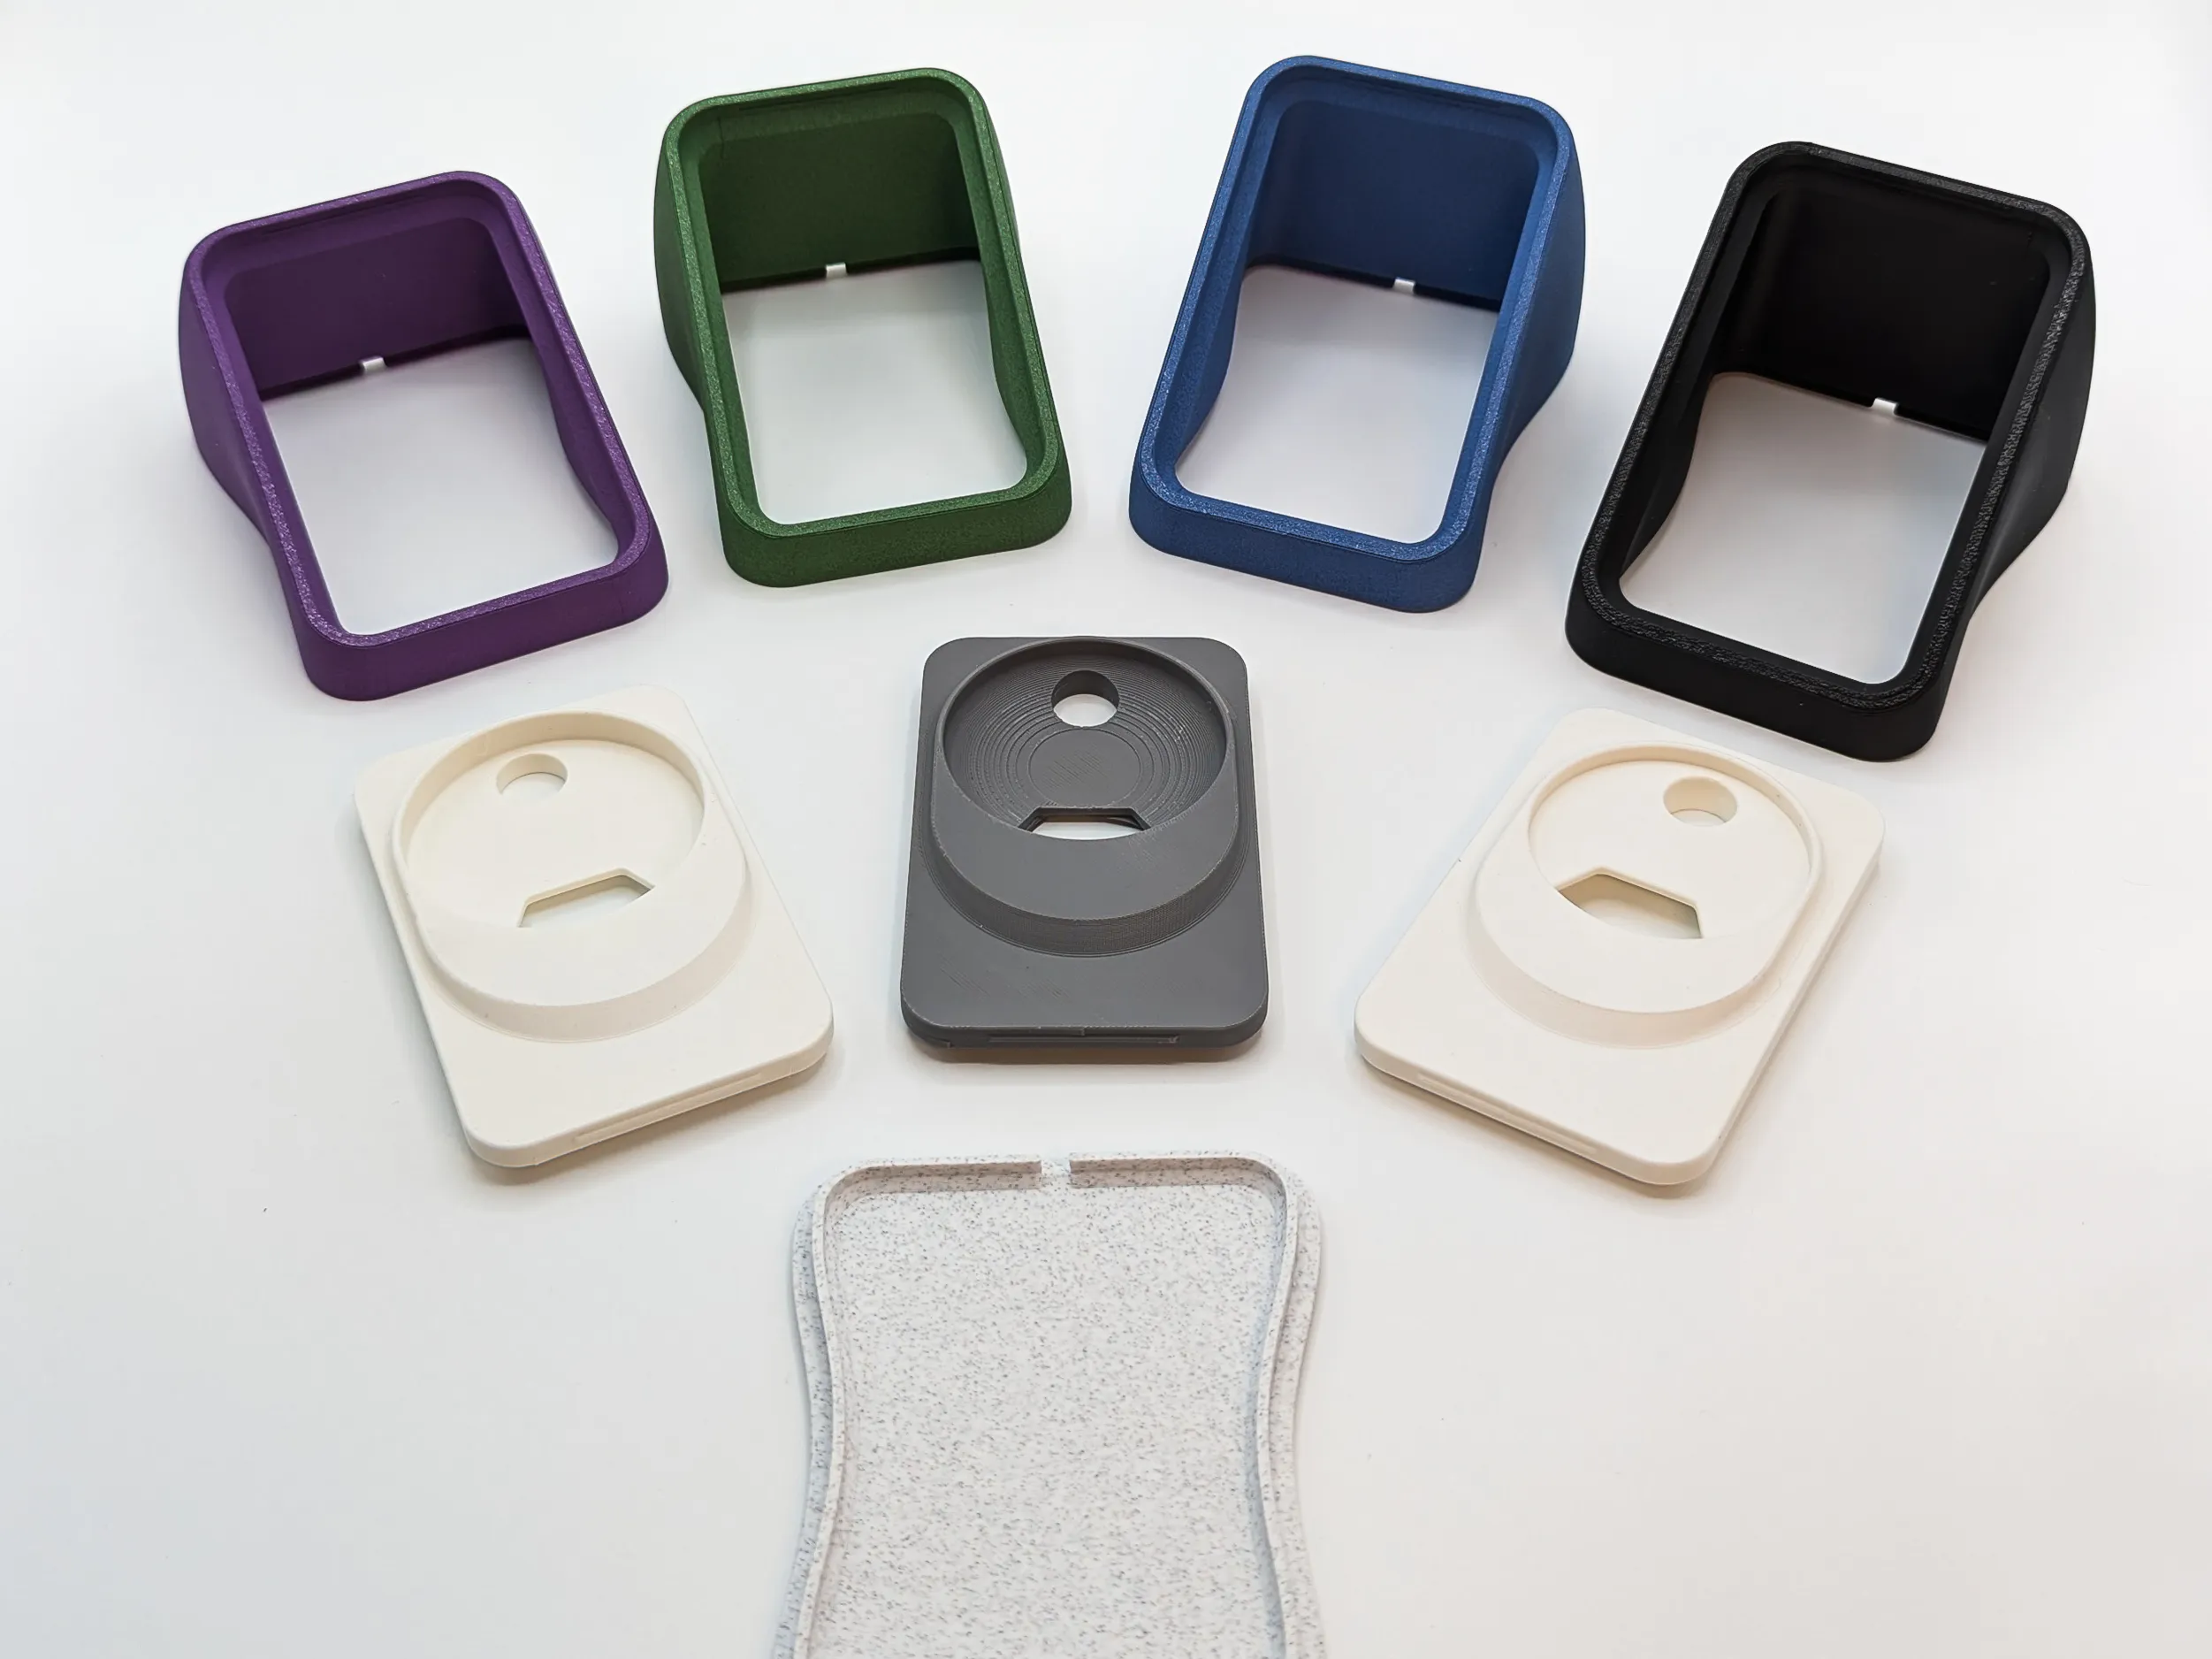 |
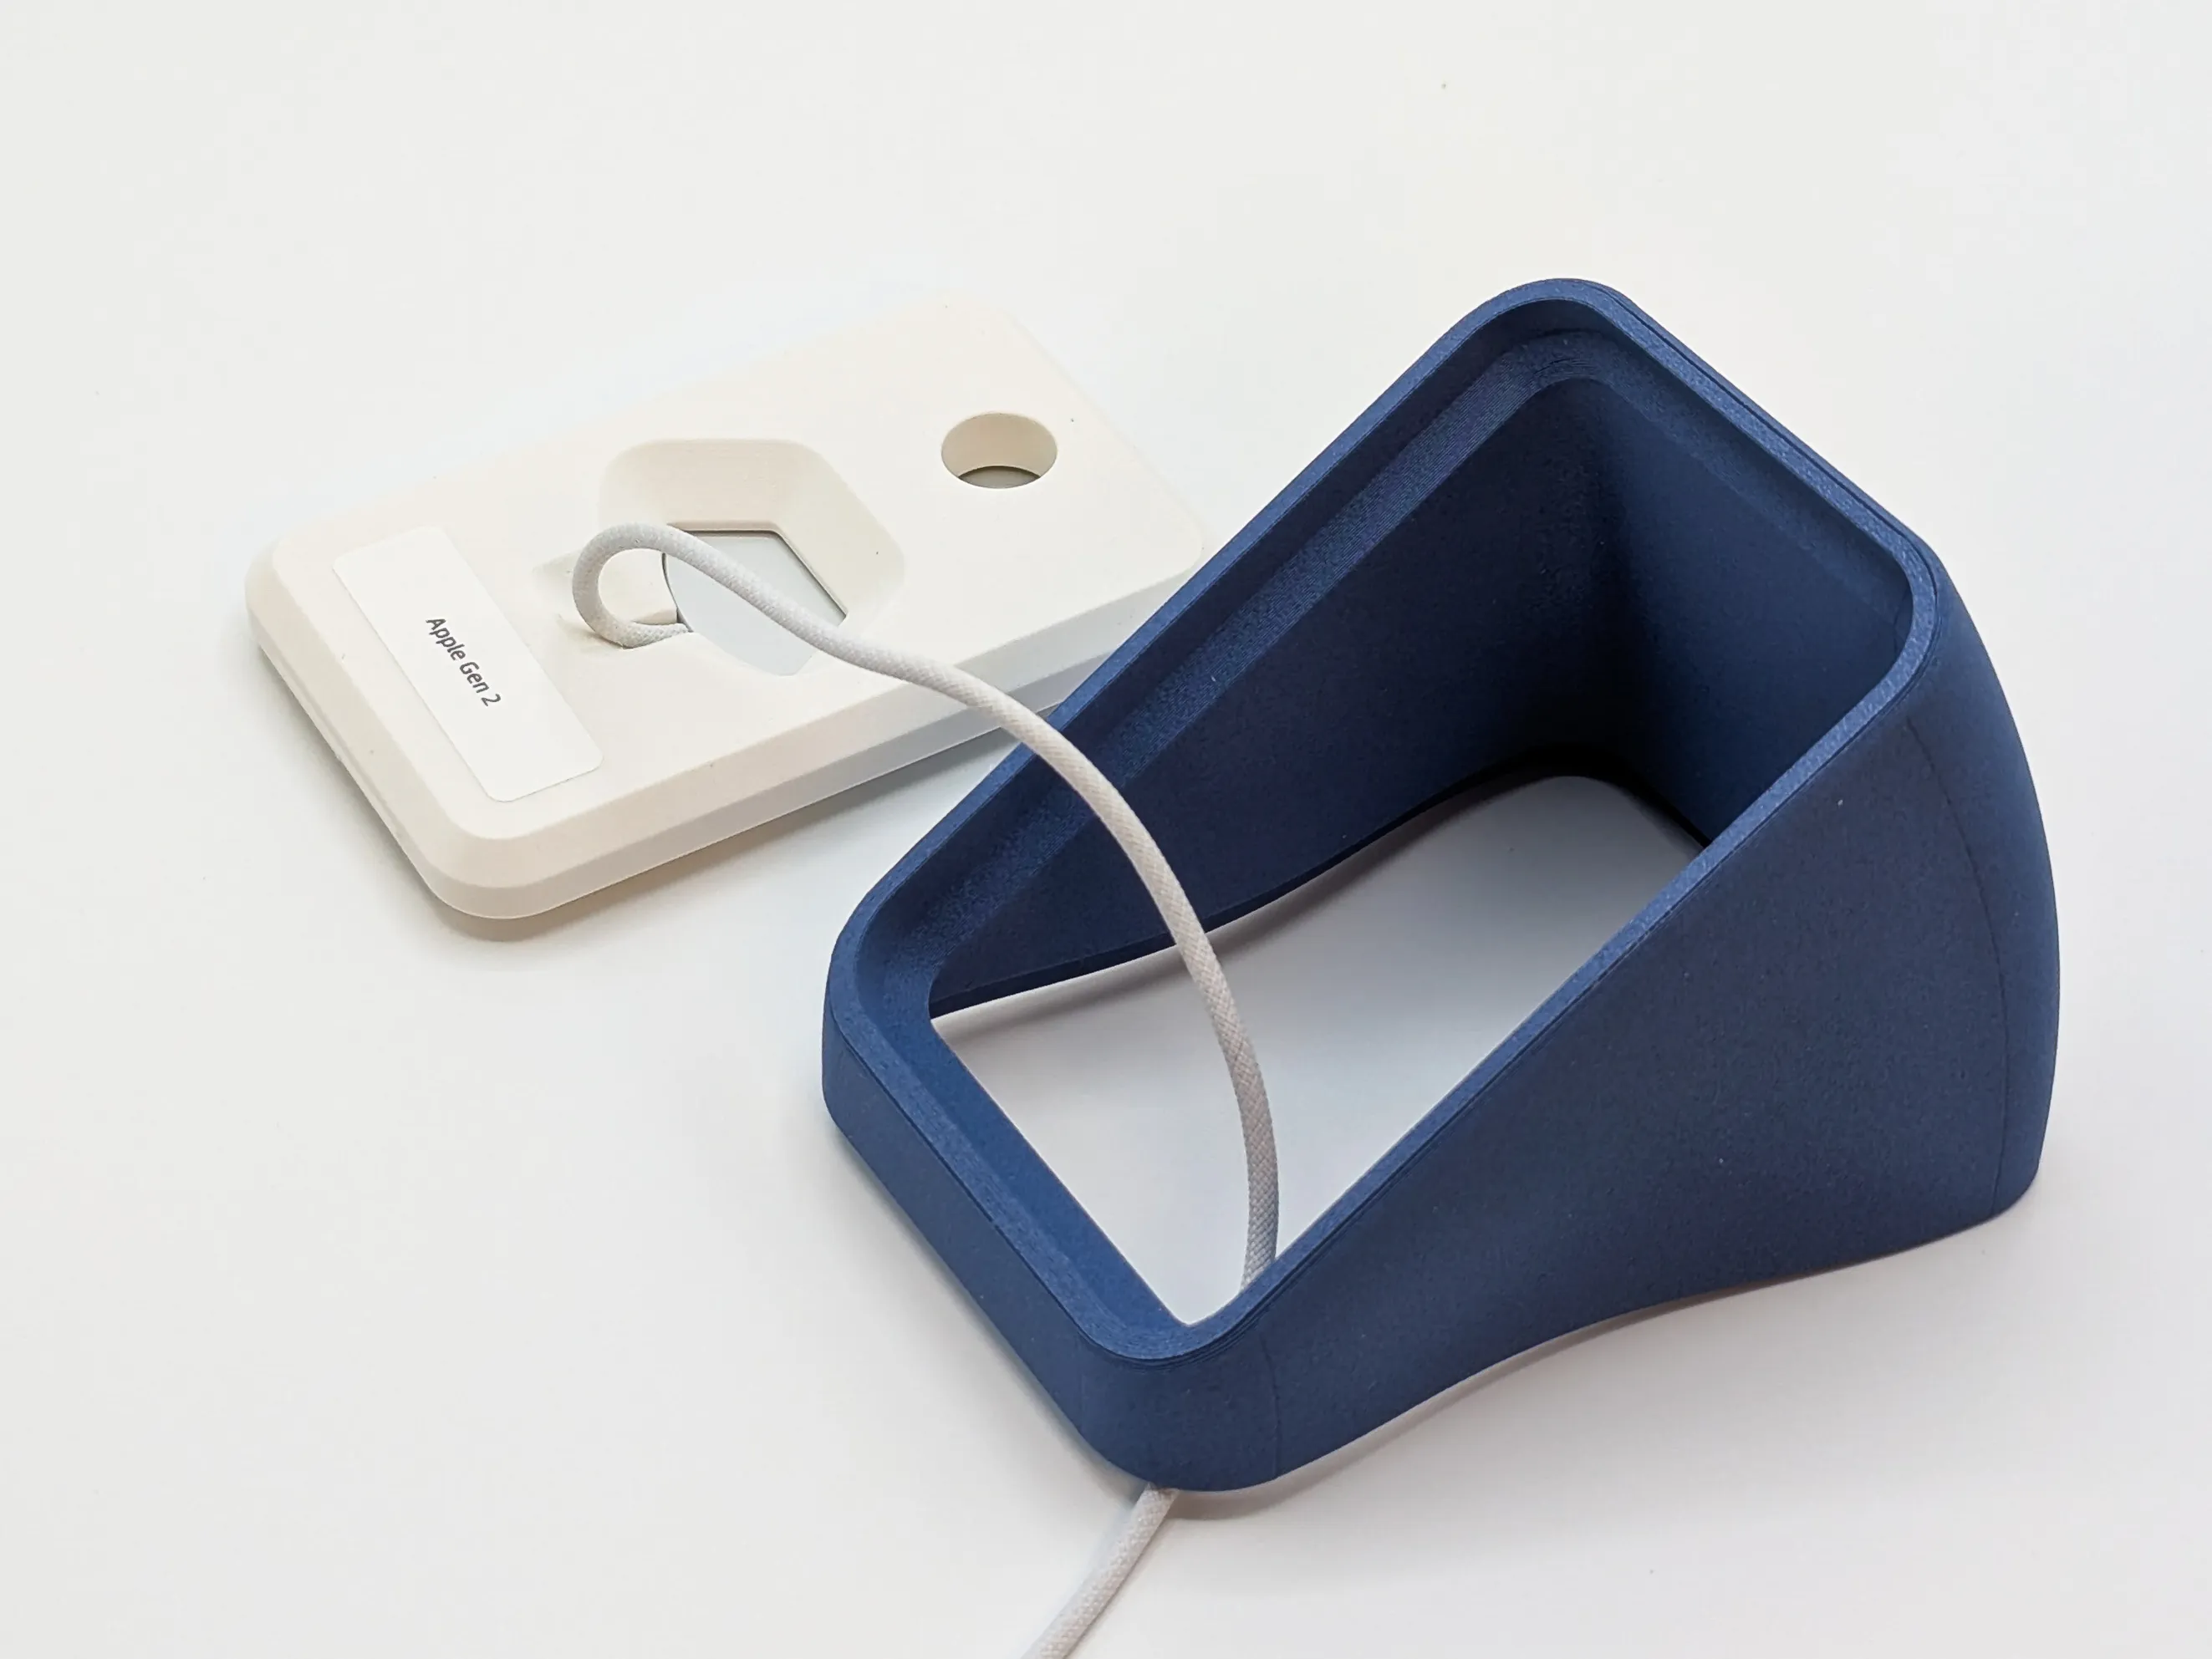
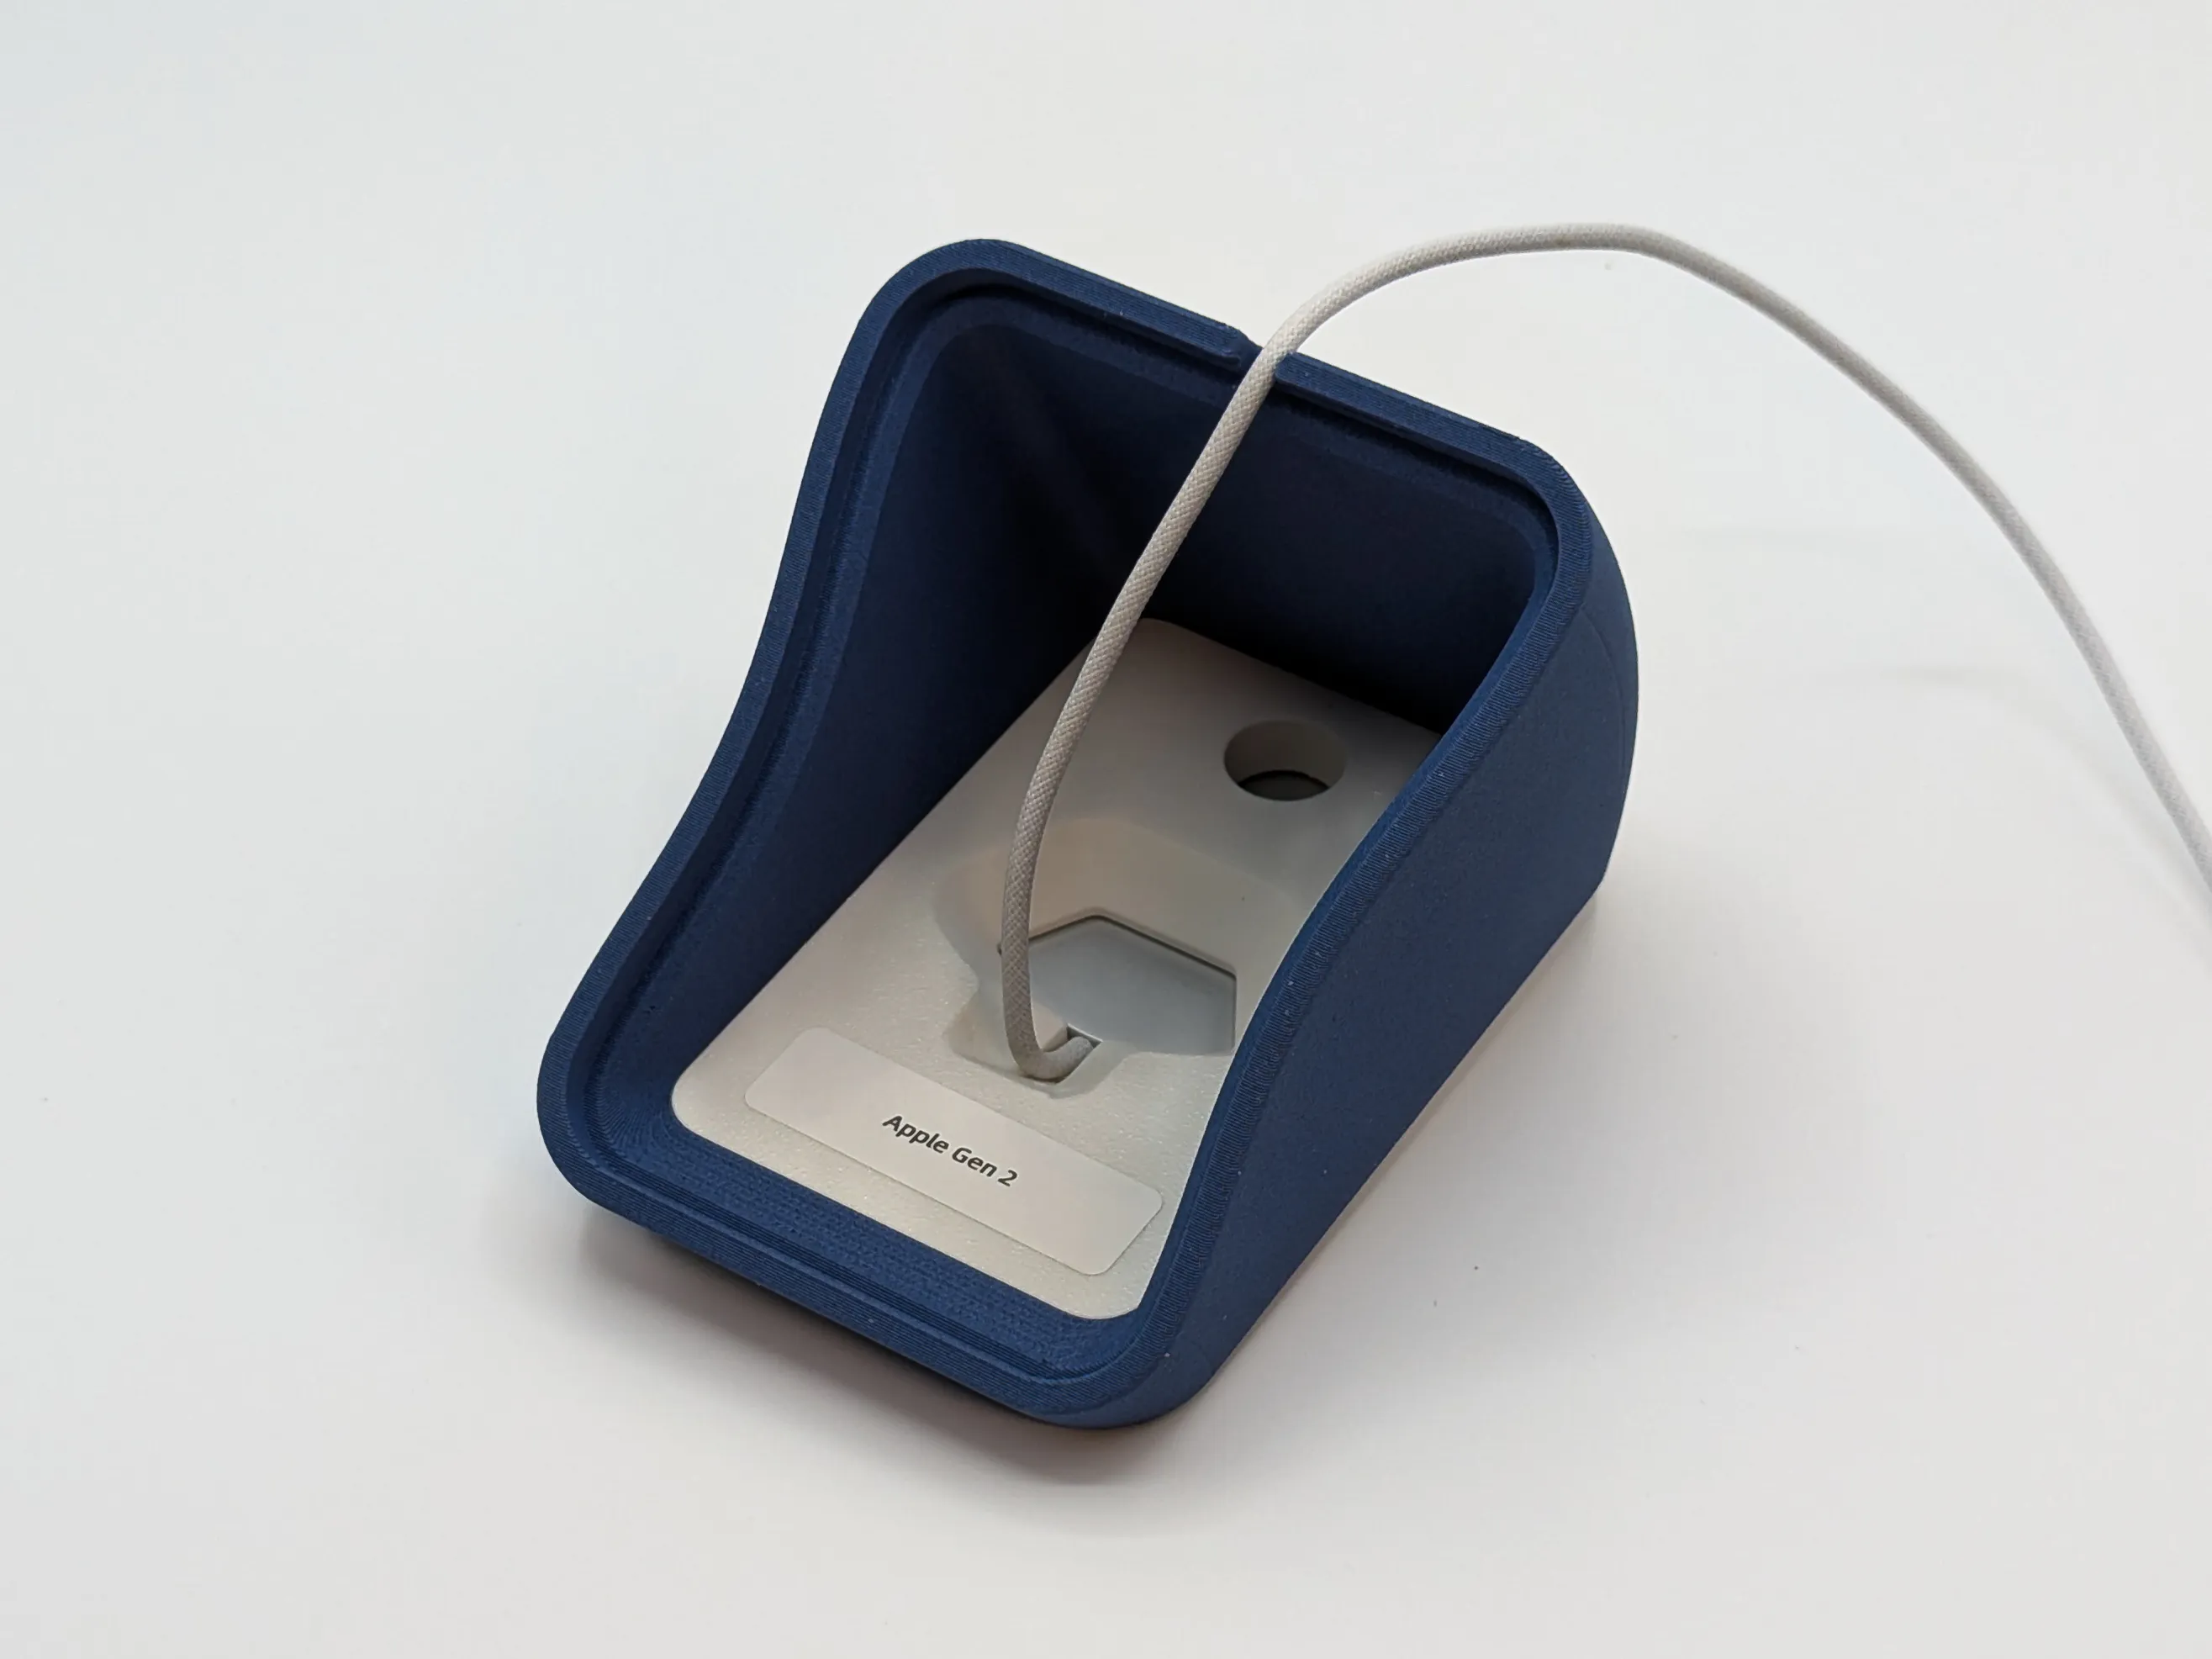
Everything is in one profile, but you only print three parts total:
- 1× Base. Pick one of the 5 tilt angles.
- 1× Insert. Pick the one that matches your charger or generate your own.
- 1× Bottom. Always the same.
Also included:
Cutting Template DXF (for laser/vinyl cutters - see Download STL/CAD) and a printable Cutting Template (for manual cutting - in the profile).
Tolerances
Designed with 0.2mm tolerance throughout. Works for most printers at default settings. If your printer prints very accurately and the clips feel loose, stick a small piece of tape on the bottom plate's clip surfaces. If parts feel tight, a few passes with a hobby knife or sandpaper will get you there.
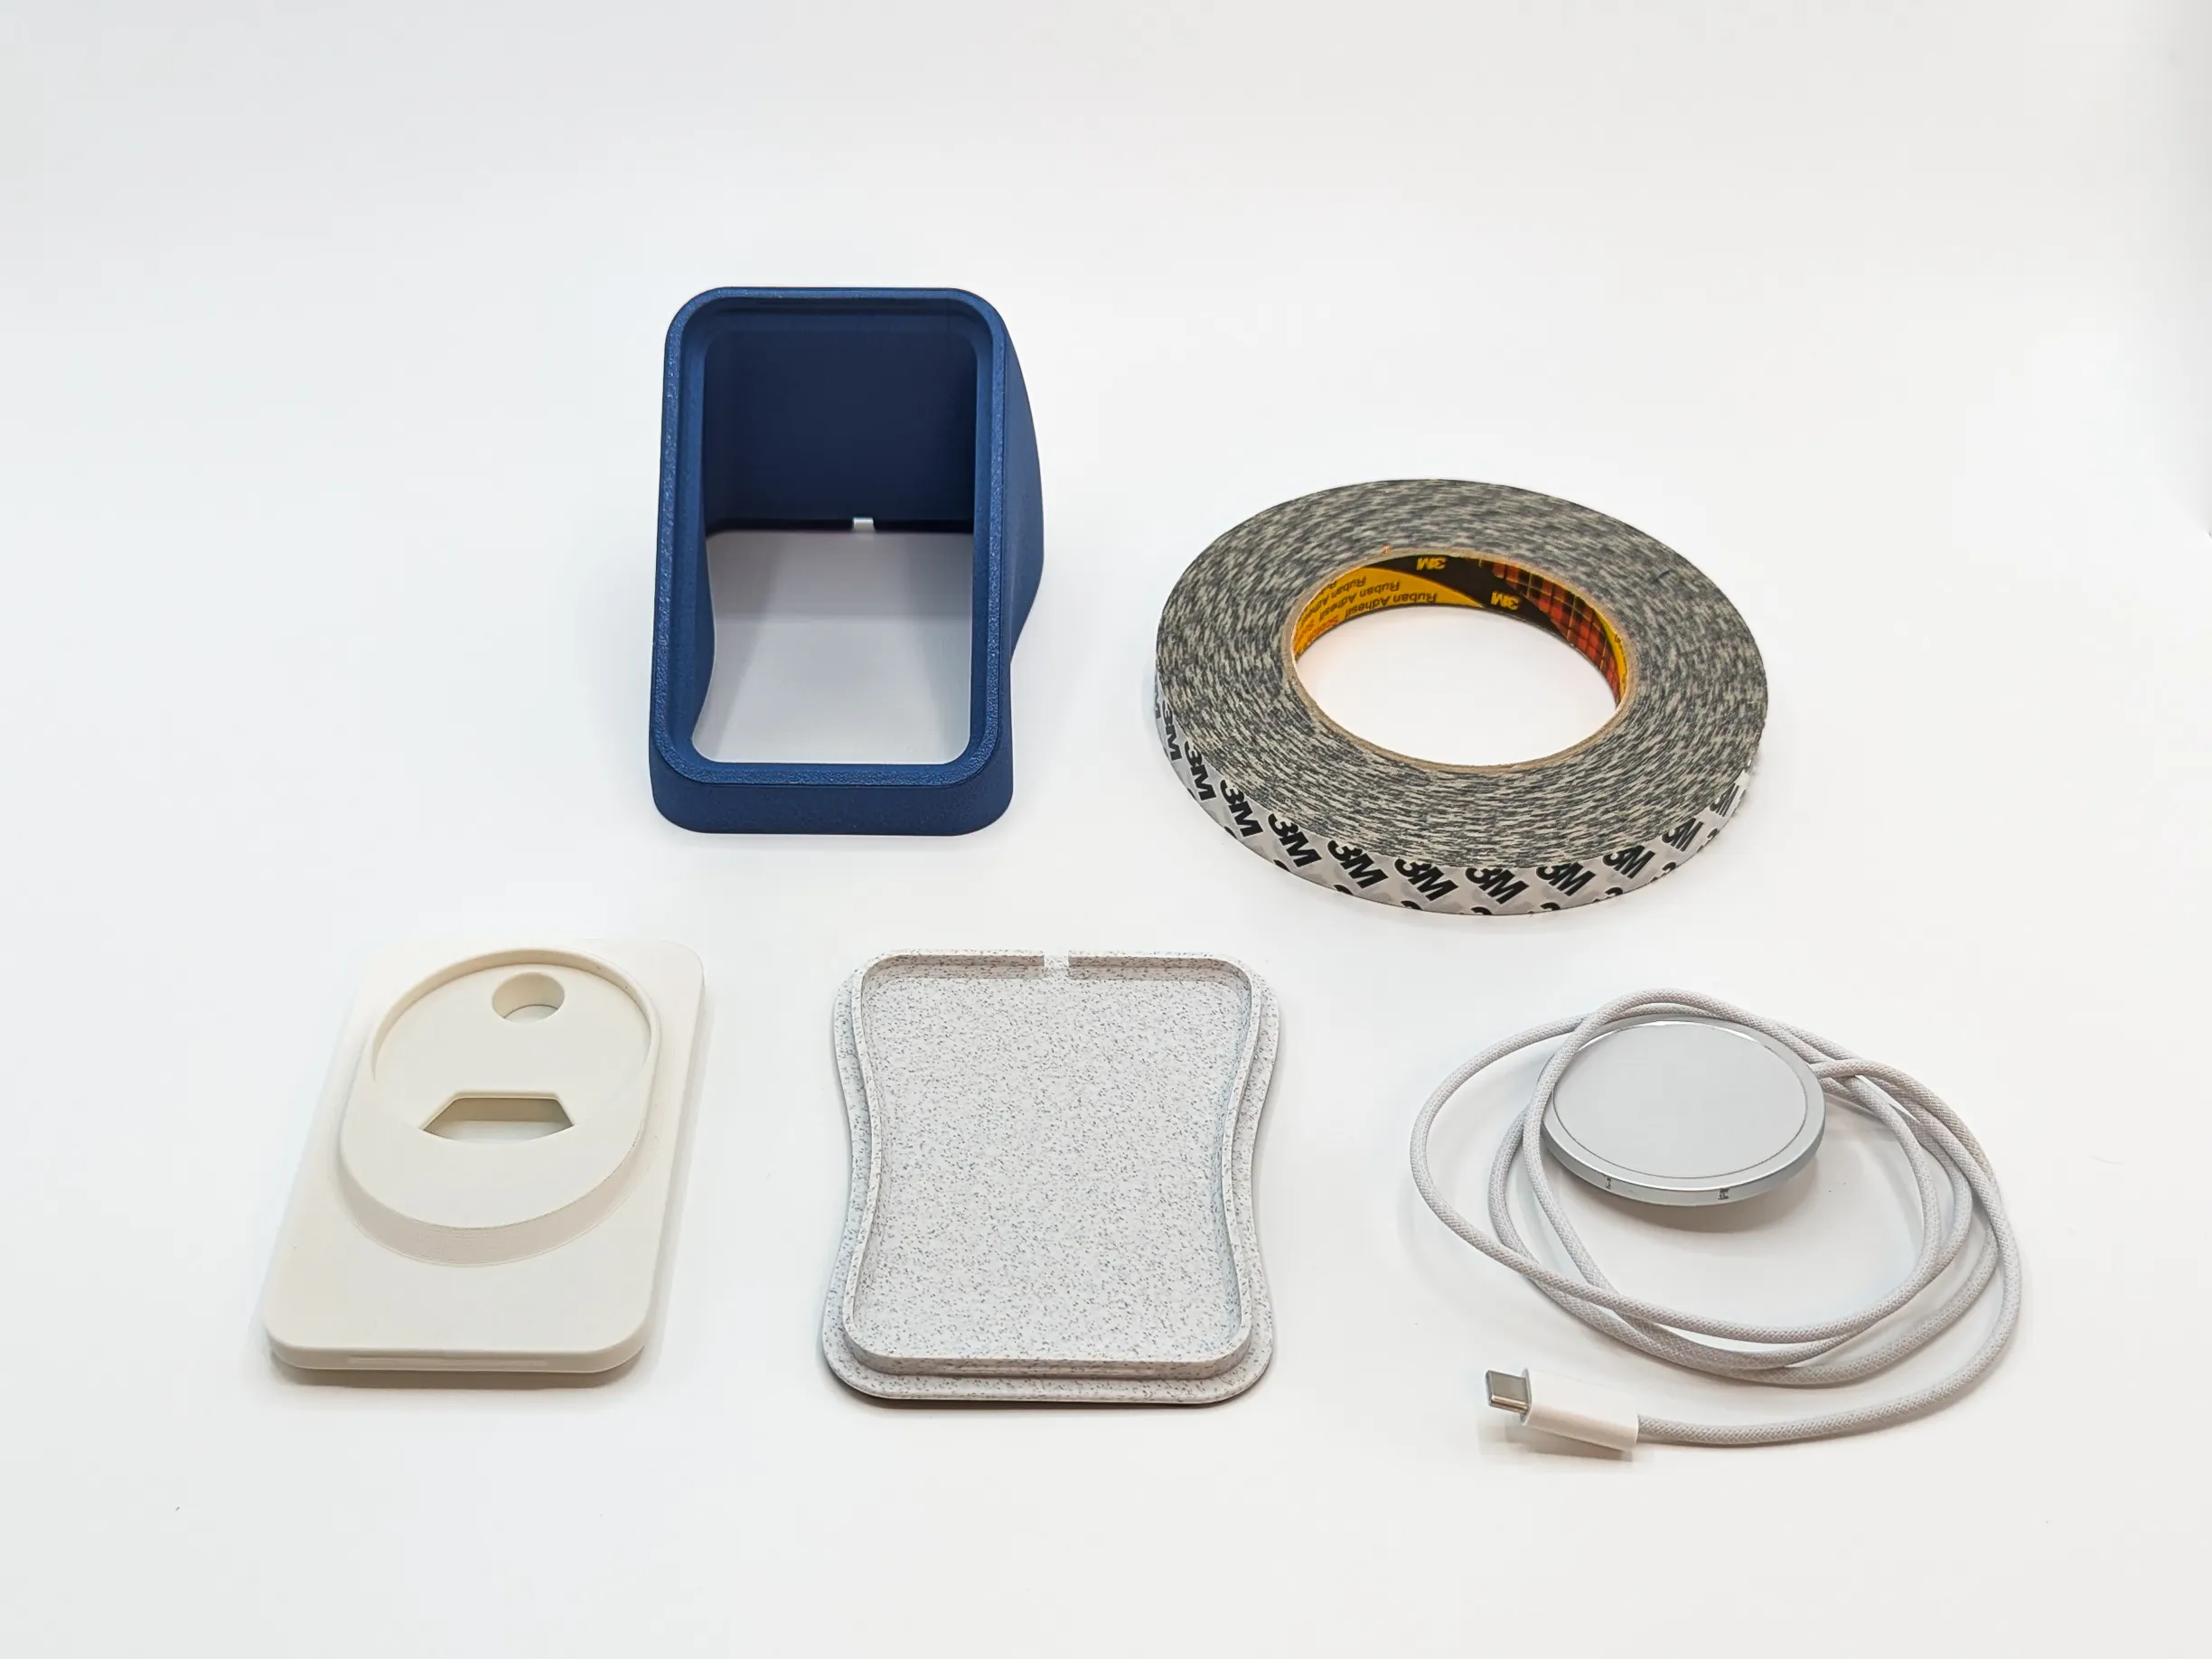
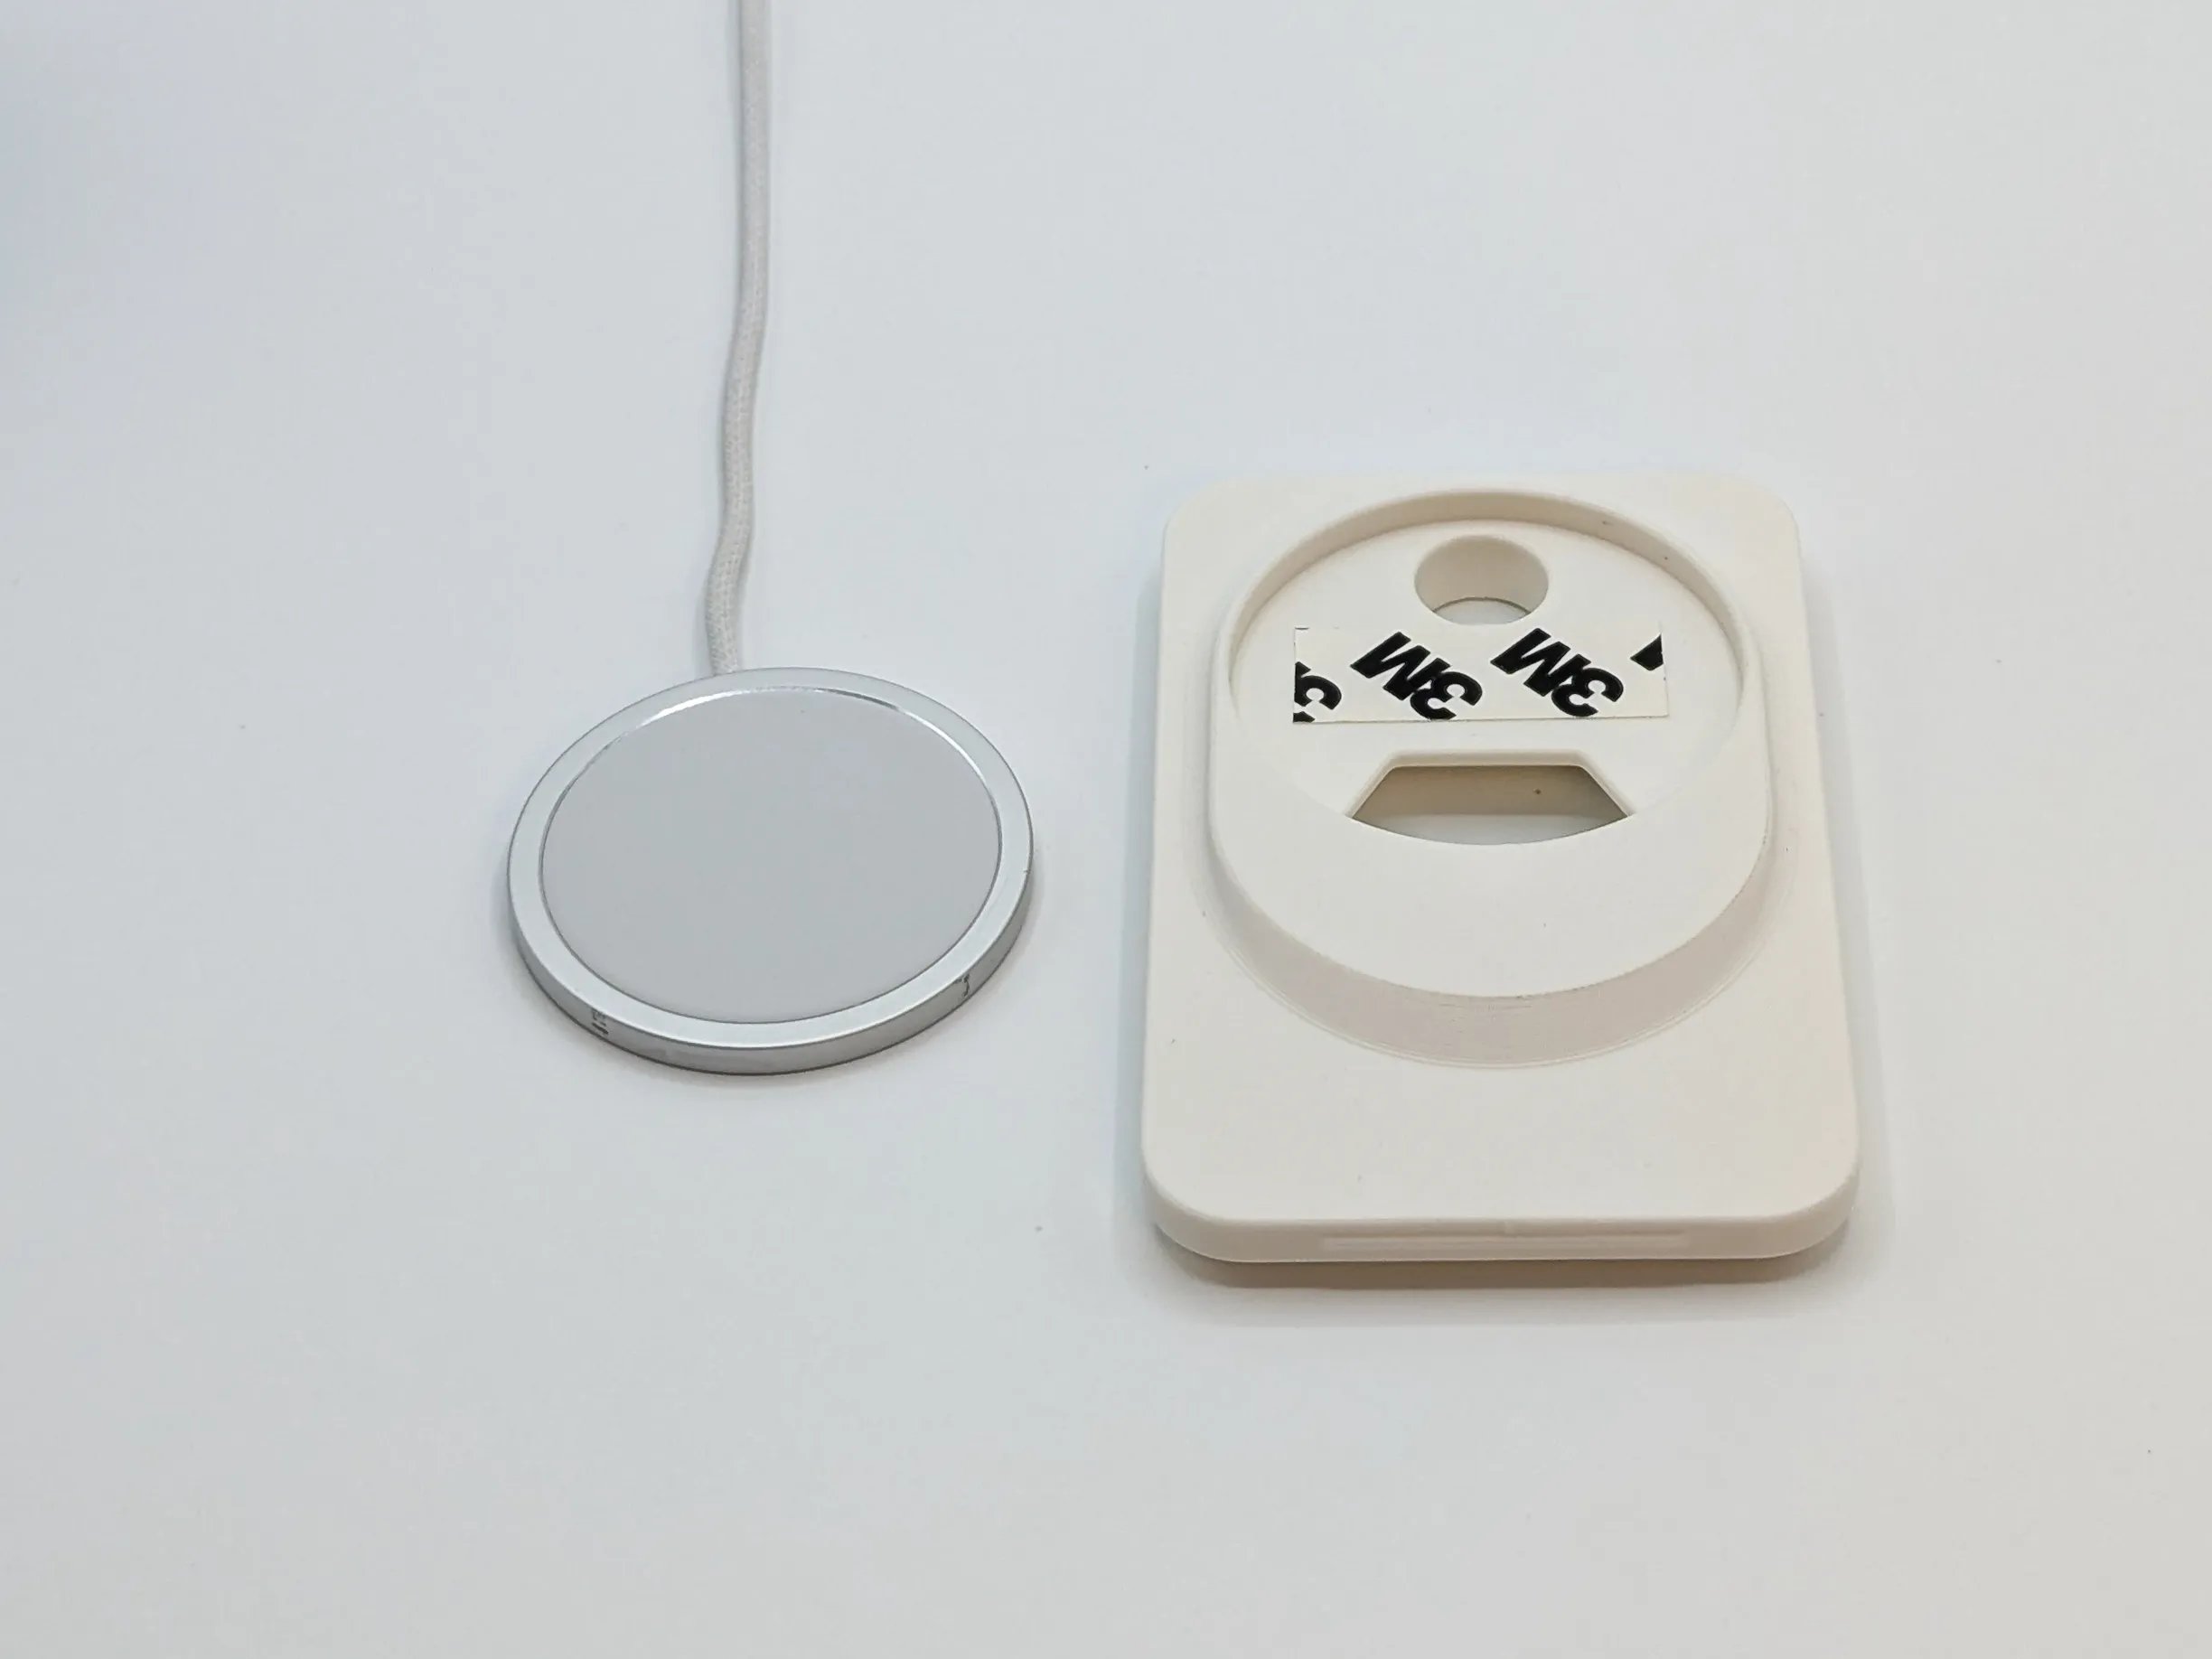
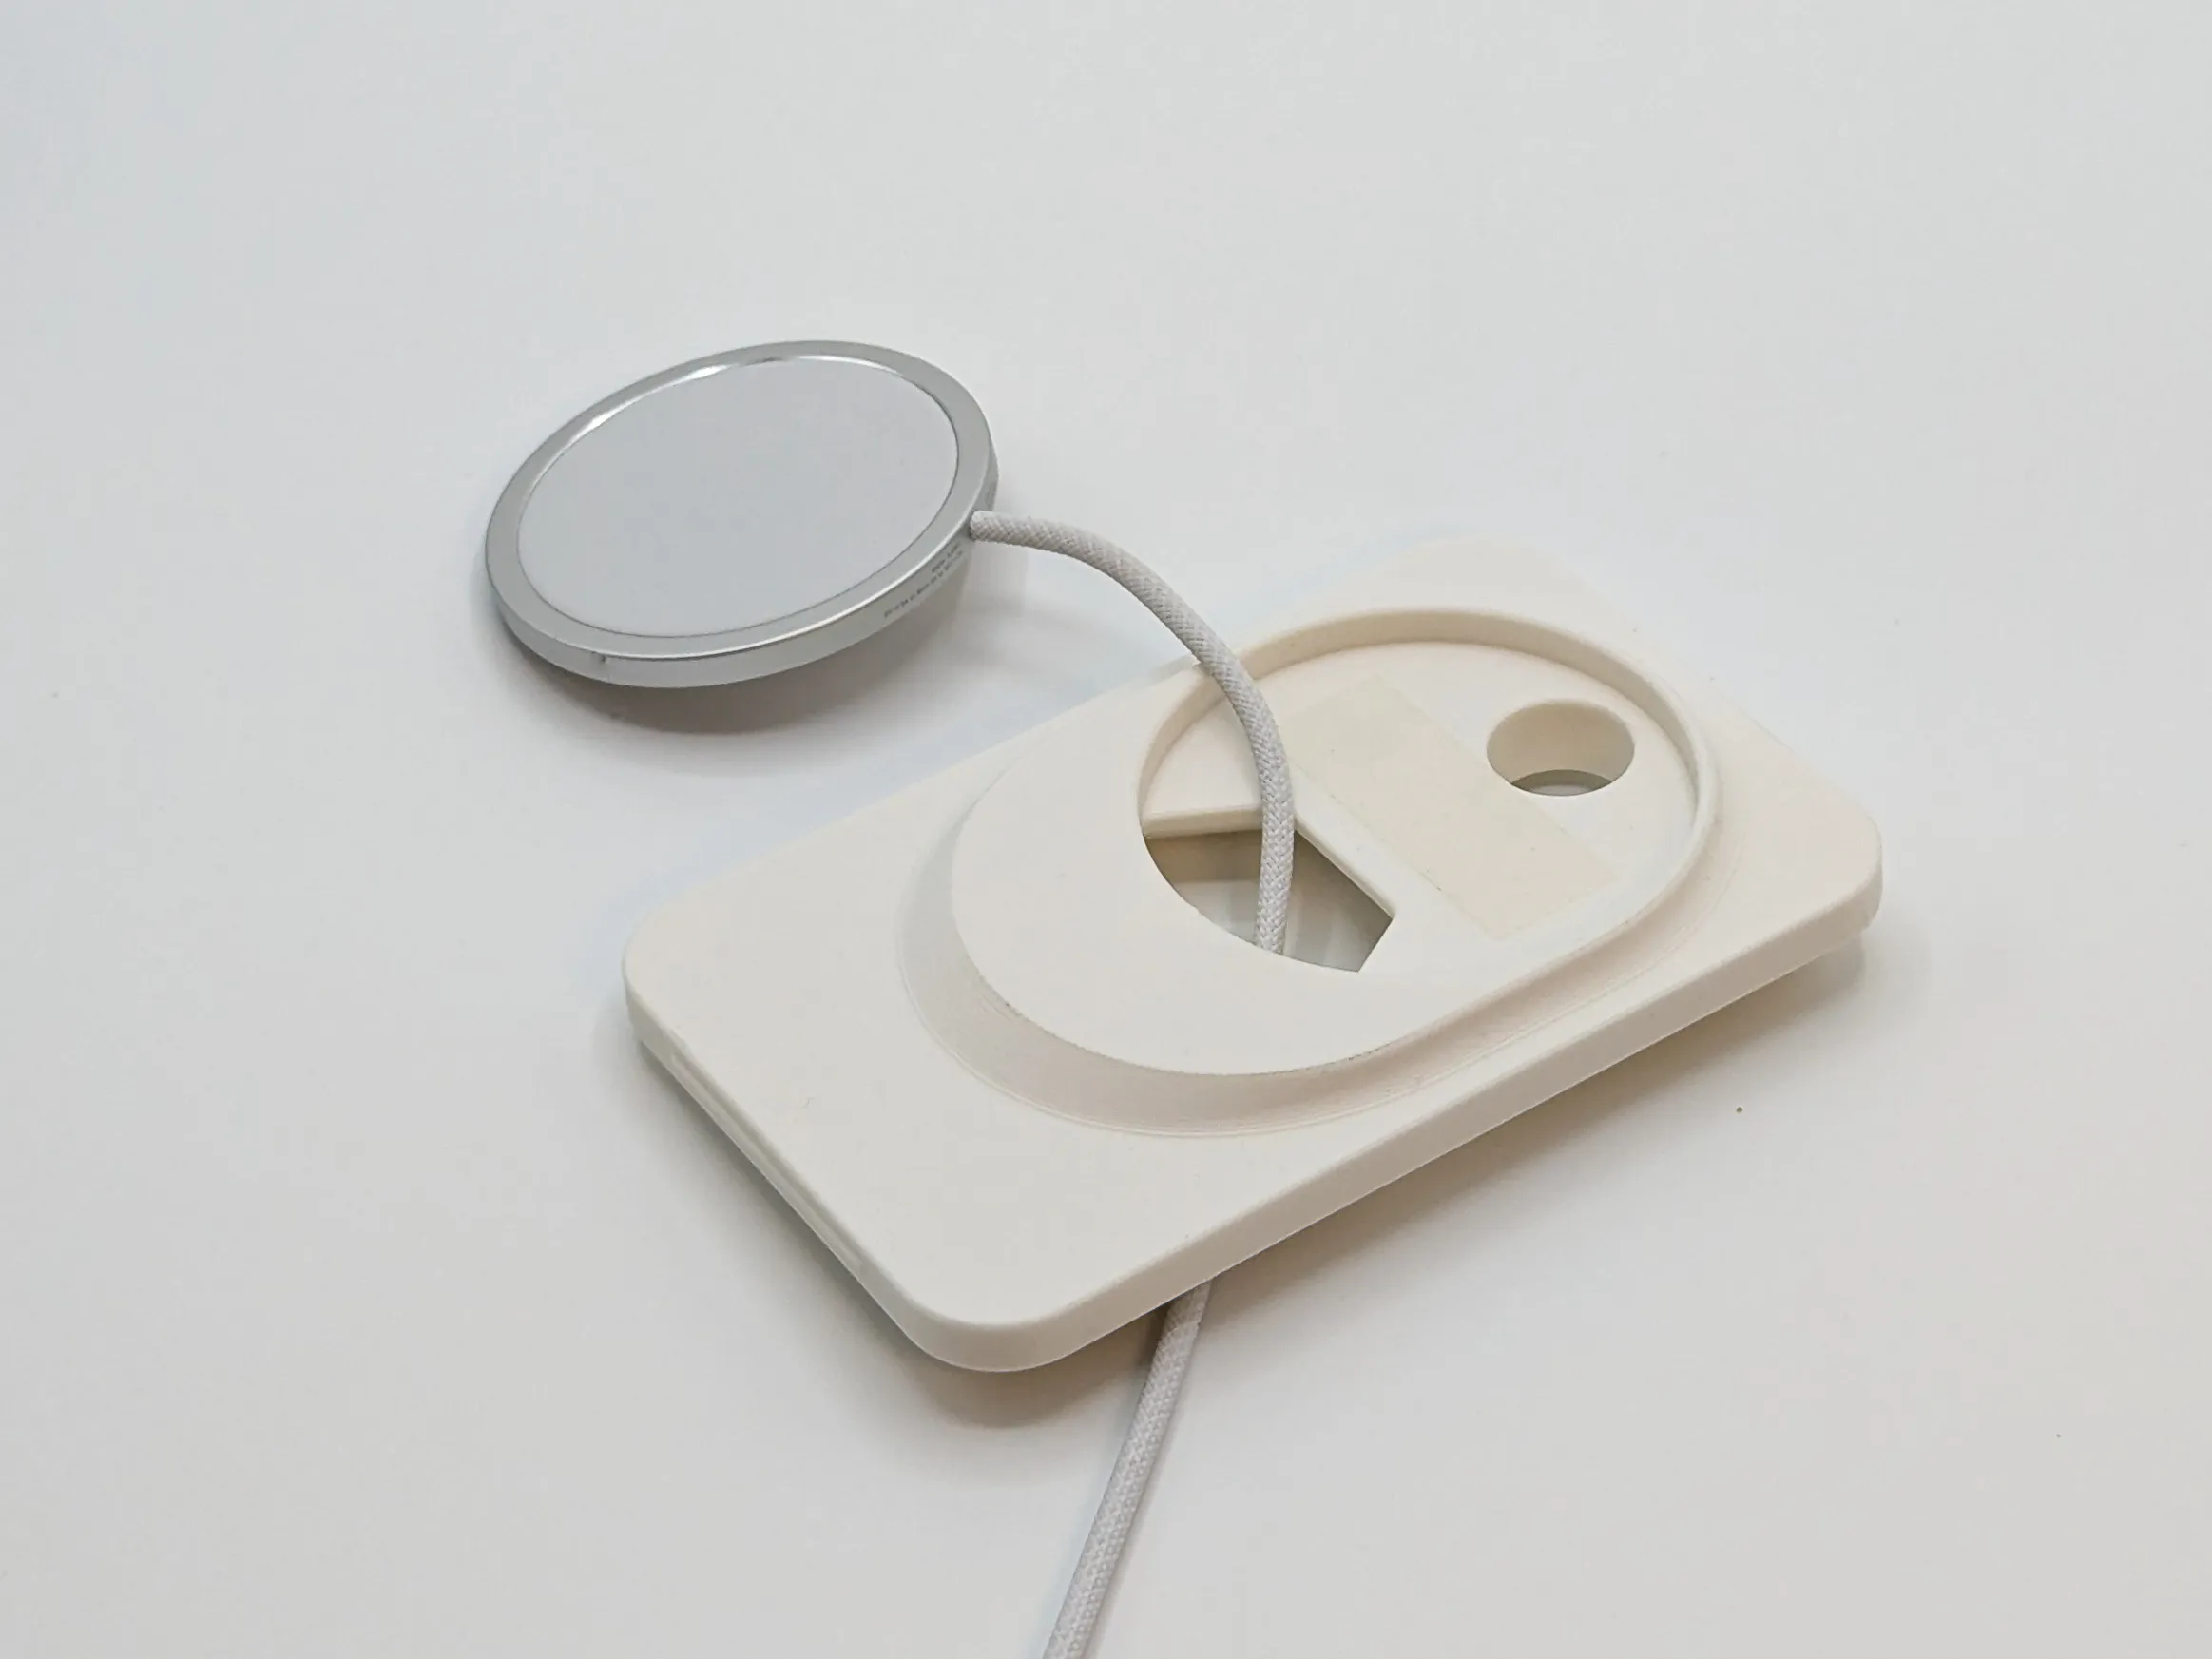
Assembly
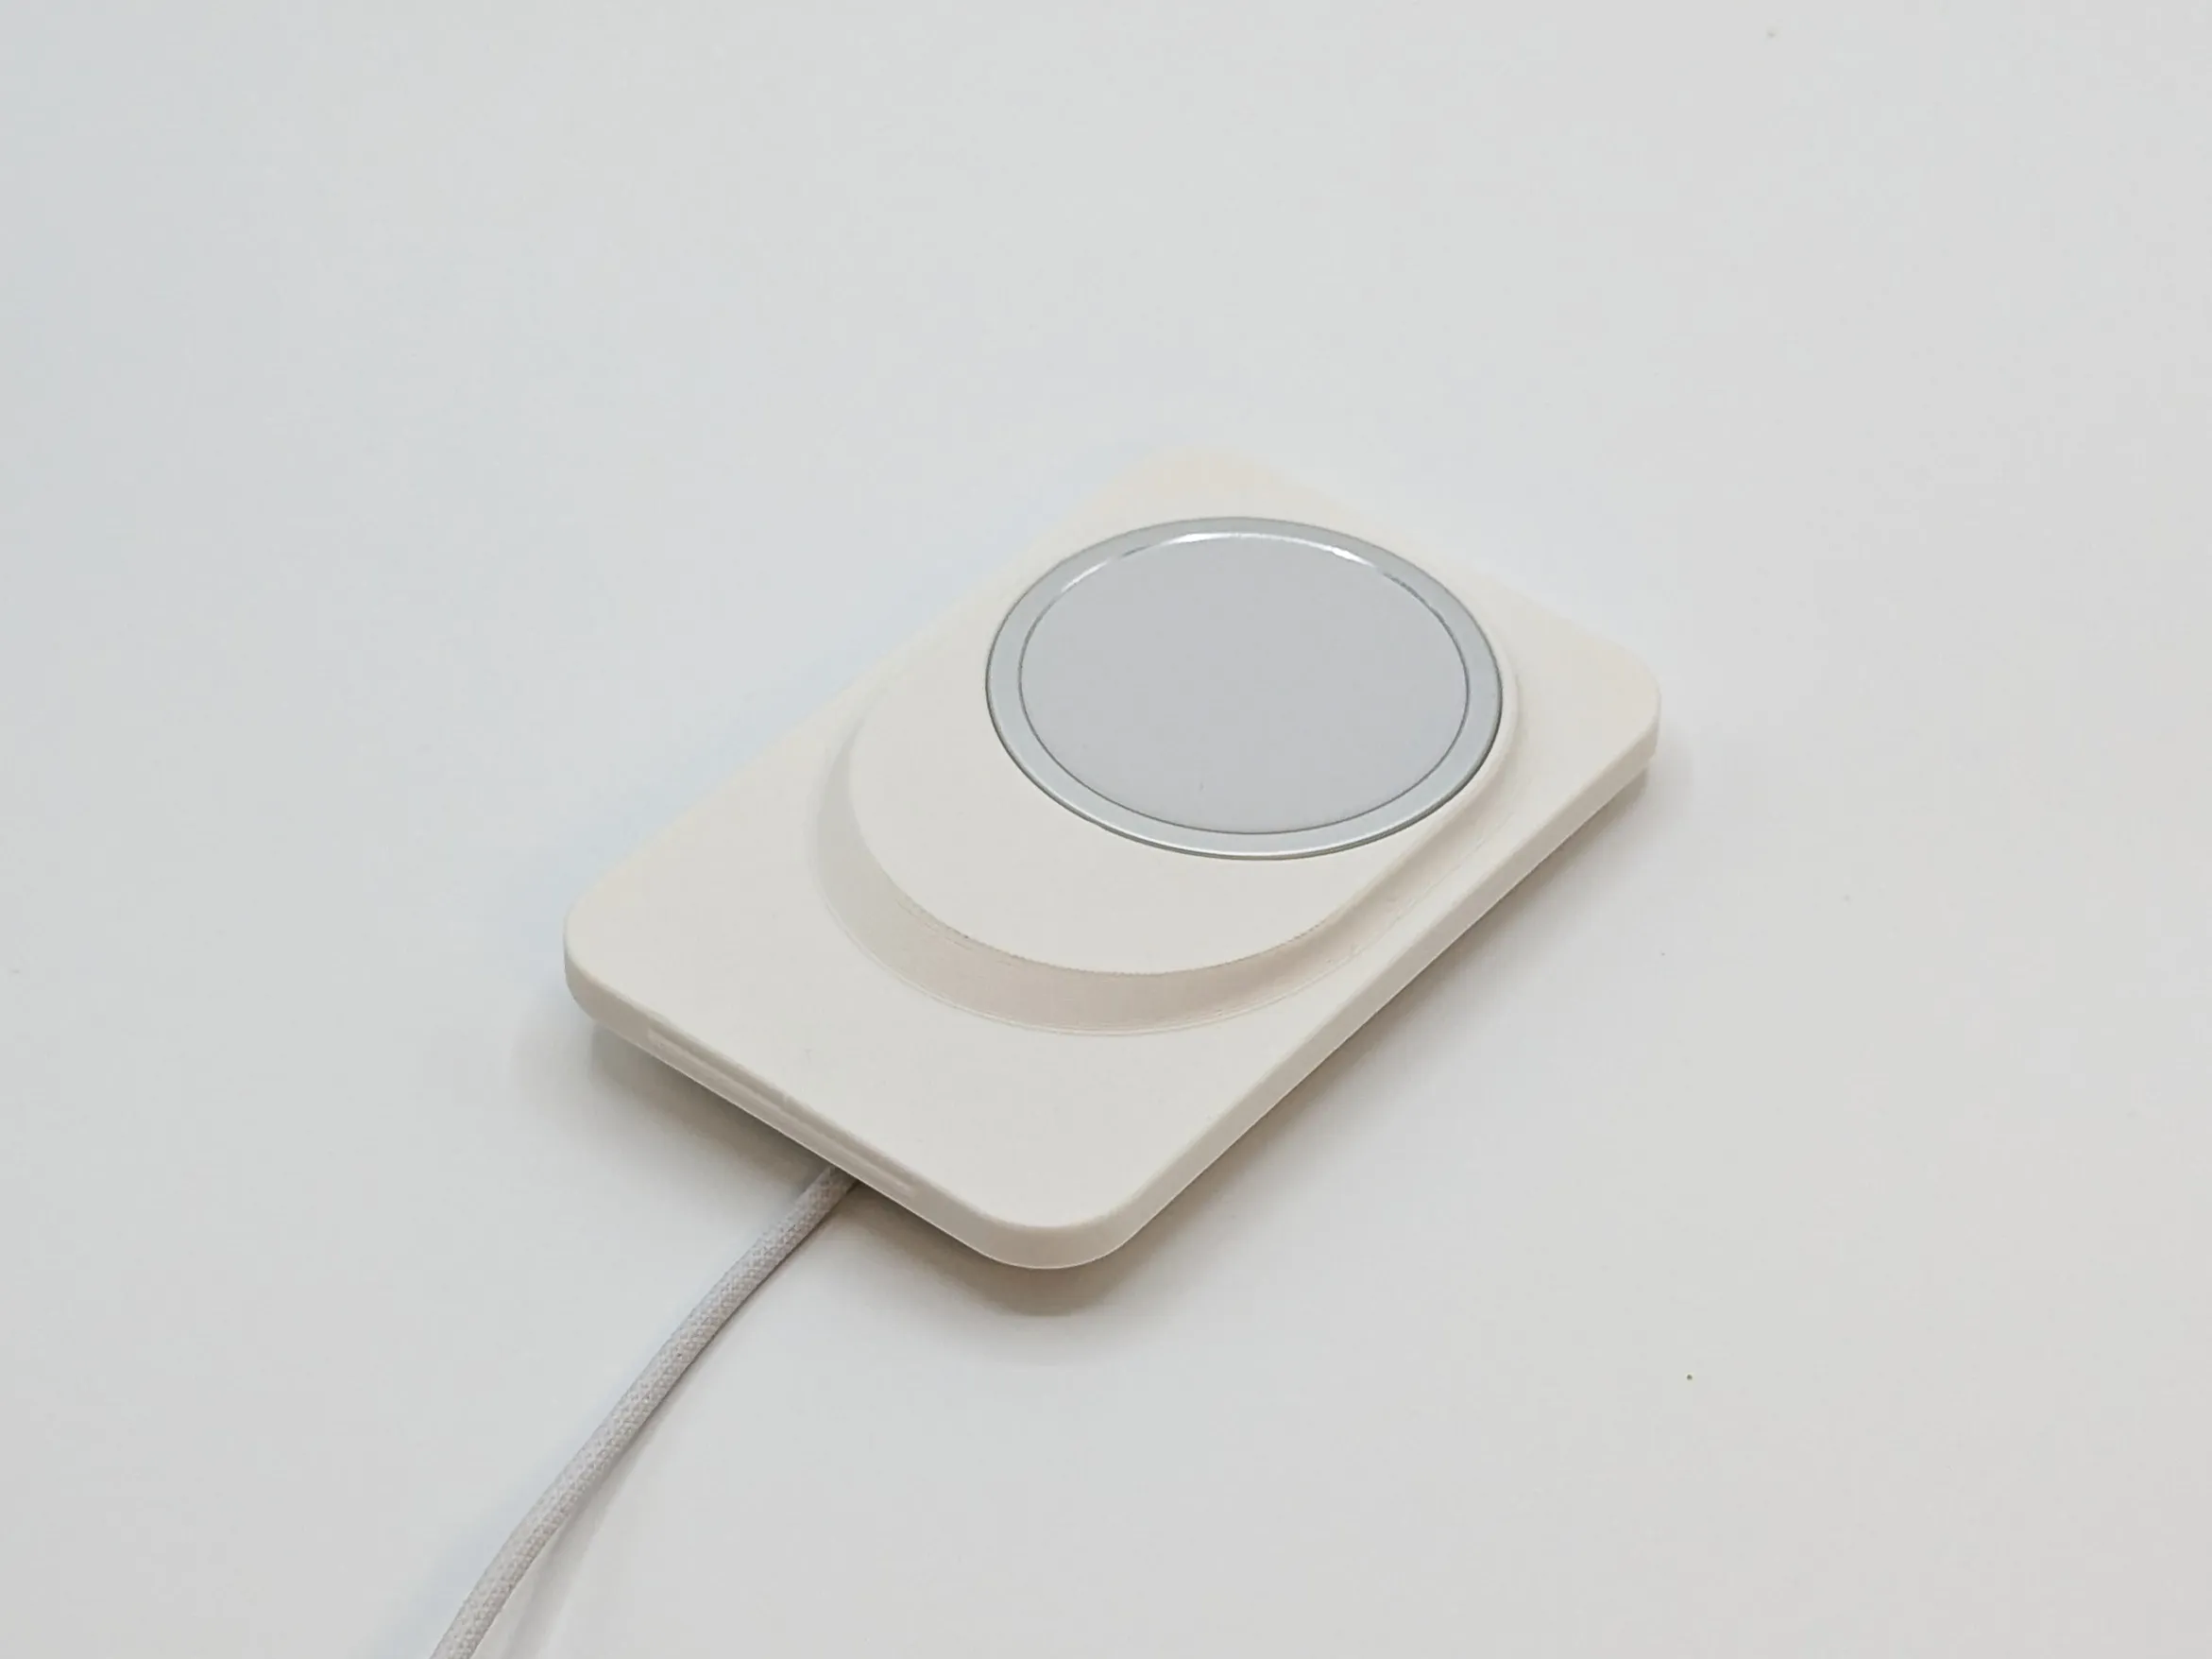
 |  |
 |  |
 |  |
 |  |
Make your own insert
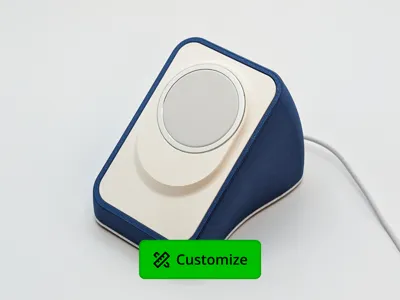
If your charger isn't in the list above, you can generate a custom inlay directly on MakerWorld using the built-in customizer. No CAD software needed. Just enter your charger's dimensions, the customizer spits out an STL ready to print. The outer footprint is fixed, so any custom inlay fits any shell.
If you create one for a charger that's not listed, consider sharing it as a profile to this model. Others with the same charger will thank you.
I hope you enjoy the design! Please leave a comment or rating if you like it and share your feedback!
Follow me on Instagram for unregular updates 😅.
License

You shall not share, sub-license, sell, rent, host, transfer, or distribute in any way the digital or 3D printed versions of this object, nor any other derivative work of this object in its digital or physical format (including - but not limited to - remixes of this object, and hosting on other digital platforms). The objects may not be used without permission in any way whatsoever in which you charge money, or collect fees.


Comment & Rating (17)