
40K 11th Edition Footprint - Large Rectangle
Print Profile(6)
![[H2] Single Color](https://makerworld.bblmw.com/makerworld/model/USb57e010eba5c73/851373023/instance/2de2398fadd9fbde.jpg?x-oss-process=image%2Fresize%2Cw_100%2Fformat%2Cwebp)
![[A1 mini] Single Color](https://makerworld.bblmw.com/makerworld/model/USb57e010eba5c73/851436125/instance/c1b007dd6bd3a36b.jpg?x-oss-process=image%2Fresize%2Cw_100%2Fformat%2Cwebp)
Bill of Materials


Description
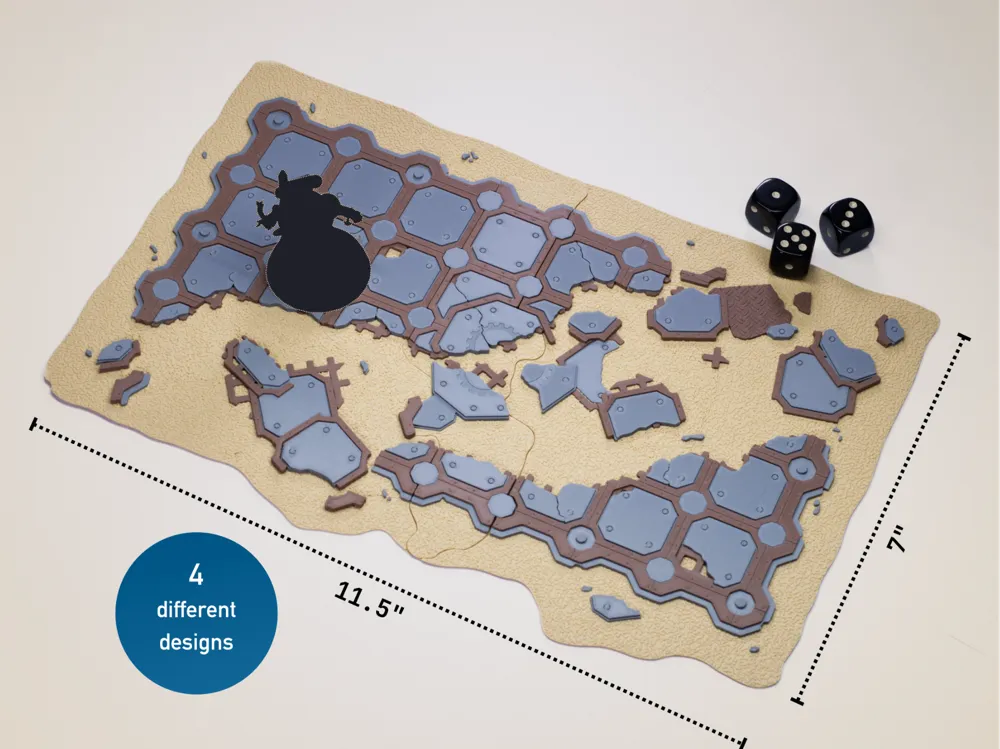
Sculpted area terrain footprint for 40K 11th Edition.
Designed to match official footprint sizes while adding surface detail that looks good when FDM printed.
⠀
Sizes
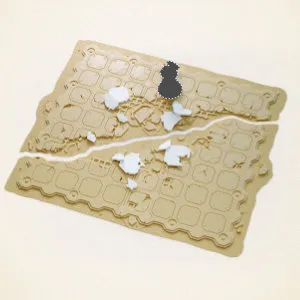 | Large Triangles - 8” x 11.5” |
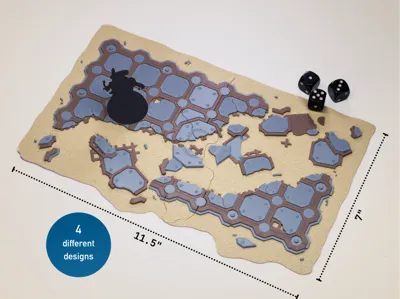
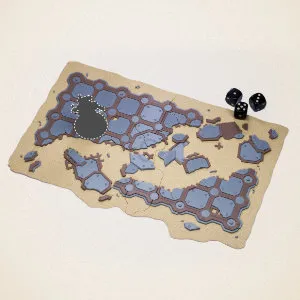 | 📍 Large Rectangles - 7” x 11.5” |
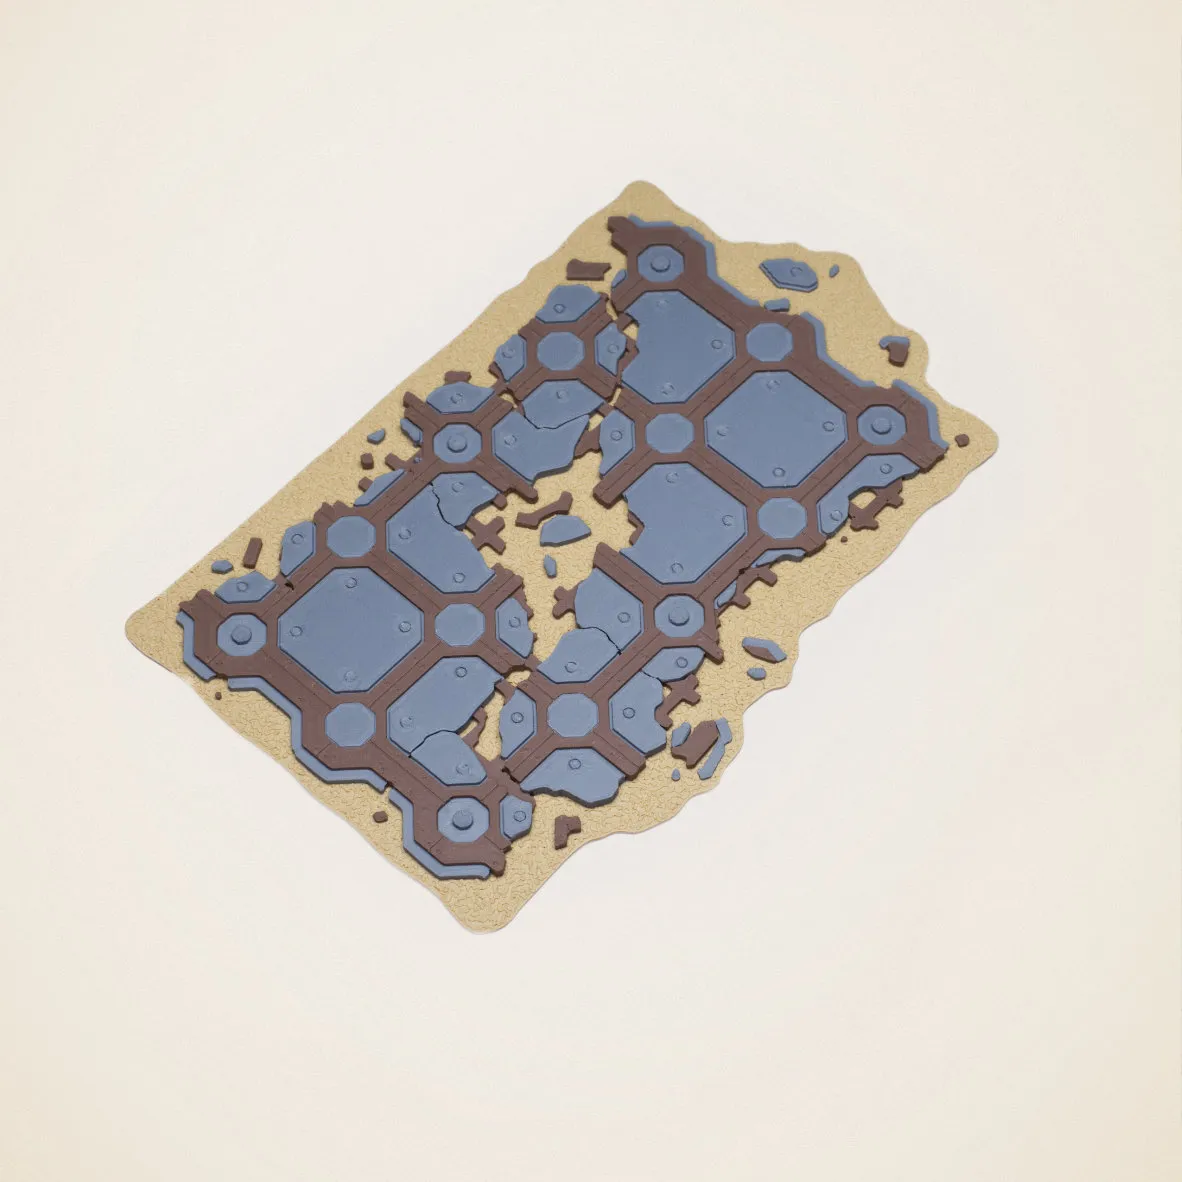 | Medium Rectangles - 6” x 4” |
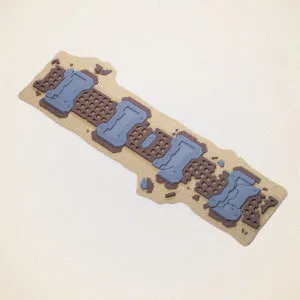 | Long Lines - 10” x 2.5” |
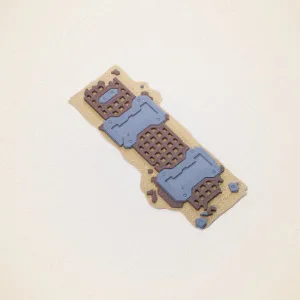 | Short Lines - 6” x 2” |
⠀
Boost Me (for free)
If you like the model, a boost is greatly appreciated - it helps support further designs and iterations!
⠀
Features
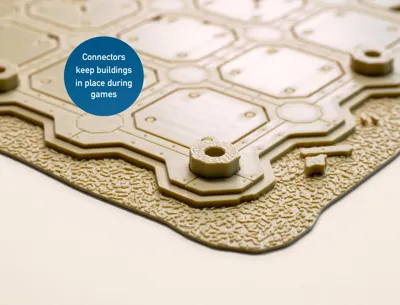
- Custom design made to be compatible with Battlezone Manufactorum and Sector Imperialis buildings, but can be used with other terrain
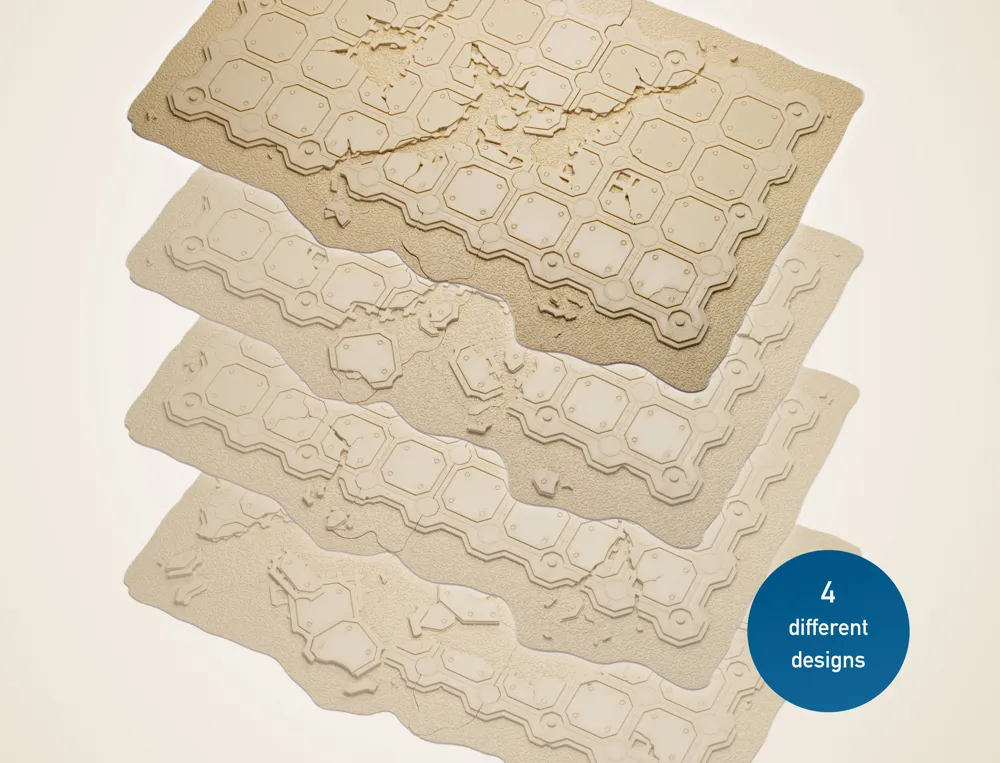
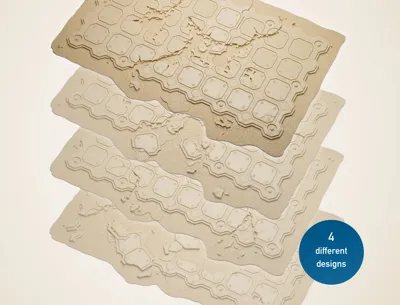
- 4 different designs for variety on the gaming table
- Optimised for 0.2mm layers and fast prints
- Flat top surfaces minimise visible layer lines
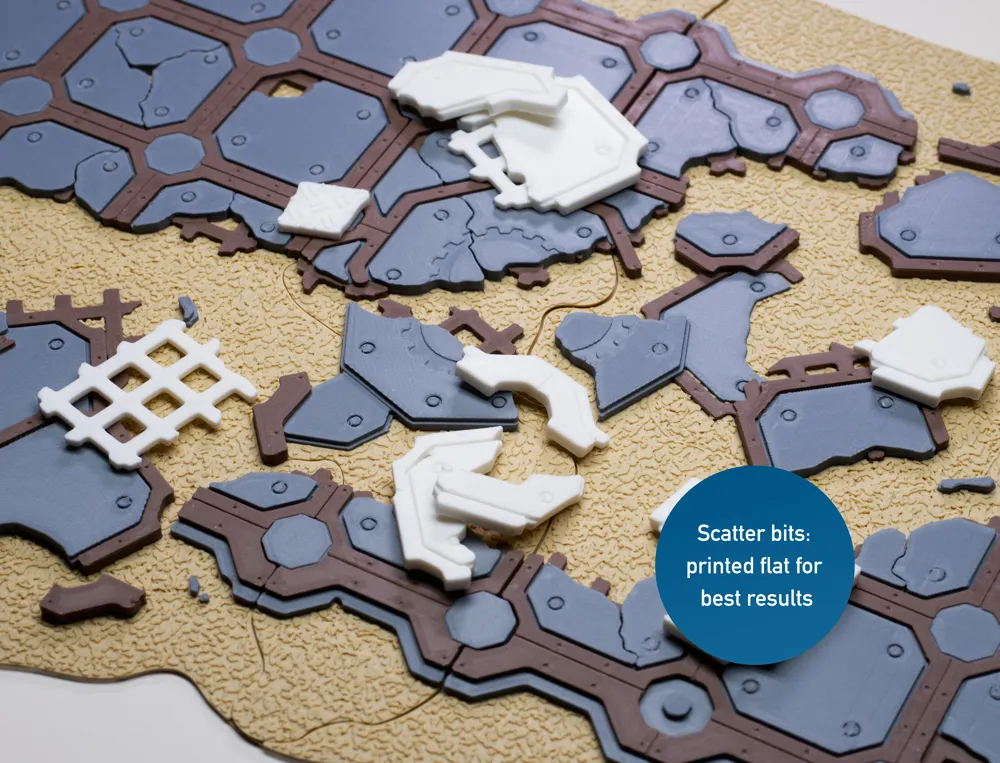
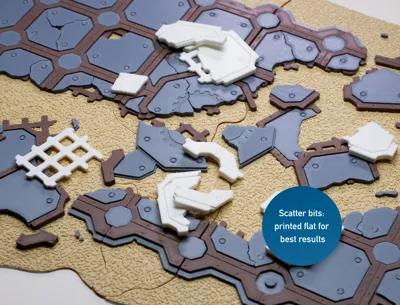
- Scatter bits can be placed at an angle but are printed flat
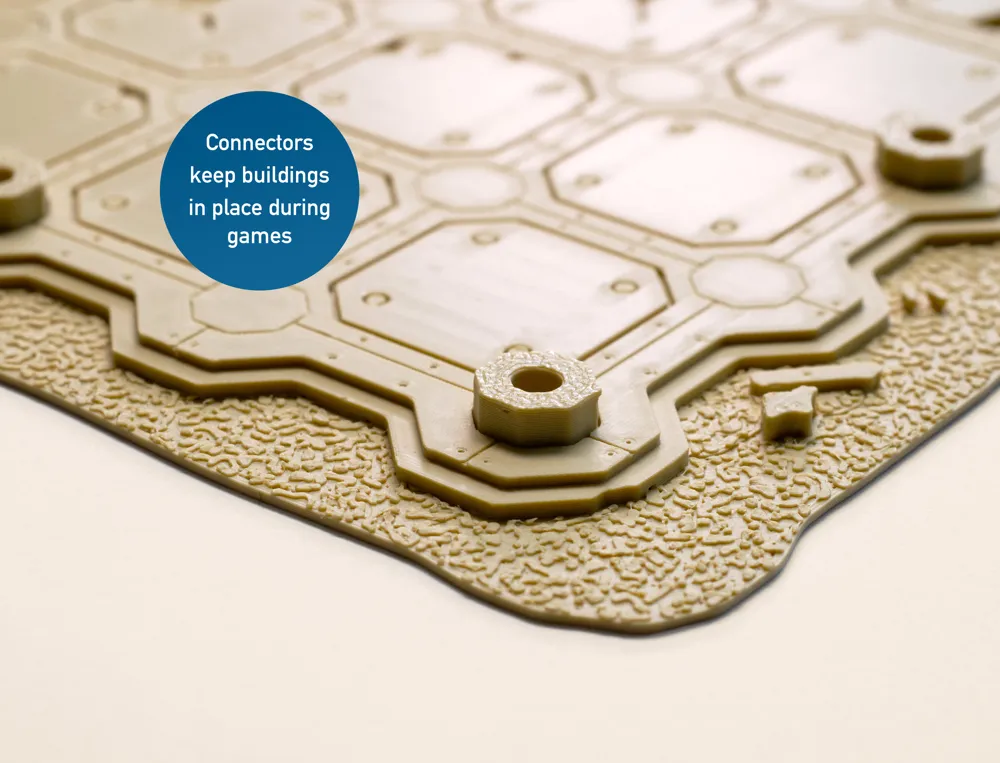
- Prevent compatible buildings from sliding around using included connectors
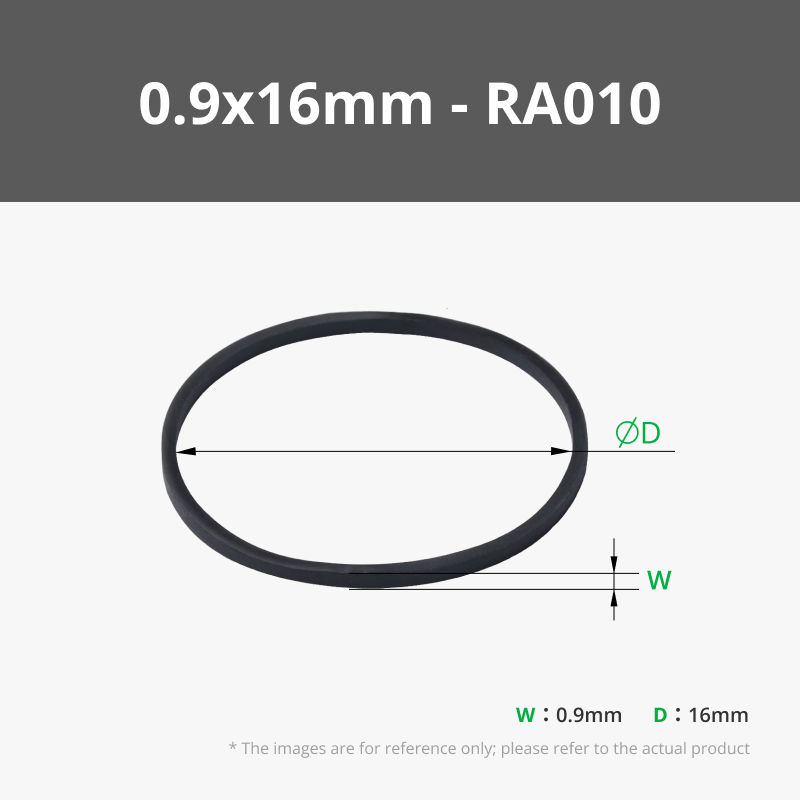
- Anti-Slip solution: add 0.9x16mm rubber bands to prevent your bases from sliding on the table
⠀
Printing notes
- Make sure you have good bed adhesion! Please clean your plate with dish soap before printing.
- Let the model cool completely before removing it from the build plate.
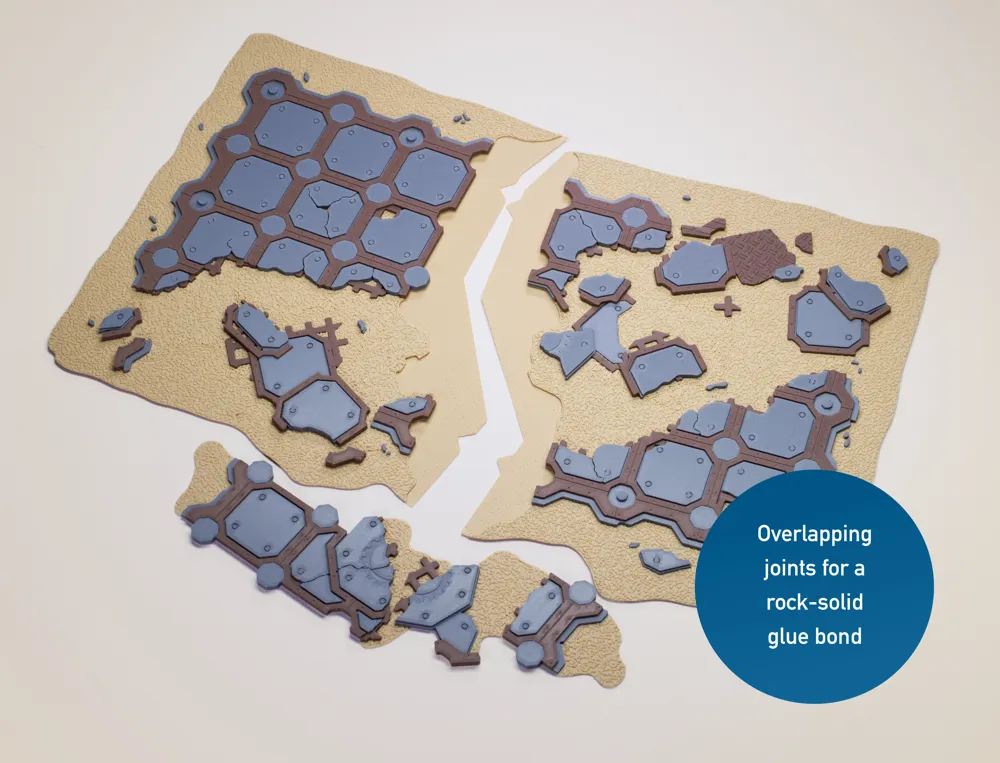
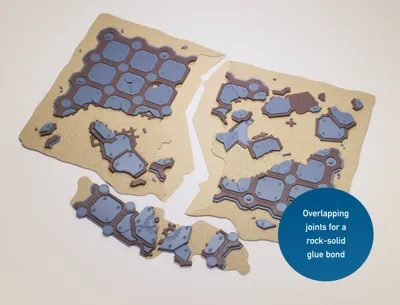
Overlapping joints are only 2 layers thick to keep the base slim. Remove carefully!
⠀
⁉️
Which plates should I print?
How do I mirror a footprint?Can I print without the sand texture?
How can I reduce slicing/print time?
→ Check the FAQ PDF below in the Documentation section
⠀
Assembly
P1S equivalent or larger
- A, B and C parts form one Rectangle (e.g. A1, B1 and C1 for design 1)
- Align A and B using the triangle cutout
- Glue C on top using CA (superglue)
- Add scatter pieces wherever you want!
A1 mini
- 1A Top, 1A Bottom, 1A Con form one subassembly (1B Top, 1B Bottom, 1B Con form another, and so on)
- Use these subassemblies as parts A and B and follow P1S assembly guide
The base includes a subtle textured top surface on the ground. You can enhance it further with sand, rocks, or tufts!
⠀
⠀
➡️ Follow me for other sizes and designs.
Have fun printing and let me know your ideas!
⠀
⠀
⠀

If you want to follow my progress, join me for free on patreon.com/marcorei.
A commercial license is also available if you want to print and sell my original models.
Documentation (2)
License

You shall not share, sub-license, sell, rent, host, transfer, or distribute in any way the digital or 3D printed versions of this object, nor any other derivative work of this object in its digital or physical format (including - but not limited to - remixes of this object, and hosting on other digital platforms). The objects may not be used without permission in any way whatsoever in which you charge money, or collect fees.


Comment & Rating (106)