
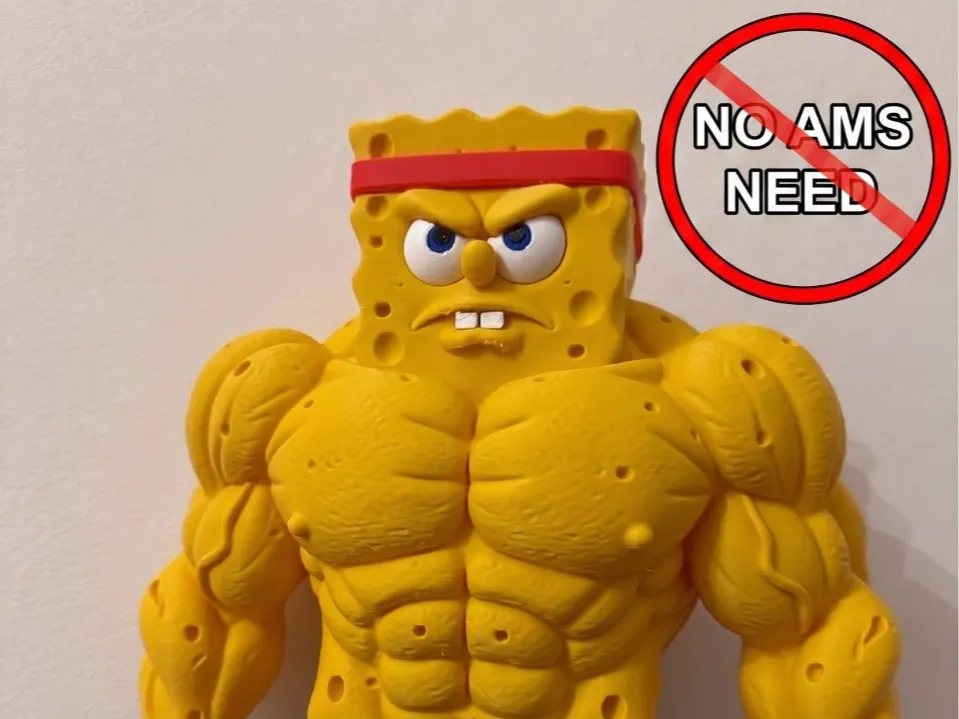
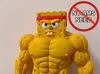
GigaChad SpongeBob / NO AMS
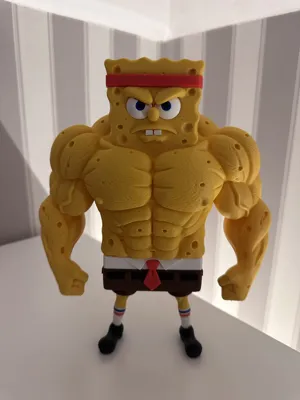
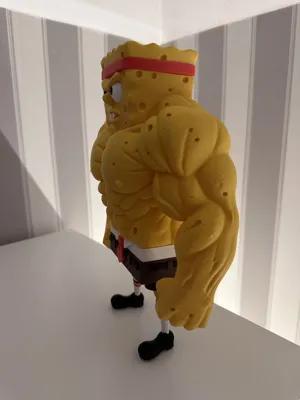
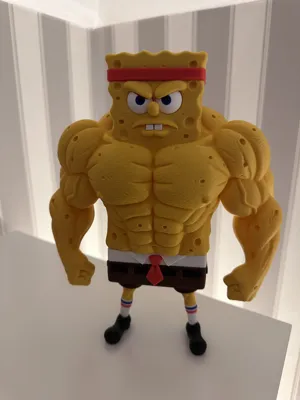
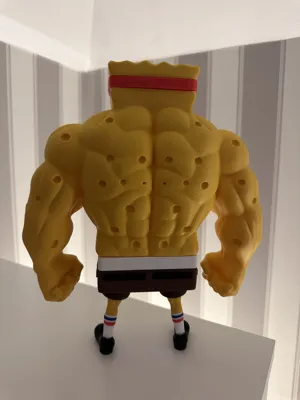
Print Profile(2)
Bill of Materials


Description
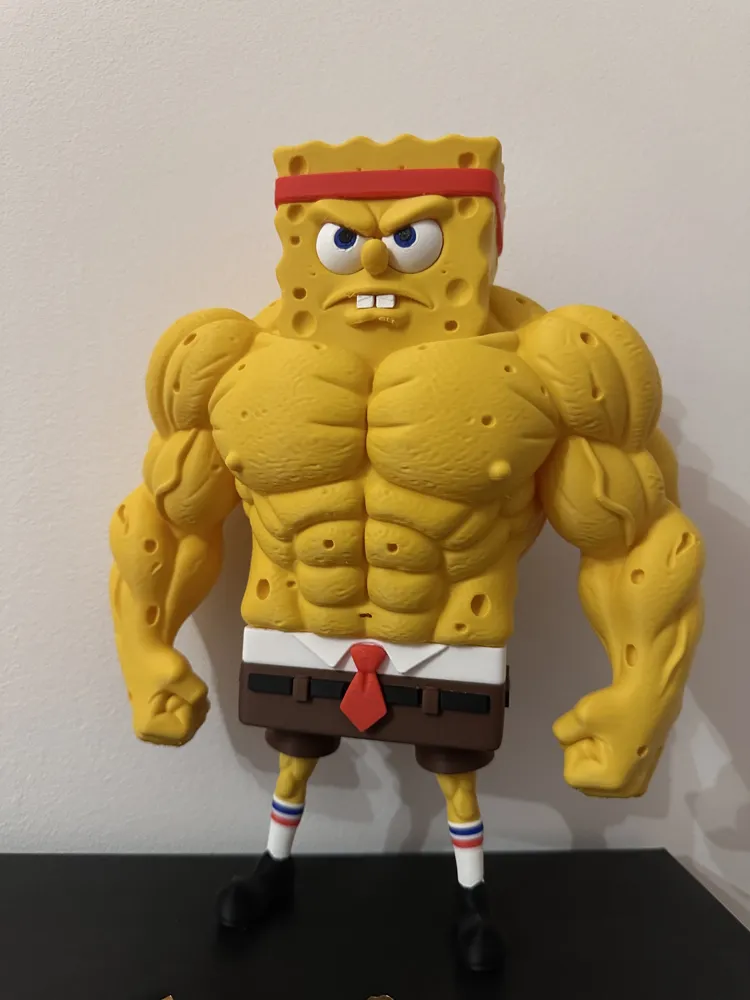
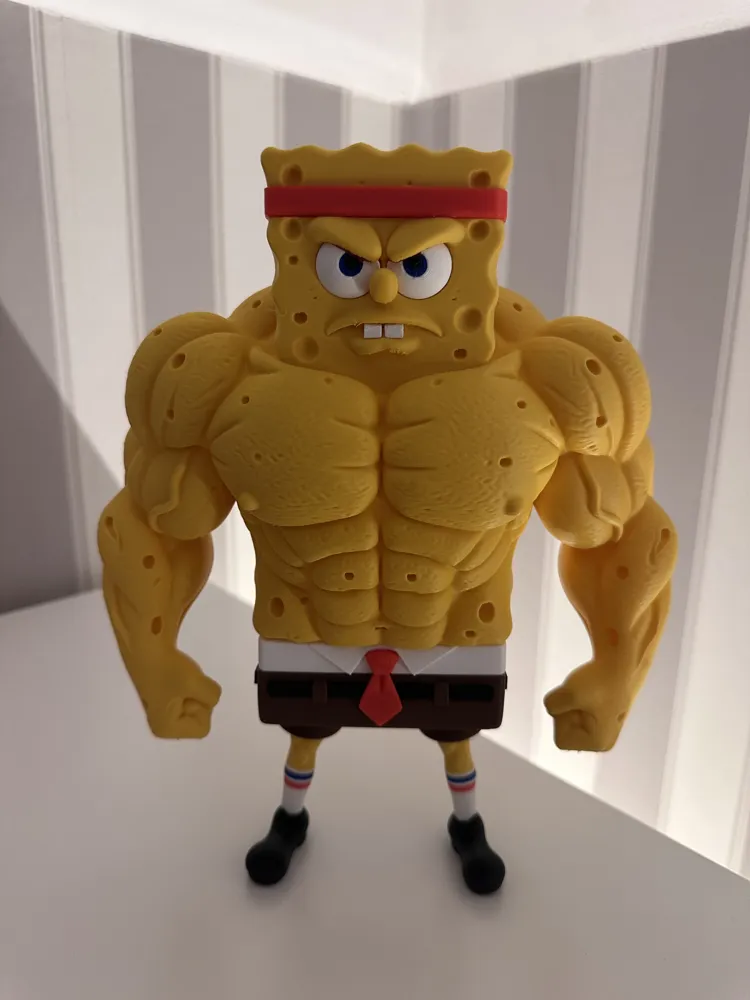
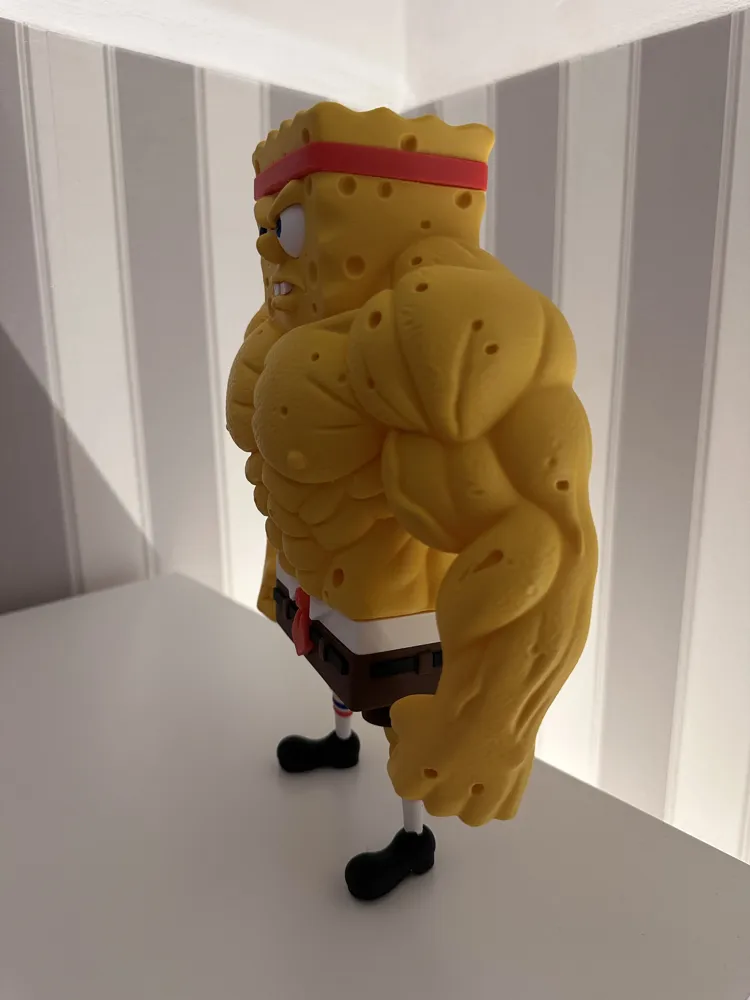
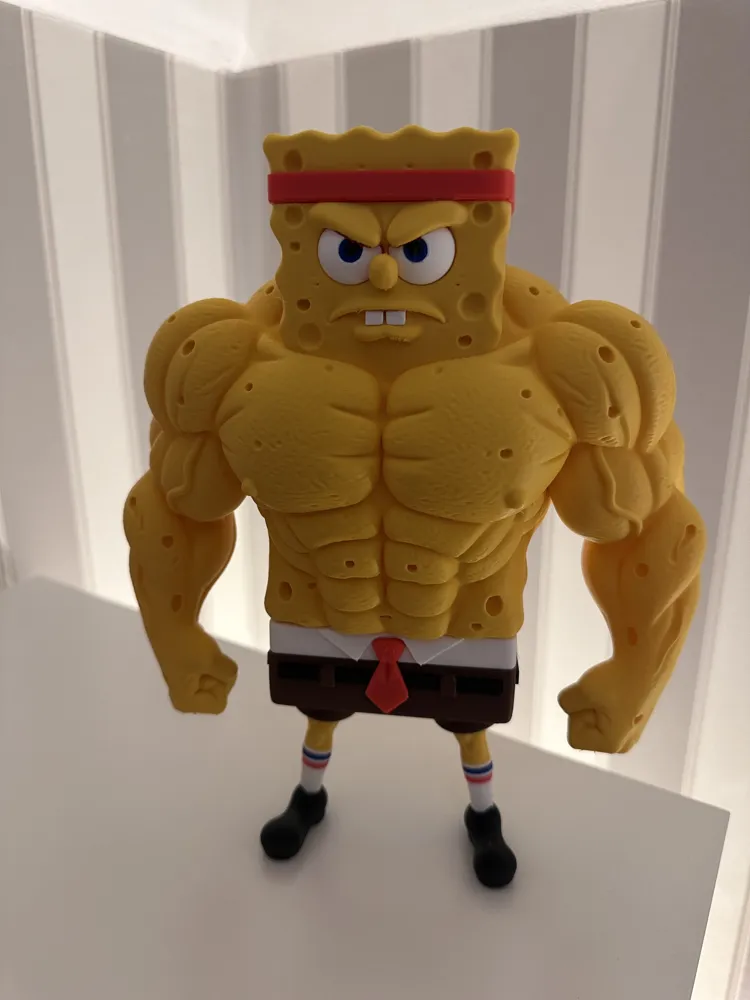
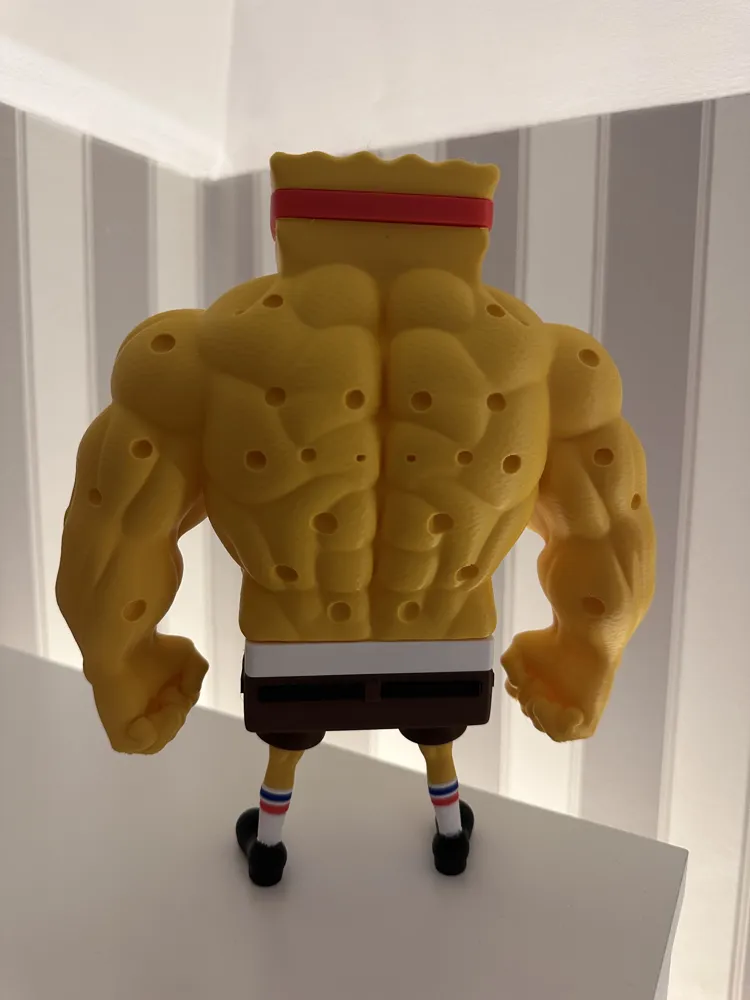
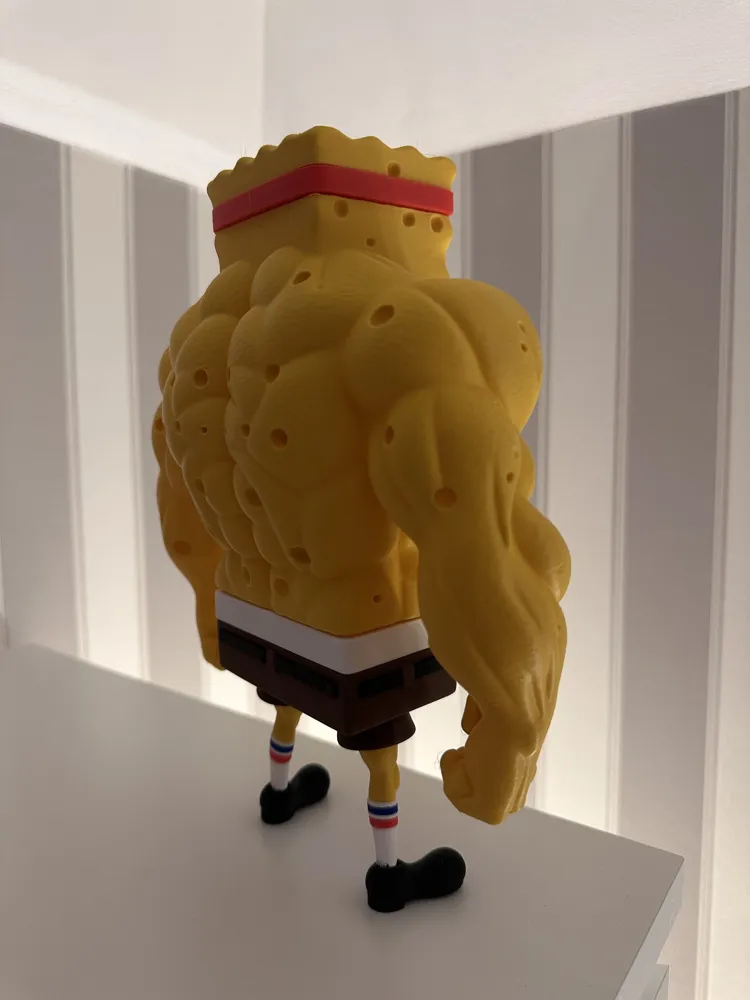
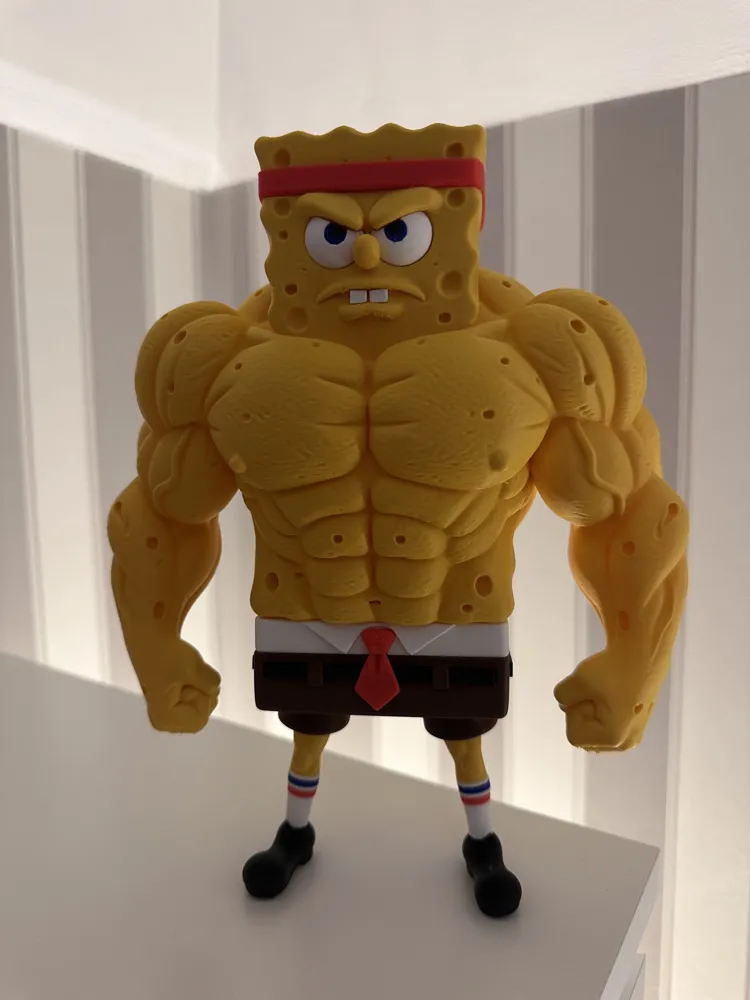
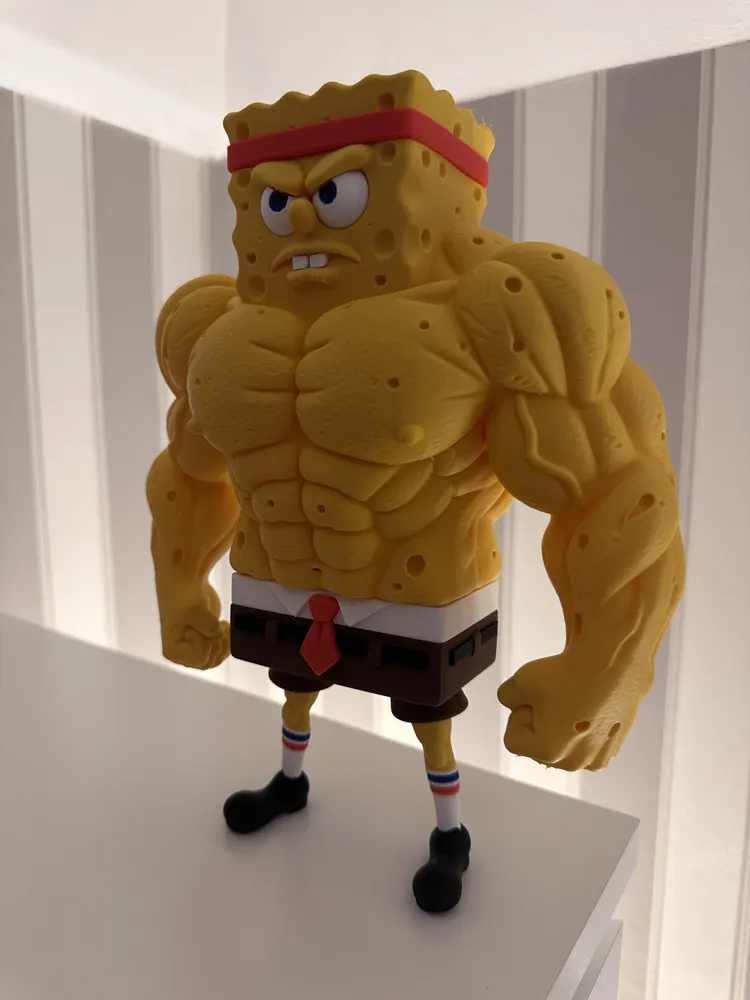
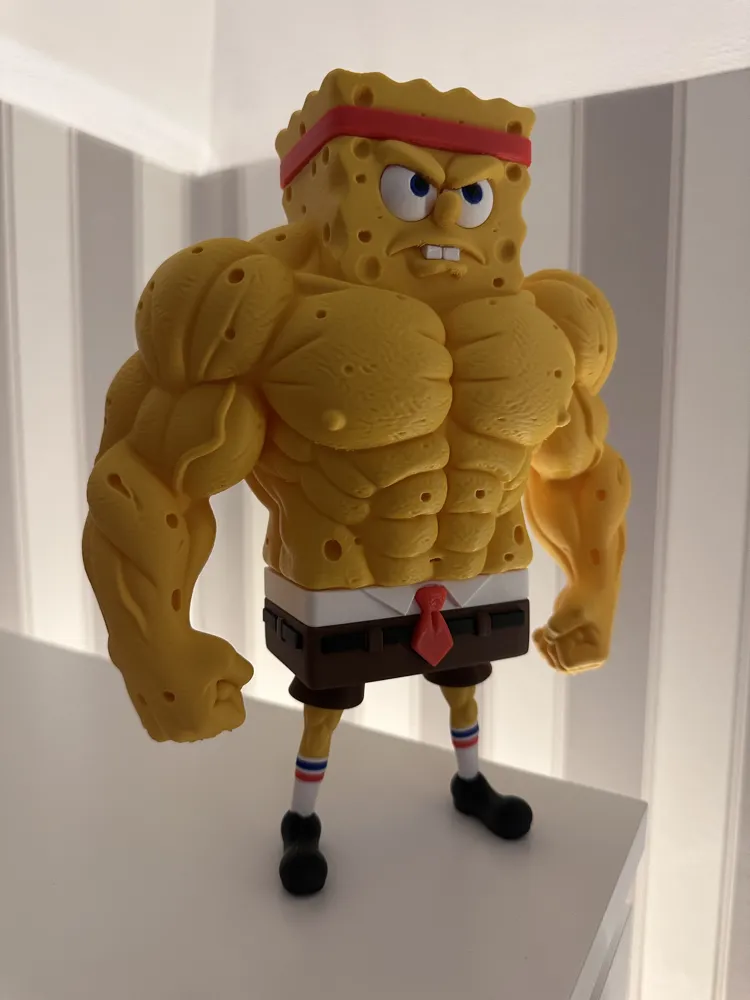
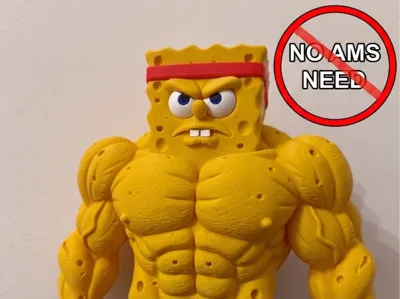
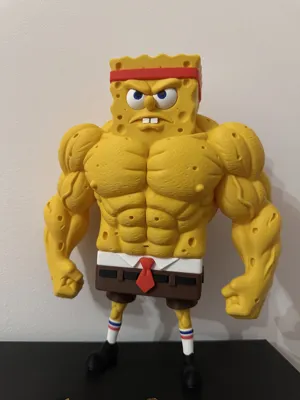
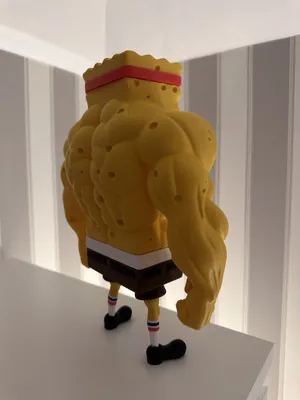
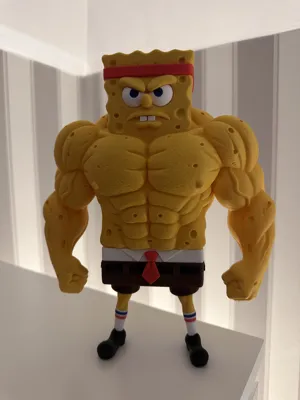
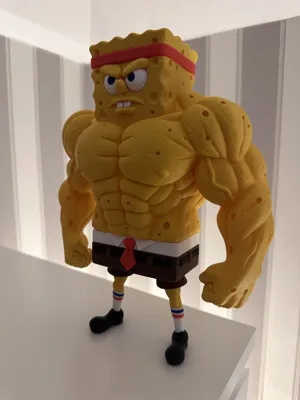
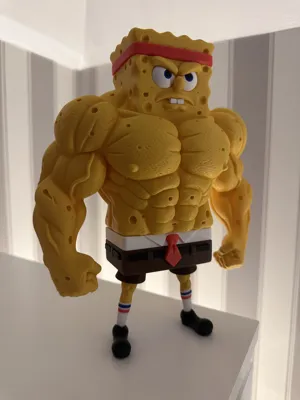
Here is my take on the legendary "GigaChad" – this time in the body of an incredibly swole SpongeBob! This model is designed to be printed in parts, making it perfect for printers without an AMS (multi-material system).
⚠️⚠️⚠️ VERY IMPORTANT – READ BEFORE PRINTING! ⚠️⚠️⚠️
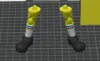
❗ DIFFICULT ASSEMBLY: Putting this model together is genuinely hard and demanding, especially when it comes to the legs! This is not a project for everyone. Please, only attempt this if you are up for a challenge and have patience for demanding models.
❗ DO NOT START WITHOUT GLUE AND ACTIVATOR: I absolutely do not recommend starting the assembly without good glue (like CA glue/super glue) and an activator. The finished model is quite heavy, while its legs are very thin and extremely unstable on their own.
✅ REWARD FOR PATIENCE: However, if you glue everything well and solidly, the model stands perfectly straight and stable without any issues – exactly as you can see in my photos.
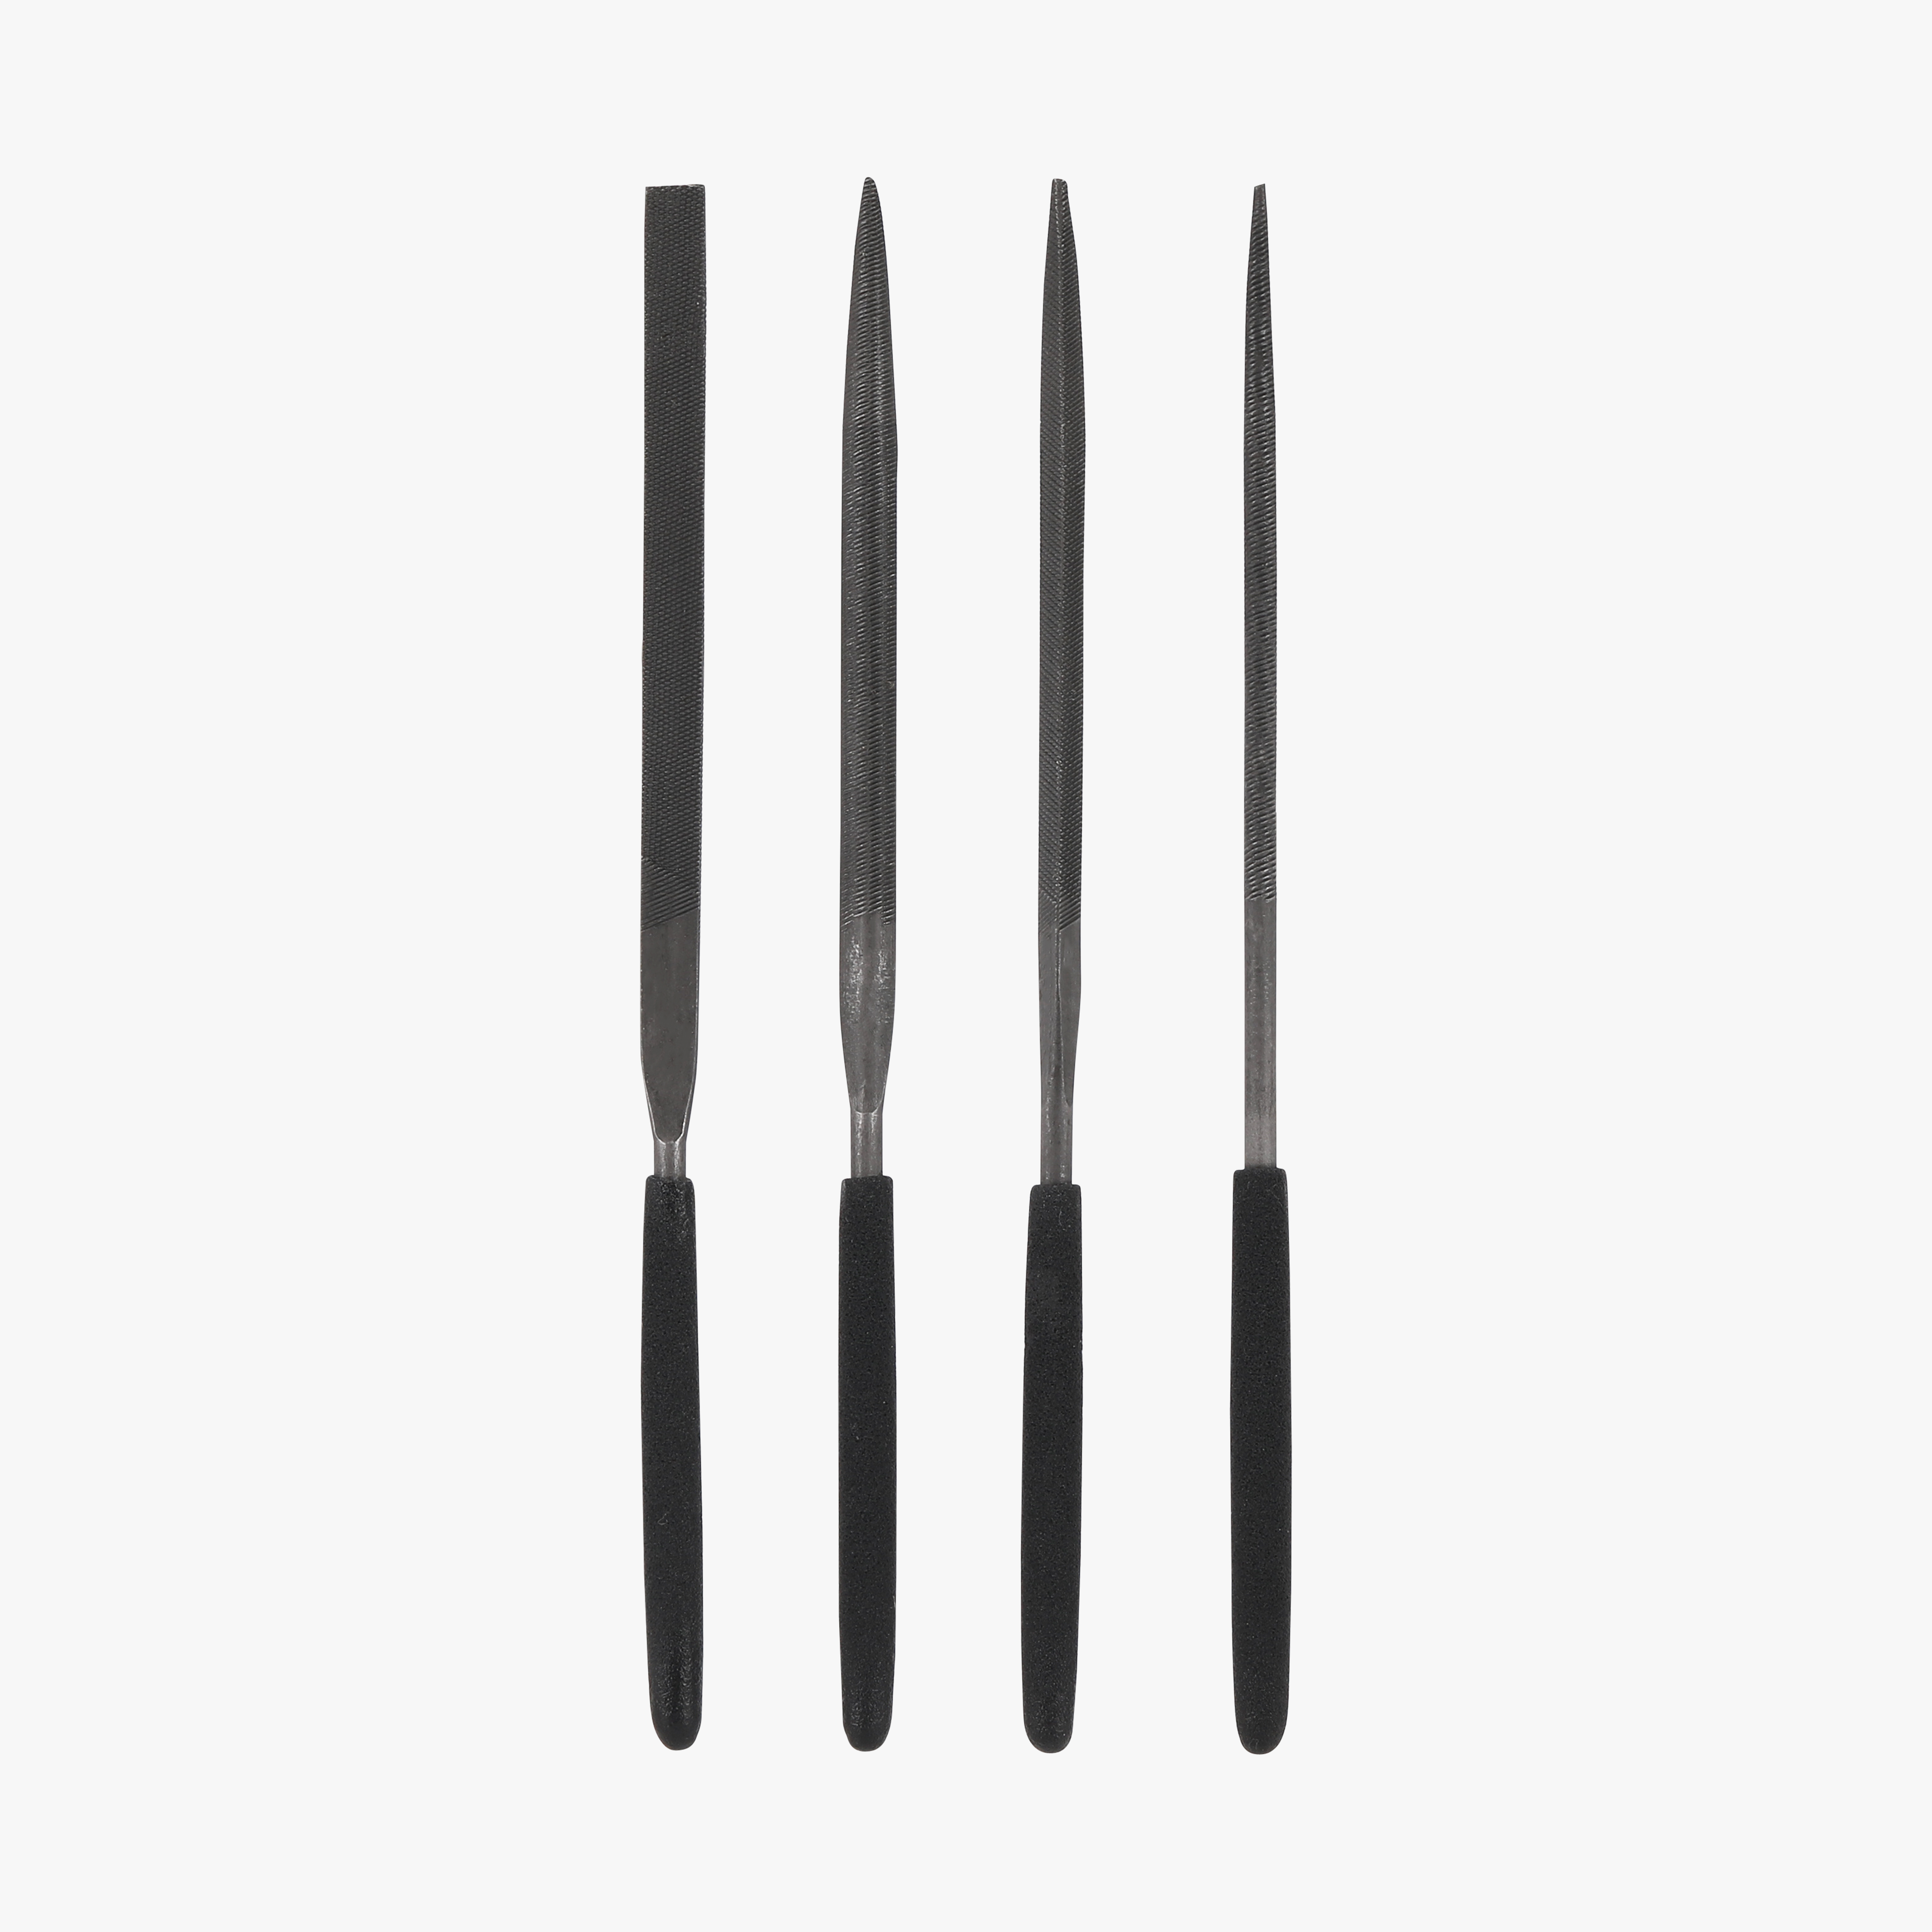
🛠️ Required tools:
- Support removal tools: The model requires careful cleaning from supports.
- A file or sandpaper: Absolutely necessary to sand down some elements if needed, ensuring a perfect fit.
💡 My personal tip (Learn from my mistakes): While assembling my own copy, I had a major problem fitting the legs. I used glue with an activator, and it bonded so instantly that the part didn't go all the way into the slot in time. I ended up having to forcefully tear the leg out and completely file down the joint all over again. I highly recommend dry-fitting all parts before applying any glue!
Happy printing and assembly – may your swole SpongeBob proudly decorate your shelf!
License

You shall not share, sub-license, sell, rent, host, transfer, or distribute in any way the digital or 3D printed versions of this object, nor any other derivative work of this object in its digital or physical format (including - but not limited to - remixes of this object, and hosting on other digital platforms). The objects may not be used without permission in any way whatsoever in which you charge money, or collect fees.


Comment & Rating (23)