
Funcub NG Drop Bay
Print Profile(2)


Description
Boost Me (for free)
Hey, with boosts you can support me and help me with my work, they contribute to providing models of better quality. Thank you (;
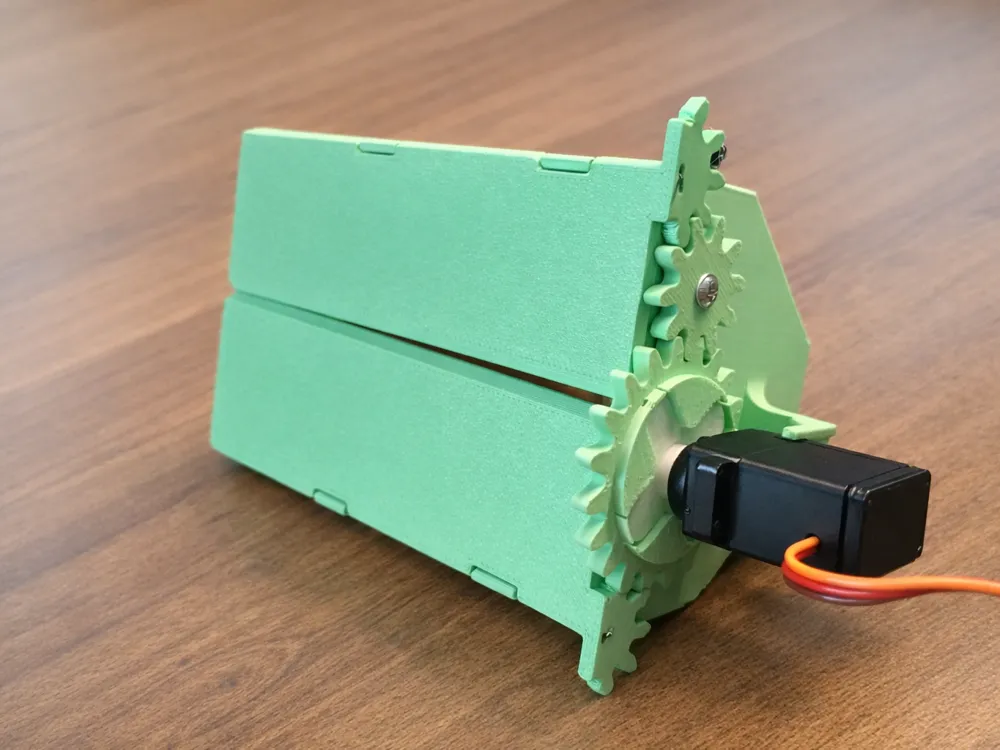
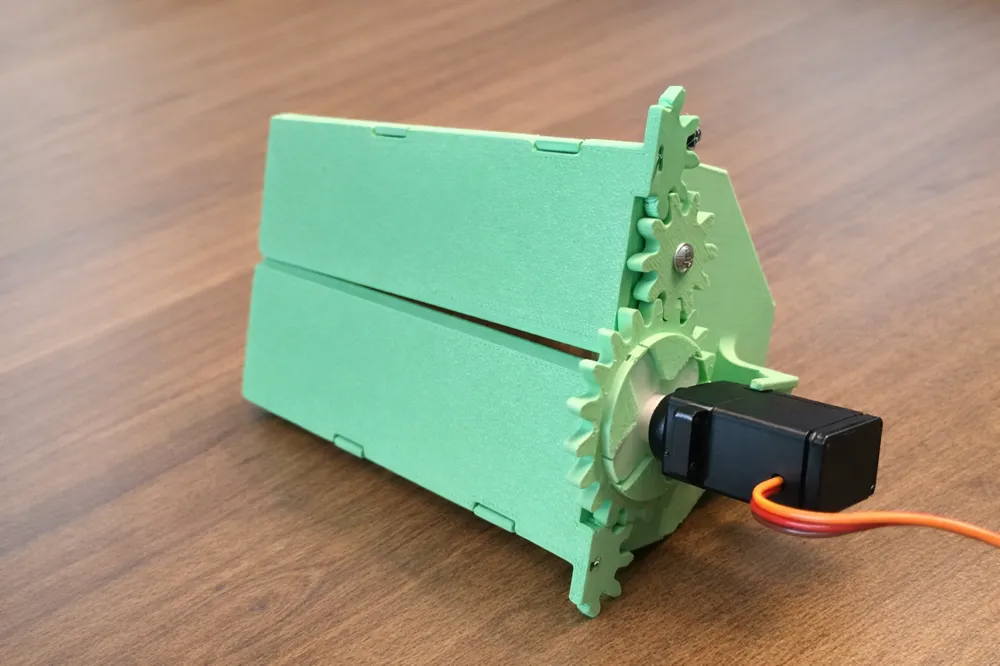
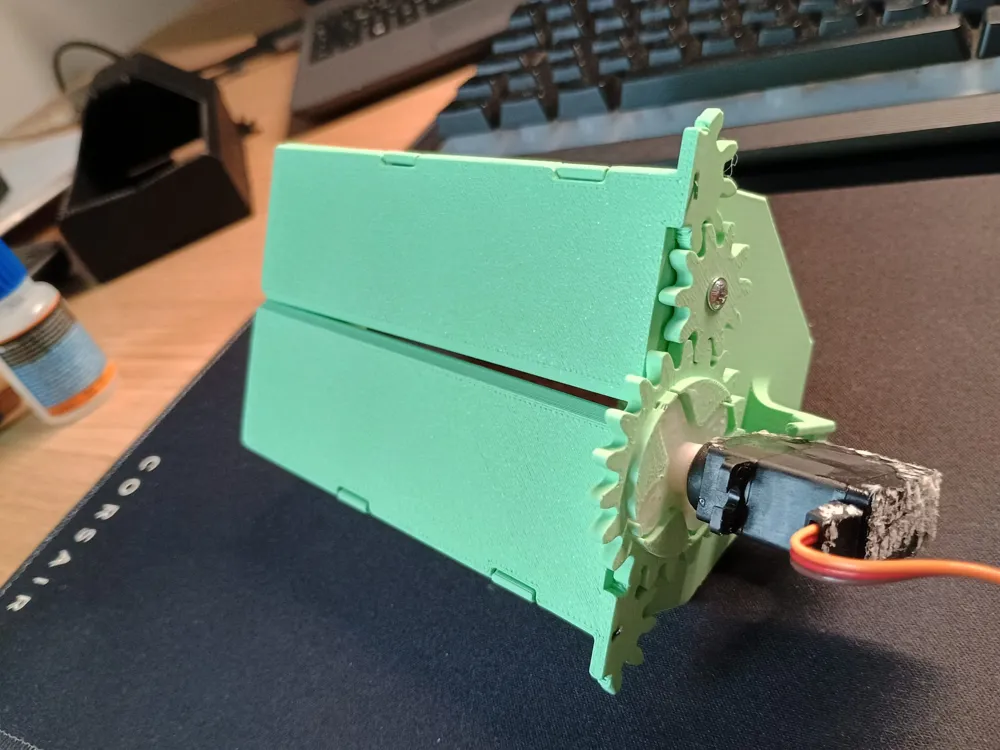
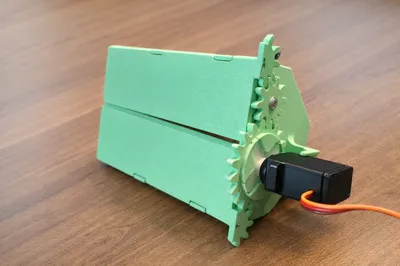
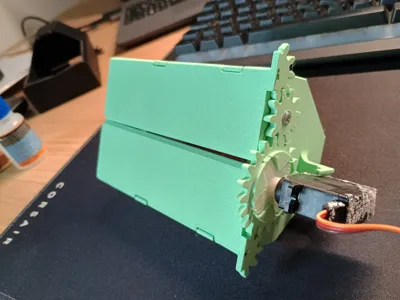
a drop bay for the Funcub NG, which is mounted between the landing gear.
You can fill it with, for example, paratroopers, sweets, or similar. It works with a servo; I recommend metal gears.
I used the D-POWER DS 4888 MG. Link below.
you also need a piece of standard household wire, about 0.8-1 mm thick
and a small screw to secure one of the gears.
Total print time: approx. 2h,
Consumption approx. 75g of either PLA or PETG.
INSTRUCTIONS:
- Attach the two flaps to the chassis with wire, cut off excess wire, and if necessary, glue with a little superglue.
- Take the large gear and glue the white servo horn as desired.
- Close both flaps, place the small gear on the left and the large gear on the right, and ensure they interlock but do not sit too tightly against each other.
- Fix the small gear with a screw, pre-drill a hole if necessary. !!!BE CAREFUL NOT TO CAUSE CRACKS!!!
- Insert the servo into the servo horn of the large gear and secure the servo at the top with hot glue, superglue, or a screw.
- Everything should now be seated, but have a slight play and be able to rotate. If necessary, test with the controller and adjust the servo.
- Now, attach the small plate to the white plate of the aircraft's landing gear using either double-sided duct tape or a few screws as desired. Route the servo cable upwards.
DISCLAIMER: I did not come up with this idea myself; it originates from the creator here:
https://www.printables.com/@Eich_114557
the model here: https://www.printables.com/model/574826-new-parachute-release-hatch-for-multiplex-funcub-n/files
however, I completely redesigned it with slightly different dimensions, as his design did not work 100% for me.
Feel free to check out his page.
LINKS TO THE MATERIALS:
Servo: https://www.d-power-modellbau.com/servos/digital-servos/2
Boost Me (for free)
Hey, with boosts you can support me and help me with my work, they contribute to providing models of better quality. Thank you (;
License

You shall not share, sub-license, sell, rent, host, transfer, or distribute in any way the digital or 3D printed versions of this object, nor any other derivative work of this object in its digital or physical format (including - but not limited to - remixes of this object, and hosting on other digital platforms). The objects may not be used without permission in any way whatsoever in which you charge money, or collect fees.


Comment & Rating (5)