Felder Hammer K3 Crosscut Fence Upgrade


Print Profile(1)

Bill of Materials

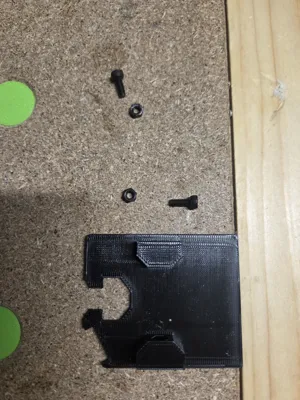
- M3 NUTS x 4:
- M3 BOLTS 6MM lenght x 4:
Description
📝 Description
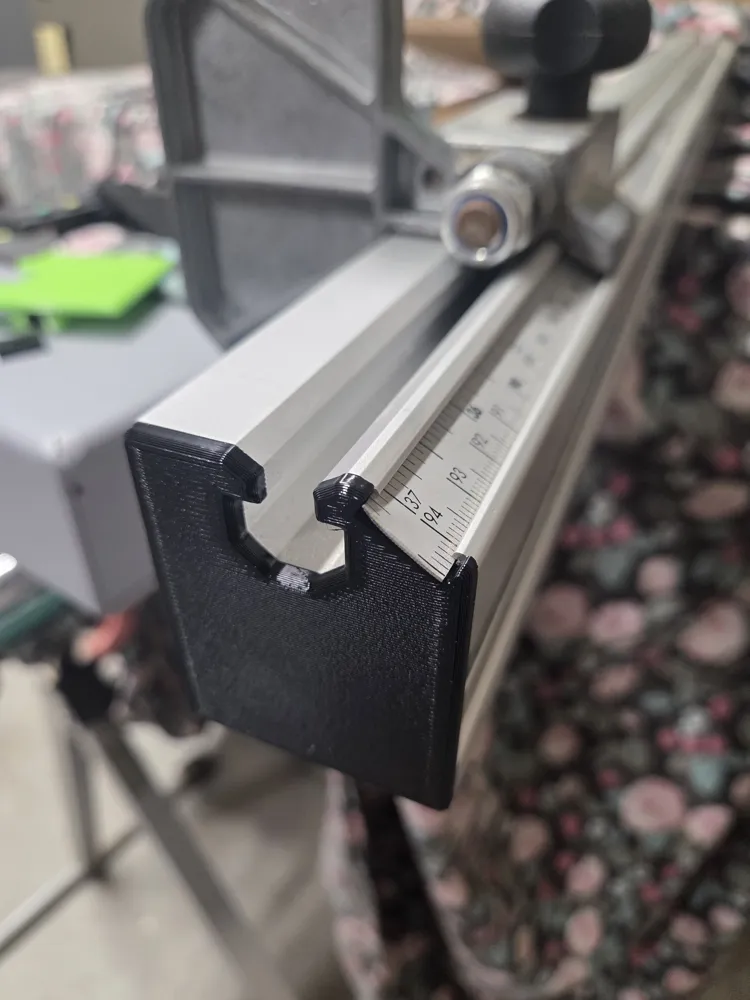
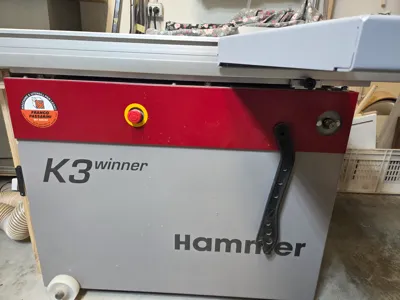
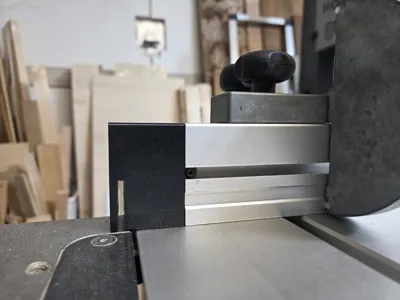
Upgrade your Hammer K3 Winner table saw (p. 1) with this custom 3D printed mod for the crosscut fence! This 3-piece system enhances accuracy and provides a precise visual alignment reference directly on your cutting line (p. 1).
💡 Design Recommendation
- Color choice: It is highly recommended to print these models using a bright or high-contrast color (such as orange, red, or yellow) instead of black (p. 1). This will significantly improve the visibility of the blade's cutting line against the aluminum fence (p. 1).
🔩 Required Hardware for Assembly
- 4x M3 Nuts (p. 1)
- 4x M3 Bolts (approx. 6mm thread length) (p. 1)
🛠️ Step-by-Step Installation Instructions (with images in the pdf file)
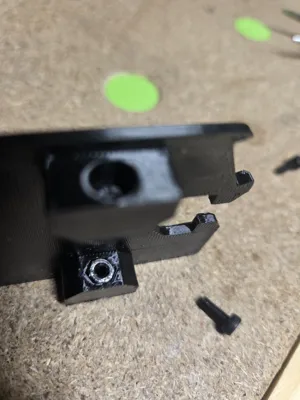
- Prep the Parts: Press the 4 M3 nuts firmly into the dedicated inner slots on both the left and right printed sides (p. 2).
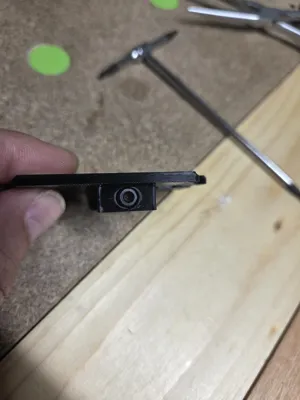
- Pre-assemble Bolts: Thread the 4 M3 bolts slightly into the nuts from the outside. Make sure they do not protrude past the inner side of the nuts yet (p. 2).
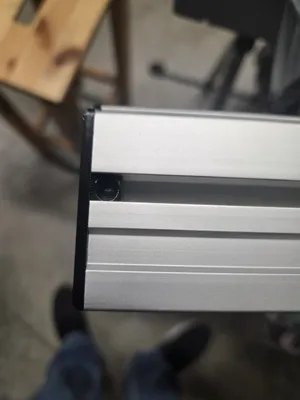
- Remove Stock Hardware: Unscrew and temporarily remove the factory rule clamp from your fence (p. 2).
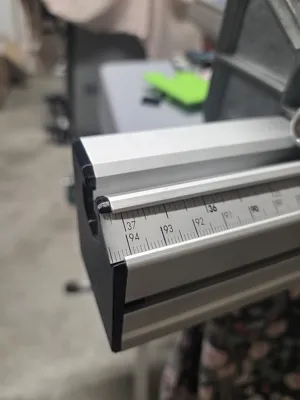
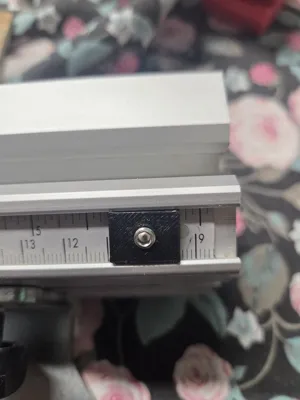
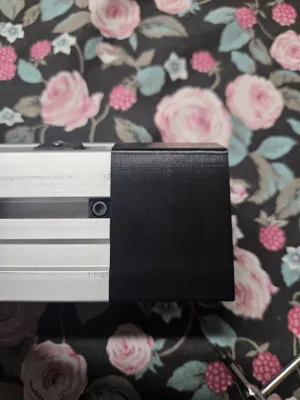
- Left Side Install: Slide the printed left component onto the left side of the fence (p. 3). Ensure the metric ruler passes freely through the slot (p. 3). Tighten the bolts on both sides to secure it (p. 3).
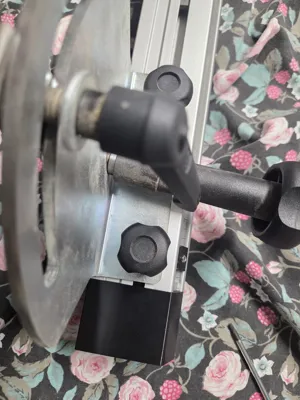
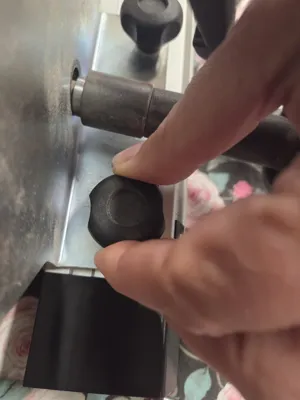
- Right Side Install: Move to the right side of the fence (p. 4). Loosen the main locking knobs and the left side nut to slide the factory mechanism over (p. 4). Slide the printed right component into position, tighten its bolts, then push the mechanism fully back to the right and tighten the knobs and nut securely (p. 4).
- Squaring and Calibration:
- Mount the crosscut fence back onto the table saw using the square block to ensure perfect squareness (p. 5).
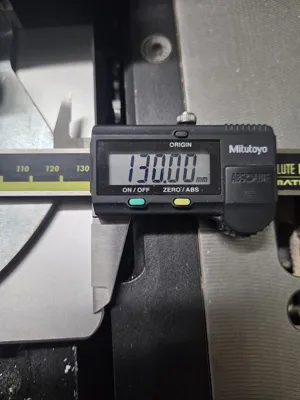
- Set the fence scale exactly to 13 cm and lock the stop knob (p. 5).
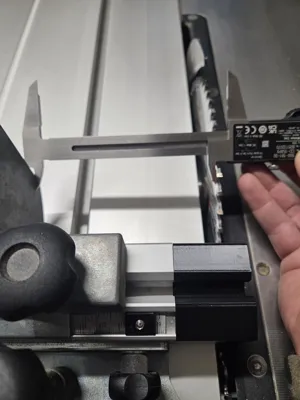
- Using a digital caliper set precisely to 13.00 mm / 130.00 mm (pp. 5-6), measure the physical distance between a specific blade tooth (used as a reference) and the stop block (p. 5). Adjust the physical block until it matches the caliper reading perfectly (p. 5).
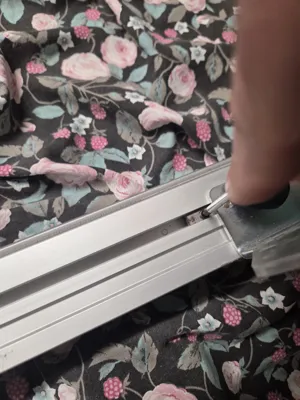
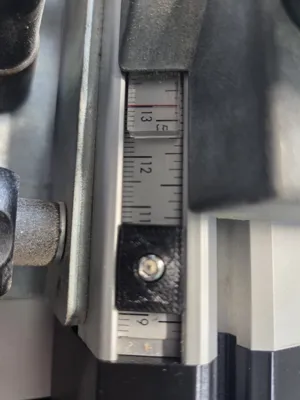
- Slide the physical ruler scale so it aligns perfectly underneath the 13 cm mark line and lock it down (p. 7).
- First Cut (Zero-Clearance): Turn on the table saw (p. 8). Slowly raise the blade in small increments to cut through the newly installed plastic block (p. 8). This creates a perfect zero-clearance reference slot (pp. 8-9). Clean away any melted plastic debris afterward (watch your hands!) (p. 8).
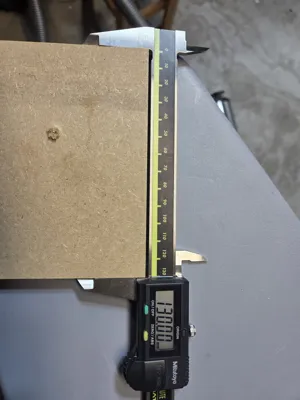
- Final Verification: Cut a test piece of wood and measure it with your calipers to confirm the setup is accurate (pp. 9-10).
Documentation (1)
License
You shall not share, sub-license, sell, rent, host, transfer, or distribute in any way the digital or 3D printed versions of this object, nor any other derivative work of this object in its digital or physical format (including - but not limited to - remixes of this object, and hosting on other digital platforms). The objects may not be used without permission in any way whatsoever in which you charge money, or collect fees.
Comment & Rating (3)