MagSet - Magnet Insertion Tool


Print Profile(21)


Bill of Materials


Description
Boost Me (for free)
I usually don’t ask for this, but I’ve noticed that many creators actively encourage it on other platforms—and it makes sense, as it helps increase visibility. So, if you can follow me, it would make difference. It’s a great way to support my work and show appreciation. For more insight subscribe my blog at: https://designrepcom.com/ This design is freely available for the community, but if you enjoy my work and would like to show your support, you can boost this project. Thanks!
What It Is
Inserting small neodymium magnets into 3D-printed holes is one of those tasks that looks simple until you actually do it. The magnets attract to each other, to nearby tools, and to anything ferromagnetic in reach. Getting them seated cleanly and at the right depth, without disturbing the ones already placed, takes more patience than it should, and when it involves glue, this is taken to another new level of "stikiness".

MagSet is a 3D-printable insertion tool designed to make that process faster and more reliable. It is an updated and expanded version of the Magnet Insertion Fast Tool published earlier and addresses the main friction points reported by the community since that release.
Difficulty level: beginner. No special skills required.
 |  |
What Changed From the Previous Version
The original tool worked well for most users, but a recurring complaint was that the part could occasionally detach from the build plate during printing. A more thorough build plate cleaning likely would have solved it in most cases, but the redesign eliminates the issue by significantly increasing the contact area with the build plate. The tool will stay put.
Beyond that, two things drove the new design. Ergonomics were improved to make repeated use more comfortable, and the tool is now available in sizes that cover all magnet diameters sold by Bambu Lab, which the previous version did not fully address.
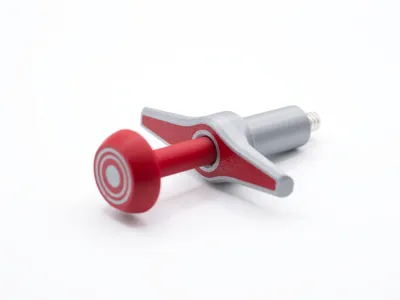
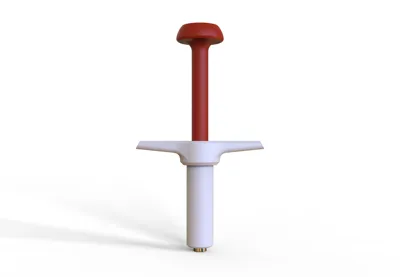
How It Works
The tool uses a piston mechanism. The magnet attaches to the tip of the piston — held in place by a ferromagnetic screw or by a bonded reference magnet, depending on the variant — and is then pressed into the target hole with controlled, light force applied through the palm. The contact surface at the top is shaped to distribute that force naturally and to discourage applying more load than the tool is designed for. That is a deliberate choice, not a limitation.
Key Features
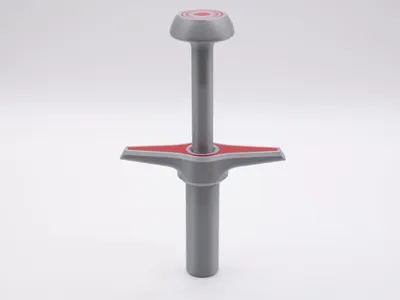
- Larger build plate footprint compared to the previous version: no detachment during printing
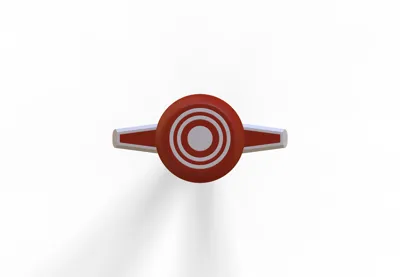
- Ergonomic grip geometry that limits applied force by design, protecting both the tool and the printed part
- Covers all neodymium magnet diameters available from Bambu Lab
- Three assembly variants to suit different magnet sizes and available hardware
- Hollow shaft section on the piston, increasing the local moment of inertia and improving mechanical performance without adding material
- Compatible with the Magnet Storage system as part of a complete magnet management workflow

Materials
Print material
Any rigid filament works. PLA is the default and performs well for this application. PETG, ABS, or ASA are all acceptable alternatives. TPU should not be used — the tool requires stiffness to function correctly.
Assembly — three options depending on magnet size:
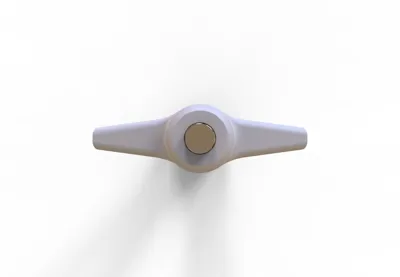
Option 1 — Self-tapping screw: A single ferromagnetic SHCS self-tapping screw holds the magnet to the piston tip magnetically. Two sizes are supported:
- BT2x8 (AA004)
- BT2.6x8 (AA019)
The screw does not clamp anything mechanically; its only function is to provide a ferromagnetic surface that attracts and holds the magnet in position. Any ferromagnetic screw of equivalent size will work.
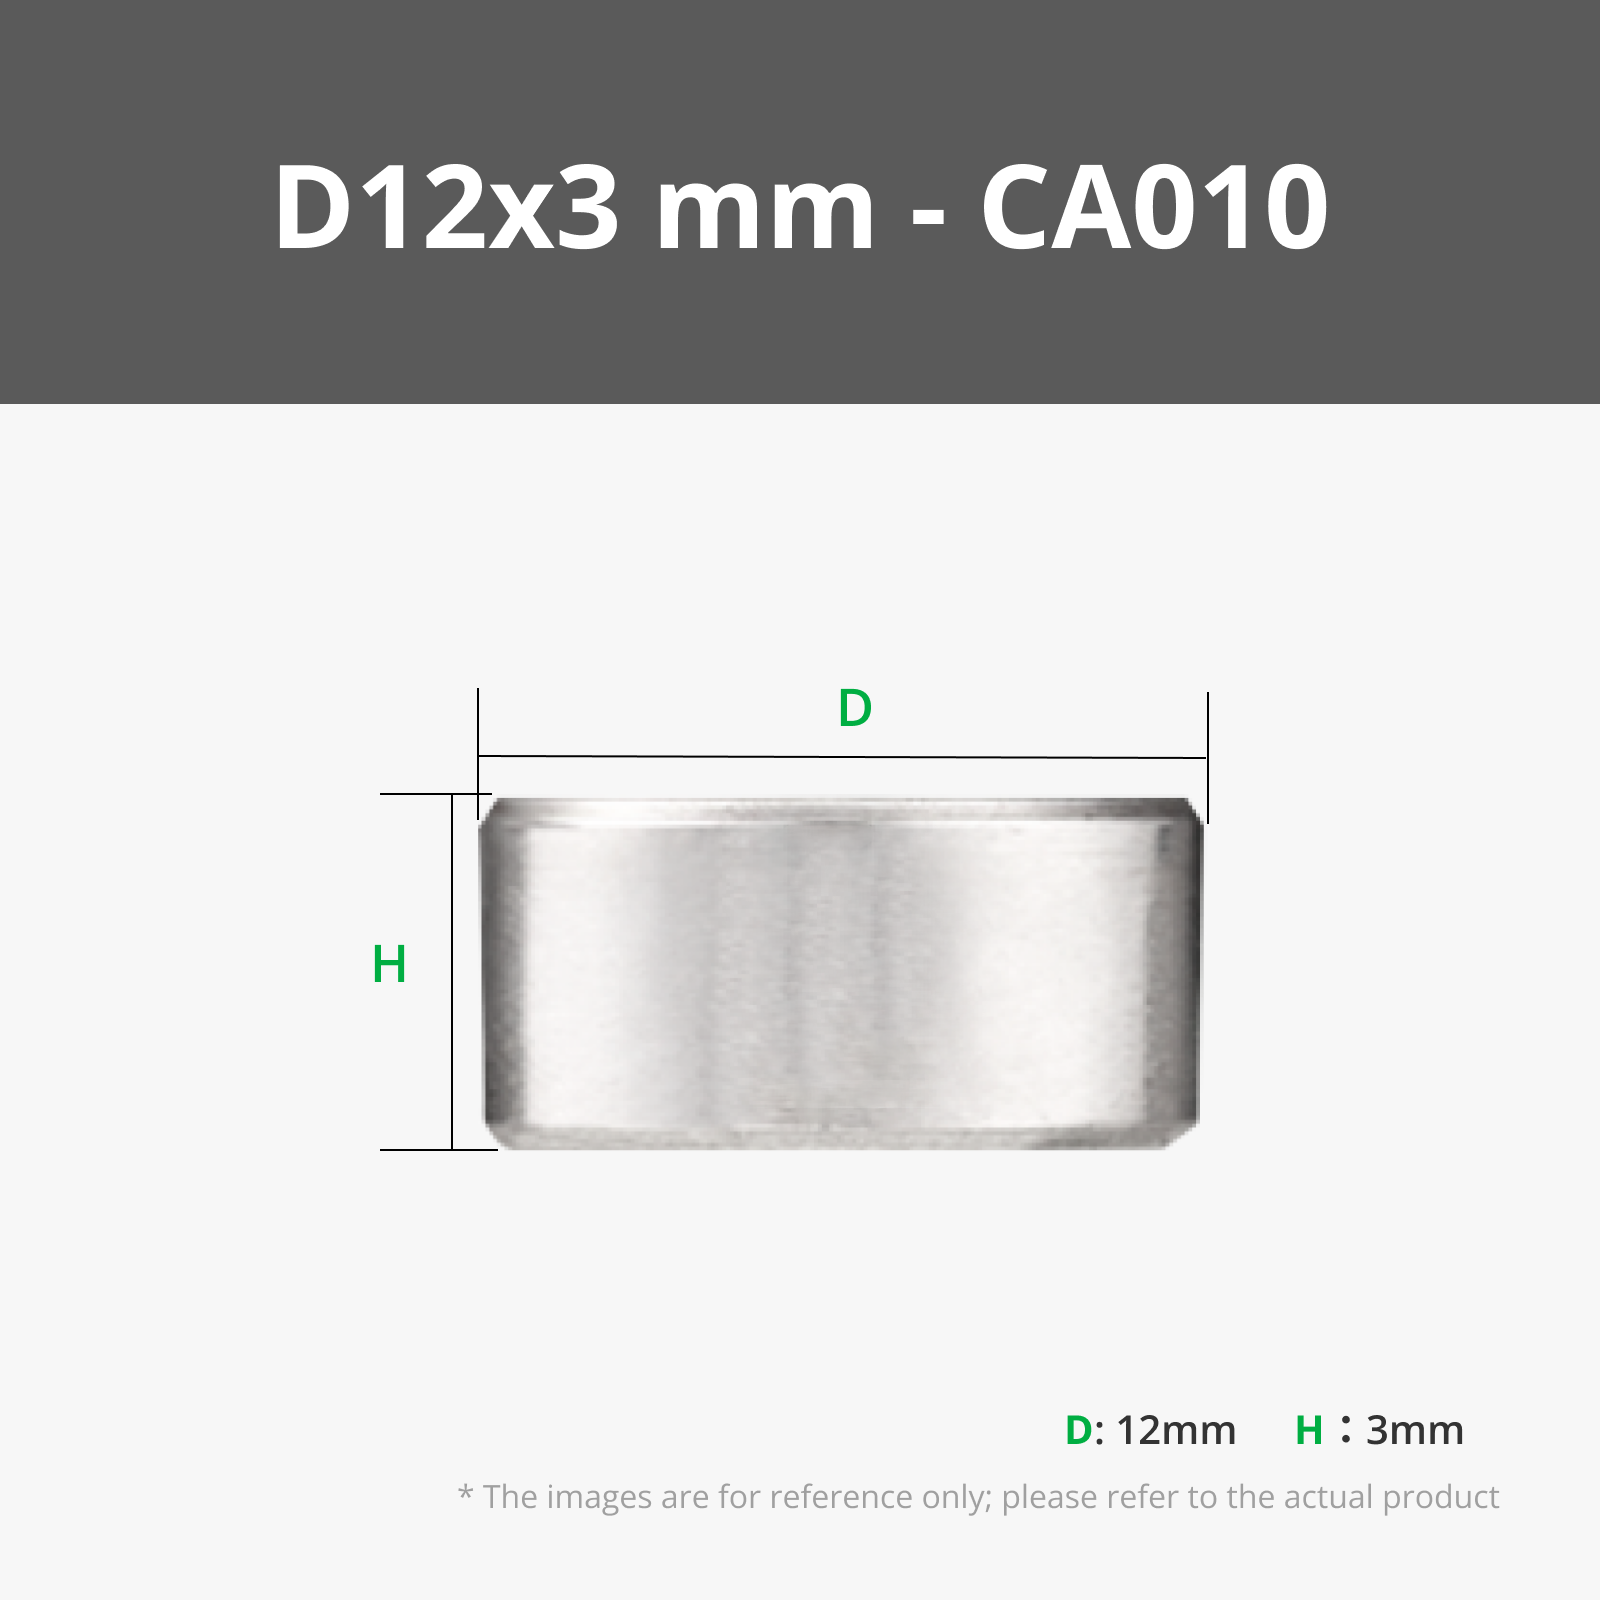
Option 2 — No hardware (PLA only) - Bonded reference magnet (cyanoacrylate). For magnets 3mm diameter and smaller, a same-diameter magnet is glued to the piston tip with cyanoacrylate adhesive. This bonded magnet then attracts and holds the working magnets during insertion. Required only for the smallest diameter variants.

A Note on Loads
The piston shaft includes a hollow section designed to improve its moment of inertia, which helps mechanical performance. That said, plastic is plastic, and FDM printed parts are anisotropic — meaning their strength varies depending on the direction of the applied force, which is a fundamental characteristic of layer-by-layer manufacturing. This tool is designed for light insertion loads, which is also why the top surface is shaped the way it is: for use with your palm.
If your application requires pressing magnets in with significant force, that points to a different tool category altogether. If there is enough interest in a high-force variant, that is something that could be developed separately.
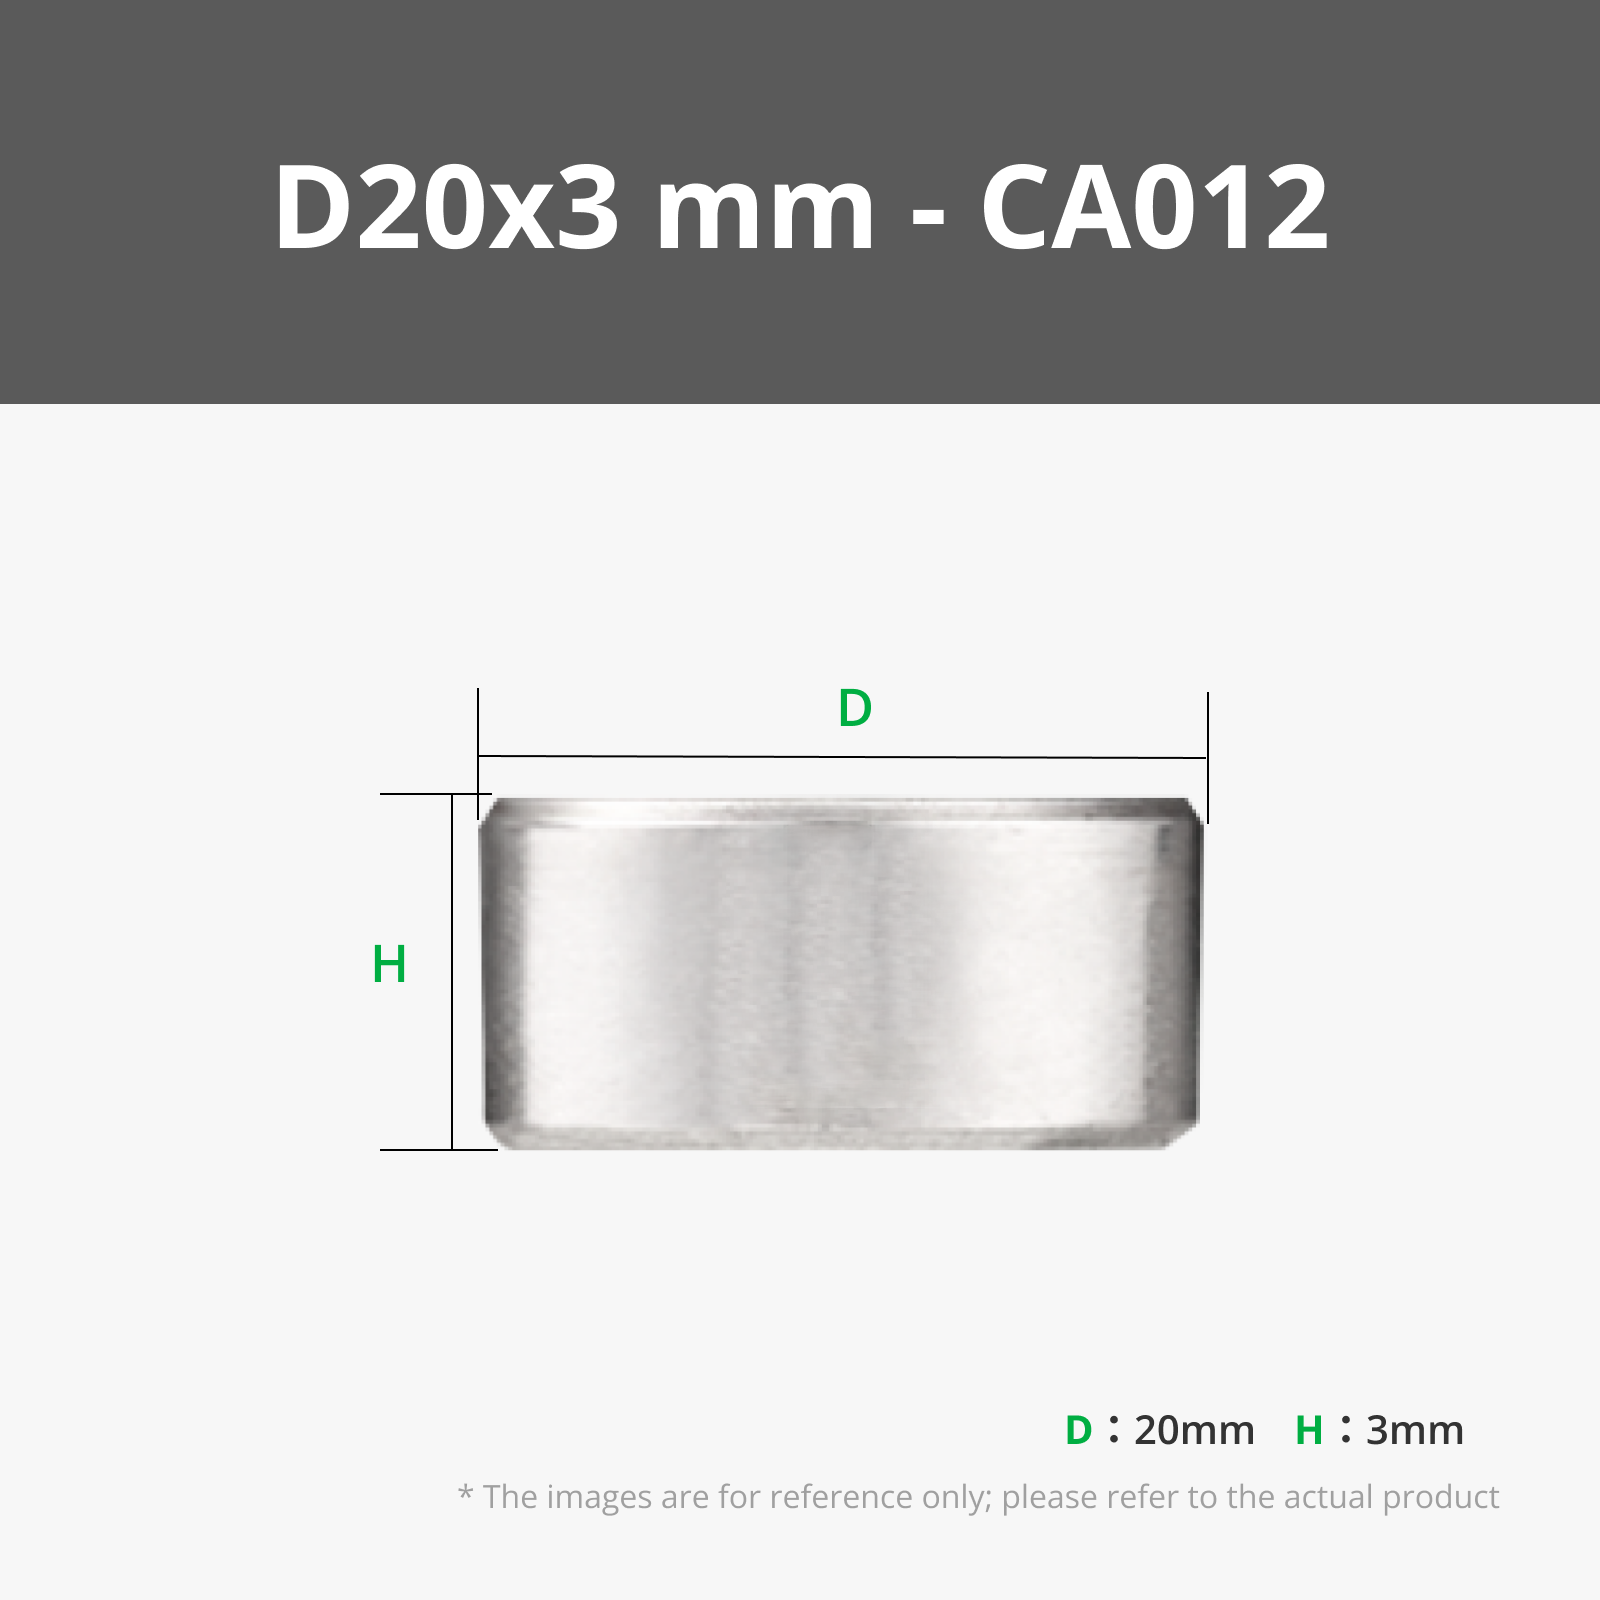
Magnets
Buying the magnets through the links below is a practical way to support the project if you found it useful:
- See Bill of materials
The Magnet Storage system, also available on MakerWorld, keeps all those magnet sizes organized and ready to use alongside this tool.
Design Notes
The design follows the same visual language as recent projects: clean lines, no excess material, functional geometry that does not hide what it is doing. The hollow piston shaft is the one element that rewards a closer look — it is there for a structural reason, not for aesthetics, though the two are not mutually exclusive.

And some some theory on material mechanics
If you look at the piston shaft closely, you will notice it is not solid. There is a hollow section along its length, and that is not there to save material or print time. It is a structural decision.
When a slender part bends under load , the material at the very center of the cross-section contributes almost nothing to resisting that bending. The fibers that actually do the work are the ones furthest from the neutral axis, at the outer edges (in this case, buckling may accur) . This is the principle behind the second moment of area, sometimes called the moment of inertia in structural terms: moving material away from the center and toward the periphery increases a section's resistance to bending without necessarily adding more material overall. It is the same reason steel I-beams are shaped the way they are.
By making the shaft hollow rather than solid, the outer wall carries the load more efficiently. The result is a piston that handles the bending forces involved in magnet insertion better than a solid rod of the same diameter would.
That said, FDM printed parts are anisotropic, meaning their mechanical properties are not the same in every direction. Strength along the print layers is considerably higher than strength across them, which is a fundamental characteristic of the process and not something geometry alone can fully compensate for. The hollow shaft helps, but it does not change the nature of the material. Keep the loads light, and the tool will serve you well for a long time.
Curious About My Tools? Check This Out!
For those of you who often ask about the tools I use to bring ideas to life, this article, The Journey From Idea To Object (Part I), offers some insights into the initial stages. It highlights the use of various tools, including software like Autodesk Fusion for CAD design, Blender for render and Bambu Studio for 3D printing preparation, and other... So, if you're curious about the software and hardware too, that I've incorporate in my workflow, take a look at the link for more details!" – Visit https://designrepcom.com/ for much more.
License
You may create derivative works based on this object, provided that all such derivative works are published exclusively on the MakerWorld platform and include proper attribution to the original creator. You may not share, upload, host, distribute, or publish this object—or any derivative work of this object—on any other digital platform, marketplace, or distribution channel. Commercial use of this object and any derivative works is strictly prohibited. This includes, but is not limited to, selling, renting, sublicensing, or using the object in any context in which you receive monetary compensation or other financial benefits.
Comment & Rating (123)