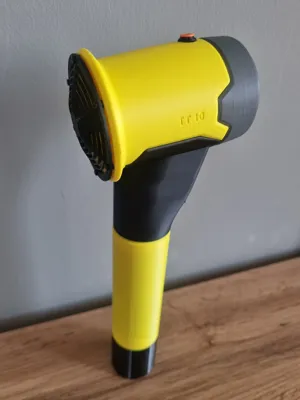
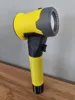
Bubble Snow Cannon


Print Profile(1)
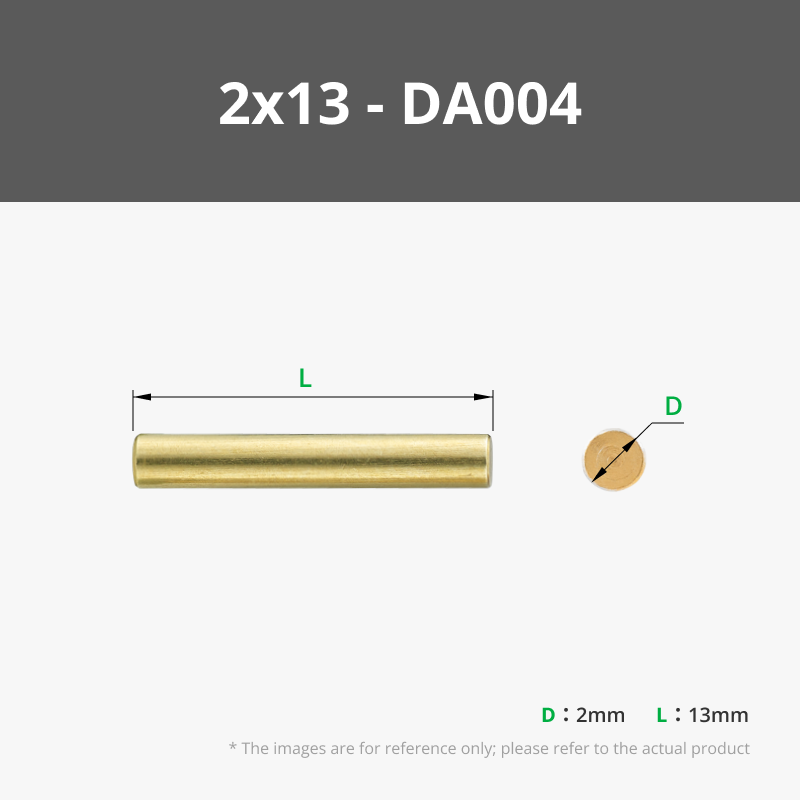
Bill of Materials


Description
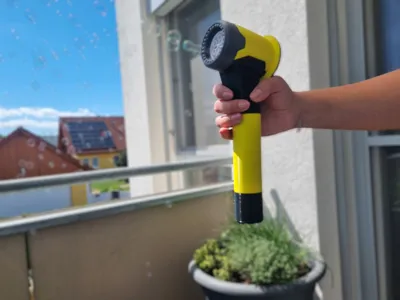
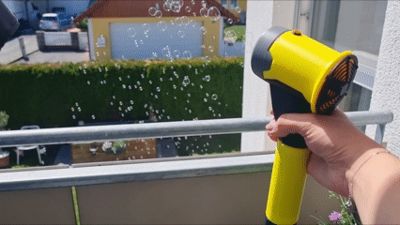
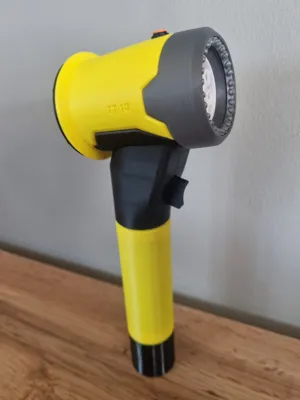
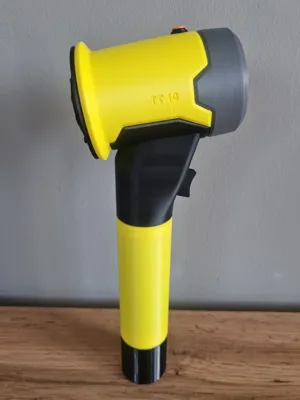
As a technology enthusiast, I designed a bubble machine that looks like a snow cannon.
It was designed for the Electric Bubble Maker Set 01 and can be printed without AMS.
Many bubbles are produced in seconds, guaranteeing hours of fun for young and old. Perfect for outdoor adventures, parties, garden games or just for admiring.
On your marks, get set, bubble! :-)
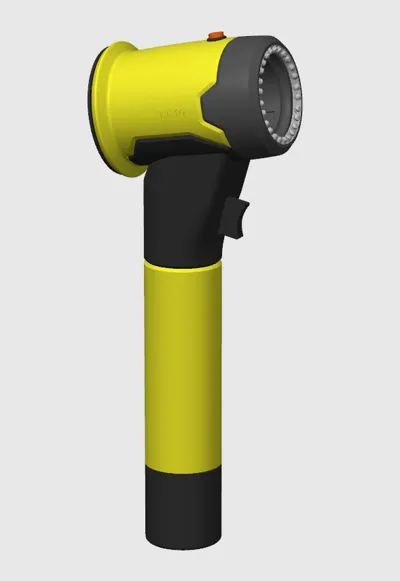
Parts overview:


Insert Bubble Maker Set 01 into the main part of the snow cannon.

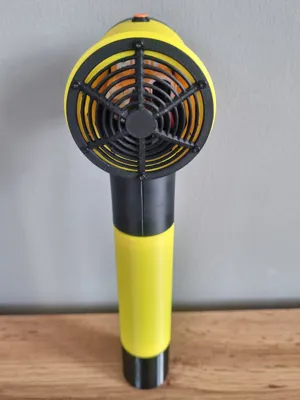
Glue the spacers to the fan grille.

Mount the fan grille with spacers. (BT2x6)

A total of 6 screws.

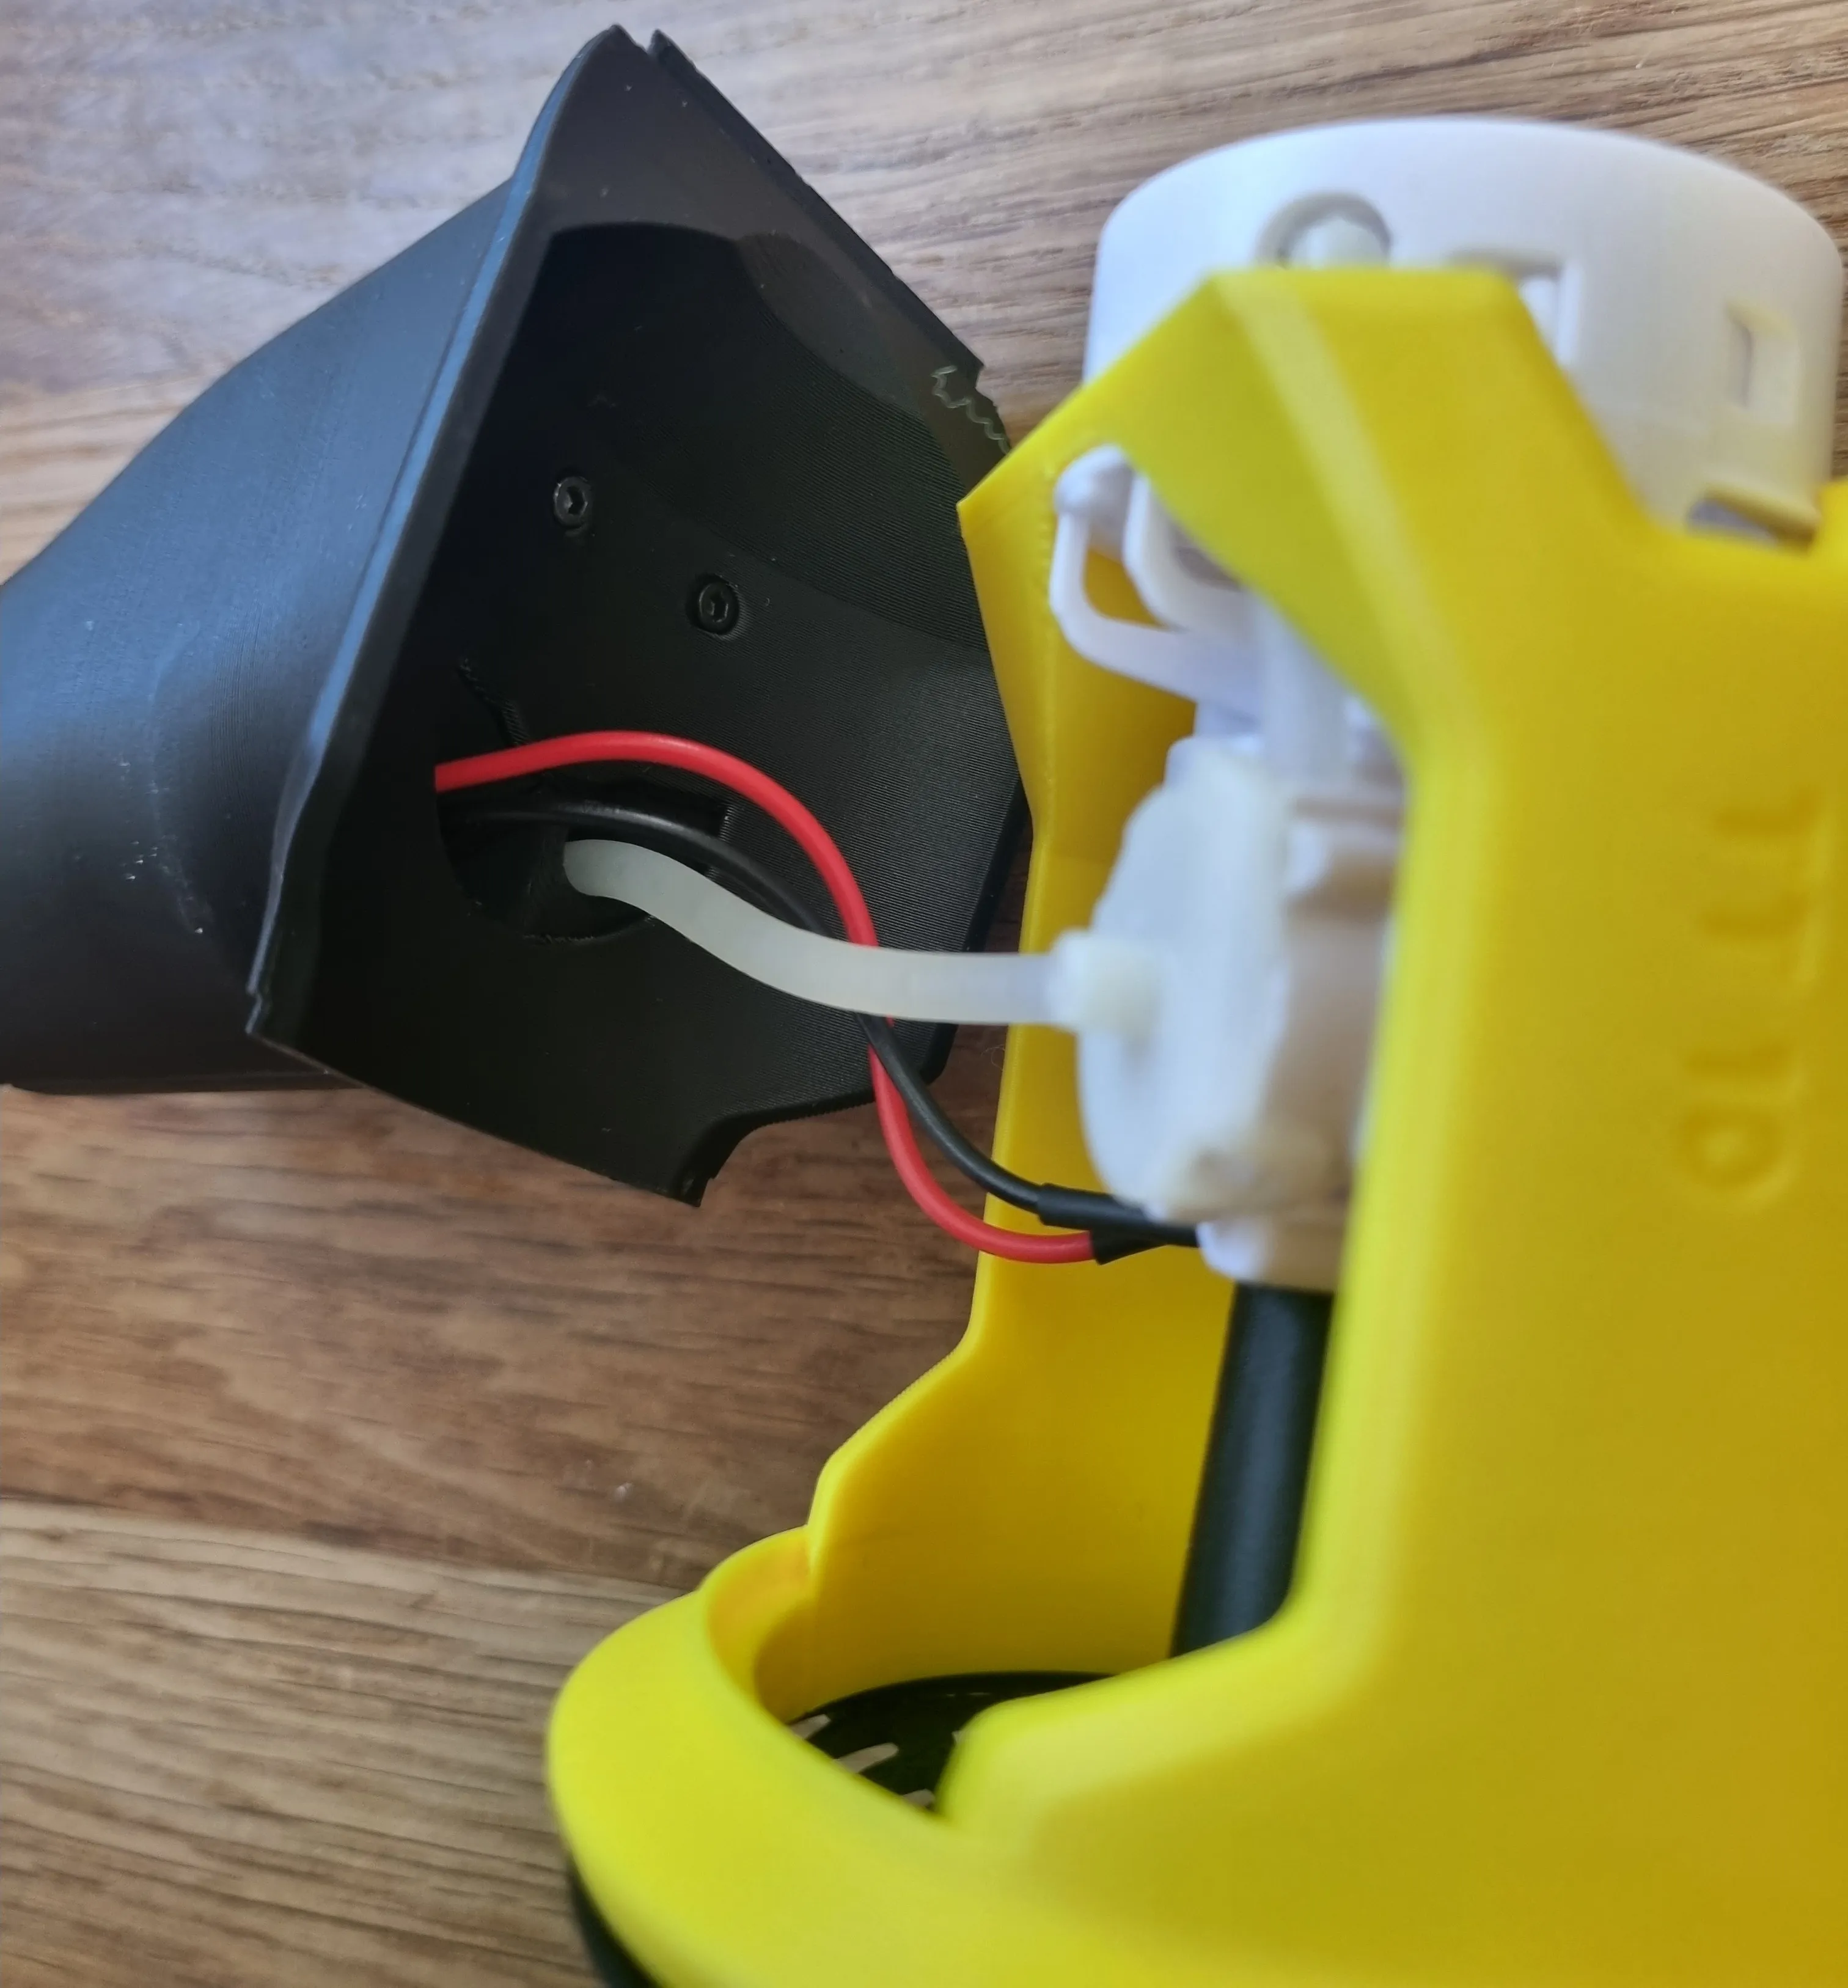
Thread the cables with the switch and the hose through the lower part of the snow cannon.

Insert the switch with the 2 printed pins, as well as the button, into the left part of the handle and neatly lay the cables.

Thread the hose through the right part of the handle, then place it onto the left part.

Screw the bottom part of the snow cannon to the handle. (BT2x8)
Insert the bottom part of the snow cannon into the main part.

Insert 2 dowel pins into the front part of the snow cannon.

Slide the front part onto the main part. This then secures the bottom part.

Thread the hose and cable through the battery holder.

Fix this with 2 screws. (BT2x8)

Insert the gasket.

Insert the battery.

Screw on the sleeve.

Cut the hose. (~13cm)

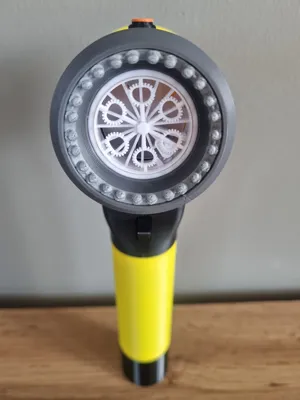
Glue on the nozzle ring and the flashing light.


Place the TPU gasket on the liquid container, fill it, and screw it on.

DONE! (If the fan makes strange noises, push it a little towards the fan grille)
License
You shall not share, sub-license, sell, rent, host, transfer, or distribute in any way the digital or 3D printed versions of this object, nor any other derivative work of this object in its digital or physical format (including - but not limited to - remixes of this object, and hosting on other digital platforms). The objects may not be used without permission in any way whatsoever in which you charge money, or collect fees.
Comment & Rating (0)