
Print Profile(1)
Description
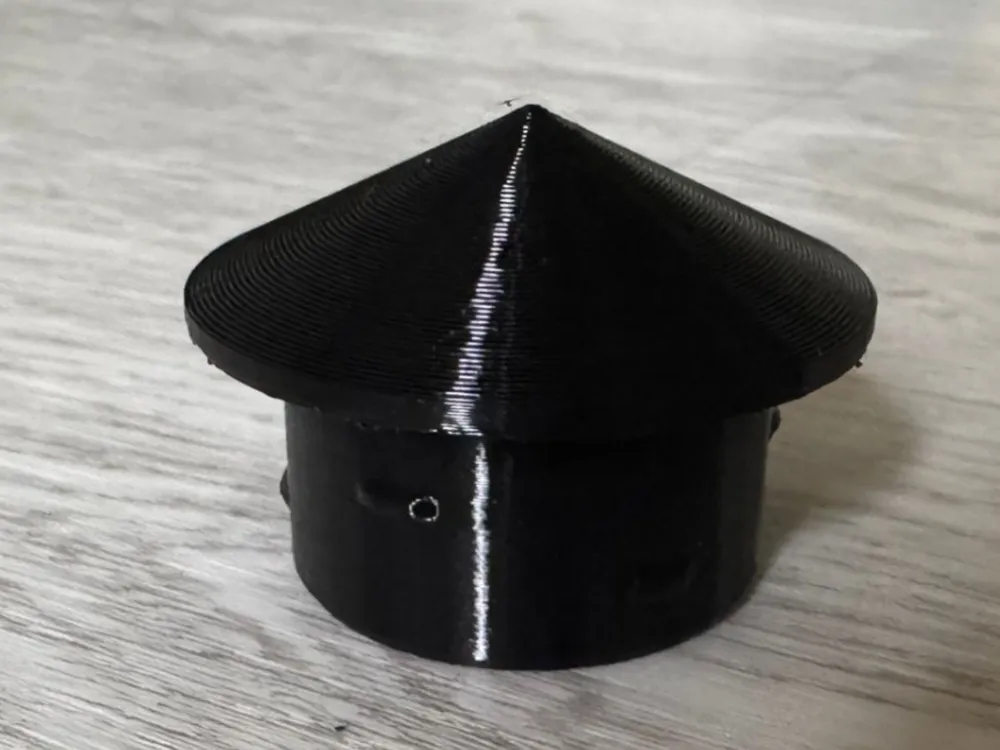
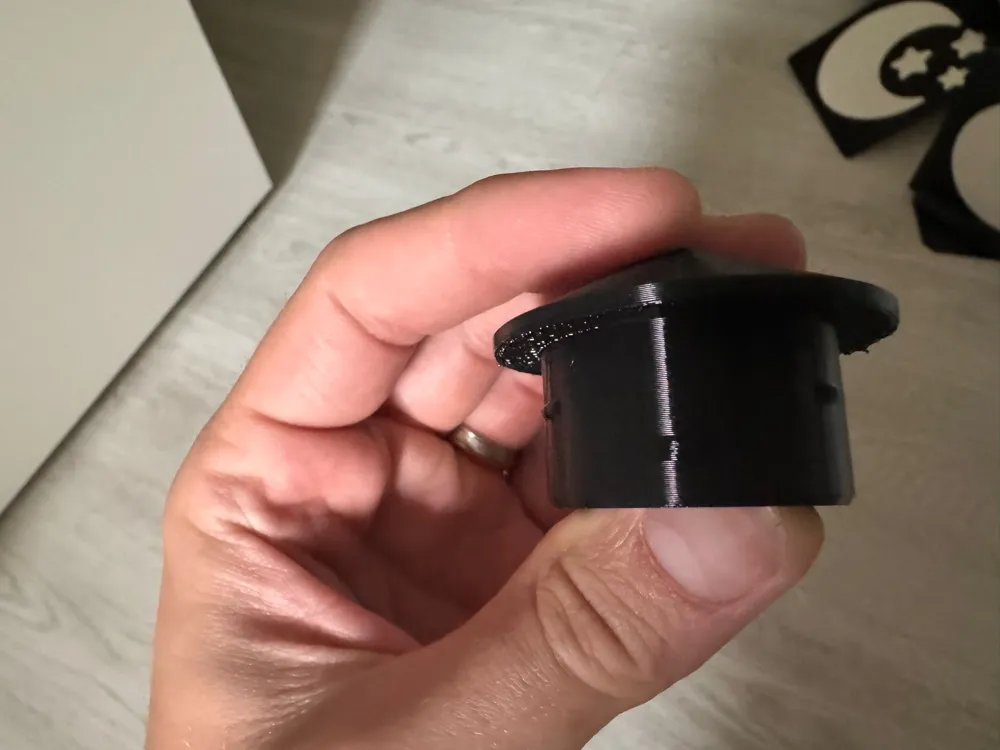
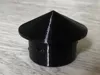
This is a push fit round fence post cap designed for small round metal fence posts.
The cap has a 48 mm top head with a conical roof so rainwater can run off easily. Under the cone there is a short reinforced cylindrical section to make the cap stronger when tapping it into the post.
The lower insert section has side retention bumps that help the cap grip inside the tube. The top area is reinforced, while the lower insert has an internal relief hole to save material.
The cap is intended to be gently tapped into place with a rubber mallet or with a piece of wood placed on top.
Dimensions
Top head diameter 48 mm
Insert body diameter 35.4 mm
Maximum diameter over side bumps 37.0 mm
Bottom lead in diameter 33.8 mm
Insert depth 20 mm
Reinforced cylinder under cone 2 mm
Cone height 12 mm
Total height 34 mm
Internal relief hole diameter 26 mm
Number of side retention bumps 6
Designed for round fence posts with an internal diameter of approximately 36.3 to 37.0 mm.
The side bumps are intentionally slightly oversized so they can grip the inside of the tube. During installation, the bumps may slightly compress or shave, which helps the cap fit tightly.
Recommended print settings
Material PETG ASA ABS or another outdoor rated filament
!! PLA is not recommended for long term outdoor use !!
Layer height 0.20 mm
Walls 4 or more
Infill 20 to 40 percent
Top and bottom layers 5 or more
Supports are recommended under the flat head overhang
Brim is recommended for ASA ABS or when printing multiple caps
For outdoor use ASA is the best option. PETG is also a good easier to print option.
Installation notes
Clean the inside edge of the post before installation. Remove rust weld bumps paint buildup or burrs if needed.
Start the cap by hand then tap it in gently. Use a rubber mallet or place a piece of wood on top before hitting it.
Print one test piece first before printing many caps because fence posts can vary in wall thickness ovality rust weld seam position and paint thickness.
License

You shall not share, sub-license, sell, rent, host, transfer, or distribute in any way the digital or 3D printed versions of this object, nor any other derivative work of this object in its digital or physical format (including - but not limited to - remixes of this object, and hosting on other digital platforms). The objects may not be used without permission in any way whatsoever in which you charge money, or collect fees.


Comment & Rating (1)