
CoG Scale Center of Gravity Scale
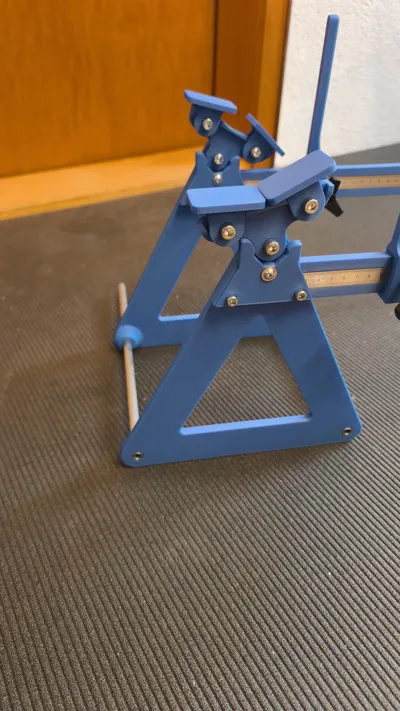
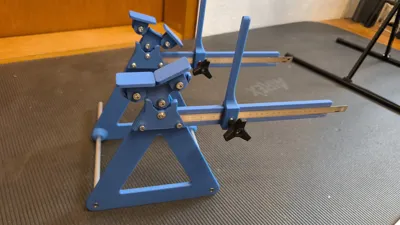
Print Profile(1)
Description
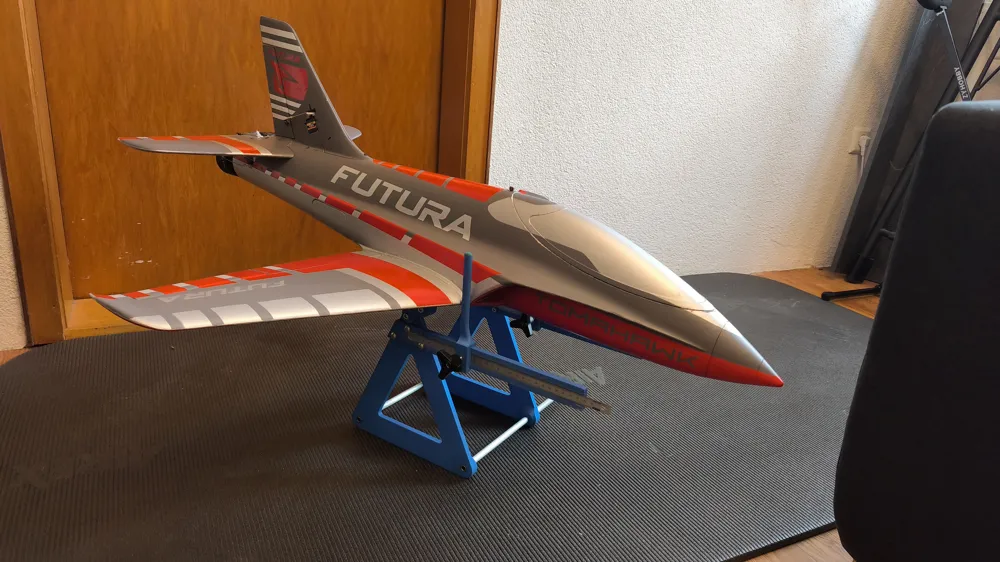
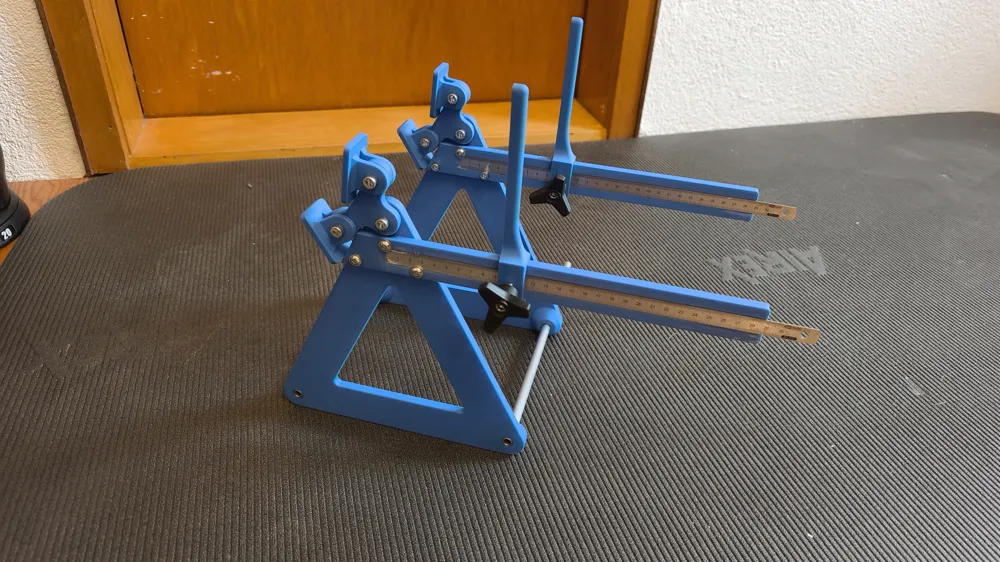
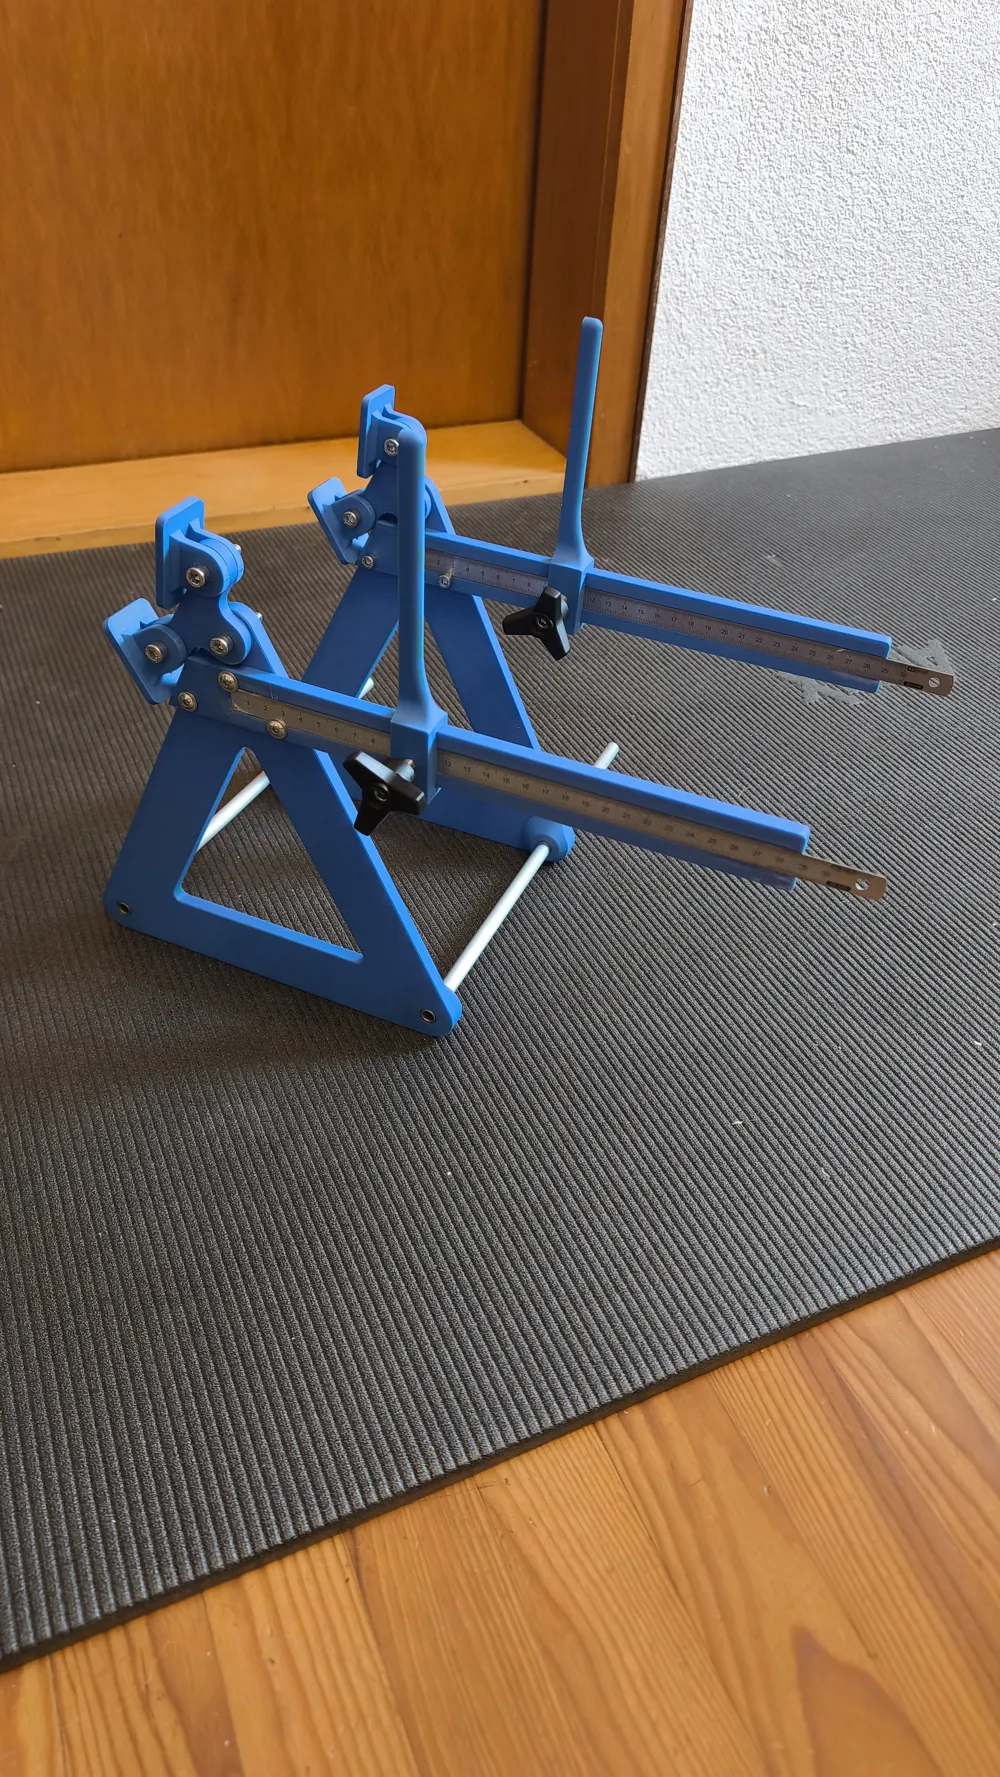
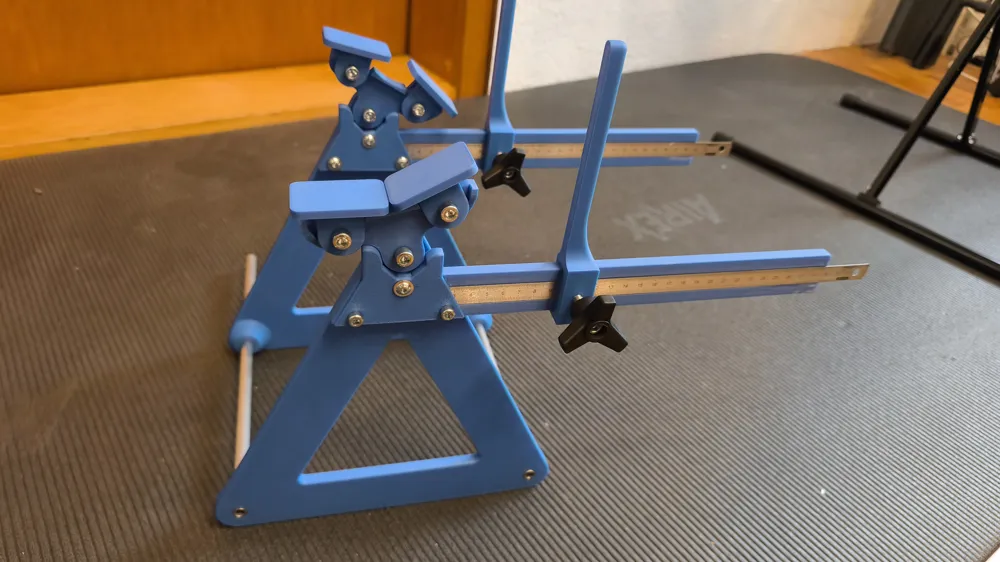
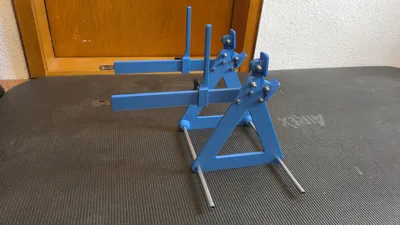
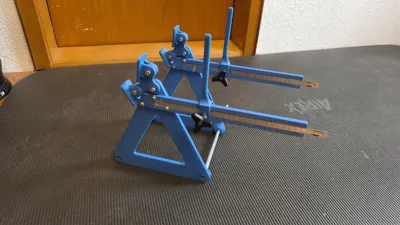
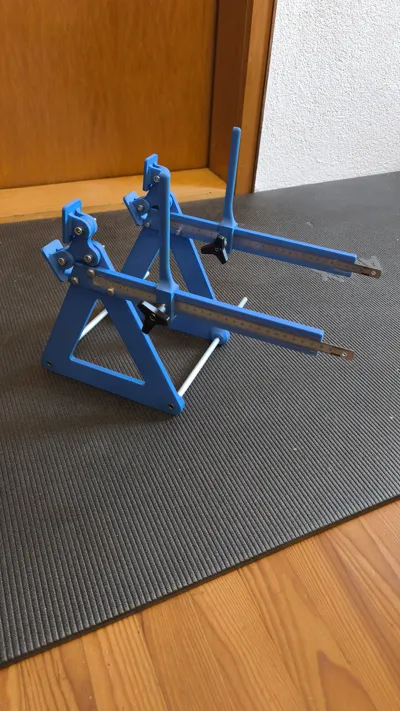
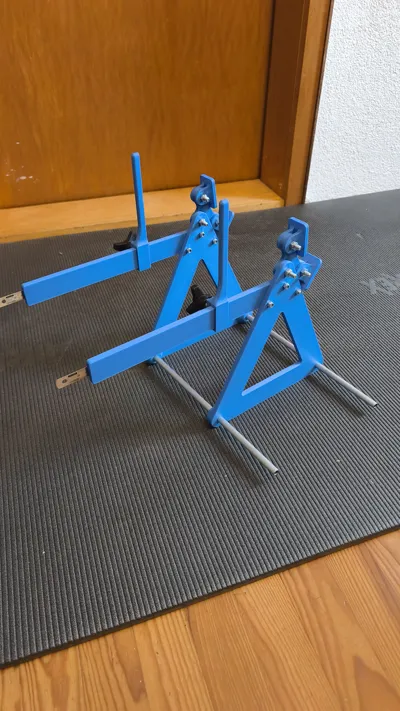
I remixed this model https://makerworld.com/de/models/838987-center-of-gravity-scale-for-rc-planes#profileId-790399 and scaled it up 160% to fit on my X2D.
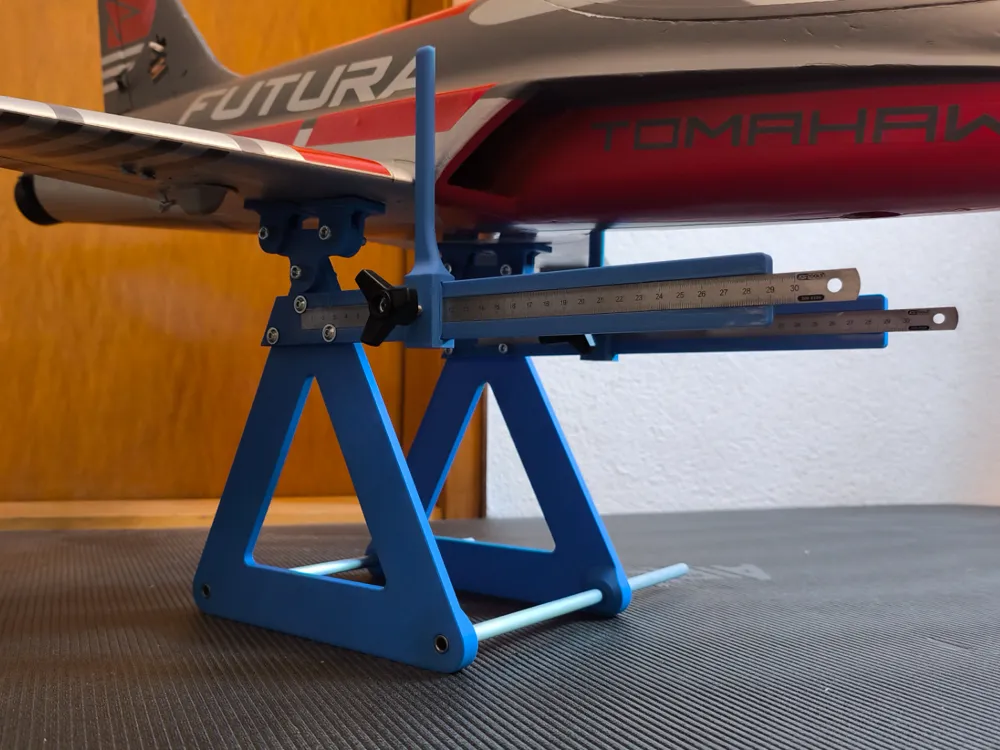
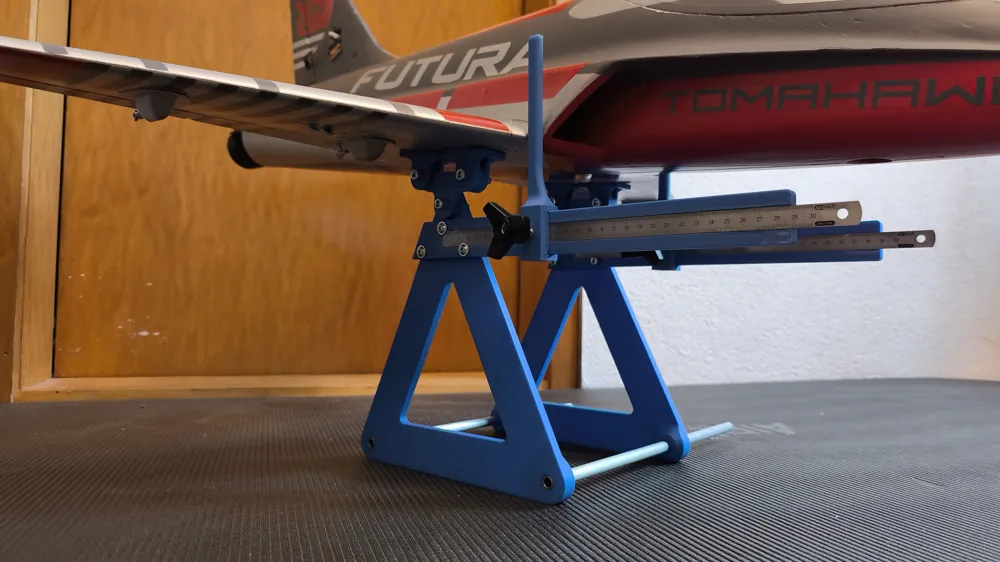
The marking in the arms refers to 25mm distance from the center.
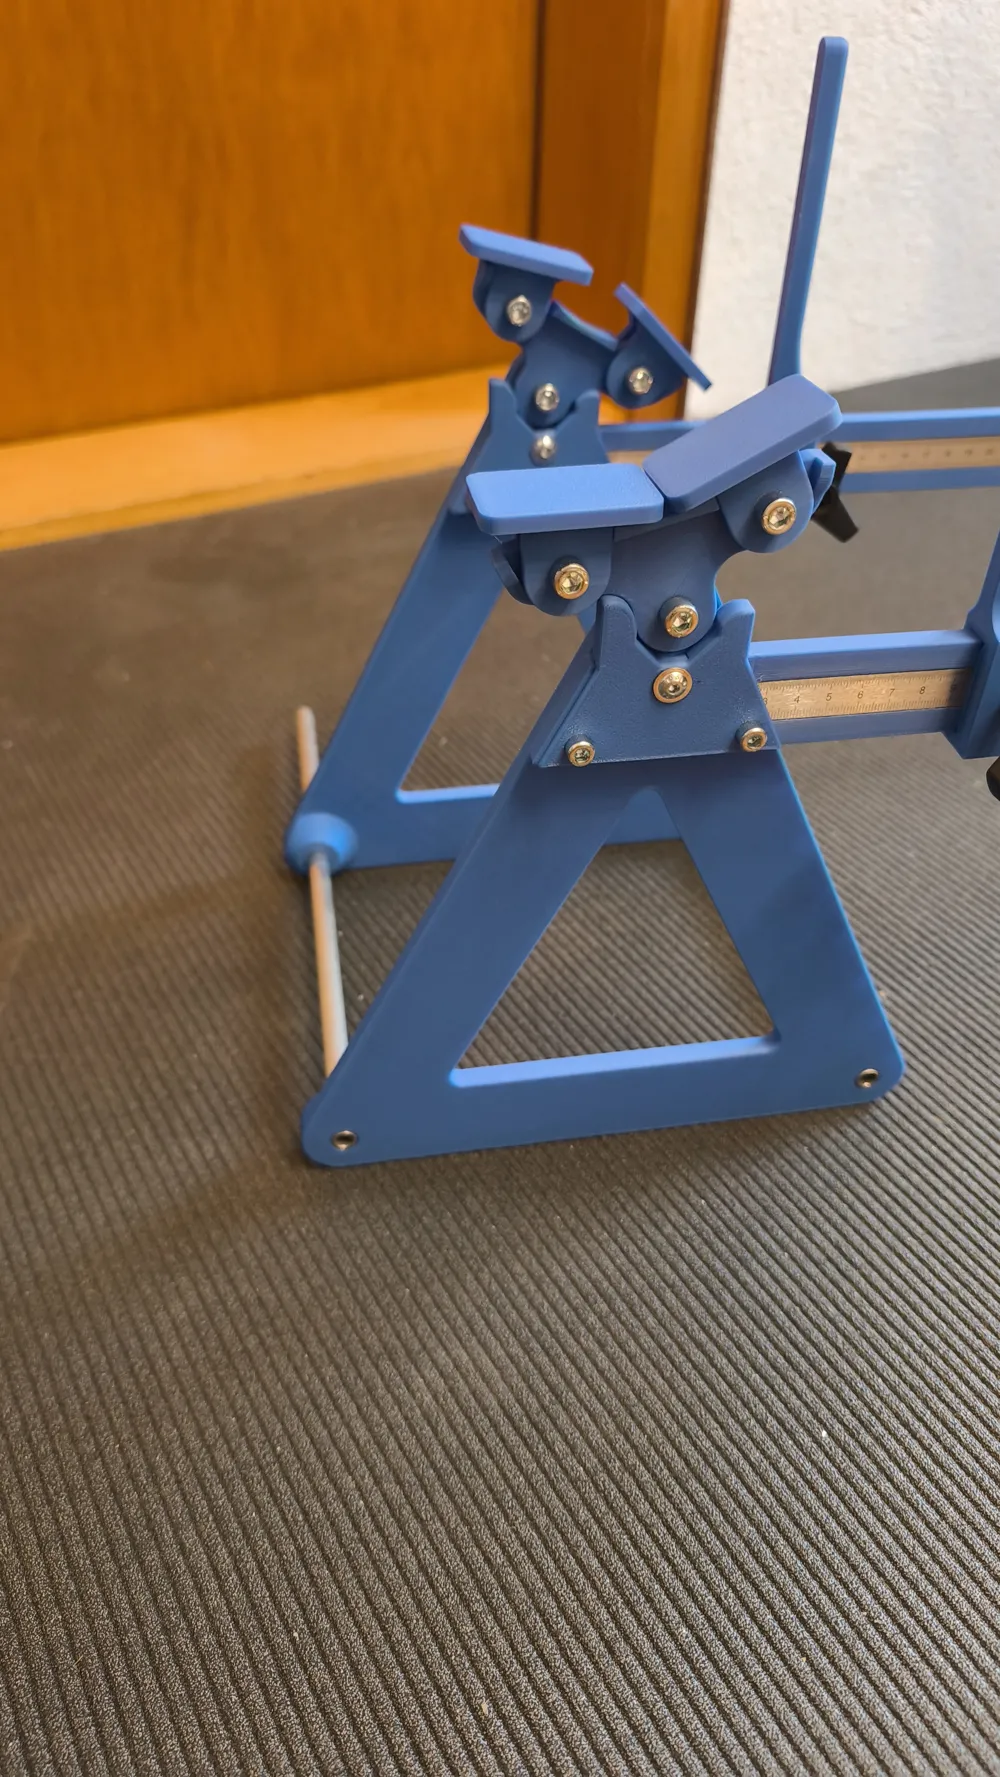
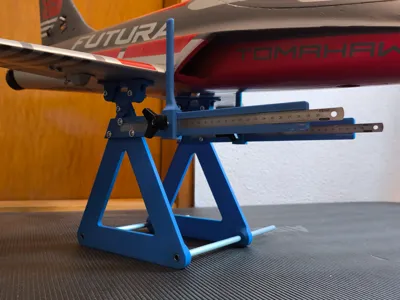
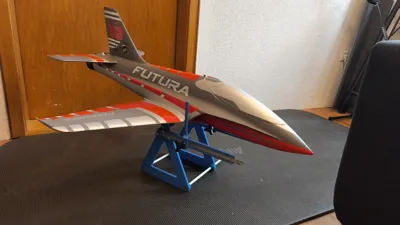
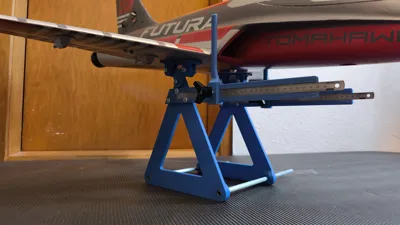
On the last pictures you can see the difference between with and without end stops.
Please only select the rocker type you need and if you want the rocker end stops which will be placed on top of the arms.
Some extra features:
-Hard limits +-15° for the model rest to set the plane easier on the stand. A version without hard limits is also included.
-Hard limits +30° -15° for the rocker so the plane won´t fall off backwards. This is an additional part and can be left out if needed.
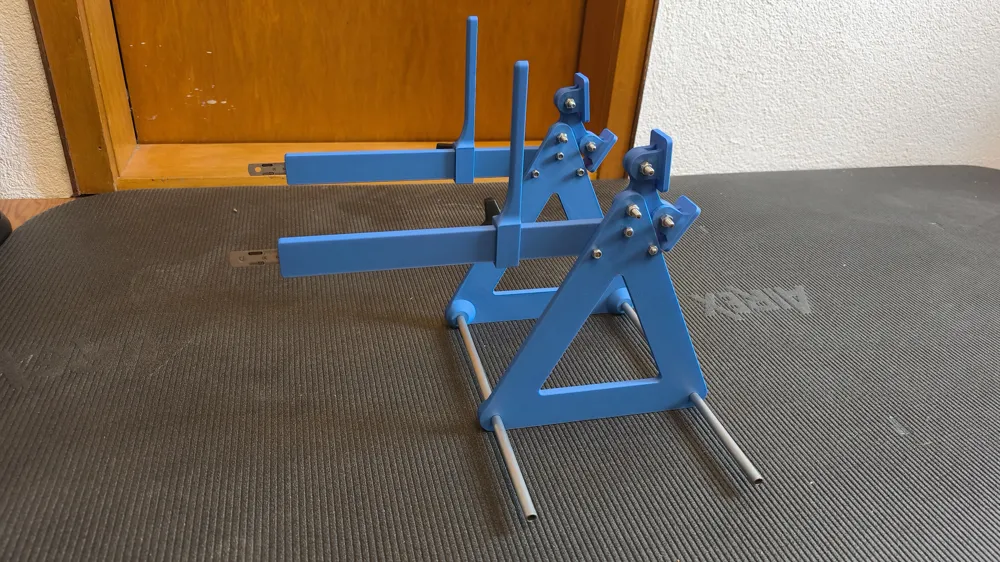
-Print in place clamp with a M6 Screw to set the the end stop. Please use a Knob like this or any other kind for easier clamping (not included).
-Build in groove for a 300x13x0.5mm metal ruler.
Addition parts needed :
optional: 2x hexagon screw for the knob
6x M6x25mm screw
6xM5x25mm screw
6xM6 self locking nut
6xM5 nut
2x 300x13x0.5mm metal rulers
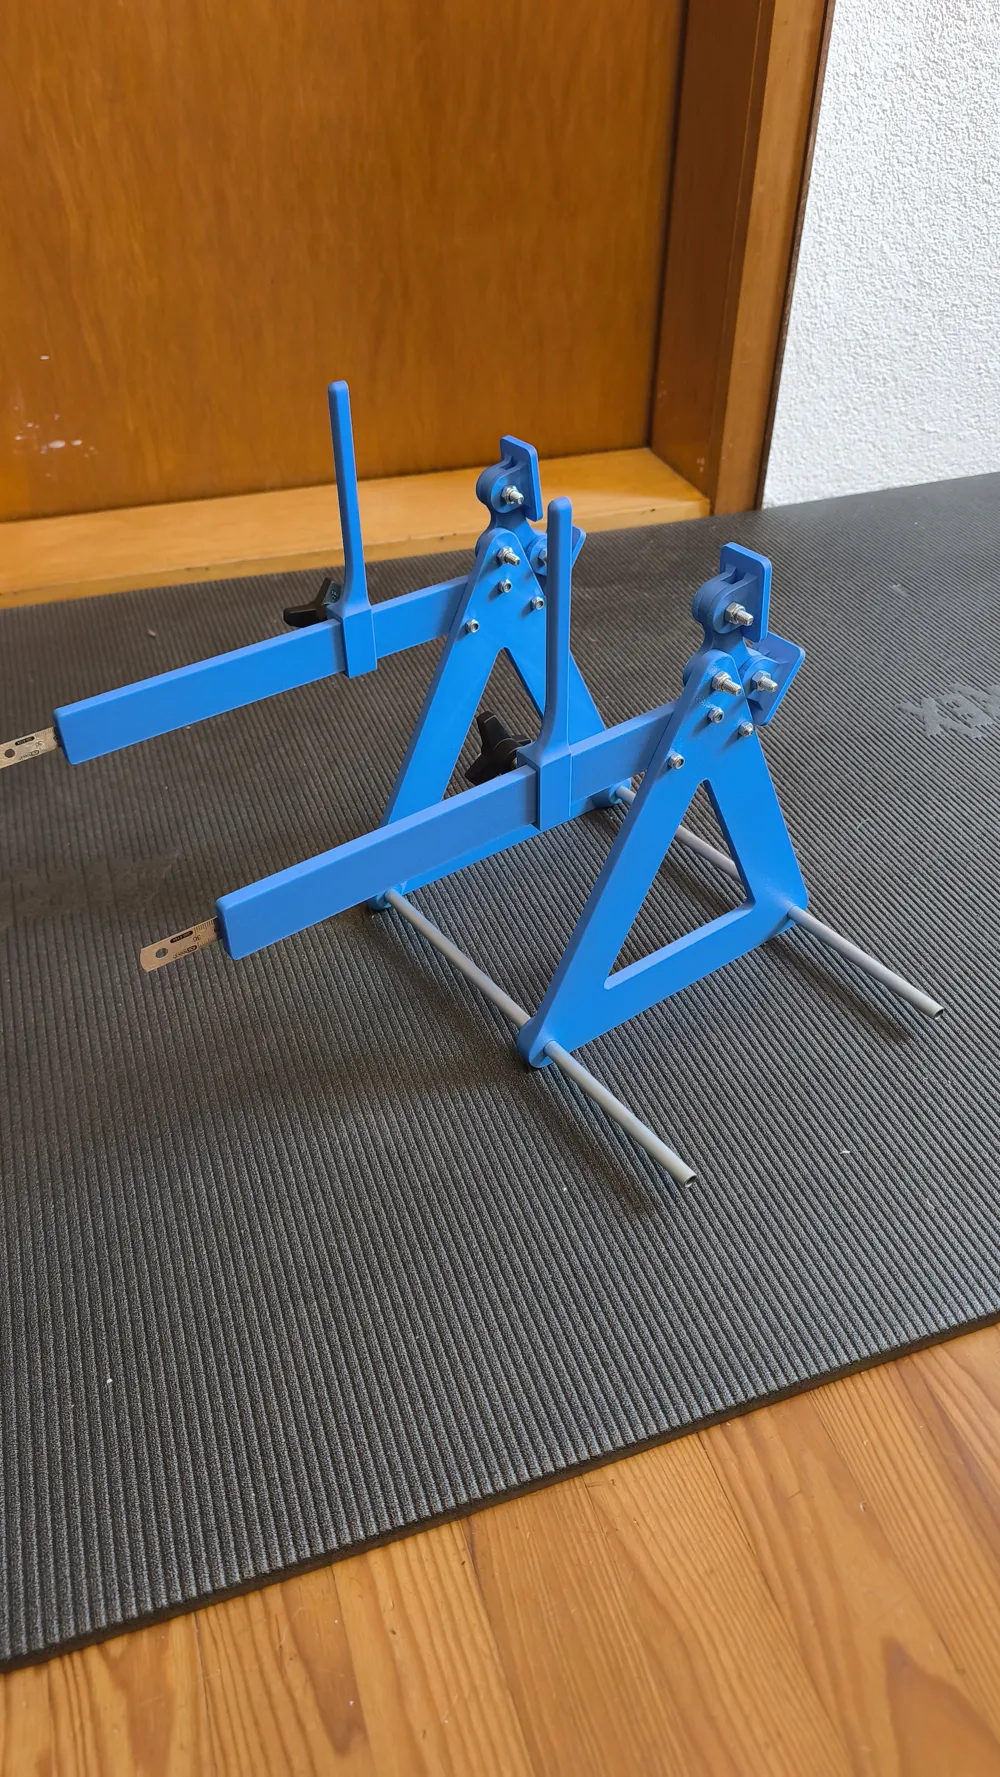
2x 10mm tube/rod for base connection
4x 48x32mm foam rubber pads
Assembly:
-Clean the rulers with some acetone or ethanol to get rid of the transportation oil cover.Glue the rulers in place with some cyancrylate. The ruler should fit exactly by pushing it to the end stop on the left. You can use the clampable end stops to fixate the rulers during this process
-Mount the two arms (with or without the rocker end stops) with the 6x M5 screws to the bases.
-Mount the 4 Model rests to the rocker with 4x M6 screws and the self locking nuts. Be careful not to over tighten them so everything moves freely.
-Mount the 2 rockers to the base with the 2x M6 screws and the self locking nuts.Be careful not to over tighten them so everything moves freely.
-reshape the thread in the arm end stops with a M6 threading tool (would also work without it but its harder to turn the knob if not) ans screw the 2 knobs into the M6 thread on the end stops and push them onto the arms.
-glue the 4 foam rubber pads to 4 model rests.
If needed i could also create a imperial version with 3/8 inch tube and ¼ inch screws. Some recommendations about those sizes would be great as i dont have access to imperial screws.
This remix is based on


License



Comment & Rating (1)