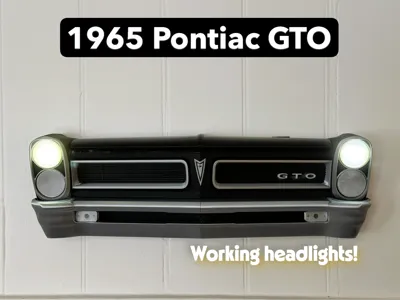
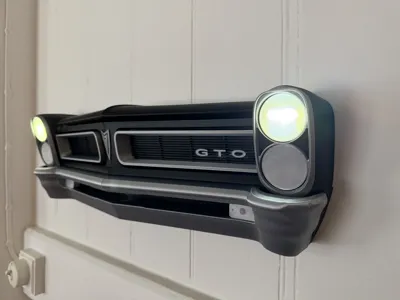
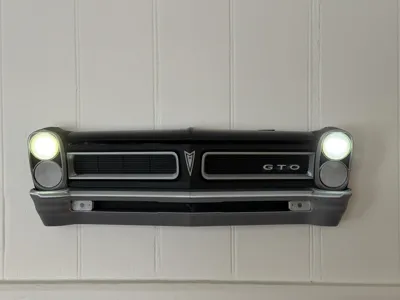
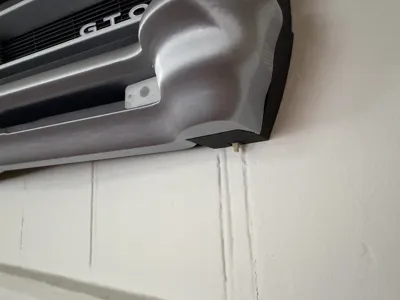
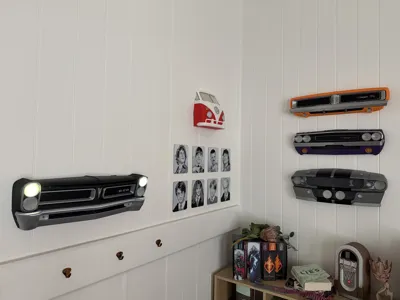
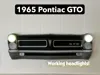
1965 Pontiac GTO front end


Print Profile(1)
Bill of Materials


Description
1965 Pontiac GTO front end - Large - 485mm Wide x 145mm High x 80mm Deep
Decorate your home, man cave or garage with this 1965 Pontiac GTO front end. You can choose to include the working headlights or not.
Assemble with Super glue following the steps below:
- After printing, remove supports and clean up support areas.
- Using printed dowels, glue the headlight body to the hood (2 off - Right hand side and left hand side)
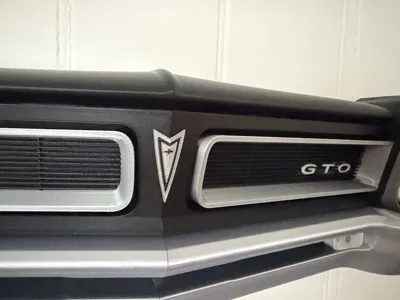
- Add the Chrome grille and grille shrouding onto the LHS and RHS back plates by sliding them over the dowels.
- Glue these back plate into these glued assemblies from step 2 ensuring they are in teh dedicated grooves.
- Using the hood dowel, glue the two separate assemblies together.
- Now the bumper sections can be added to the back plate by sliding it over the dowels - Good alignment is needed to do this.
- Glue the black details into the Chrome headlight shrouding (Note these are handed).
- Glue the Chrome headlight shrouding onto the light bodies (Note these are handed).
- Glue the light covers onto the 6 lights (4 main and 2 bottom grill lights).
- Glue the headlights into the LHS and RHS light bodies (Note these are handed).
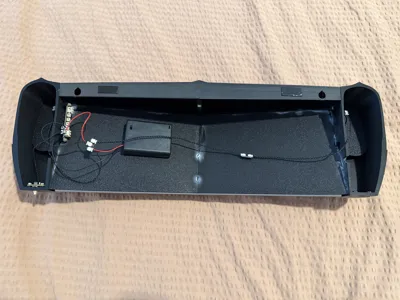
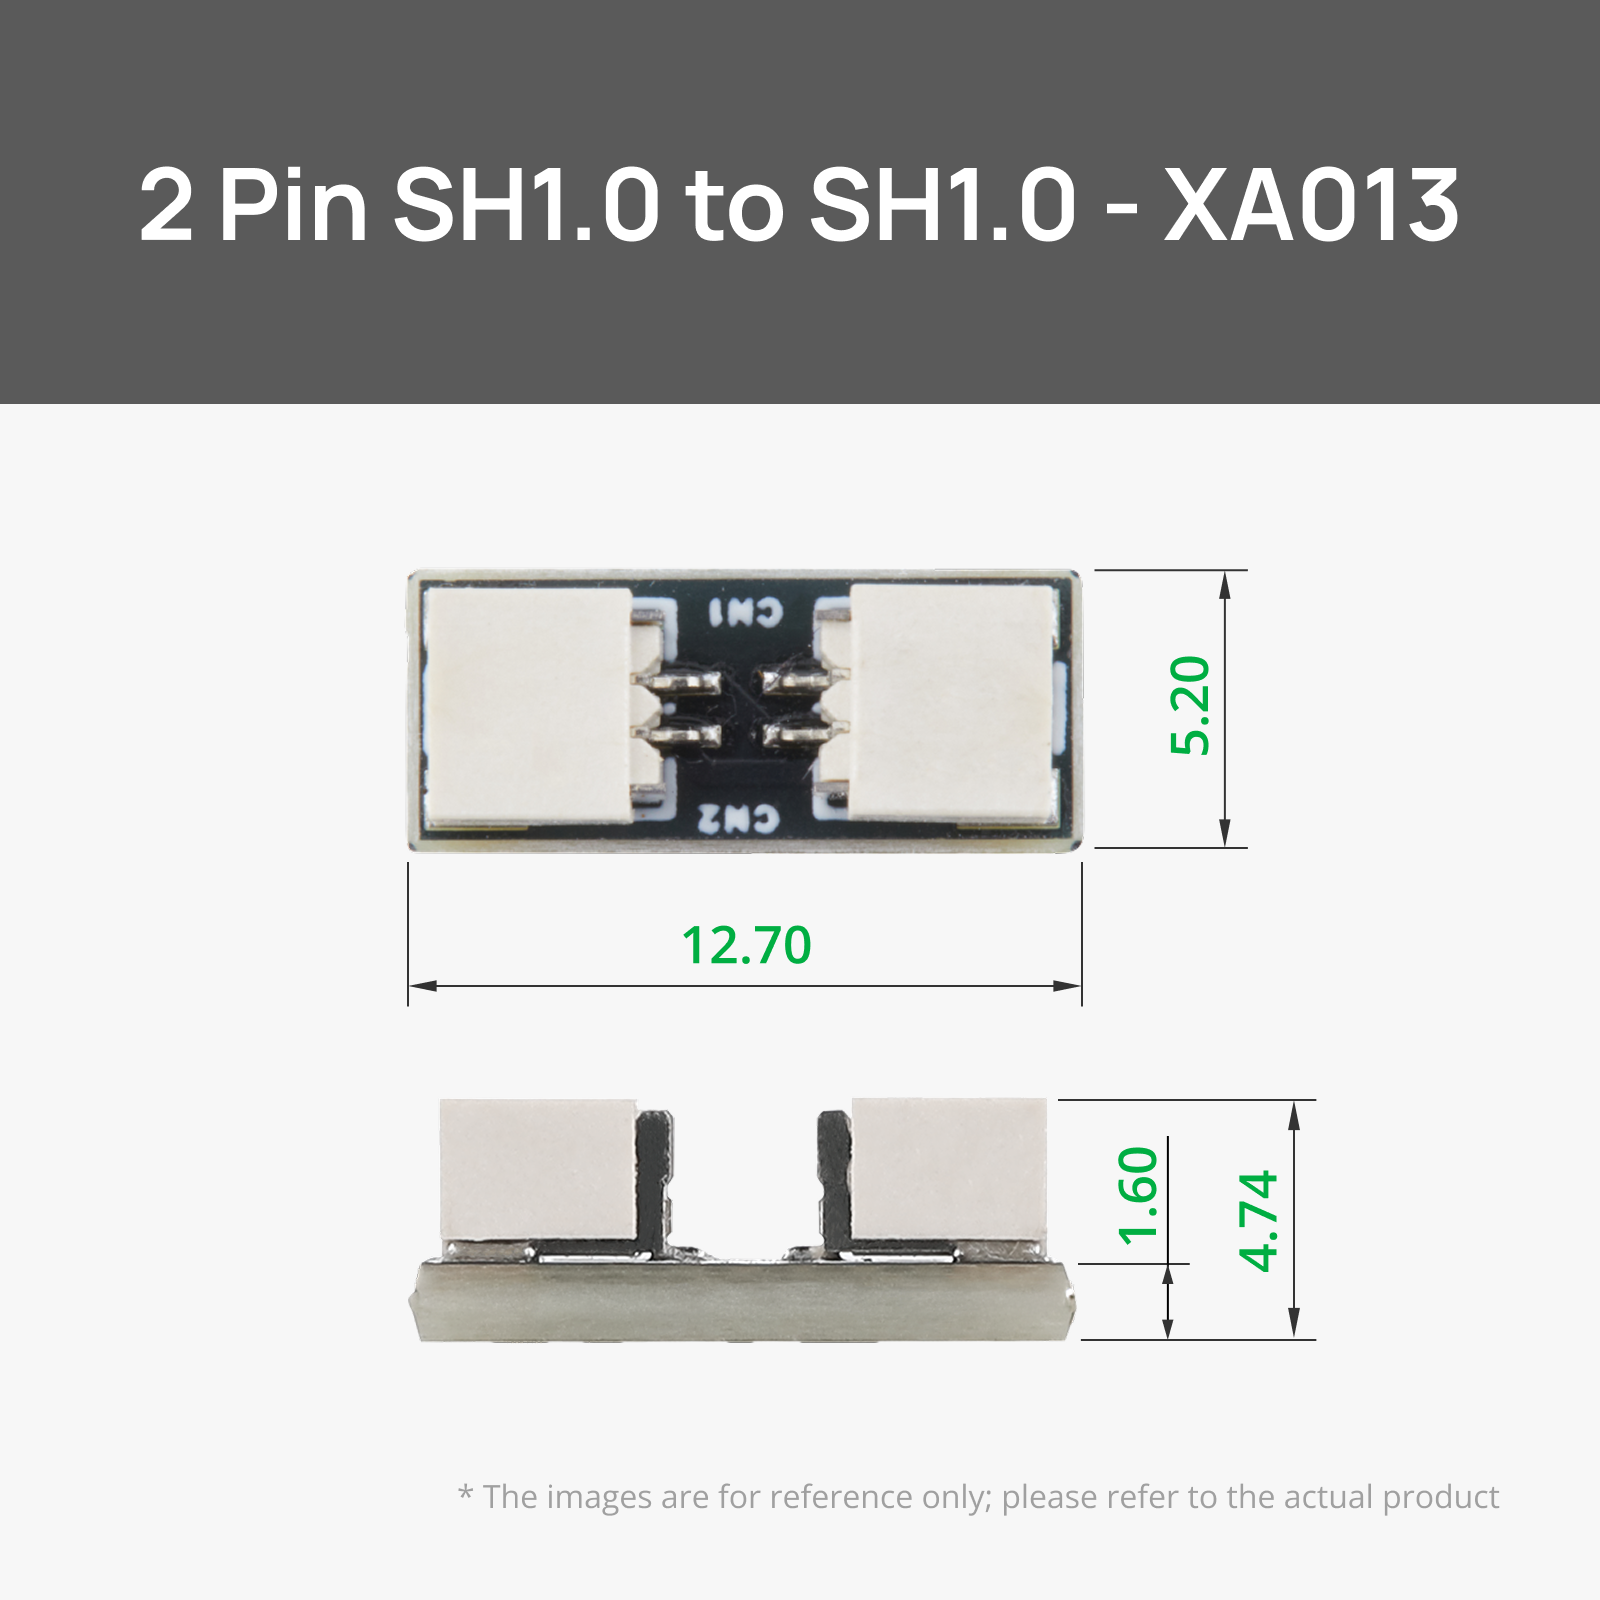
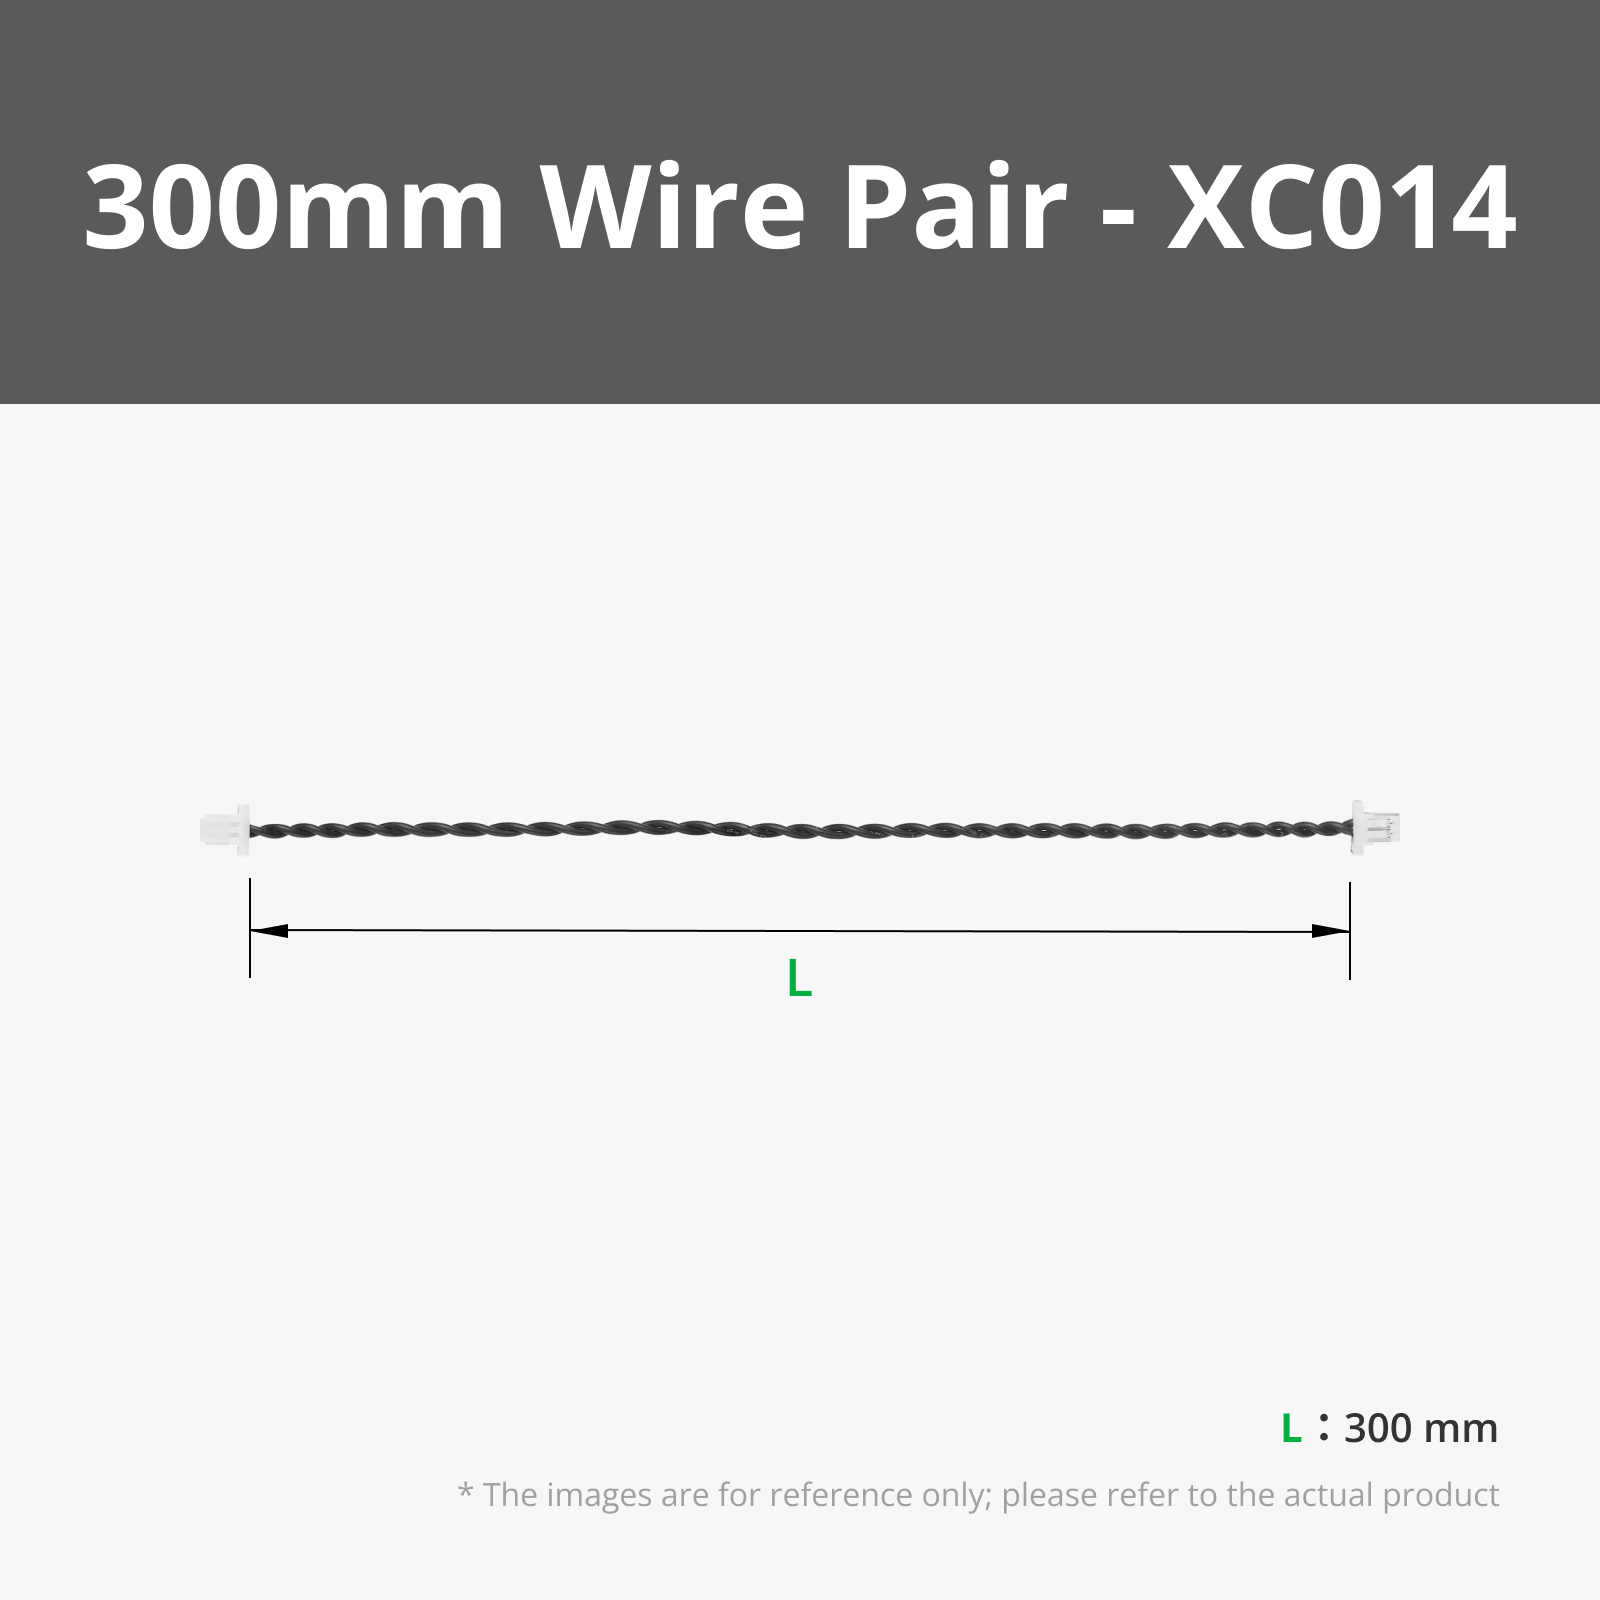
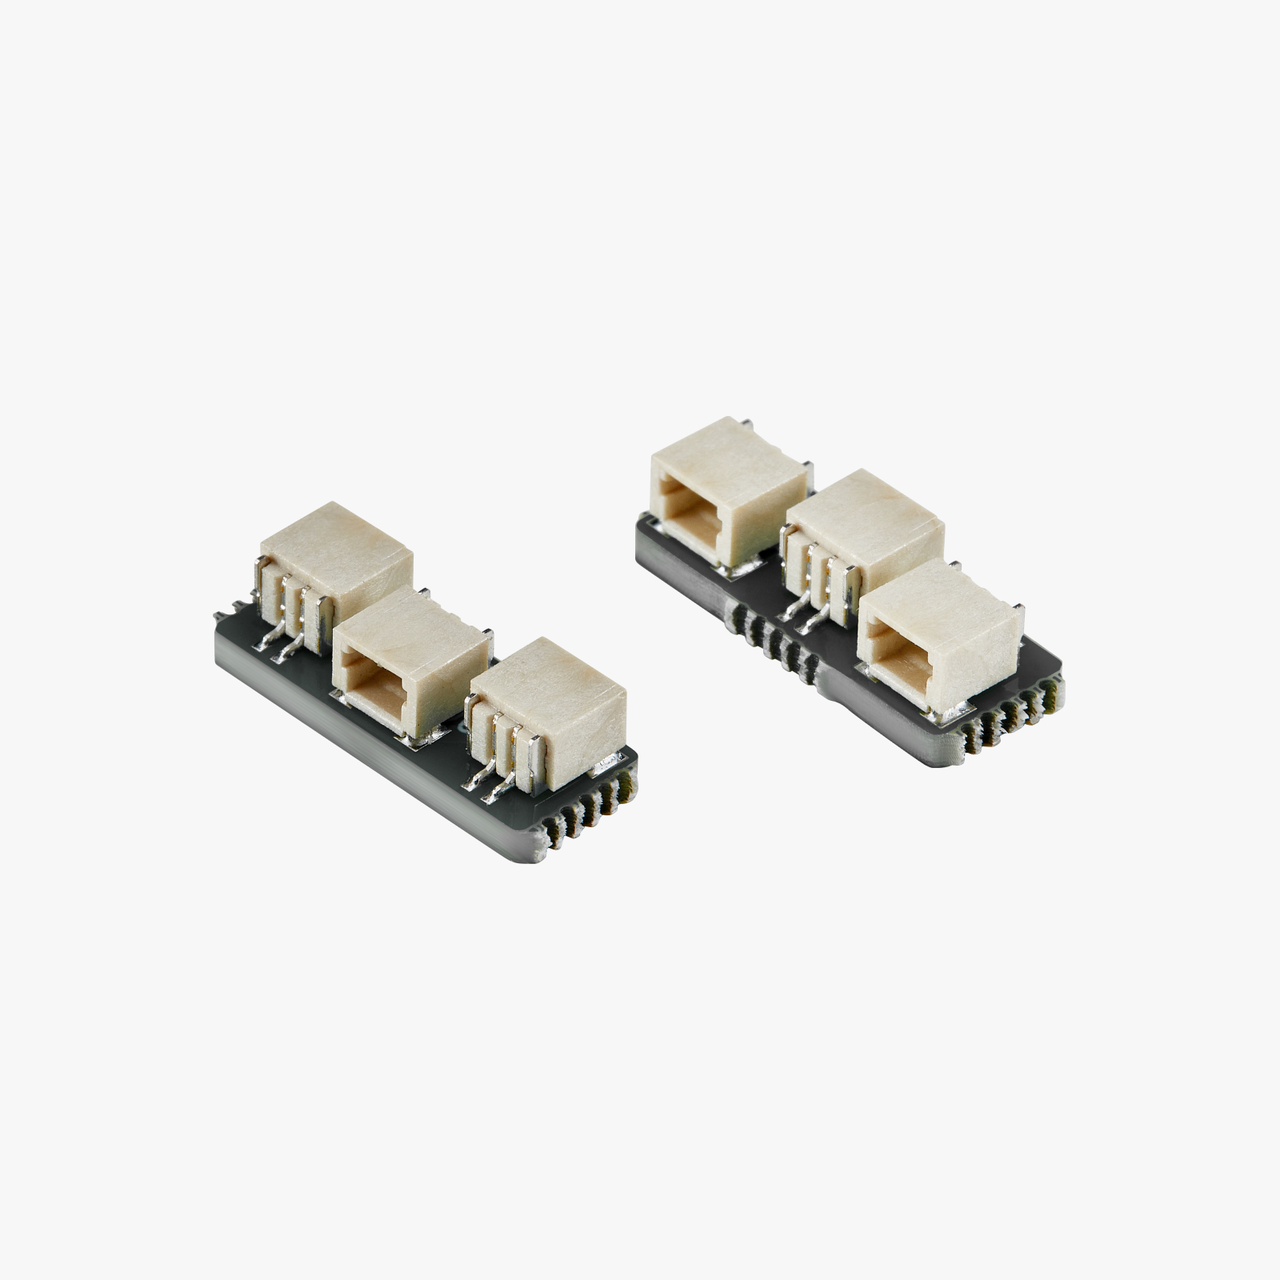
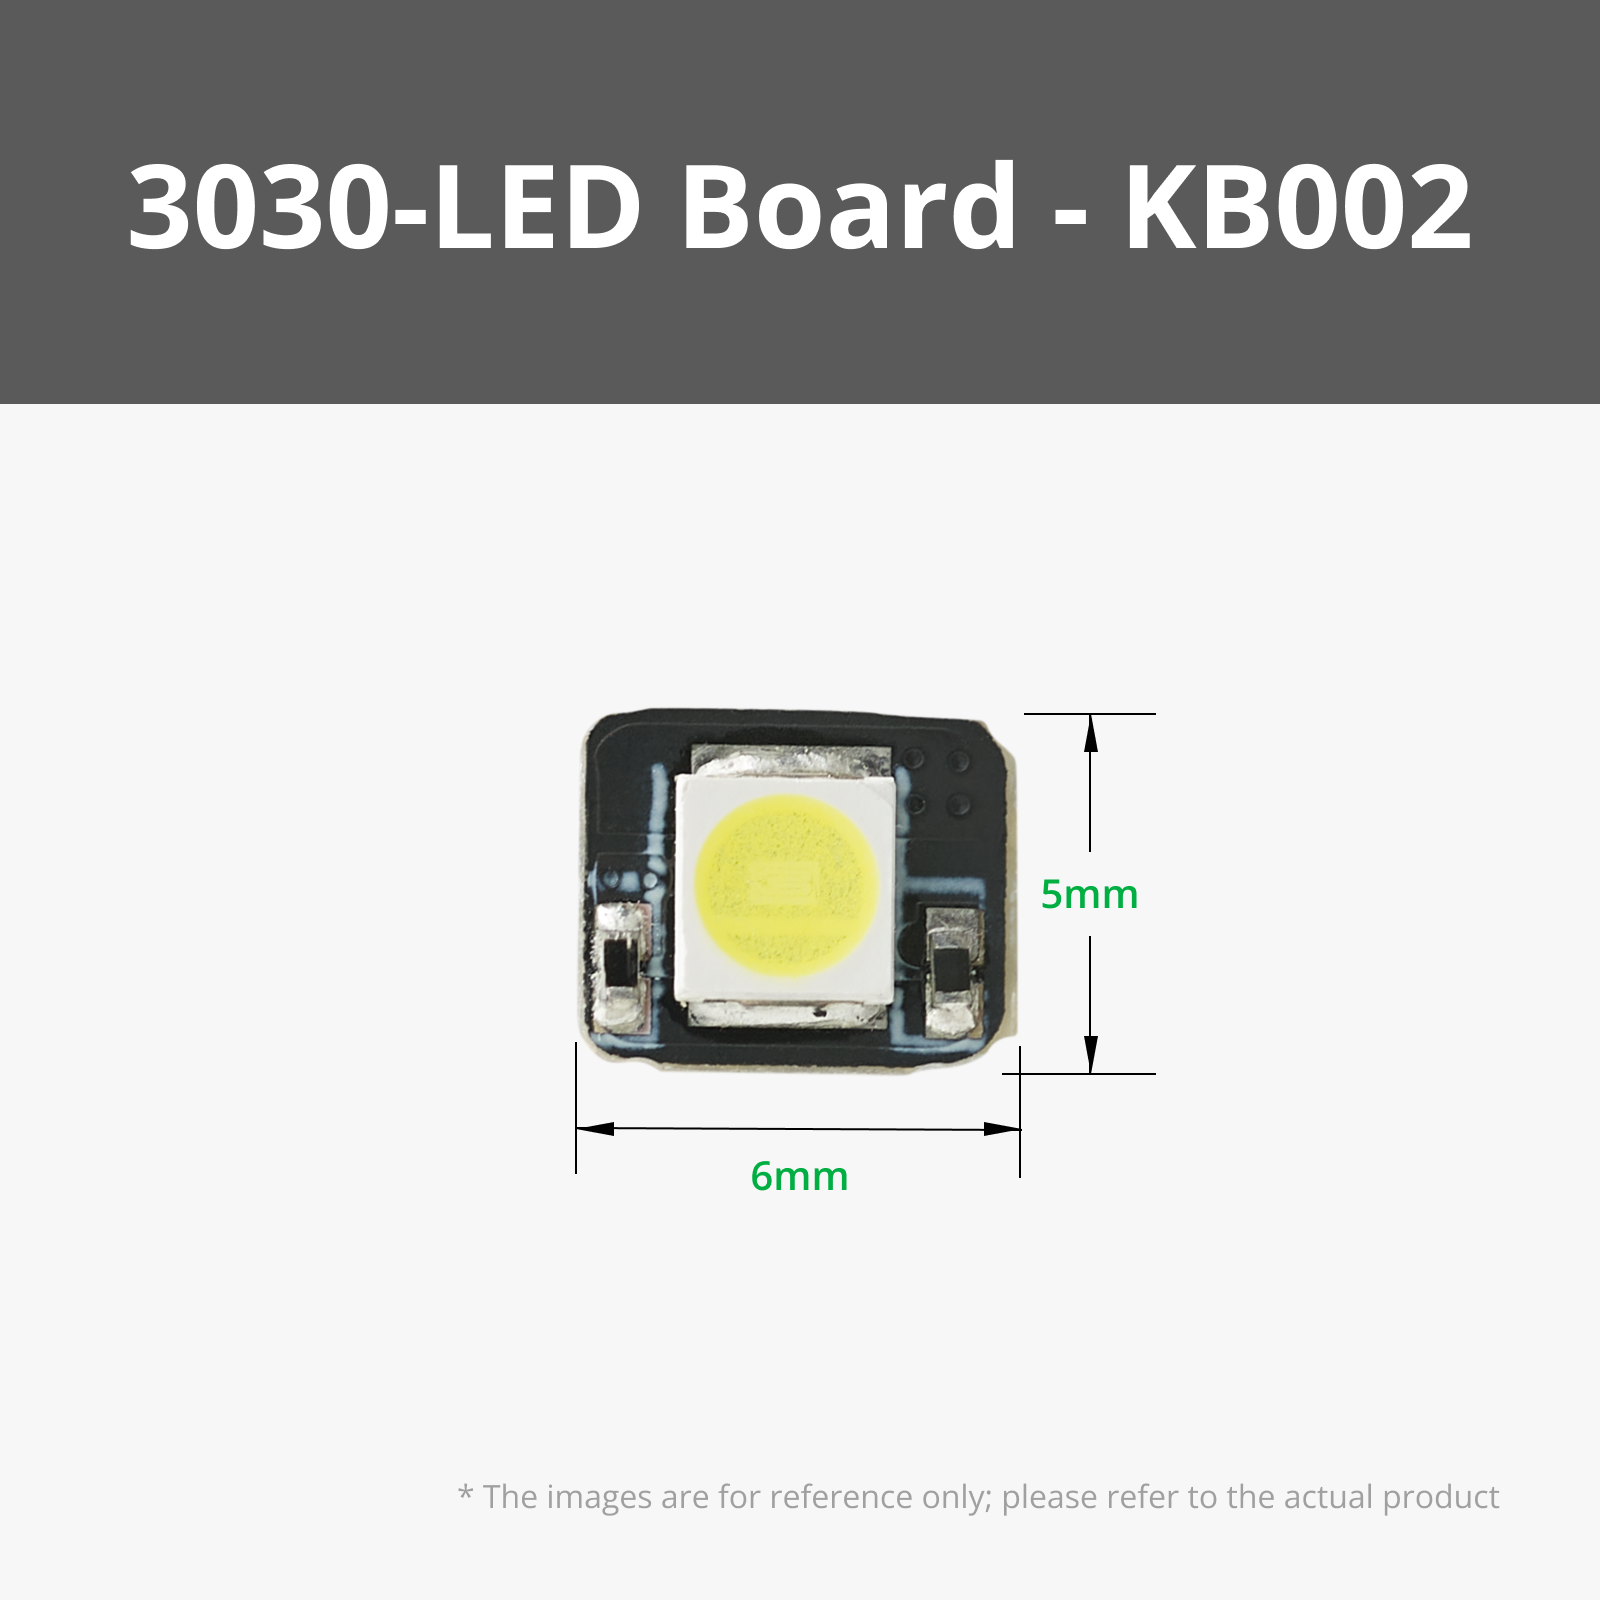
- Add light componentry if needed.
Please check out my other models.
https://makerworld.com/en/collections/22611046-car-front-ends
If you would like to request a car with a 4 week turnaround time, message me for details.
Boost Me (for free)
If you would like to support me, please consider giving me a boost.
License
You shall not share, sub-license, sell, rent, host, transfer, or distribute in any way the digital or 3D printed versions of this object, nor any other derivative work of this object in its digital or physical format (including - but not limited to - remixes of this object, and hosting on other digital platforms). The objects may not be used without permission in any way whatsoever in which you charge money, or collect fees.
Comment & Rating (23)