Desk Drawer - Clickfinity, Lightweight, Parametric


Print Profile(2)
Bill of Materials
Description
Updates:
2026/06/14 - Fixed issue with obstructed groove on face plate
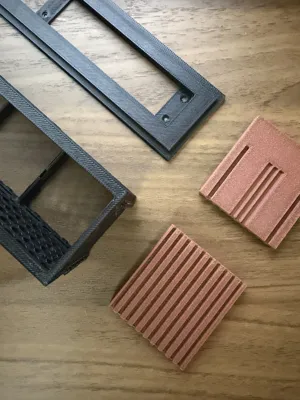
2026/05/29 - Added print profile with multiple sizes. Replaced side round hole patterns with honeycomb
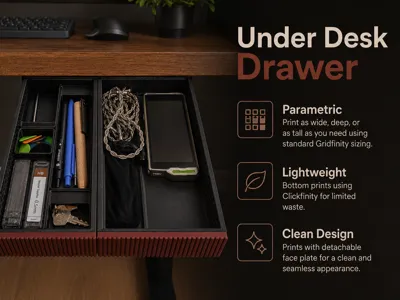
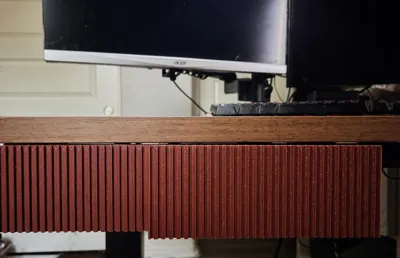
I needed a desk drawer that could provide clean, seamless look across my full desk space, without running through all of my filament. Using the excellent Clickbase refined design from Zero Ctrl, I built a configurable desk drawer that lets me arrange and organize as needed.
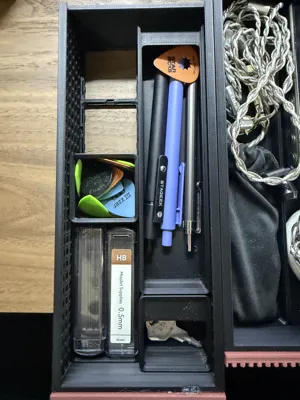
The parameters in the customization are straightforward - number of grids wide and deep, height of the drawer (not including the upper installation rail) and the height the front panel extends beyond the bottom of the drawer to act as a grip for opening the drawer.
Features
- Parametic design - prints in 1-7 wide and 2-7 deep grids, with 25-250mm height
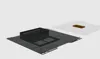
- The front plate prints separately and slides into place, allowing you to use less of your nicer filaments
- Small catch provides small, but noticeable end points at full close and extension
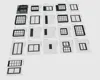
- Add your gridfinity bins of choice (or fill the gap with the cardboard from all those filament boxes :) )
Print and assembly
- The original clickfinity recommends printing in PETG (or anything but PLA) to ensure the clips retain their shape. I don't plan to remove my gridfinity bins from the plates very often, so I've used PLA, but print according to your use case.
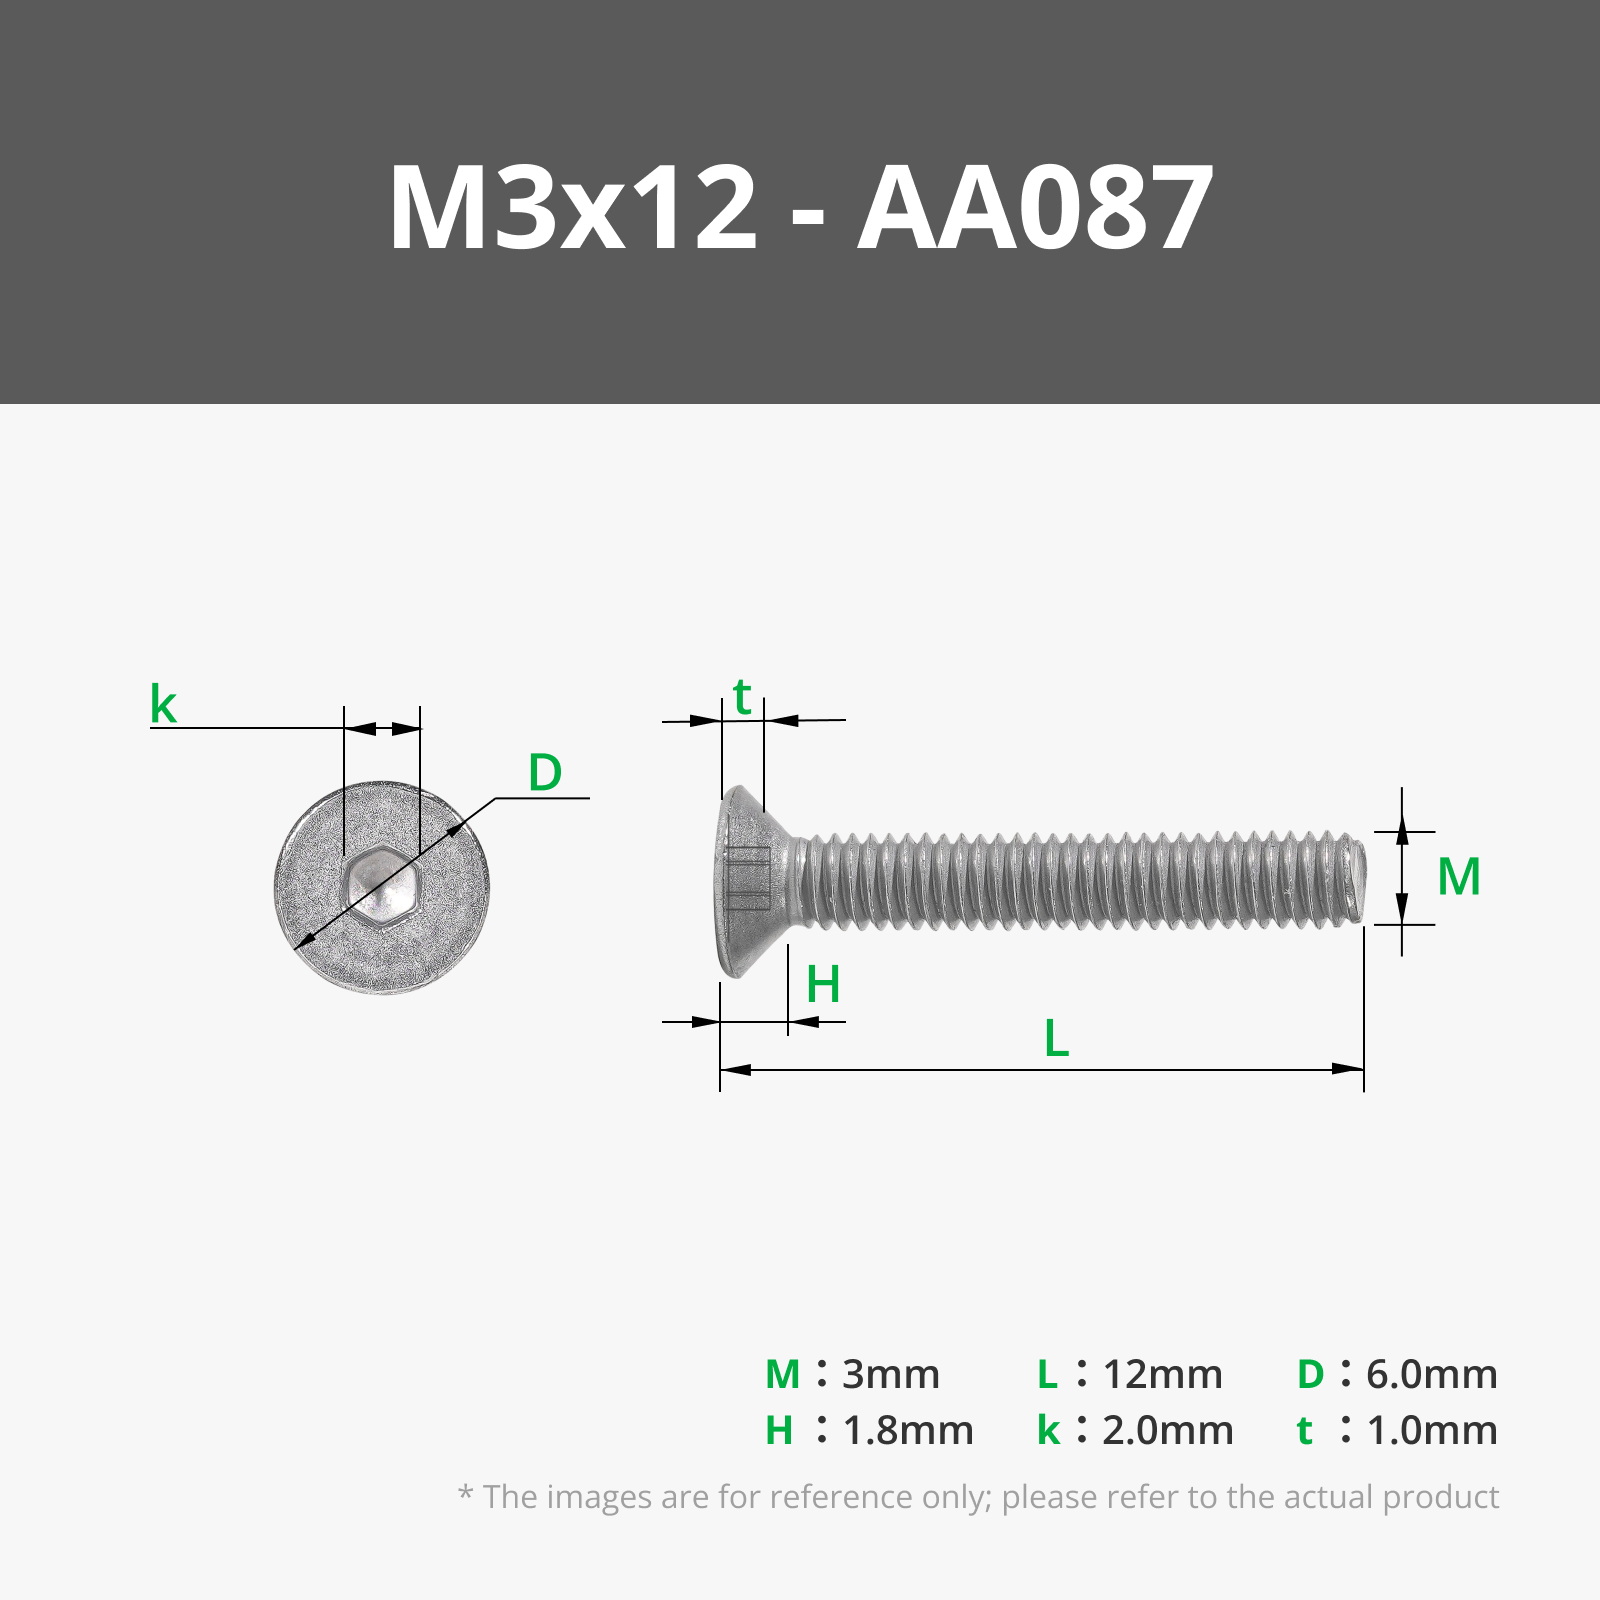
- Assembly requires at least 4 M3-12mm screws, can use up to 4. You can attempt heat bonding tape or adhesive, but I haven't tested those yet
- Recommend aligning and taping the drawer guides in place together before screwing in. They should be placed flush with each other
- Face plates require some force to slide on. I slid the face on as much as I could, then placed the whole assembly on the counter and pushed to finish assembly
- The faceplates in the images are wood PLA, I've done some wet sanding for appearance (240 grit), no other modifications to the frame
- Insert drawers onto guides
Questions? Suggestions? More faceplate designs? Please let me know what ideas you have!
License
You shall not share, sub-license, sell, rent, host, transfer, or distribute in any way the digital or 3D printed versions of this object, nor any other derivative work of this object in its digital or physical format (including - but not limited to - remixes of this object, and hosting on other digital platforms). The objects may not be used without permission in any way whatsoever in which you charge money, or collect fees.
Comment & Rating (4)