
Print Profile(1)
Description
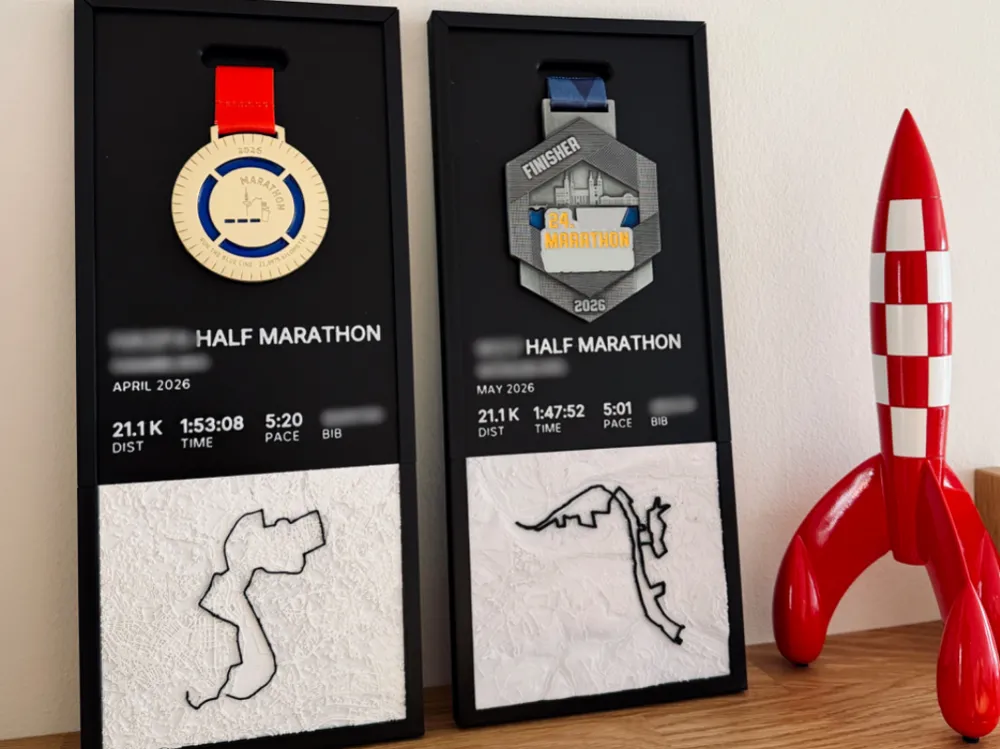
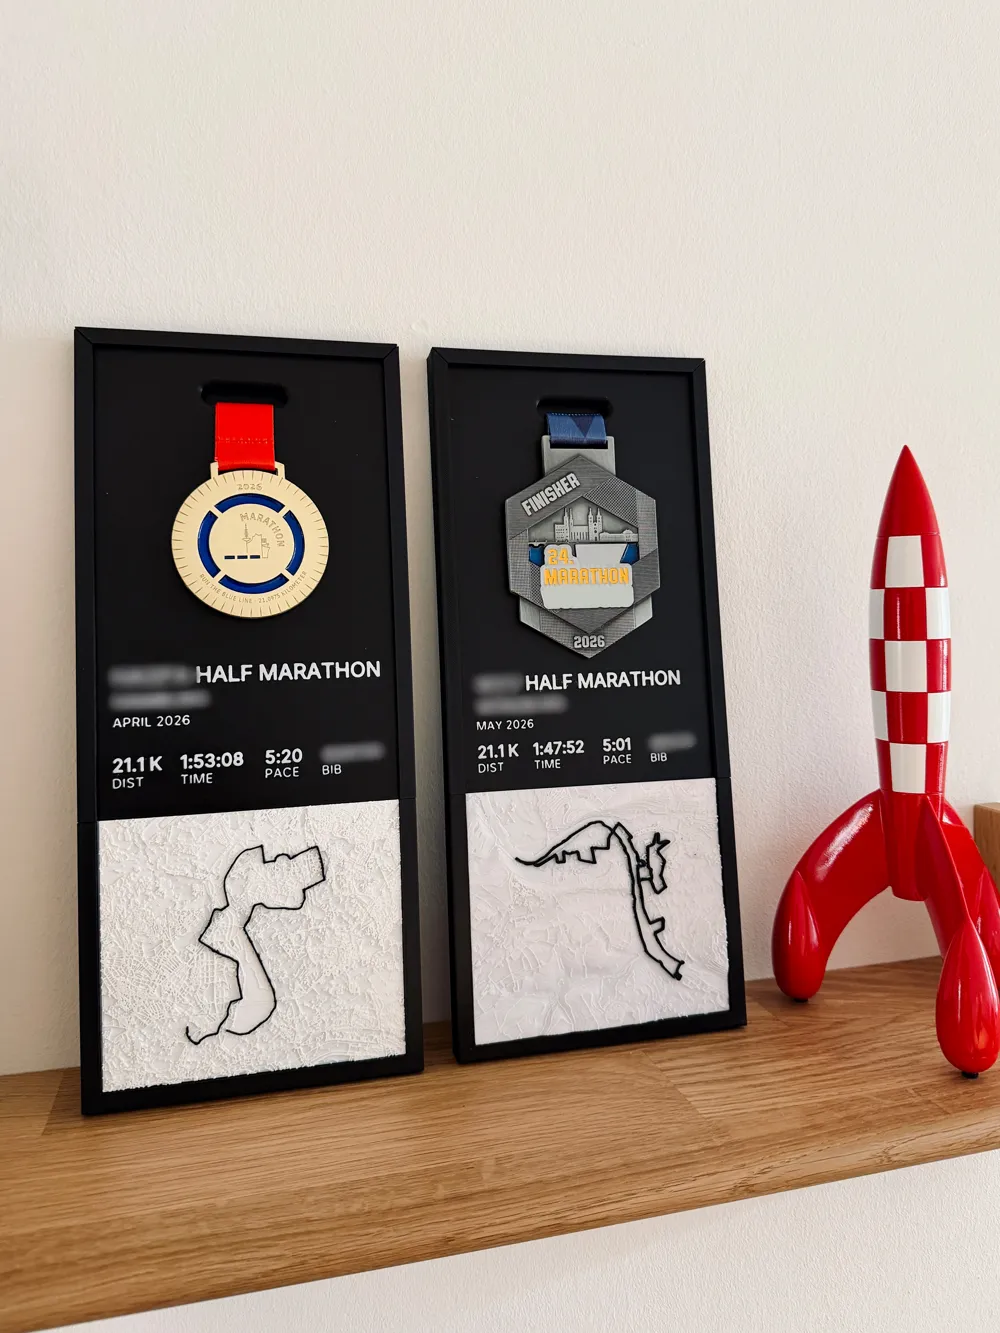
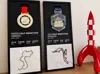
I created a Marathon Medal & Map Display Frame which you can use to neatly display your hard earned medals.
It also includes a 3D map which shows the racing route.
Very easy to print and to assemble, apart from the filament you need three things:
- 4 disc magnets: 3x5 mm
- Screws: 3 M3x12 & 2 M3x8
- Some blue tack or something similar
Can be wall mounted or just put onto a shelf.
Assembly guide:
- Adjust the text on the plates to your needs.
Create your custom map based on your own GPX track. You can easily export this from Strava or create one using something like On the go Map.
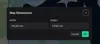
Go to Map2Model and upload your GPX file. Use my Map2Model project to make sure the map looks like in the pictures and the dimensions are correct (use 133mm x 117mm). Check attached files below.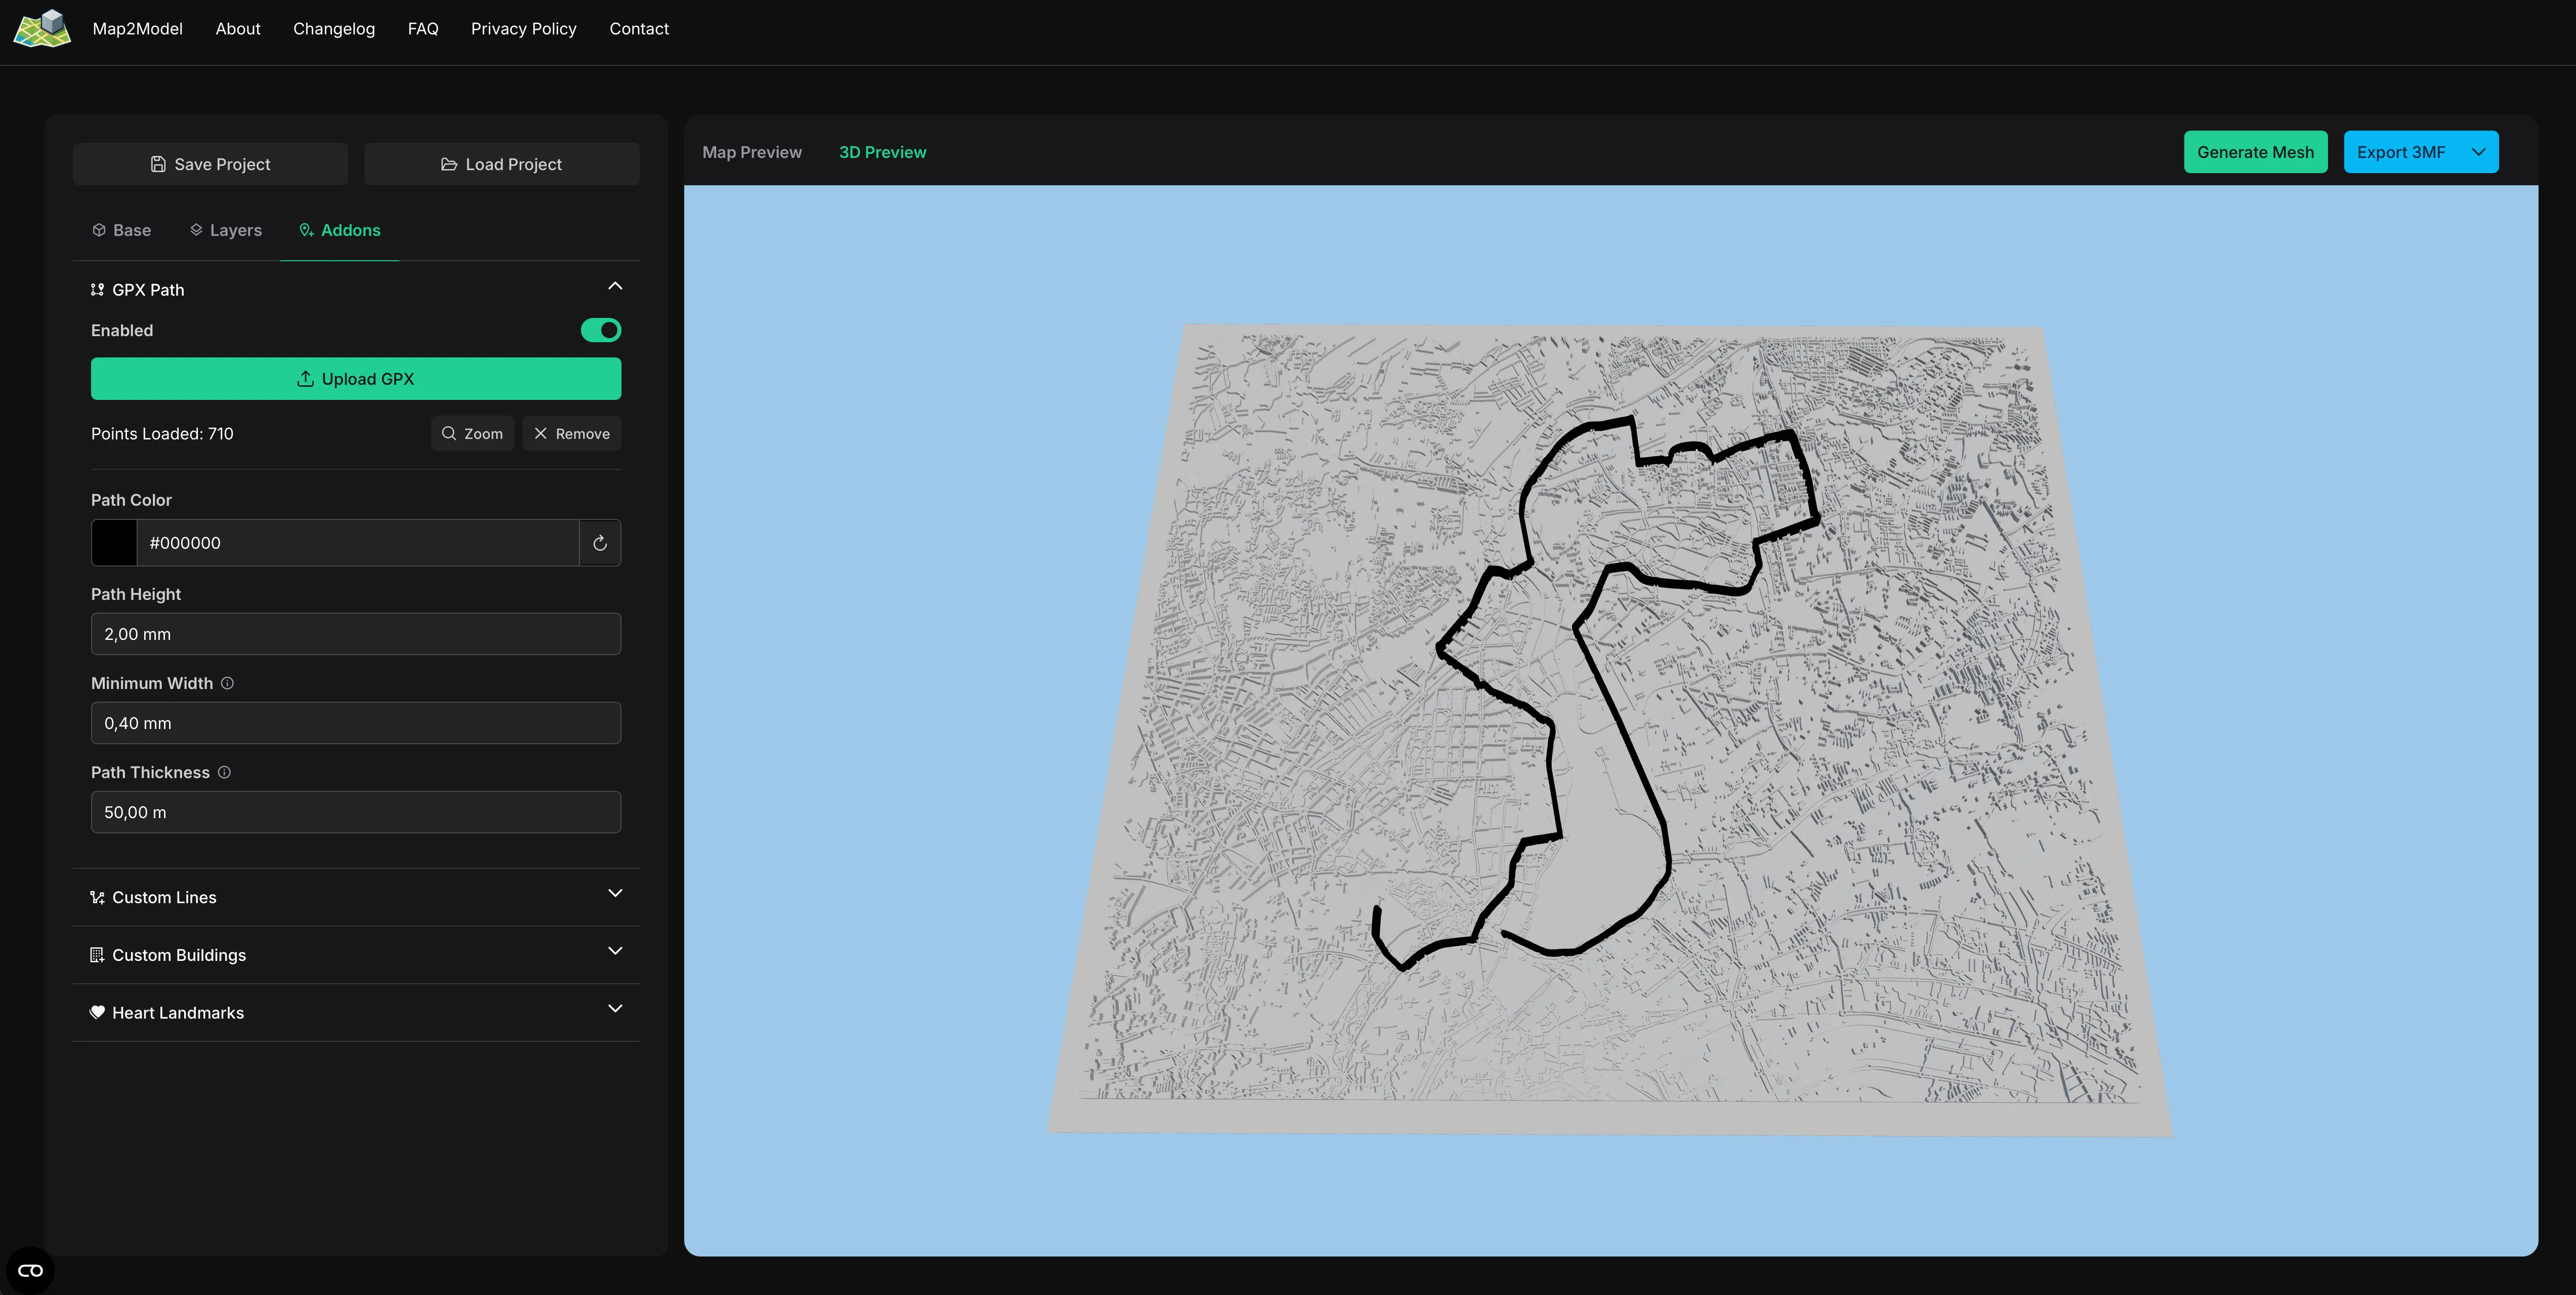
- Create and export the map (3mf) and pull it into the Bambu Studio. Check the included example map for reference. Cut of the upper part of the map in Bambu Studio (again, check the example map). Ignore any errors in the slicer. The example map was simplified to keep the file size small, yours will be more detailed.
- Print everything.
Remove all supports and place the two parts of the frame next to each other and connect them using the 3 M3x12 screws.
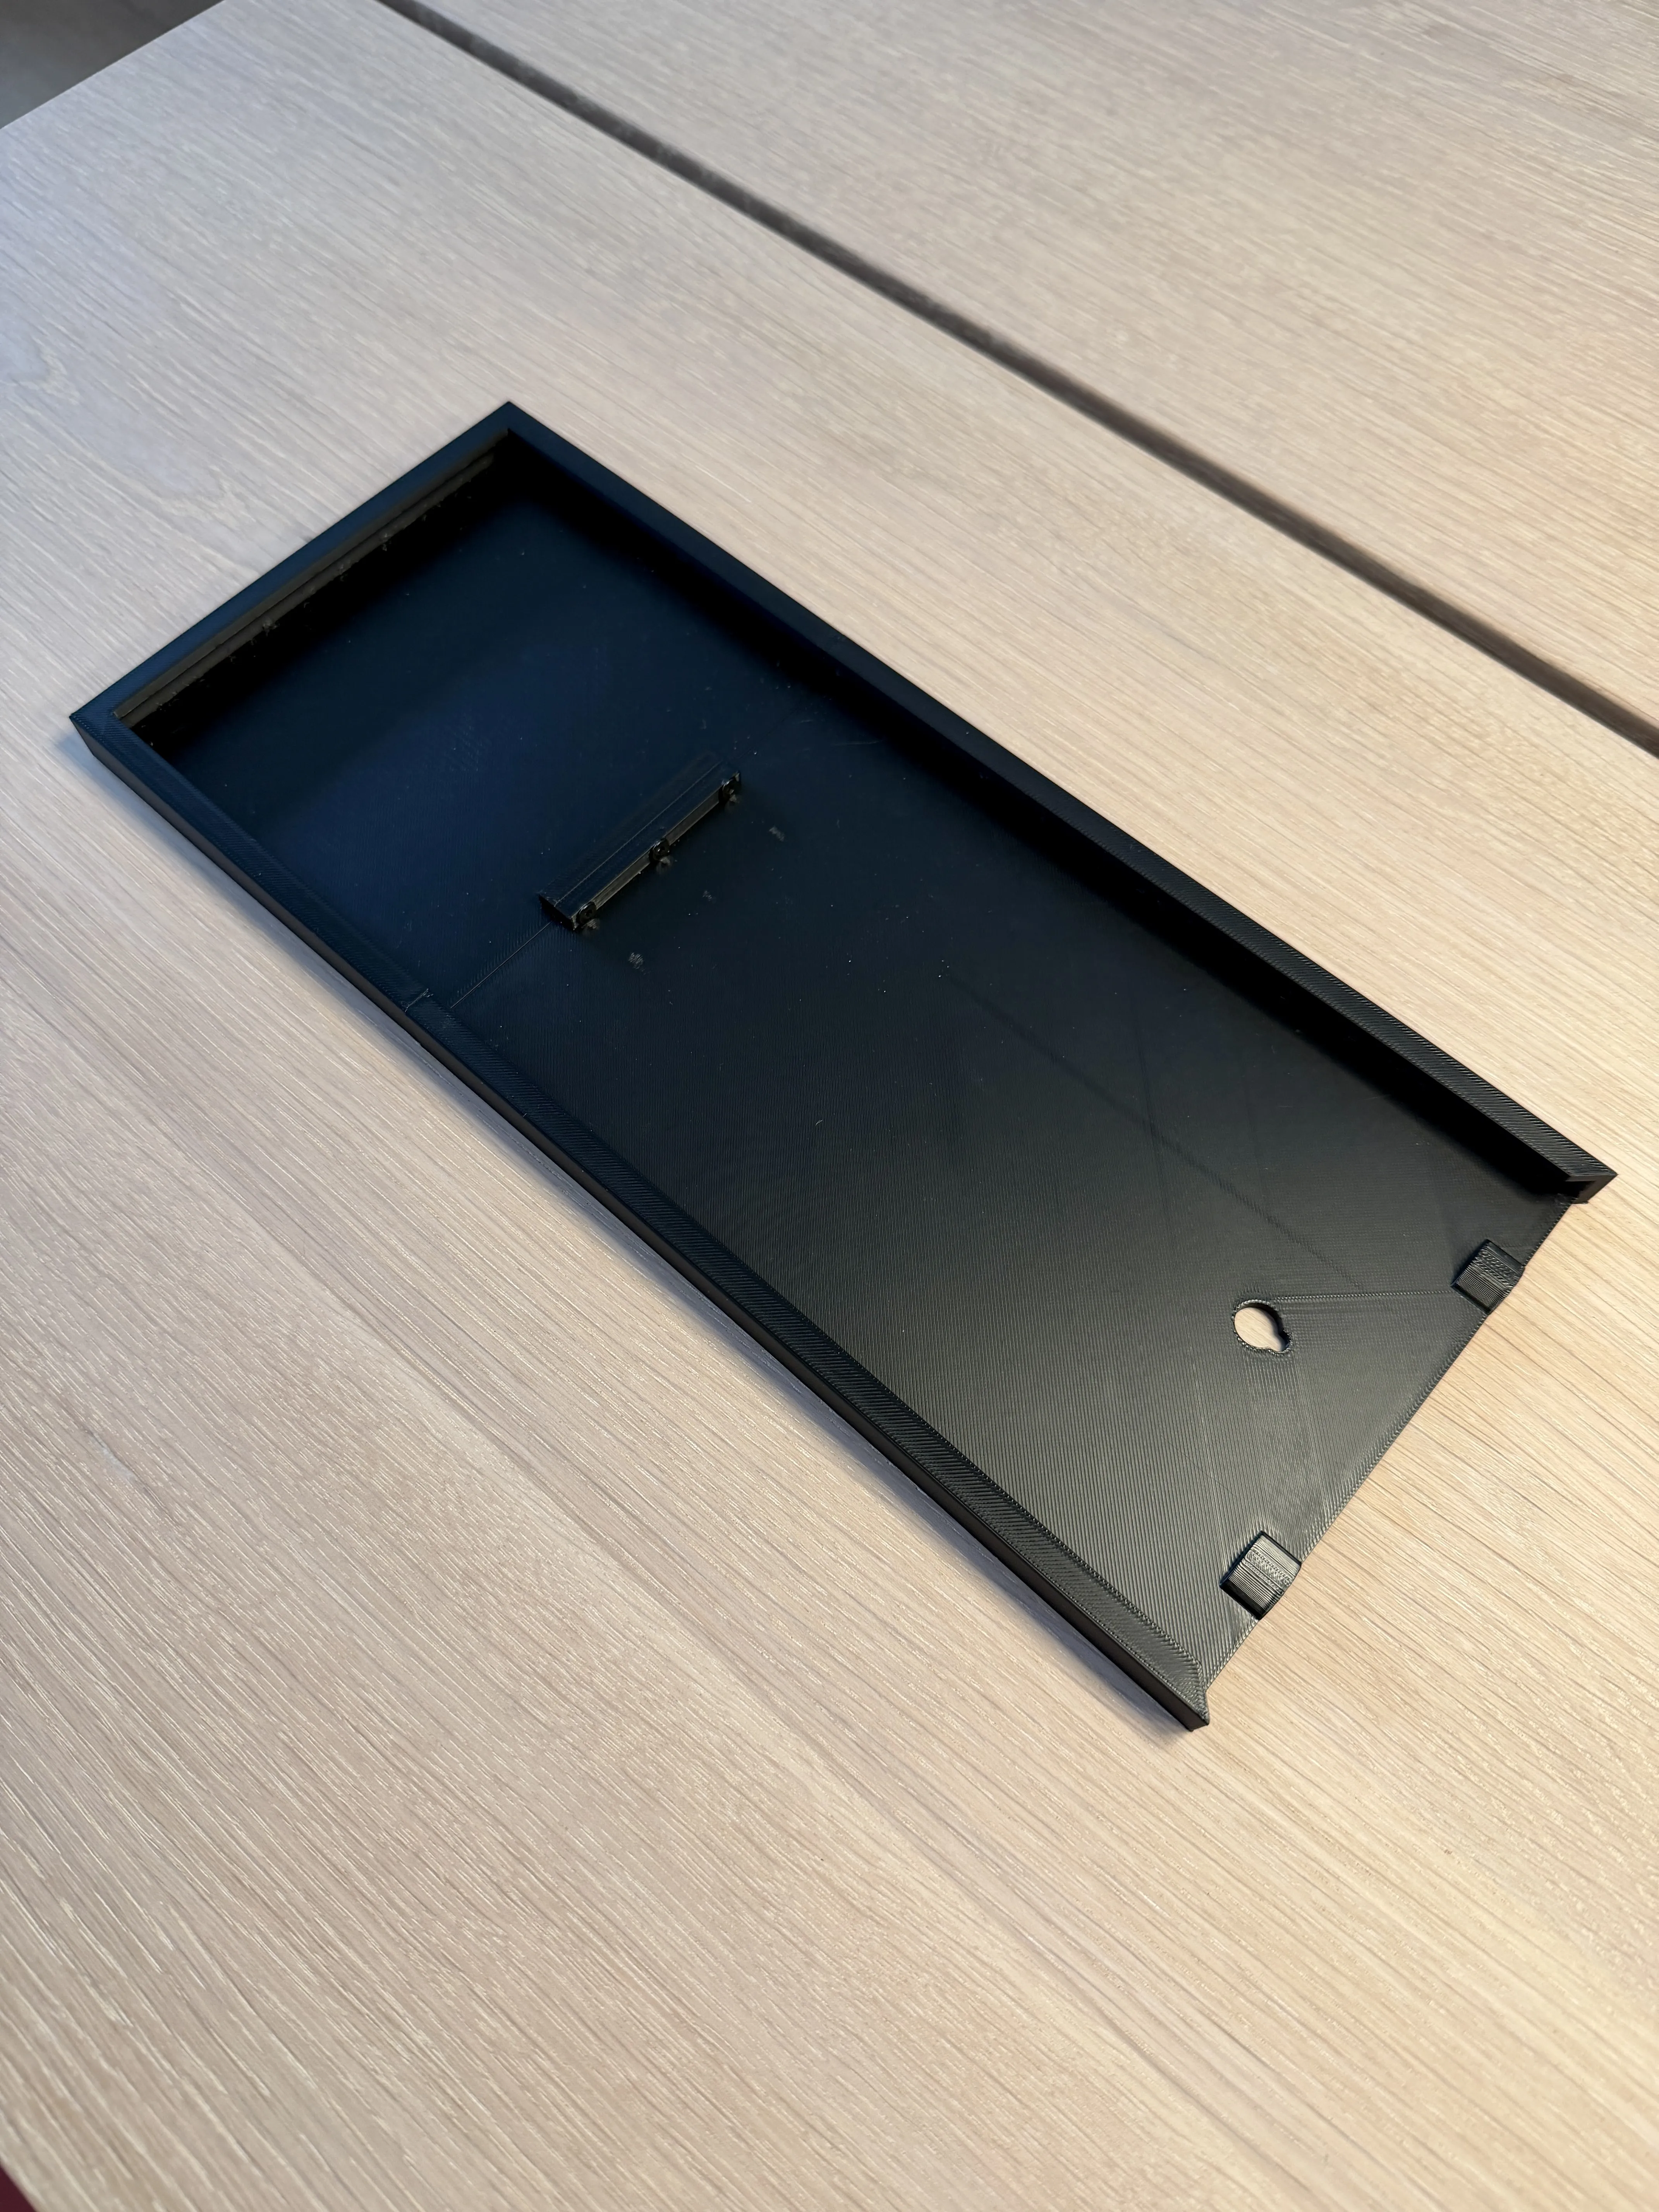
Upper and lower frame 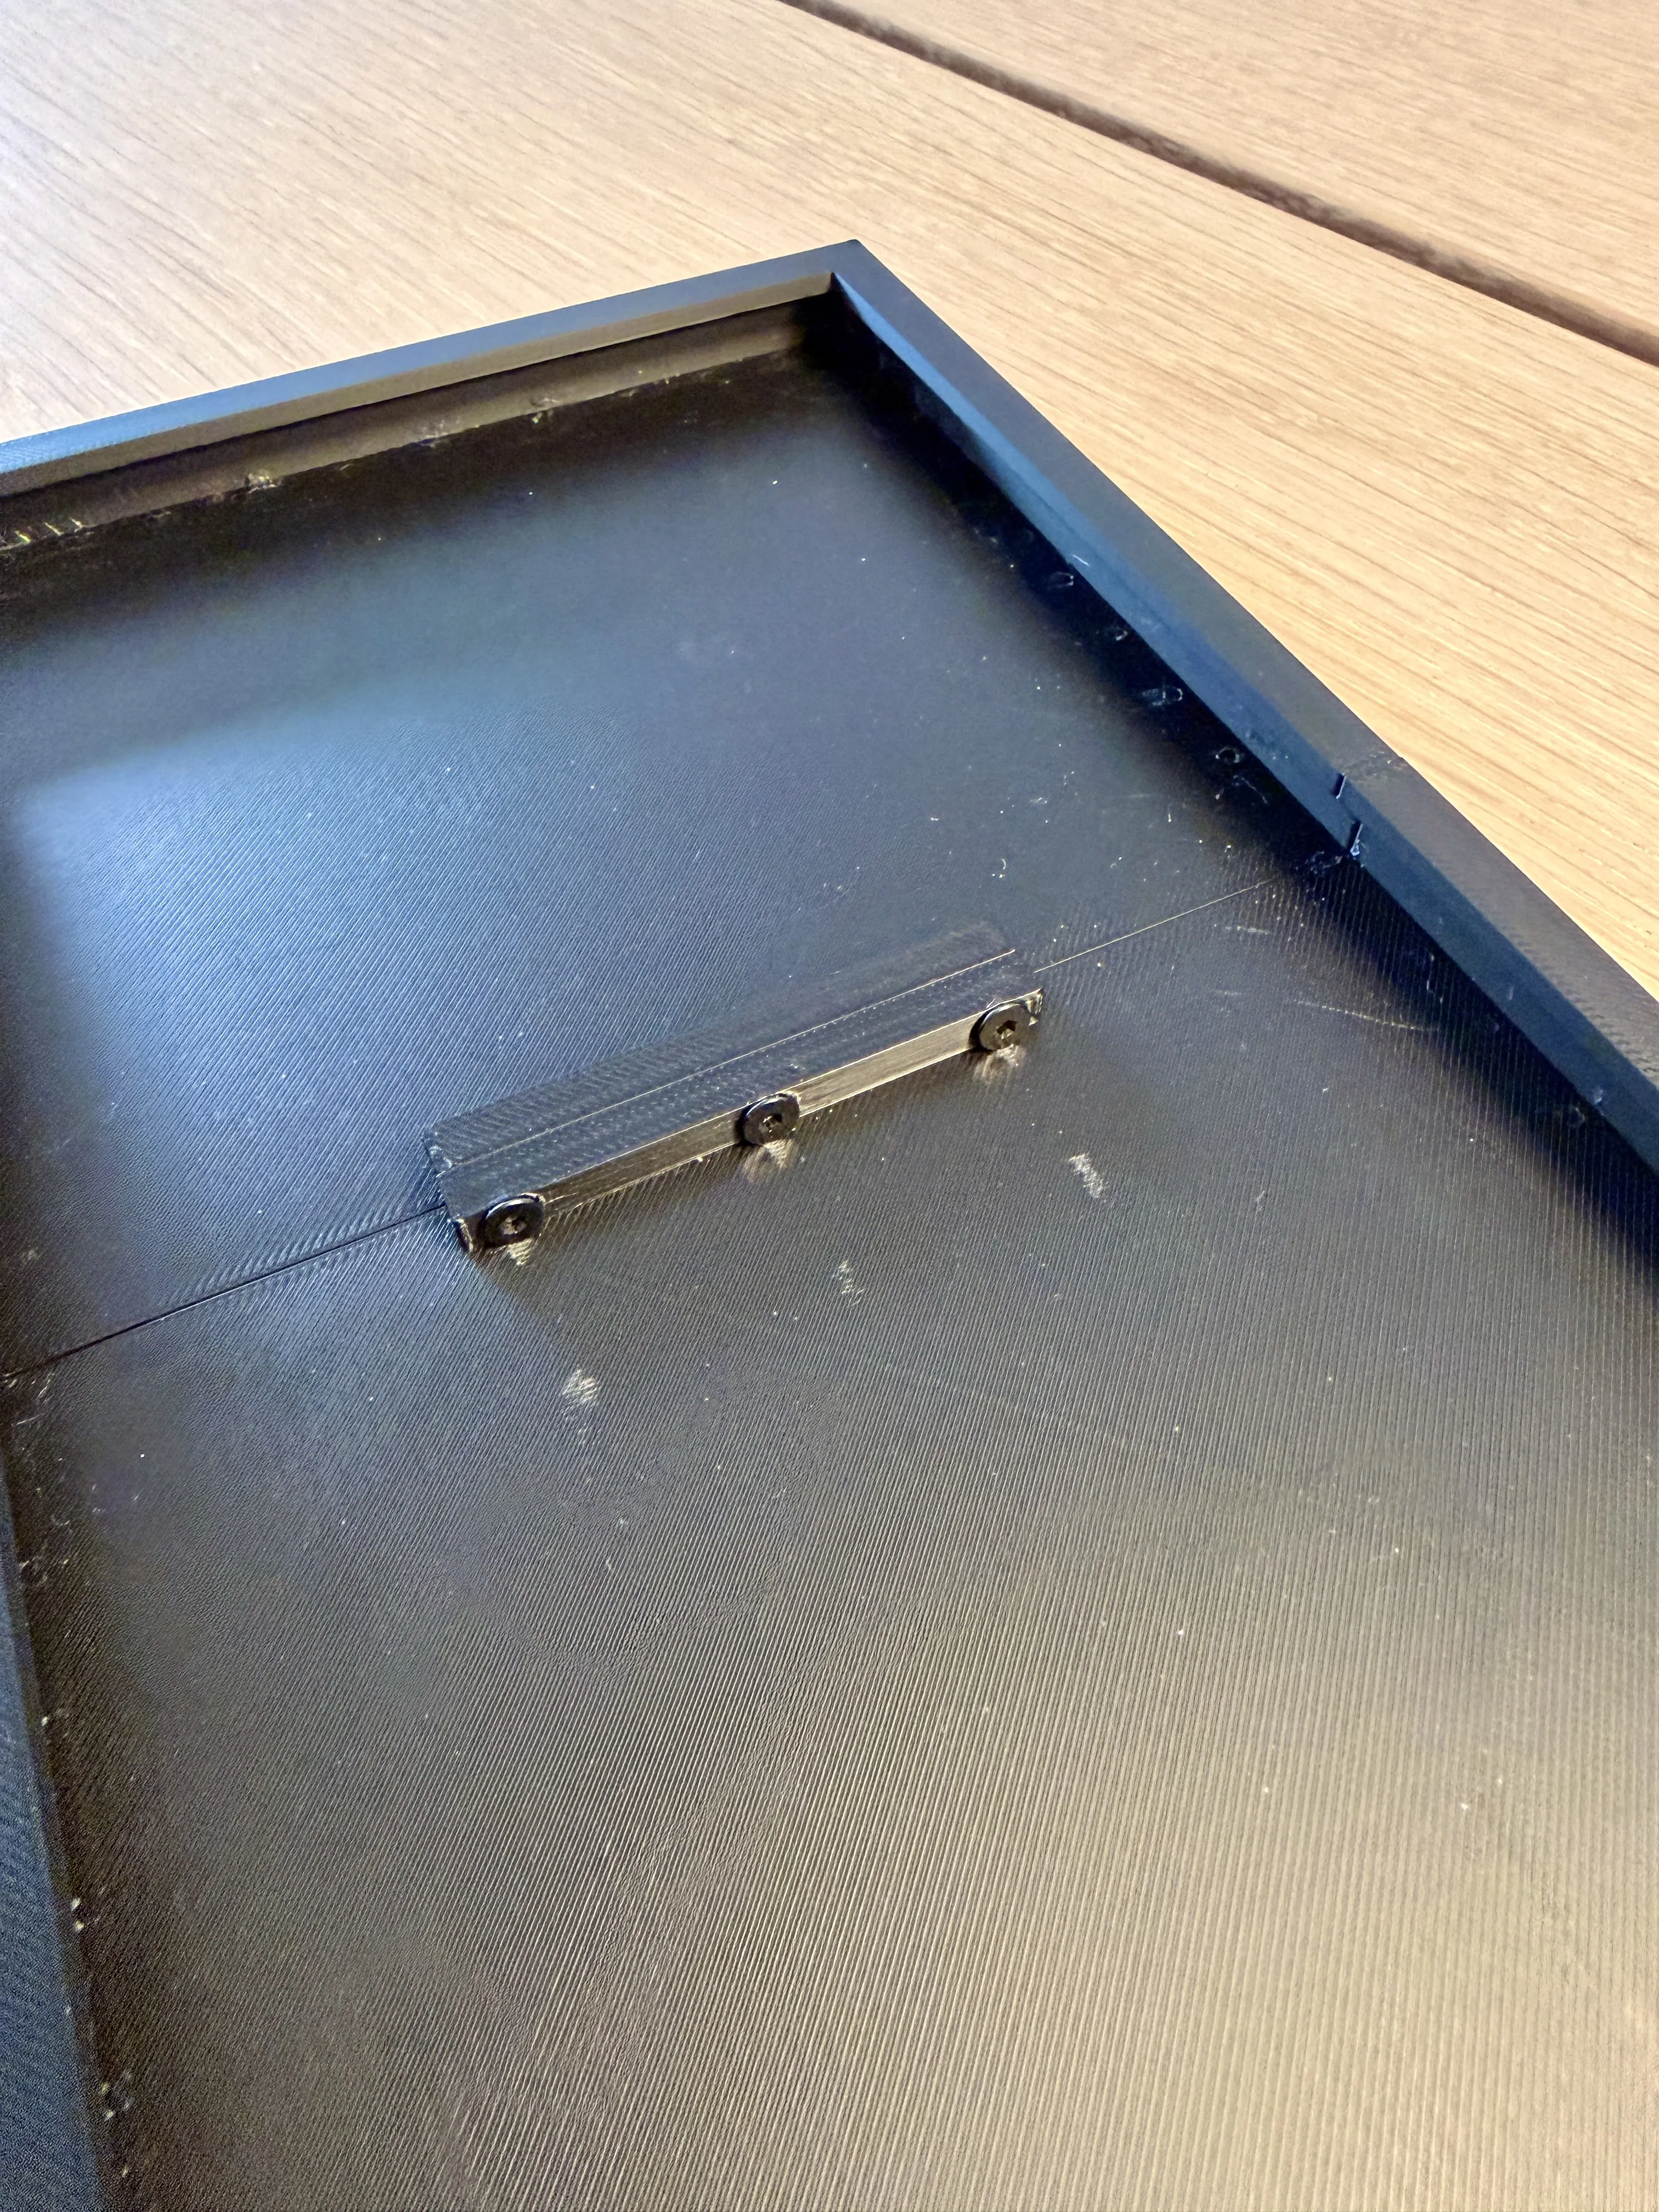
Connect the parts with 3 M3x12 screws Slide in the Map Spacer together with the map itself.
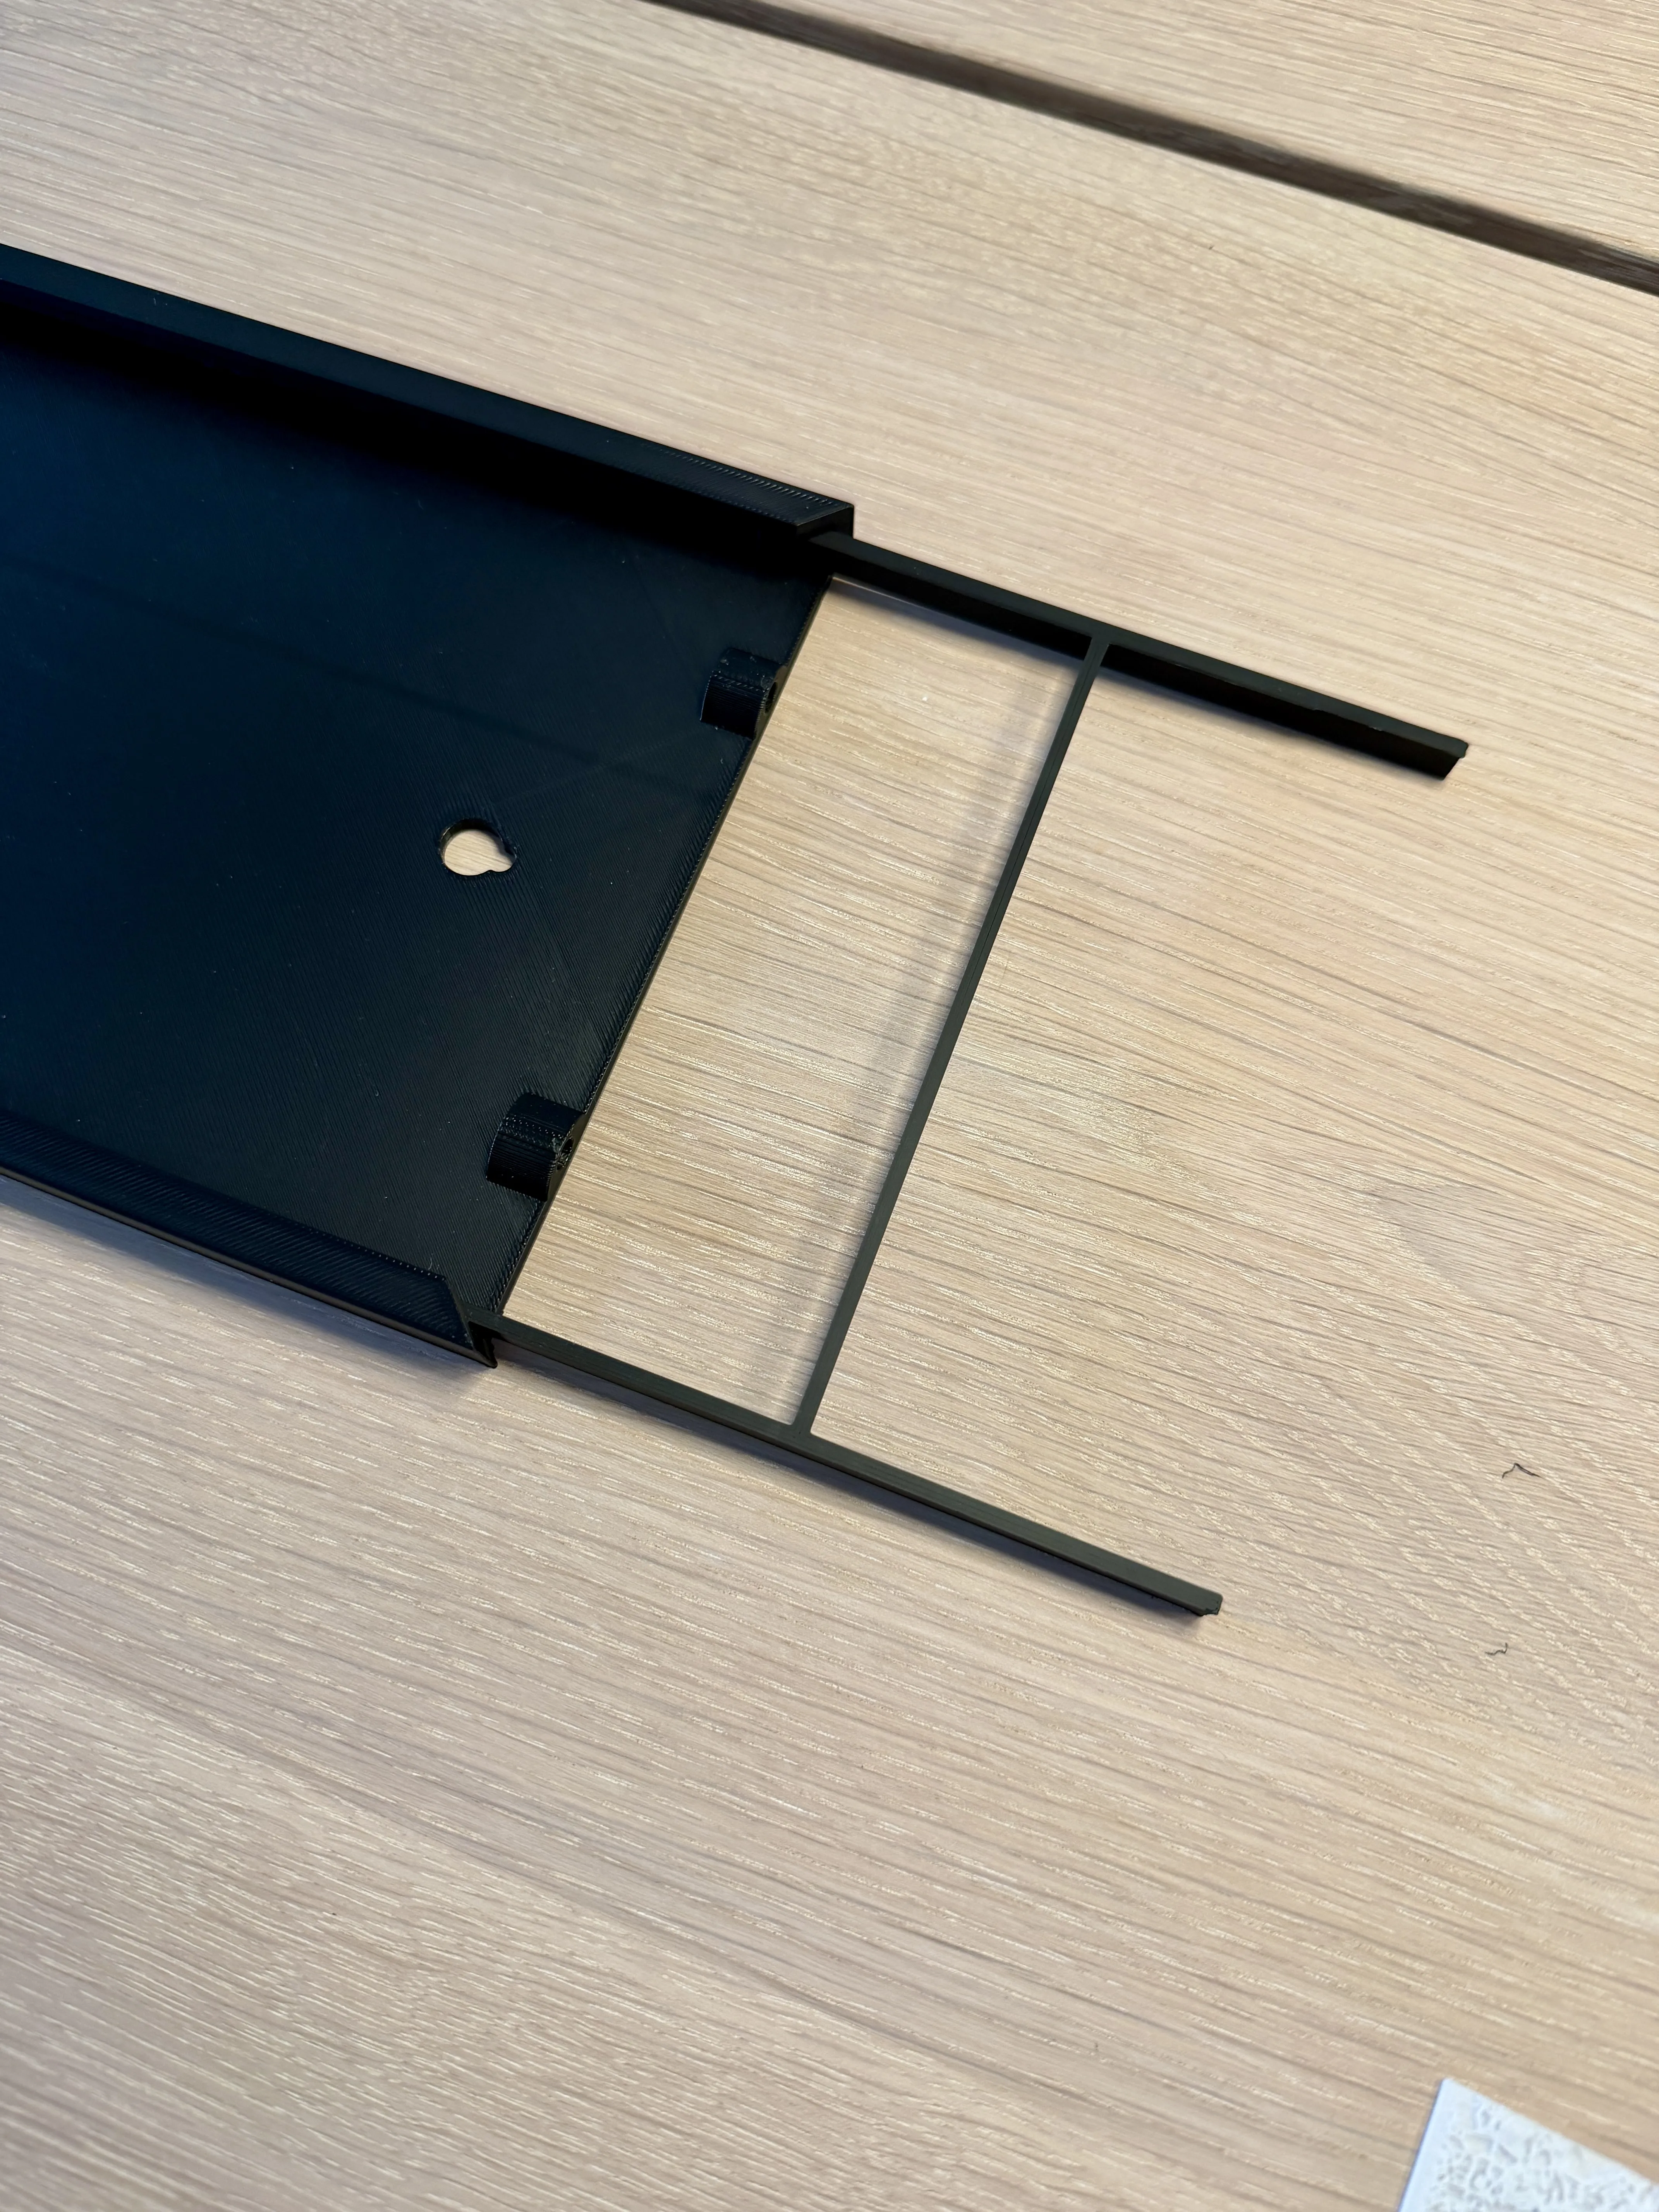
Map Spacer 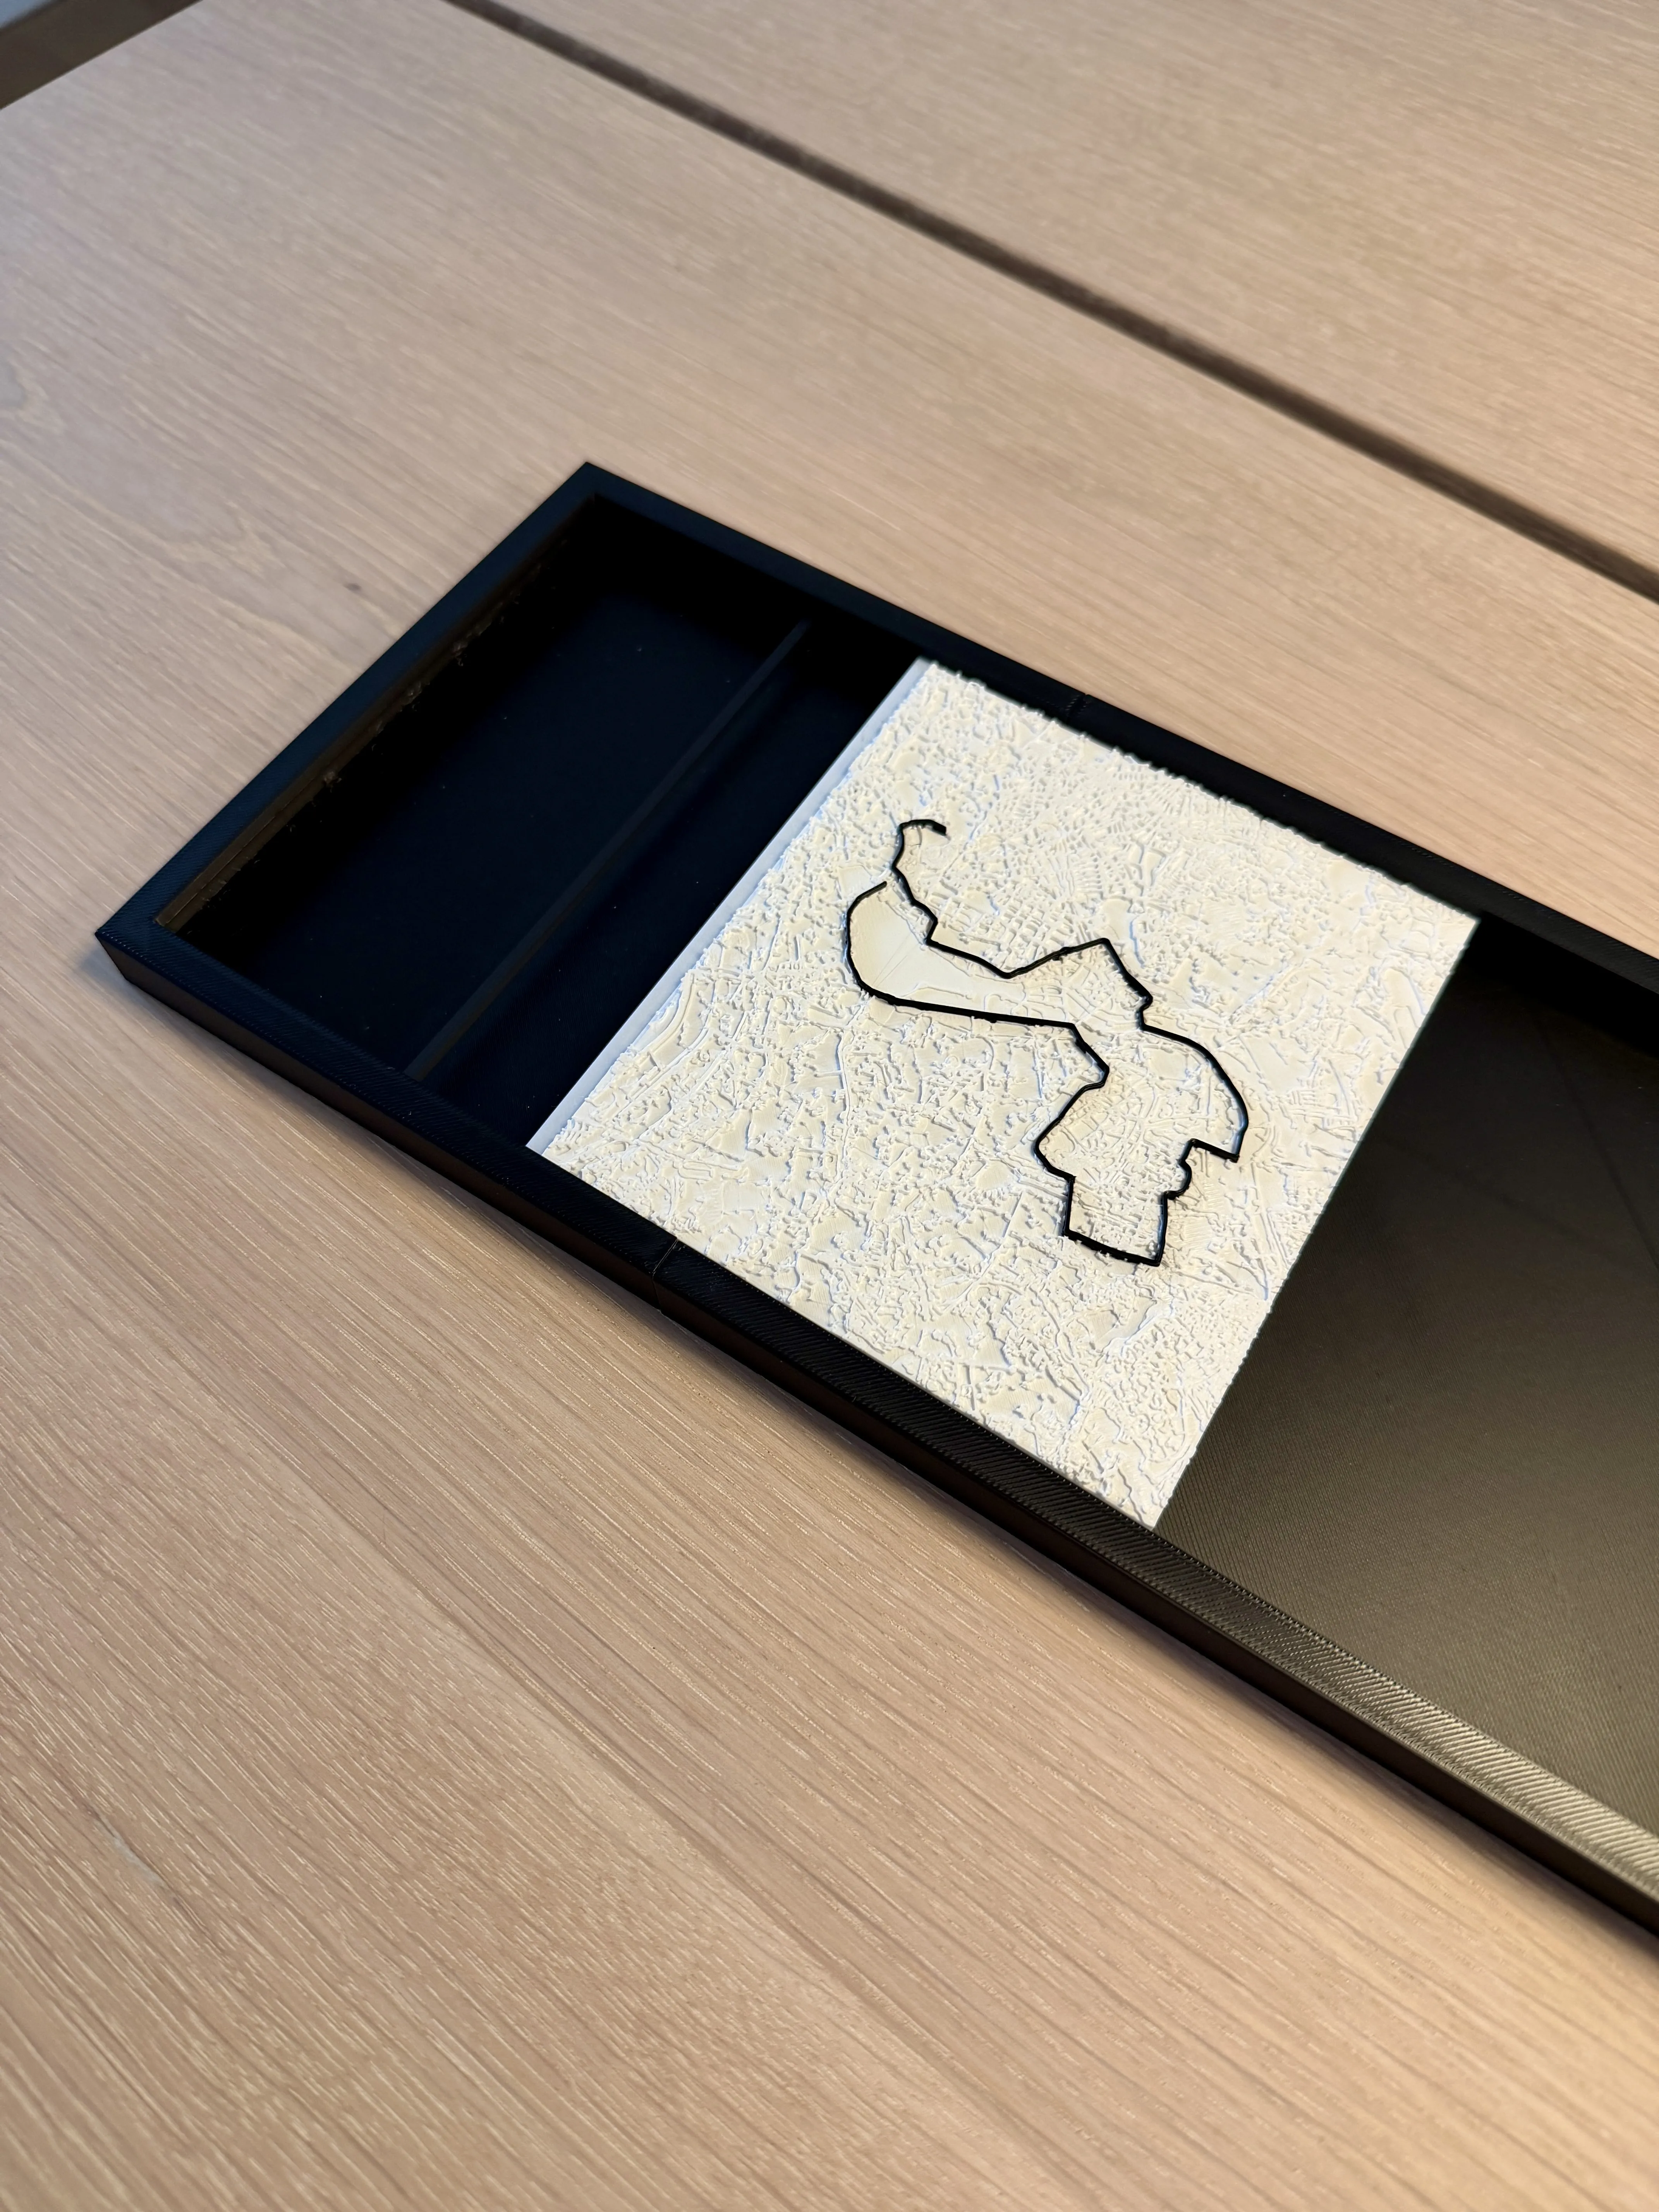
Map on top of Spacer Insert the magnets in the upper frame as well as in the lid. Make sure the magnets in the frame are pushed down a little bit so that the lid is locked into place physically and magnetically when attached.
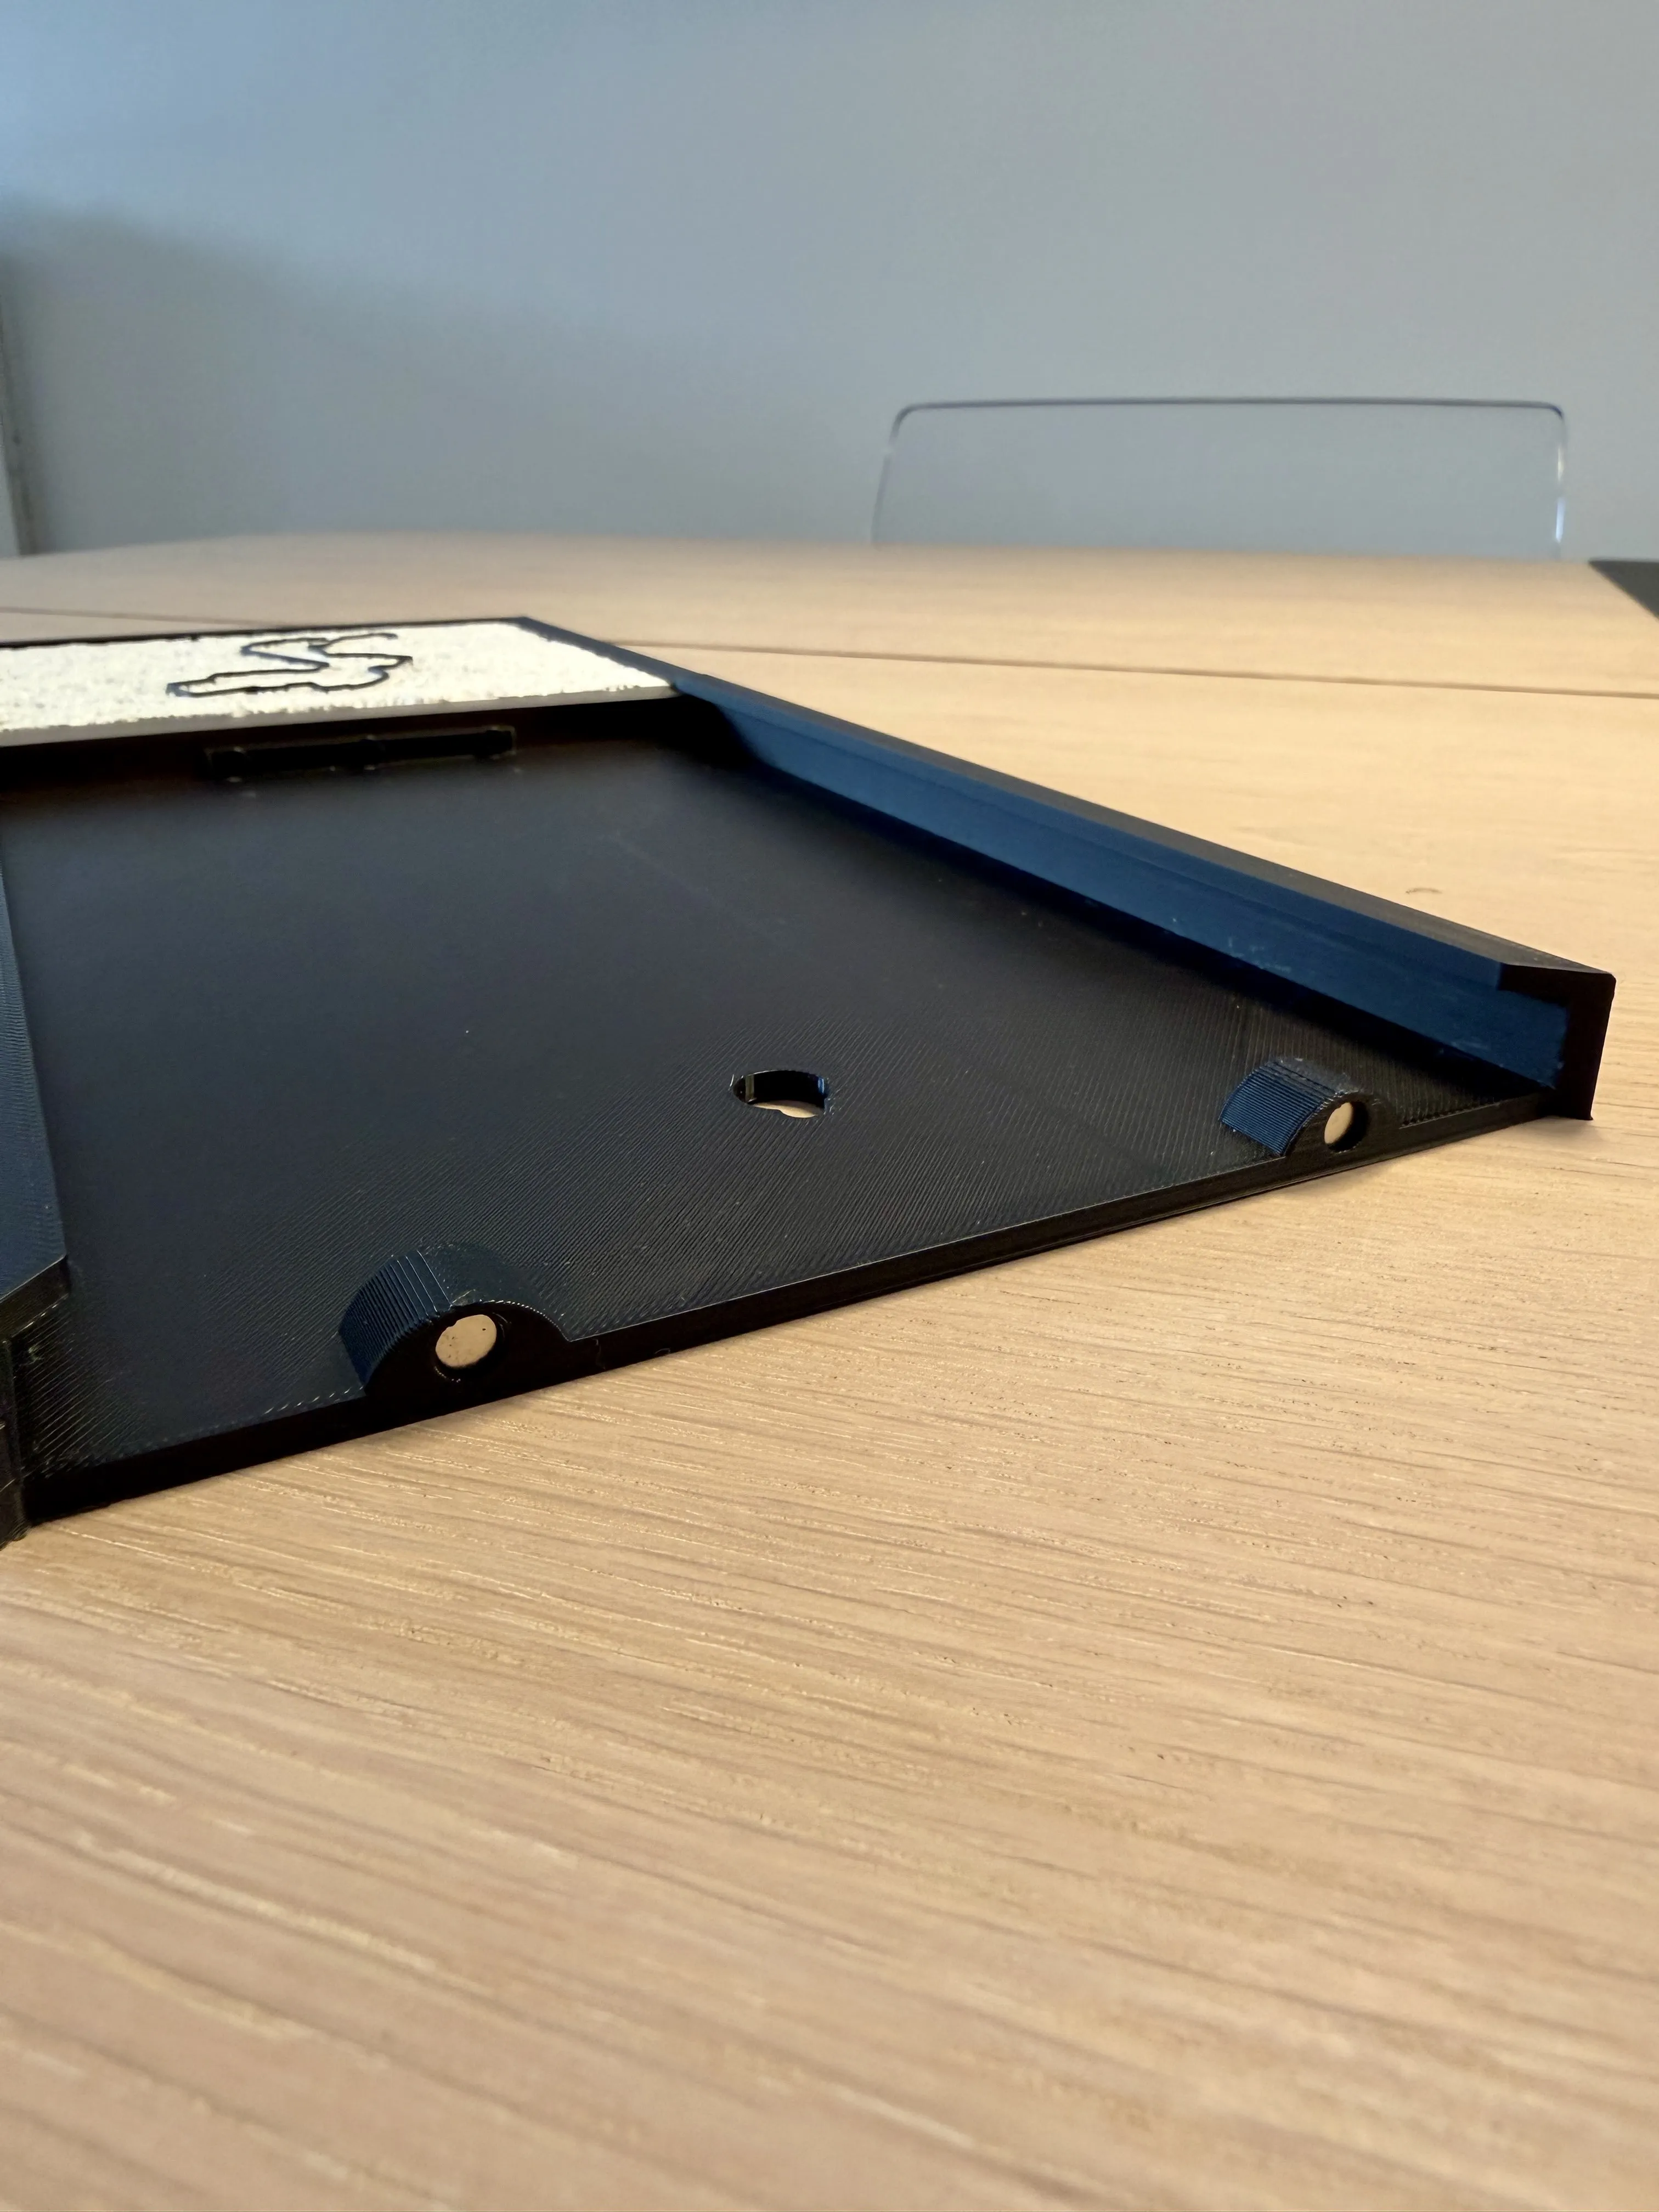
Magnets in Upper Frame 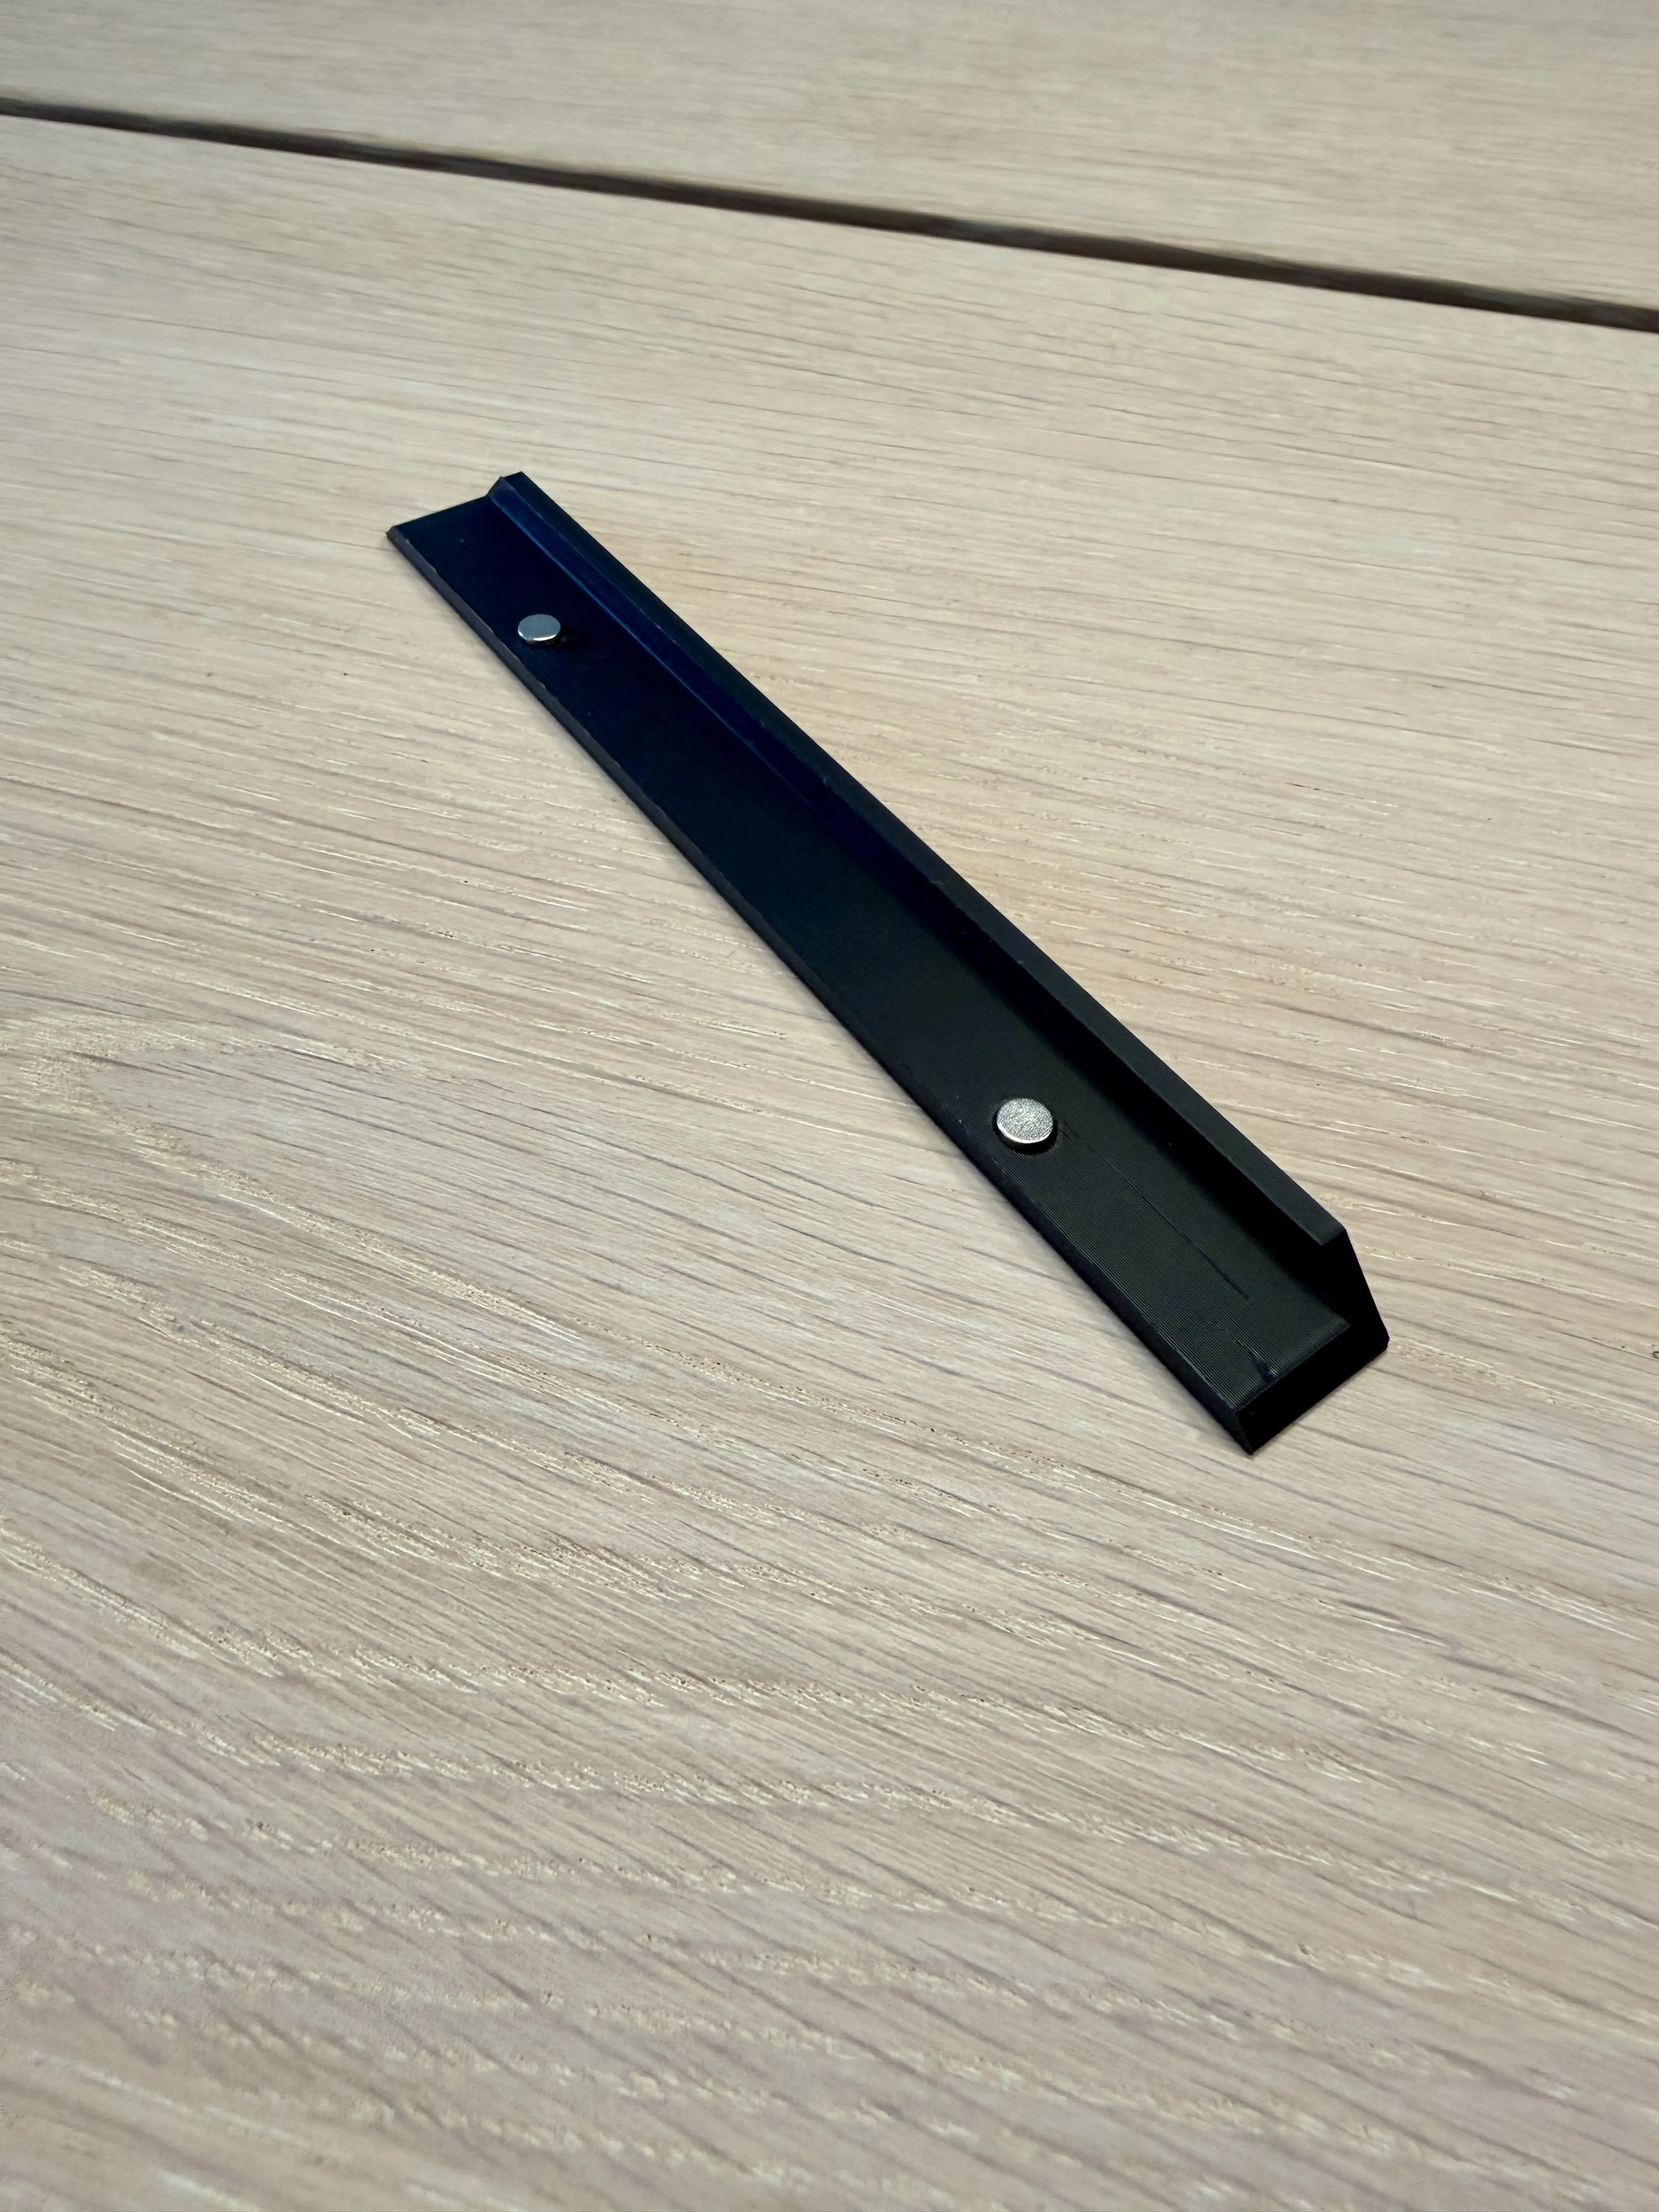
Lid with magnets Thread the medal ribbon through the cutout of the plate. Secure the medal itself with a bit of blu tack. Use the medal spacers if your medals have some see through parts, must be scaled as necessary.
On the back side of the plate fold the ribbon of the medal, take the Ribbon Holder and screw it in using 2 M3x8 screws. Use a bit of cloth or similar if the ribbon is still sliding under the holder.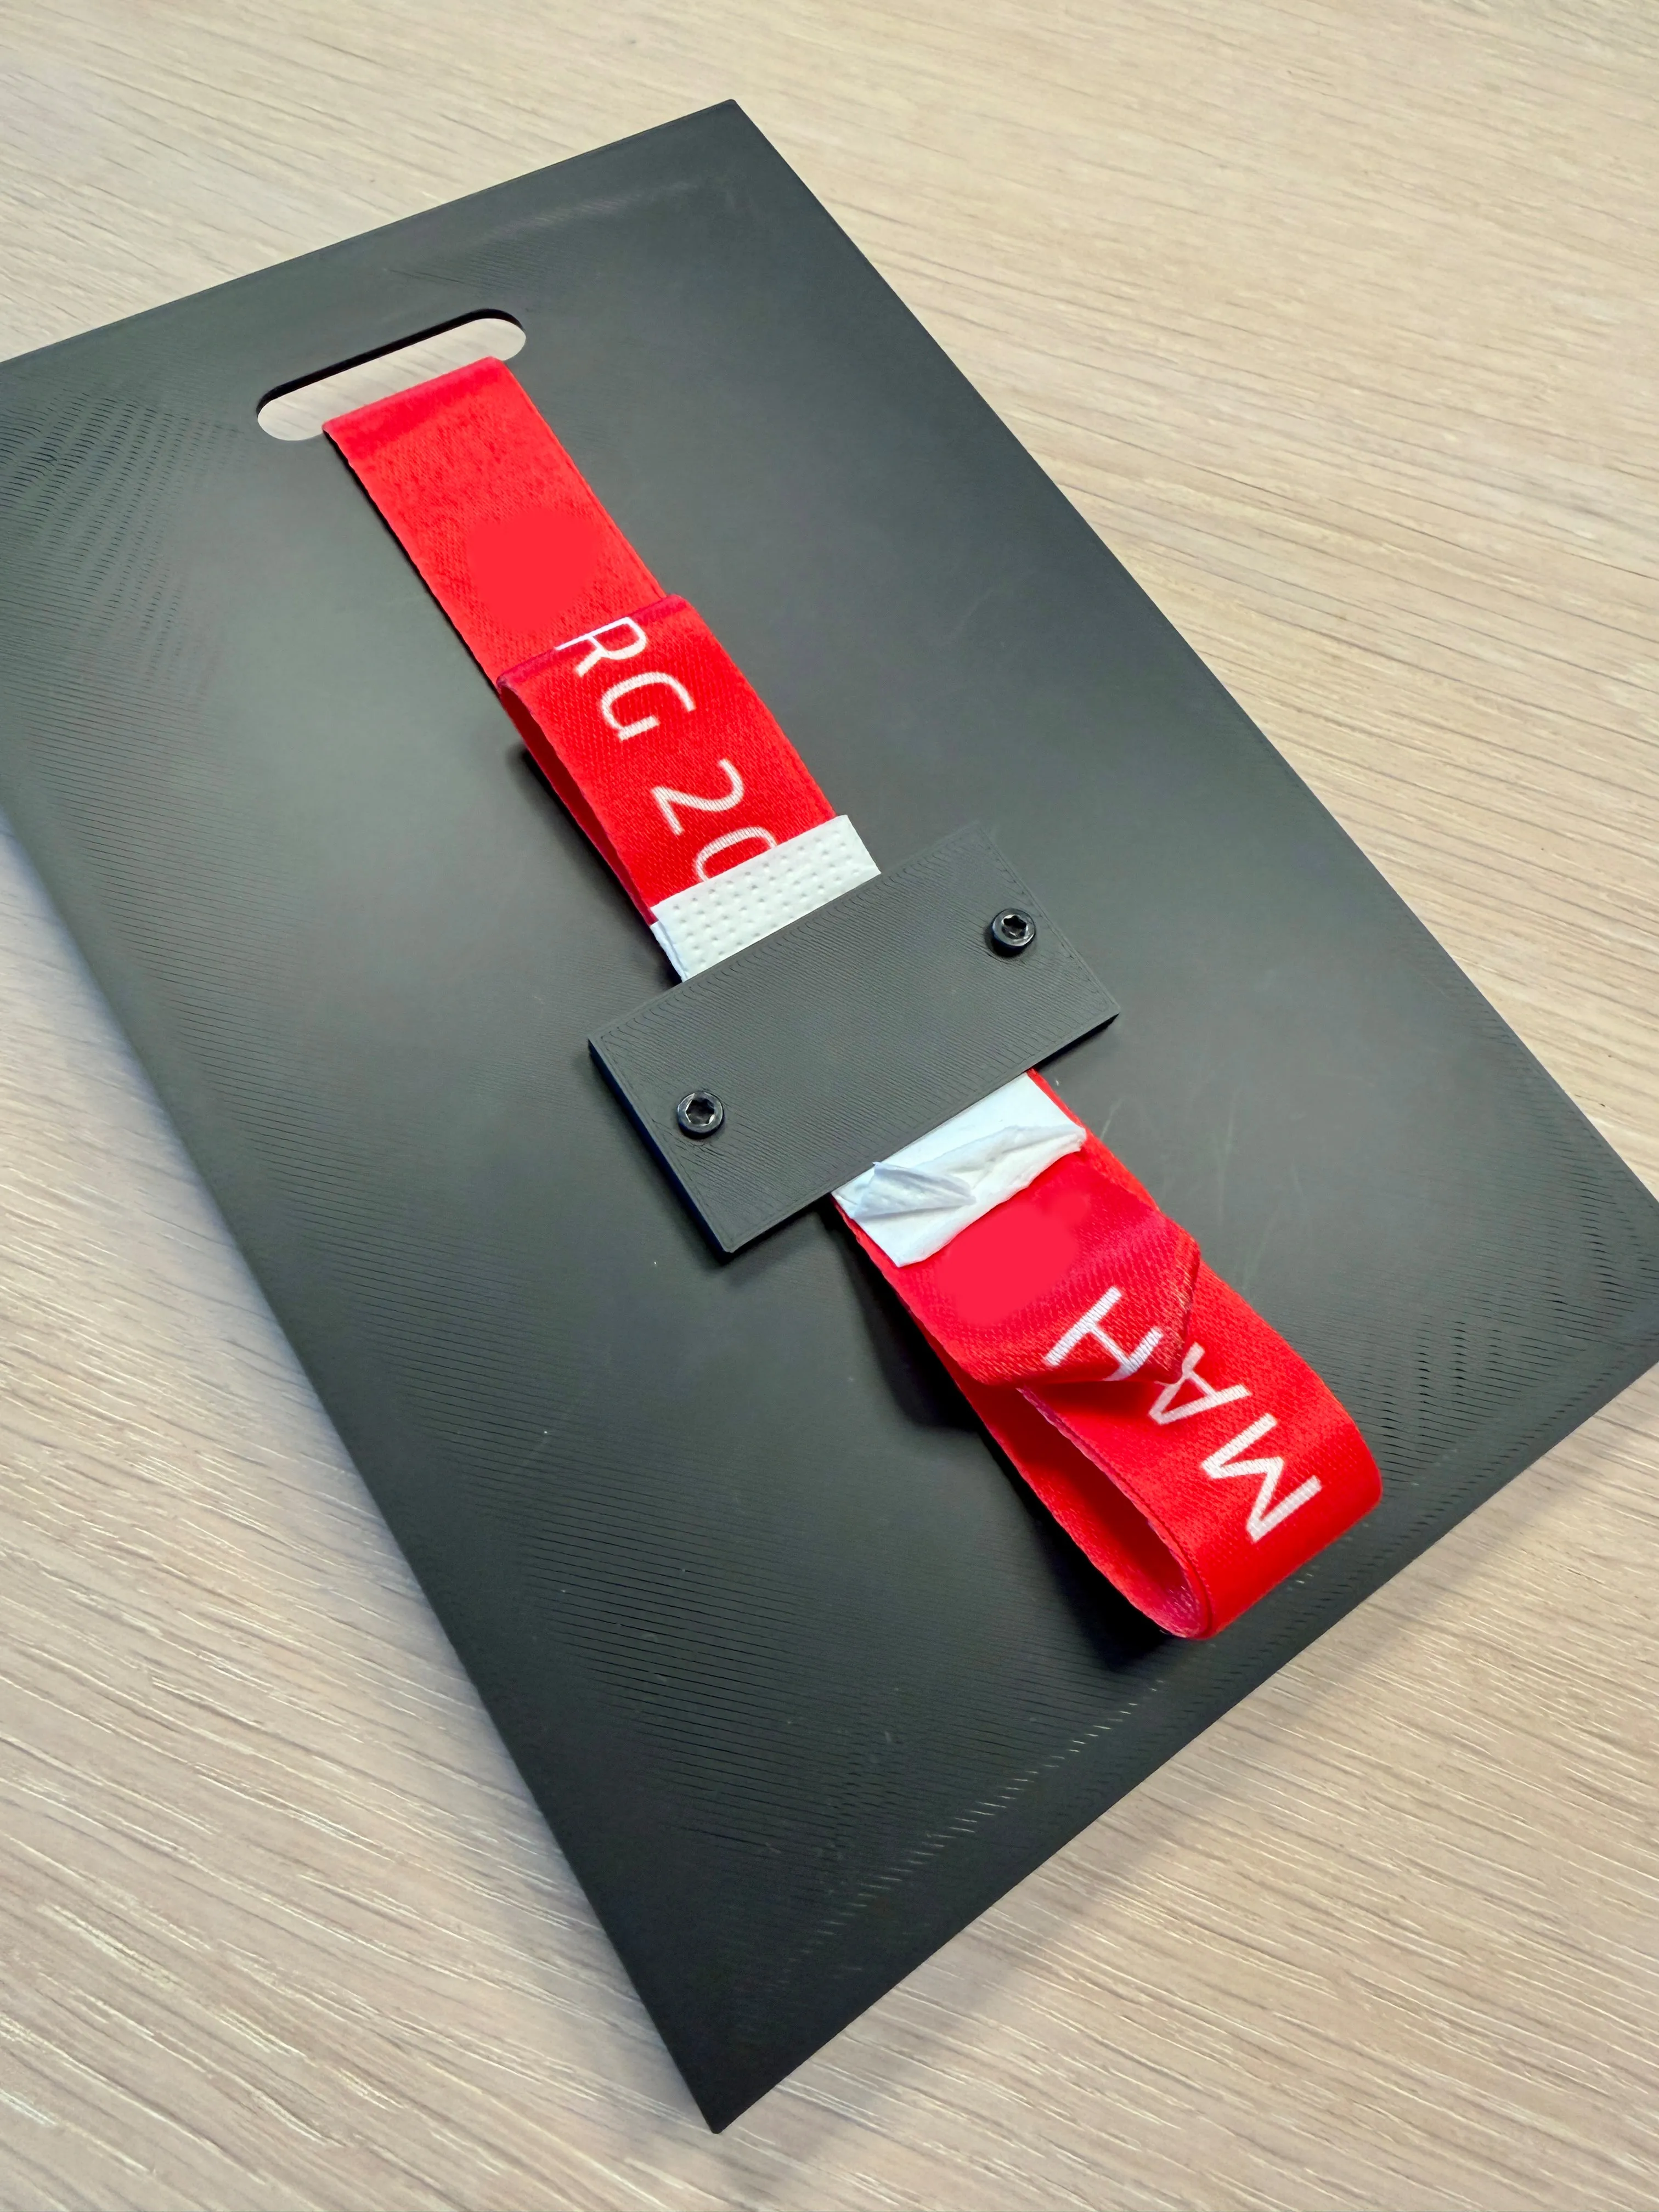
Back side of the Plate with Ribbon Holder Slide in the Plate Spacer and the Plate itself. Orient the Spacer so that it slides easily across the magnet bumps.
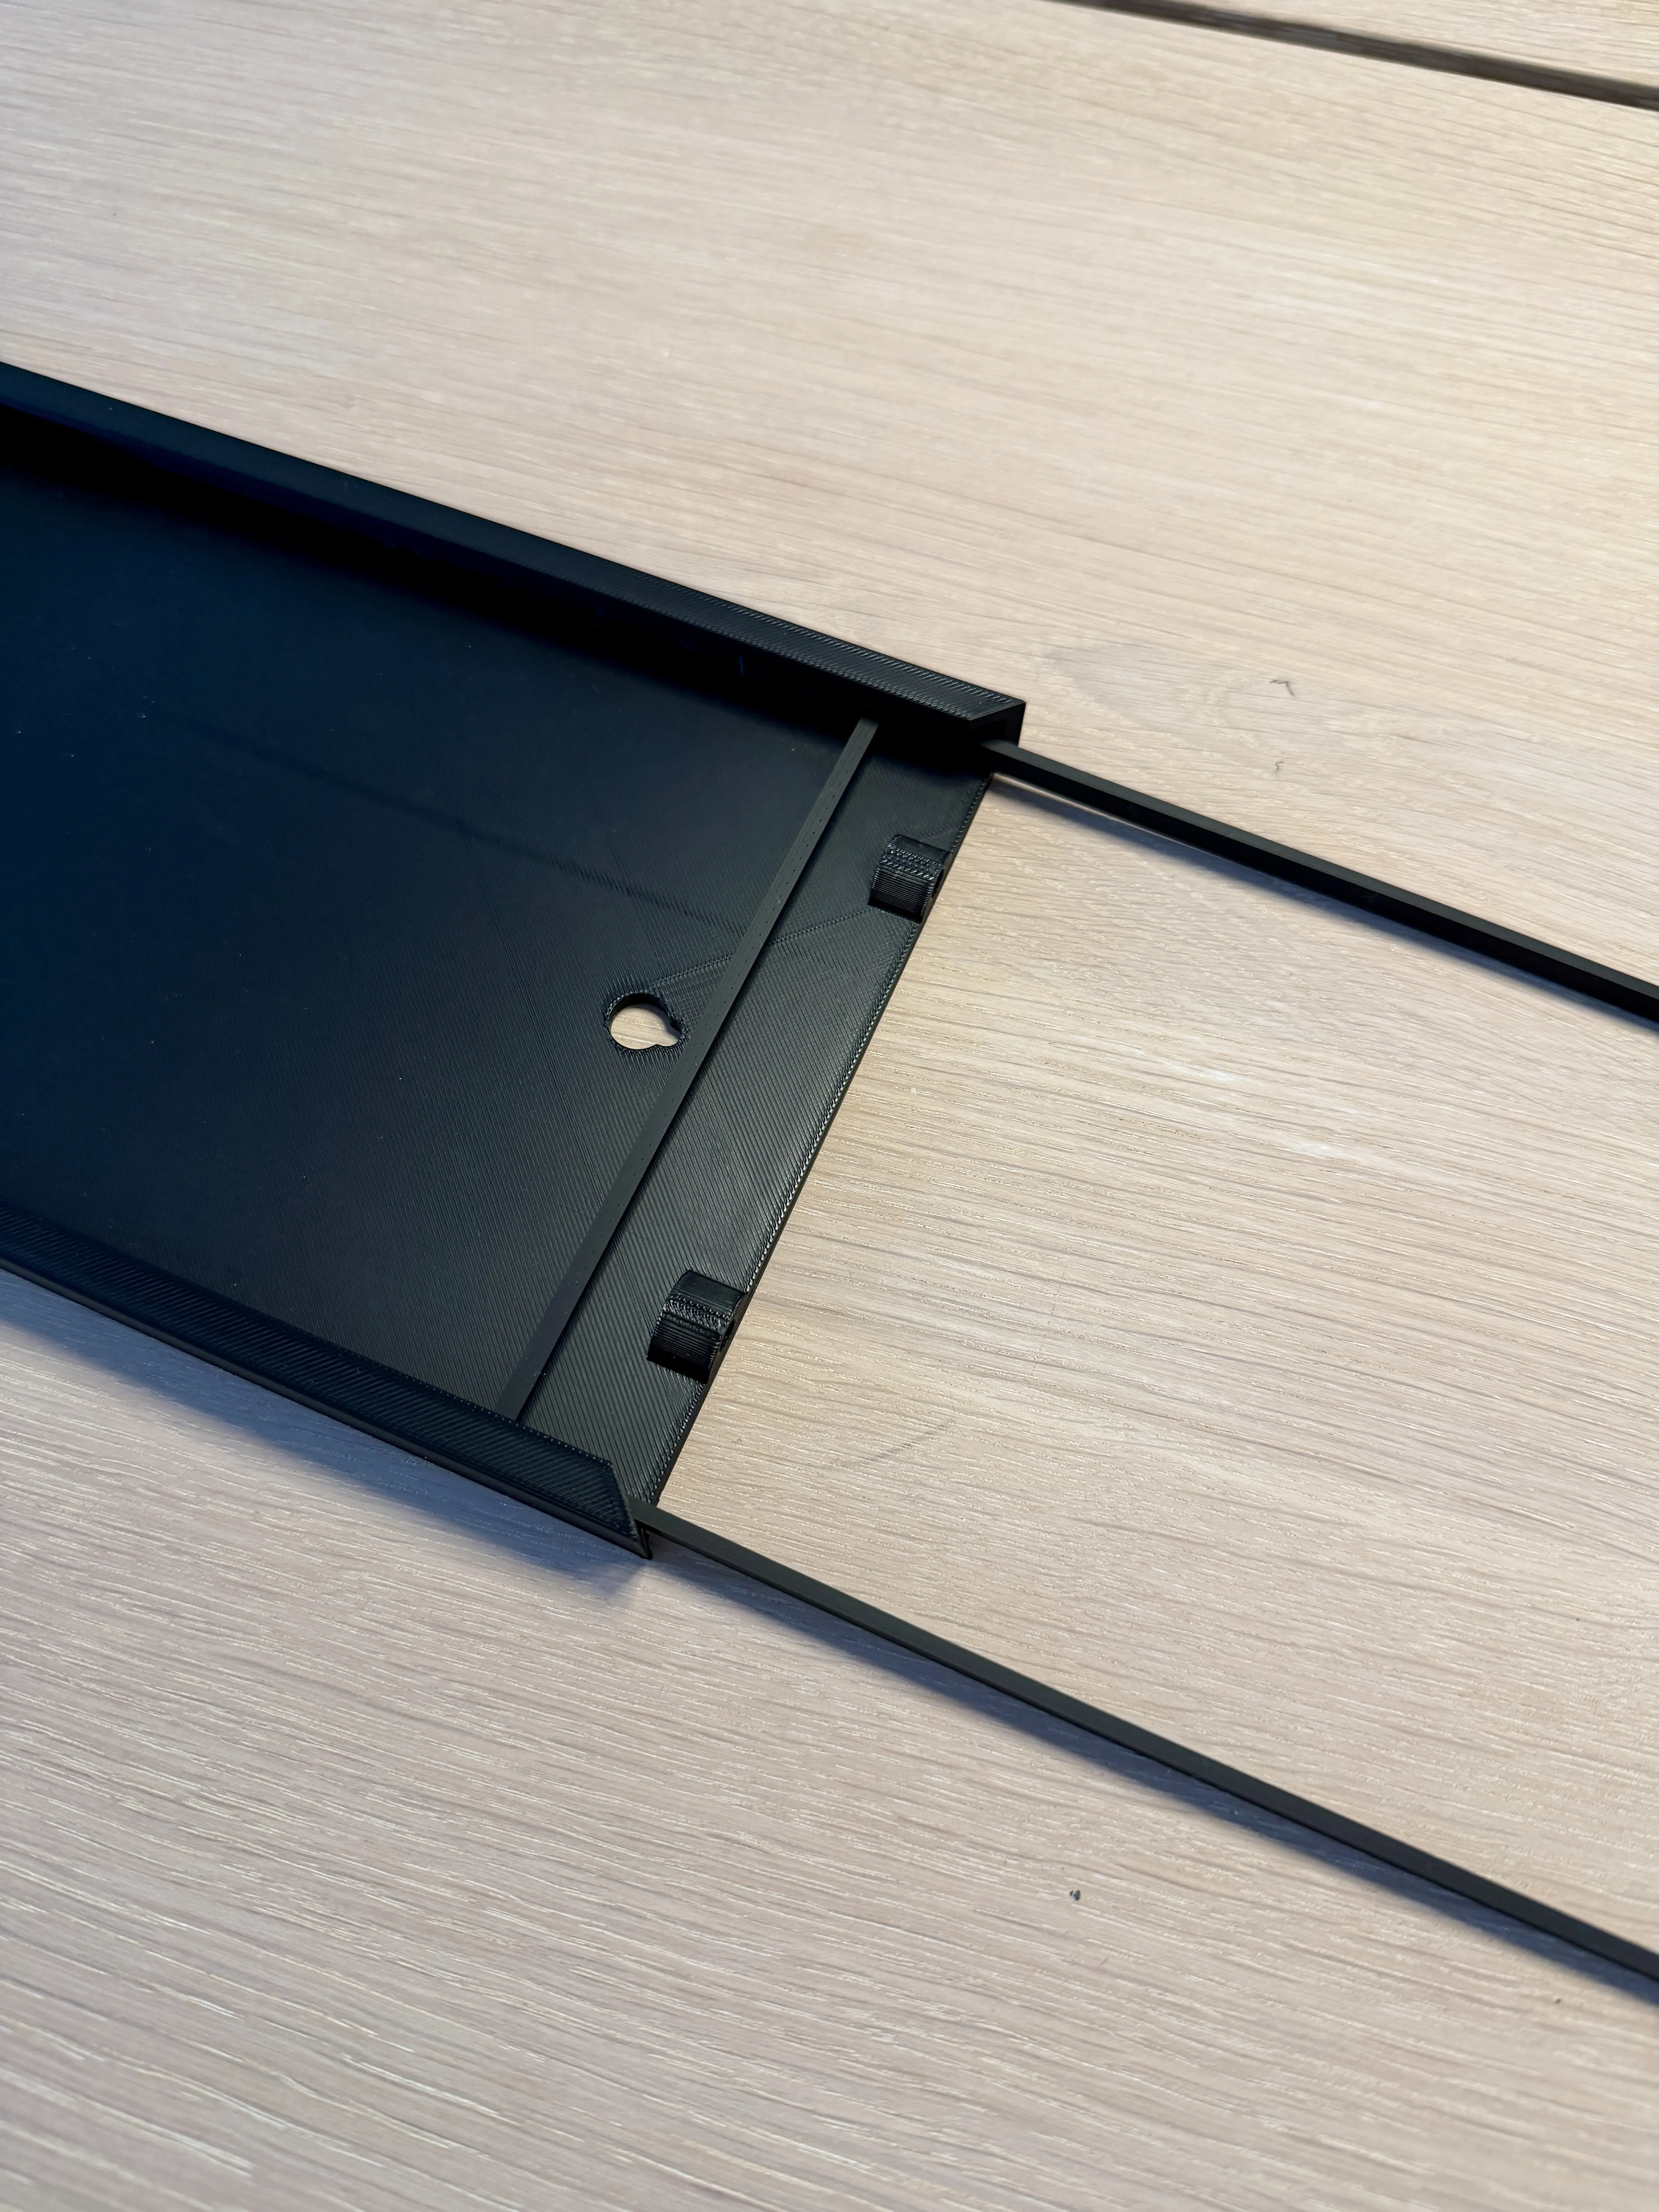
Plate Spacer - Attach the lid.
Mount it on a wall or put it onto a shelf.
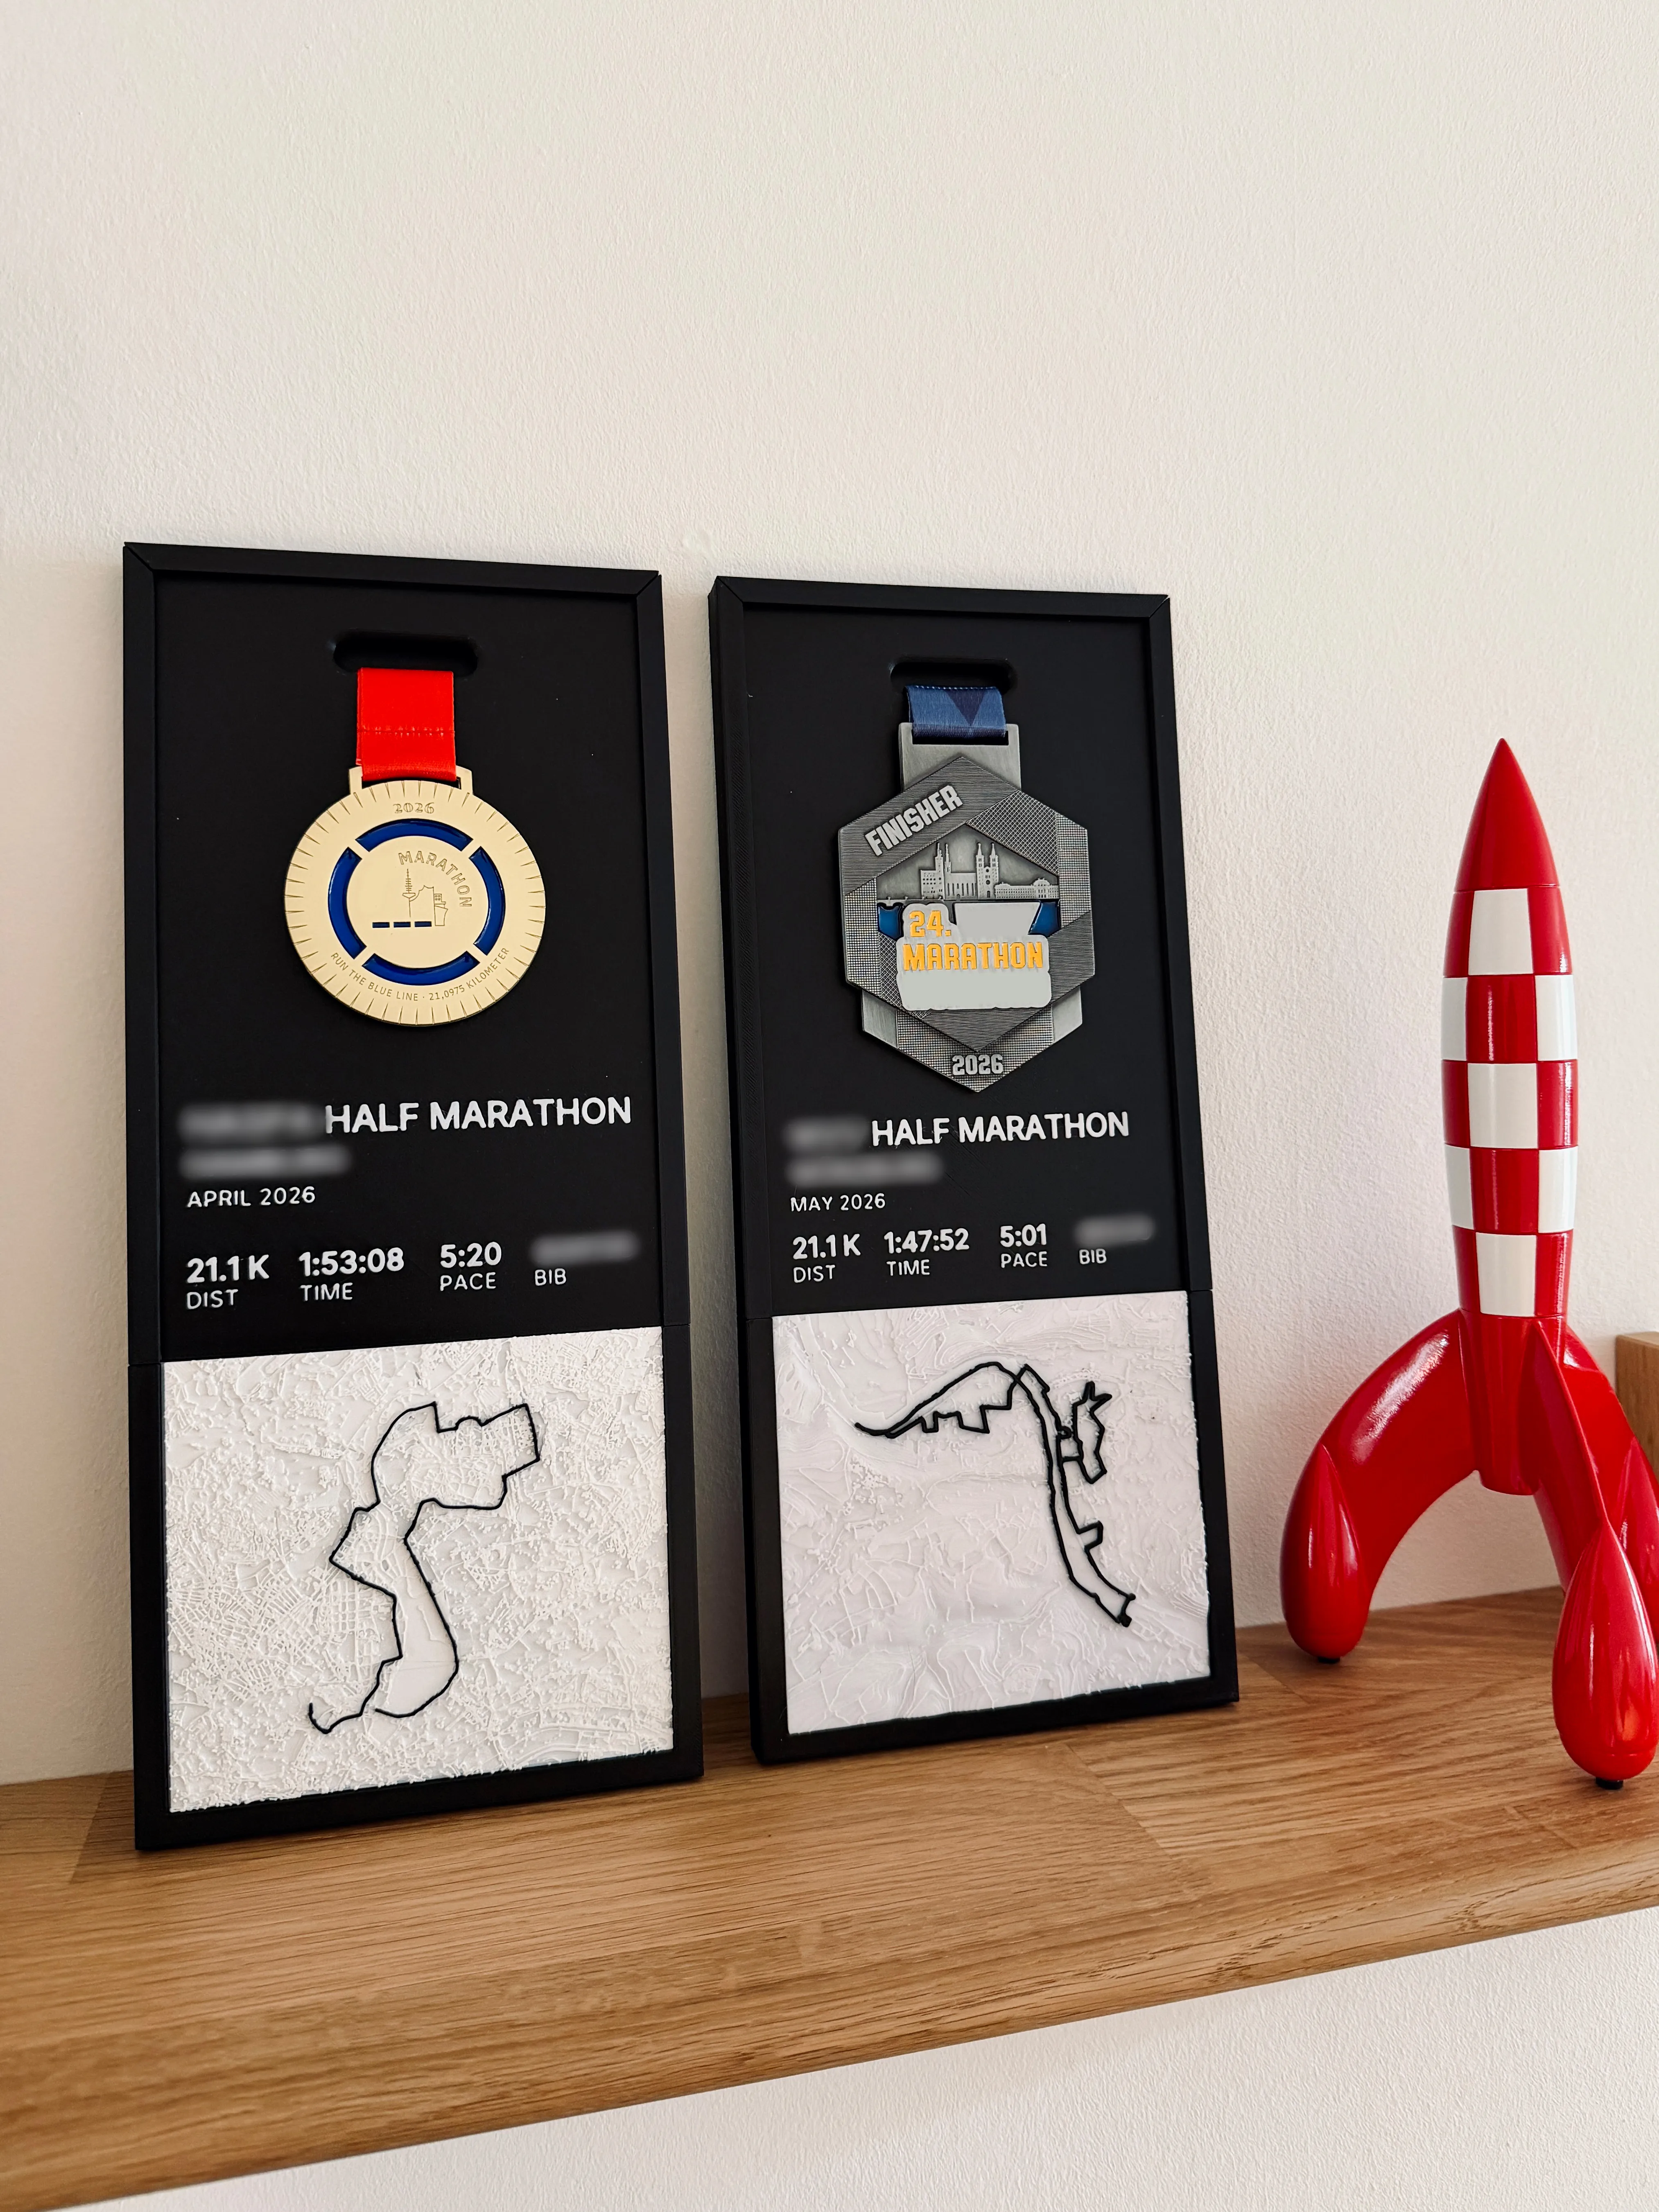
Marathon Medal & Map Display Frame - Boost me :)
Boost Me (for free)
Boost away and enjoy your Medal Display
Documentation (2)
License

You may create derivative works based on this object, provided that all such derivative works are published exclusively on the MakerWorld platform and include proper attribution to the original creator. You may not share, upload, host, distribute, or publish this object—or any derivative work of this object—on any other digital platform, marketplace, or distribution channel. Commercial use of this object and any derivative works is strictly prohibited. This includes, but is not limited to, selling, renting, sublicensing, or using the object in any context in which you receive monetary compensation or other financial benefits.


Comment & Rating (27)