Magnetic Polarity Indicator Pen


Print Profile(2)
Description
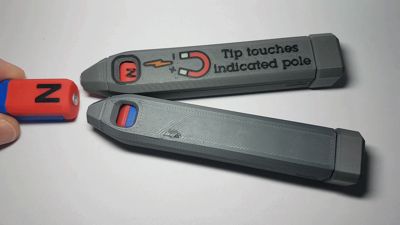
A simple pen to reliably identify the polarity of magnets.
No batteries or power required, this works purely mechanical, with a decent degree of sensitivity.
Just touch the tip of the pen to any magnet and the colour indicator will indicate the pole touching the probe.
---------
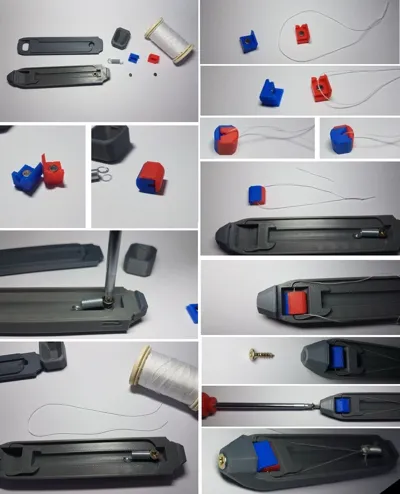
There are some extra parts required:
- a small tension spring, alternatively a decommissioned ballpoint pen spring will do
- 2 screws Ø3 x 12, or similarly sized
- 2 small neodymium magnets Ø4 x 2
- a short length of sewing thread
Assembly is simple, but takes a couple steps:
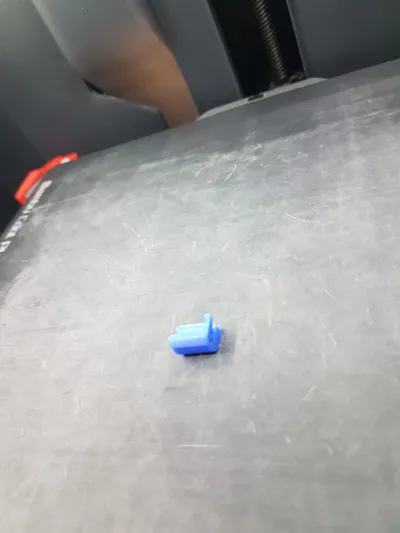
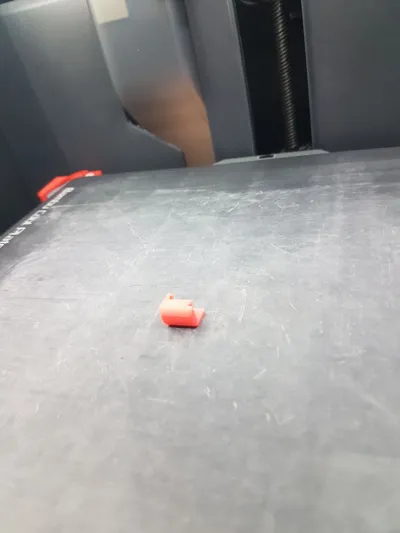
- add one magnet to each of the two magnet pole holders (blue and red), mind the polarity, the two halves should attract
- attach the spring to the housing with a screw (do not screw too deep or the screw will pierce the housing)
- measure a length of thread and tie into a closed loop, (slightly) too long is okay
- fit the loop between the two pole holders and snap them together. This will fix the thread to the holders
- mount the holders with the loop into the housing and loop the thread-loop through the free end of the spring
- determine the correct length of the thread loop, keep tying the loop shorter until the spring is under slight tension
- add a screw to the tip of the pen, this will serve as the touching probe
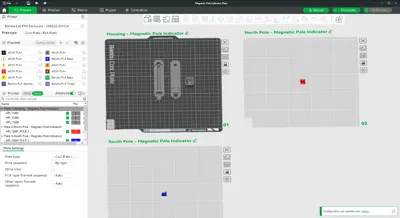
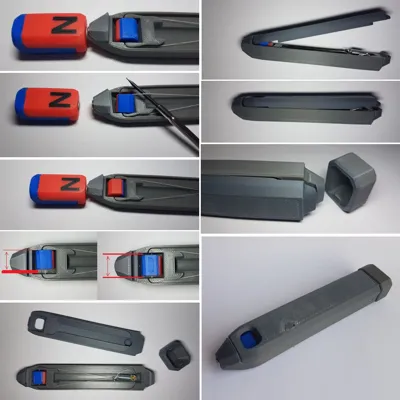
Now it is important to verify the polarity and correct if necessary.
Hold a magnet with known polarity to the probe tip (the second screw) of the pen and verify the correct pole is indicated:
red is north, blue is south.
(There are many clips on the internet of how to determine magnet polarity.)
If the wrong color/pole is indicated, just flip the loop with the magnet holders.
Re-check that the polarity is now correct.
After that make sure that the pole holders are centered in the housing so they can spin freely.
Final assembly just involves fitting the cover plate and closing it by snapping the cap in place.
---------
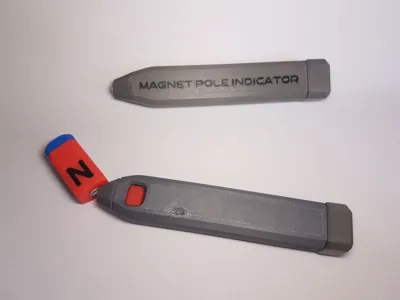
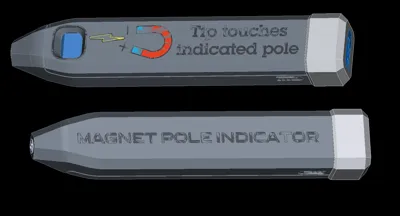
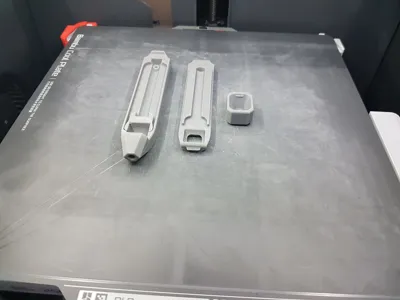
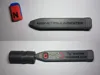
There is a plain version which can be printed without an AMS.
Alternatively I've also created a more embellished version with some decals, texts and colors.
Of course that would require the use of an AMS.
---------
I've added a PDF-file with a more detailed assembly drawing as well as images to illustrate the assembly and testing procedure.
---------
Boost Me (for free)
Boosts encourage me to keep creating and uploading 3D models.
Documentation (1)
License
You may create derivative works based on this object, provided that all such derivative works are published exclusively on the MakerWorld platform and include proper attribution to the original creator. You may not share, upload, host, distribute, or publish this object—or any derivative work of this object—on any other digital platform, marketplace, or distribution channel. Commercial use of this object and any derivative works is strictly prohibited. This includes, but is not limited to, selling, renting, sublicensing, or using the object in any context in which you receive monetary compensation or other financial benefits.
Comment & Rating (37)