

Print Profile(5)



Description
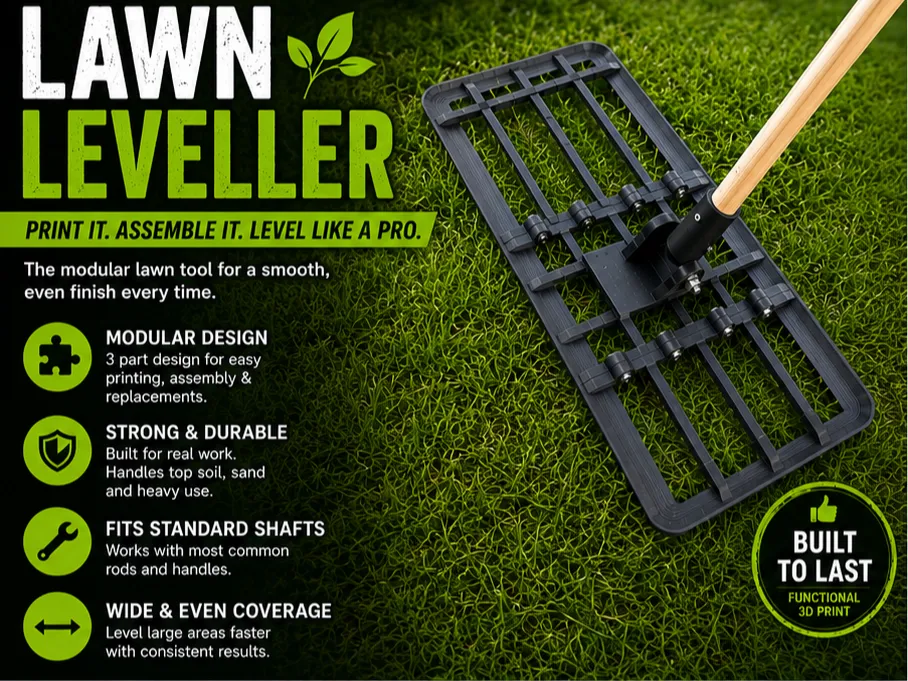
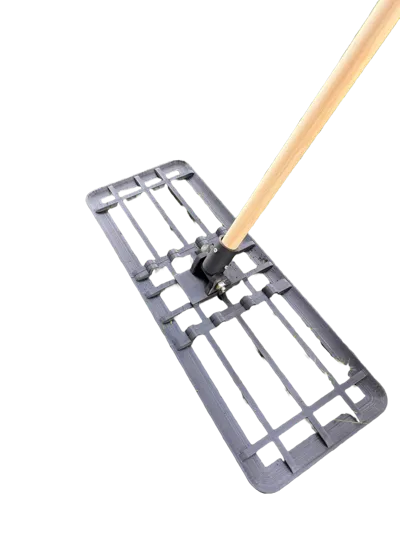
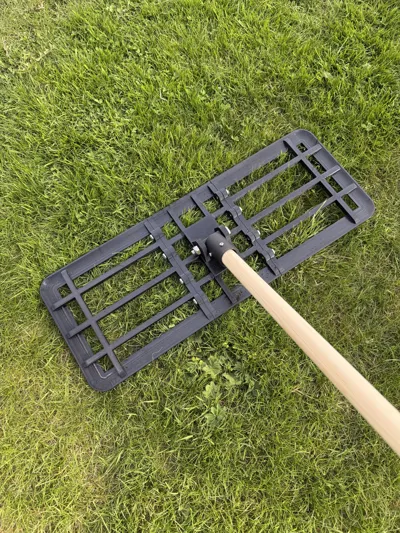
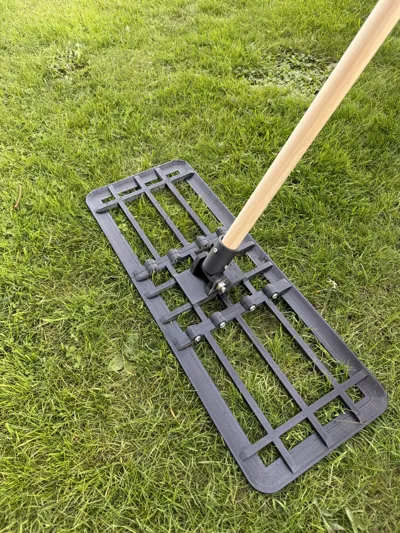
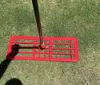
Modular Lawn Leveller for Lawn Top Dressing & Soil Smoothing
I designed this lawn leveller to create a practical, printable alternative to large metal lawn levelling rakes.
Boost Me (for free)
Please boost me if you find this design useful!
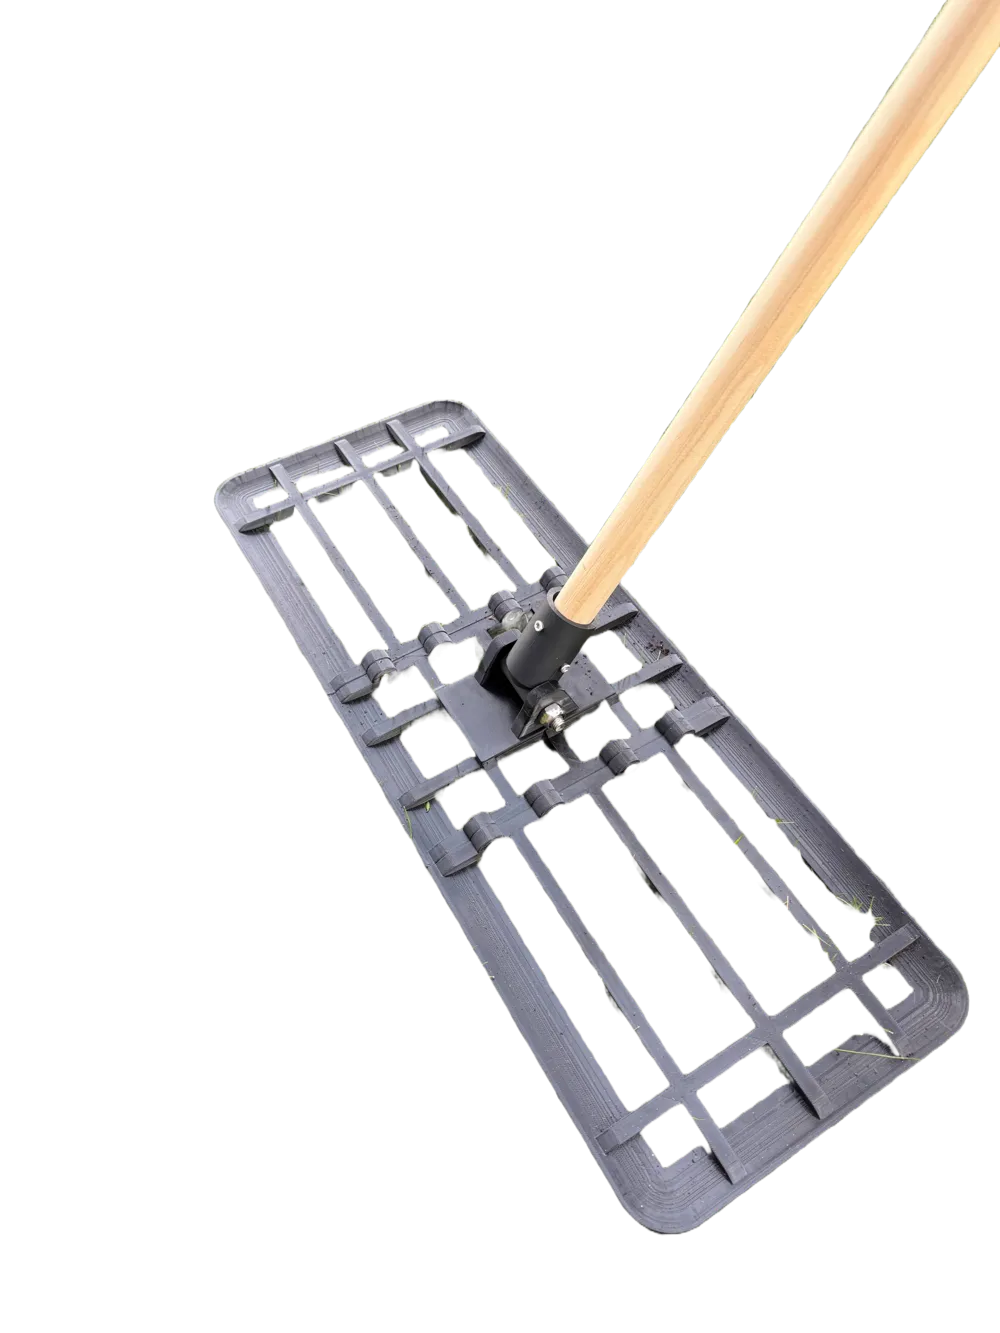
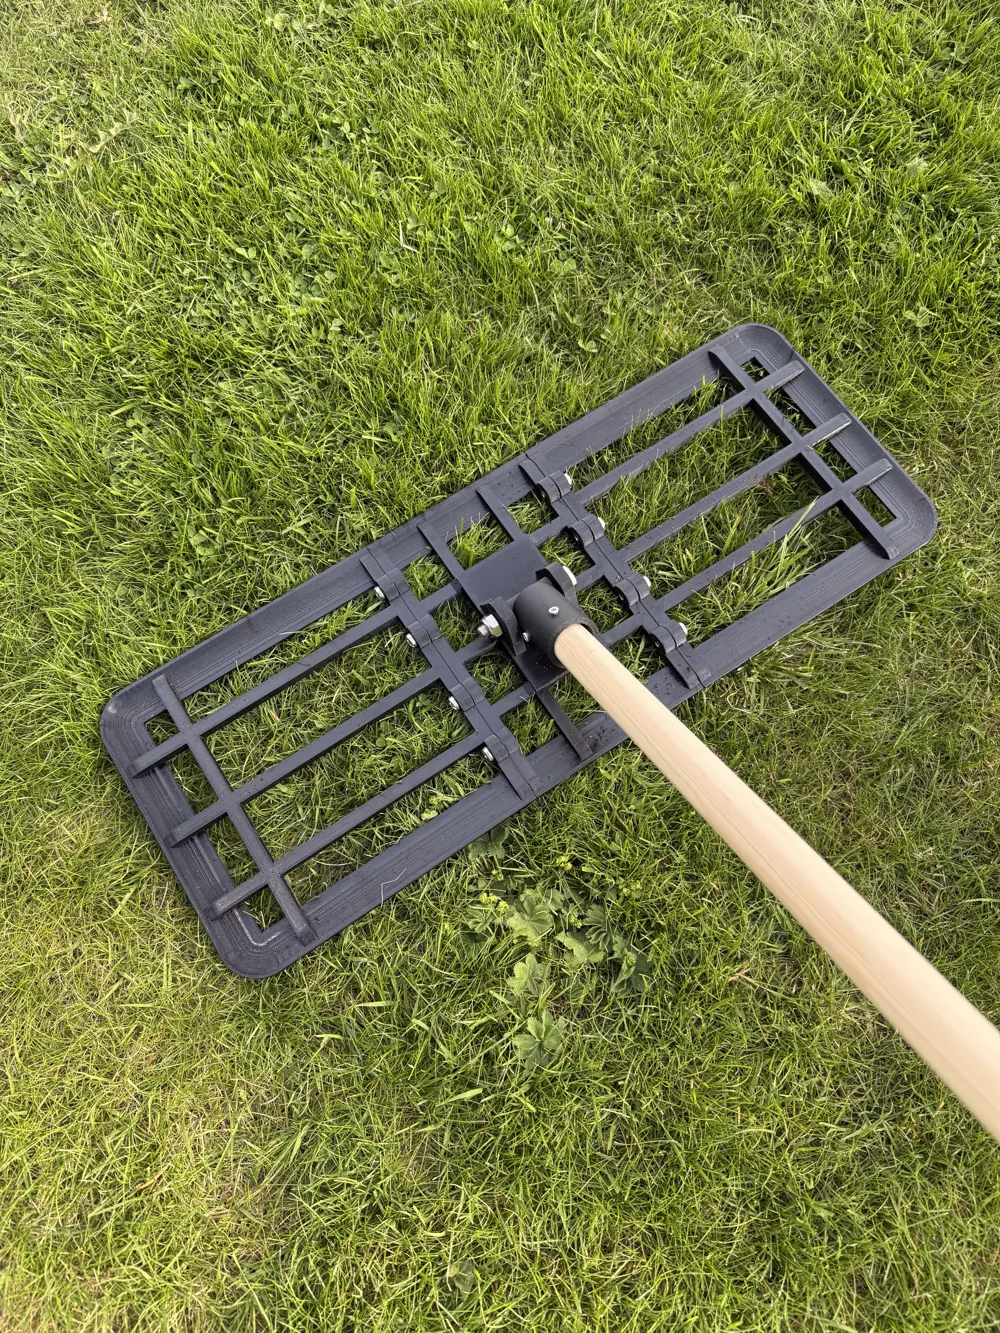
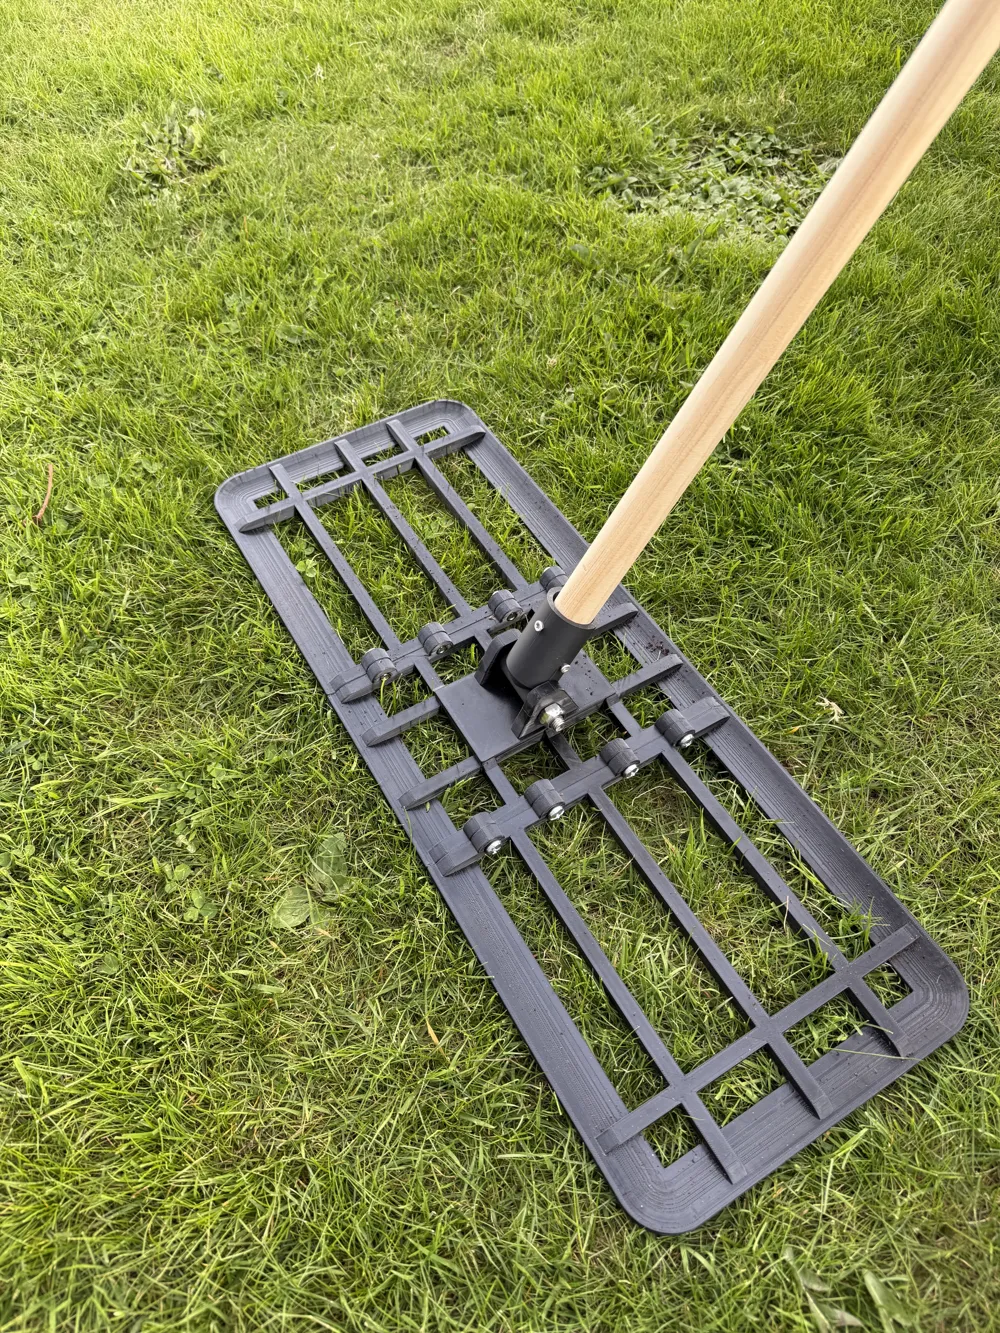
The model is split into three printable parts to improve printability, reduce warping, and make replacements easy:
Included Parts
- Center Base ×1
Main structural section of the leveller. - Shaft Mount ×1
Attaches a standard shaft/rod/handle 28-30mm to the tool. - Side Wings ×2
Extends the levelling width while keeping prints manageable.
Once assembled, the tool creates a wide and stable levelling surface ideal for:
- spreading top soil
- smoothing uneven lawns
- distributing sand
- evening out fresh grass seed areas
- preparing garden surfaces
Design Goals
- Easy to print on standard printers
- Modular and replaceable parts
- Strong structure with minimal support requirements
- Compact prints that assemble into a larger tool
- Compatible with commonly available rods/shafts
Print Recommendations
Recommended Material
- PETG (recommended)
- ASA/ABS for higher outdoor durability
- PLA possible for light use
Assembly
- Print:
- 1× center base
- 1× shaft mount
- 2× side wings
- Remember to let model cool down completely(!) before mounting/tightening bolts
- Attach the wings to the center base.
- Mount your preferred shaft/rod/handle.
- Tighten hardware and start levelling.
Hardware
Use standard gardening rod 28-30mm and fasten with small wood screws
Insert 8xM6 thread inserts into the base and fasten wings with 4+4 M6 bolts
or
Use M6 bolts and nuts to attach wings to base
Use 1x M10 ≥ 70mm bolt and nut to attach shaft mount to base
License

You may create derivative works based on this object, provided that all such derivative works are published exclusively on the MakerWorld platform and include proper attribution to the original creator. You may not share, upload, host, distribute, or publish this object—or any derivative work of this object—on any other digital platform, marketplace, or distribution channel. Commercial use of this object and any derivative works is strictly prohibited. This includes, but is not limited to, selling, renting, sublicensing, or using the object in any context in which you receive monetary compensation or other financial benefits.


Comment & Rating (67)