Search models, users, collections, and posts
BIQU Panda Station Wheel Tool
IP Report


Print Profile(1)
BIQU Panda Station Wheel Tool
Designer
3.5 h
1 plate
Open in Bambu Studio
Boost
2
6
0
0
5
4
Released
Description
Content has been automatically translated.
BIQU Panda Station Wheel Tool
Overview
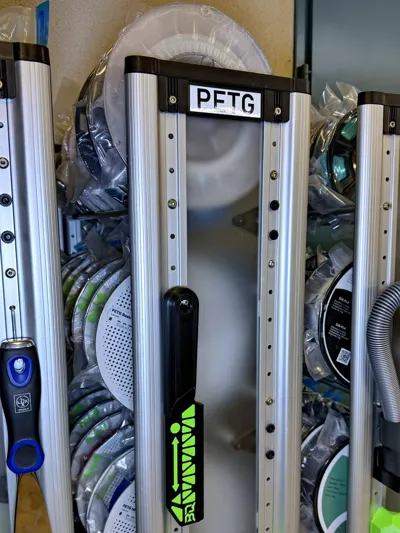
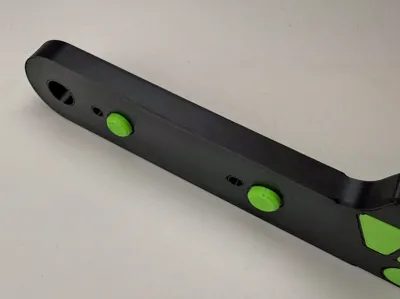
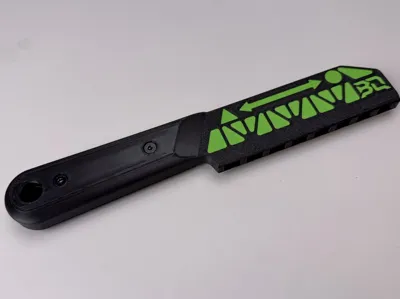
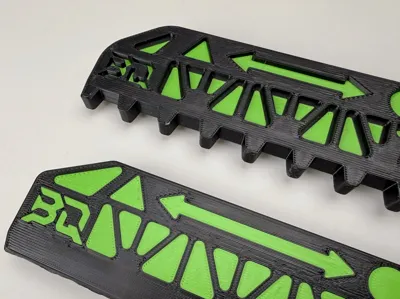
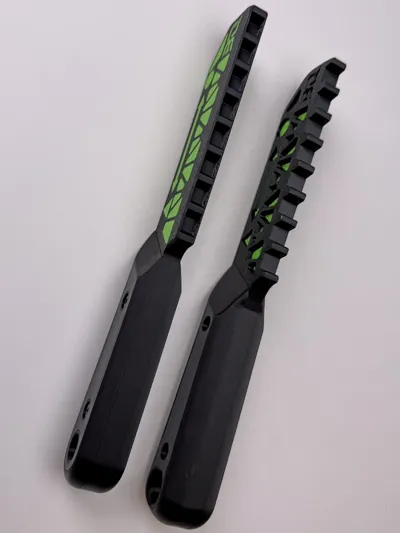
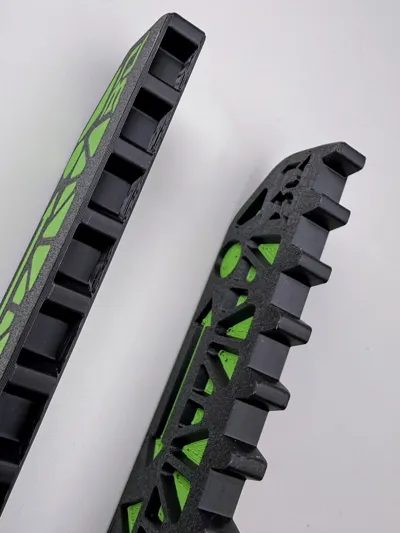
Newly designed version of the wheel adjustment tool for the BIQU Panda Station for quick and secure adjustment of the Footmaster casters
- Compatibility: BIQU Panda Station with Footmaster casters
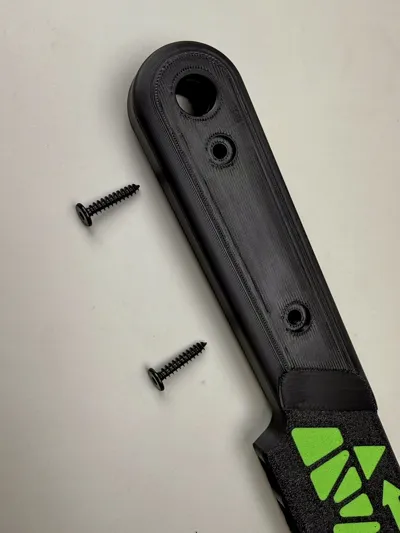
- Required: Printed parts (PETG recommended) + 2× self-tapping M4×20 mm screws
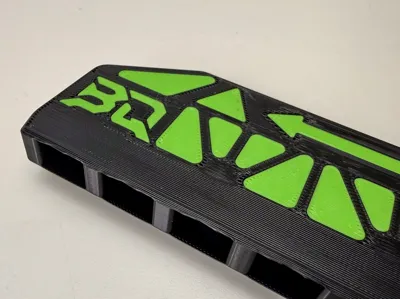
Note: I opted for a two-color print to achieve a nicer surface
For the Panda Station from BIQU, there are several accessories, including the wheel adjustment tool for easy adjustment of the Footmaster casters
You can find BIQU's original wheel adjustment tool here: https://makerworld.com/en/models/1820302-panda-station-printout#profileId-2161036
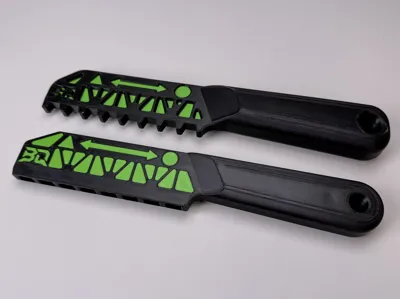
I completely redesigned my version and integrated the following changes:
Changes from the original
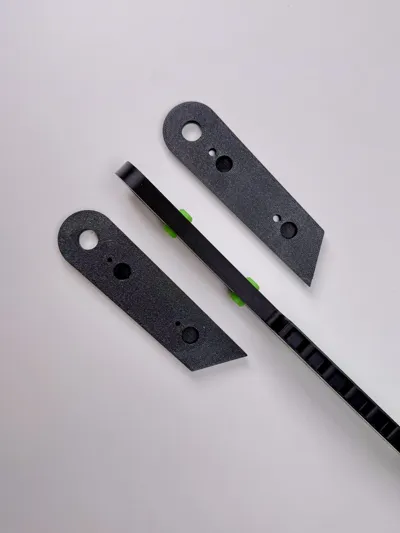
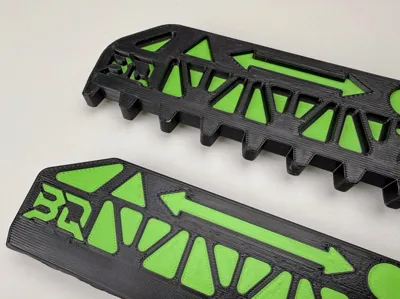
- The gearing has received a double-sided guide rail, which effectively prevents it from slipping off the gear
- I ergonomically adjusted the handle to fit my hands
- For the handle shells, I integrated two positioning pins and used different screws (as with my new handles for the Panda Station: https://makerworld.com/en/models/2648462-the-ultimate-accessories-for-the-biqu-panda-statio#profileId-2927617 )
- Additionally, I adjusted the bore dimensions so that the handle shells now tighten optimally
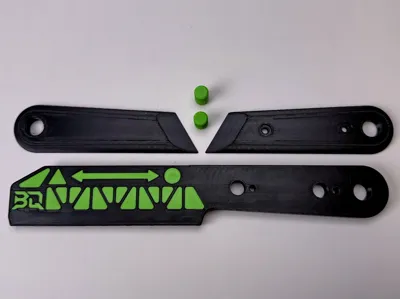
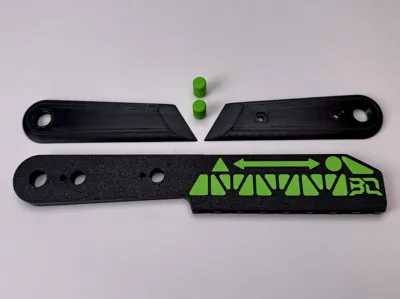
- Finally, I made the pattern more symmetrical and opted for a two-color print, which results in a nicer, smoother surface
Materials
- As printing material, I used PETG-HF from Bambu Lab (black and lime green)
- 2 pcs self-tapping M4×20 mm screws are required
Assembly
- Insert the positioning pins into the middle part and align them symmetrically
- Attach the handle shells on both sides, the pins ensure exact positioning
- Fasten the handle shells with the two screws

License
This user content is licensed under a
Creative Commons Attribution-Noncommercial-Share Alike
Comment & Rating (0)