Arzopa Z3FC/Z1FC Vesa monitor arm


Print Profile(1)
Description
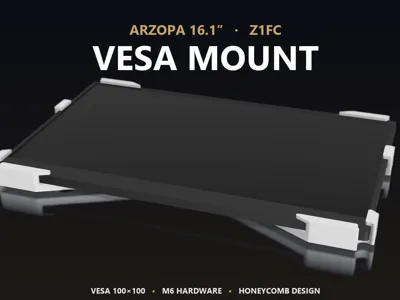
ARZOPA 16.1″ Z3FC/Z1FC — VESA Mount
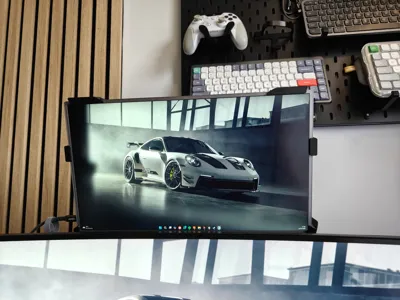
A clean, low-profile VESA 100×100 mount designed specifically for the Arzopa 16.1″ Z3FC/Z1FC portable monitor.
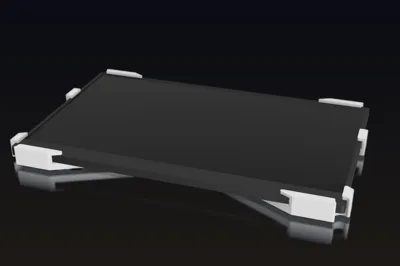
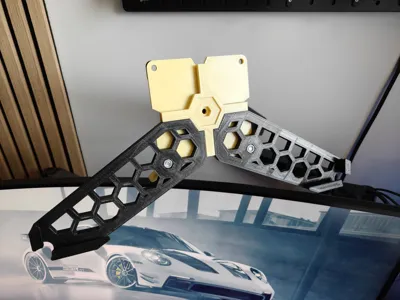
The four honeycomb arms wrap around the monitor and clamp it to a central VESA plate, giving you a standard 100×100 VESA pattern you can attach to any monitor arm, wall mount, or stand of your choice.
What you get
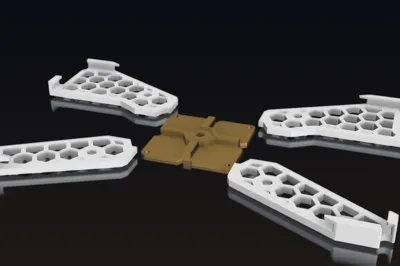
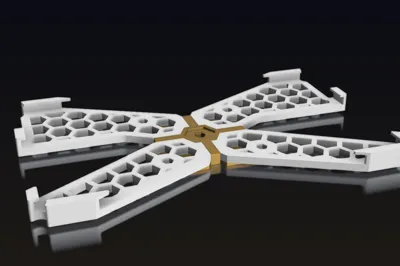
- Lightweight X-shaped bracket with honeycomb cutouts (saves filament, looks good)
- Standard VESA 100×100 mounting pattern on the back
- Snap-fit corner tabs that hug the monitor frame
- Designed in Fusion 360, parametric-friendly if you want to remix
Print settings
- Material: PLA or PETG (PETG recommended for long-term load-bearing)
- Layer height: 0.2 mm
- Infill: 30–40% (the honeycomb cutouts already lighten it, no need for solid)
- Walls: 4 perimeters minimum — this part holds your monitor, don't skimp
- Supports: none needed for the orientation in the included build plate
- Print time: roughly 6–8 hours total for all 5 parts
Hardware needed
Total parts list:
- 4× M6 screws, 20 mm length
- 4× M6 nuts (standard hex nuts)
That's it. No additional washers or spacers required.
Assembly
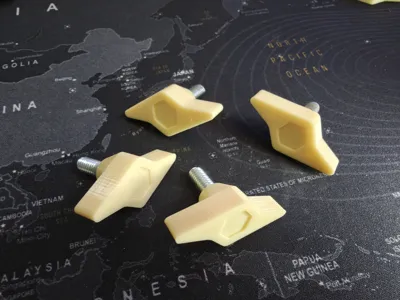
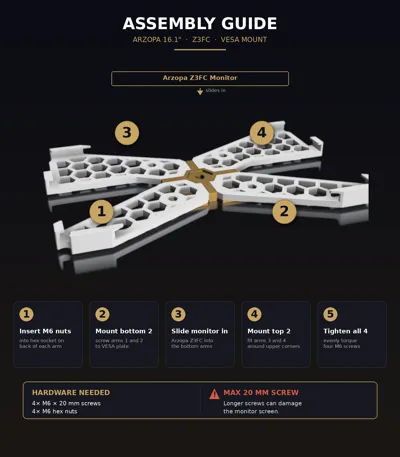
The bracket comes apart into 5 pieces — 4 arms and 1 central VESA plate.
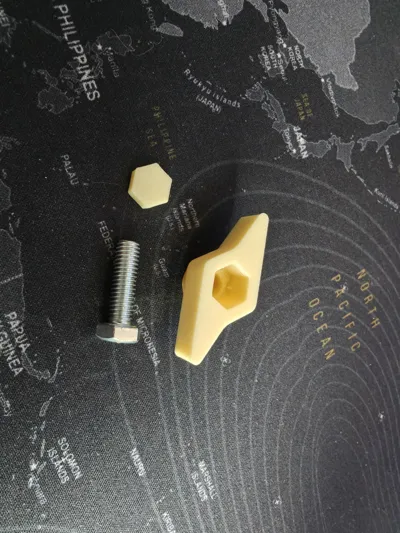
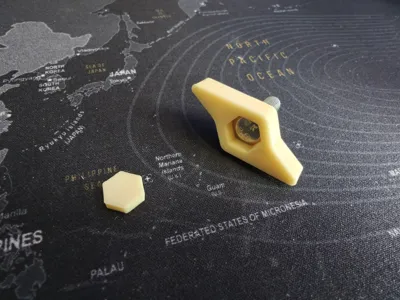
Step 1 — Prepare the nuts
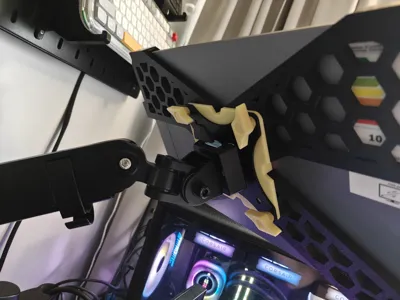
Drop an M6 nut into the hex socket on the back of each arm. The recess is sized so the nut sits flush and stays captured during tightening — you don't need to hold it from the other side.
Step 2 — Attach the bottom two arms
Place the central VESA plate face-down. Attach the two bottom arms (the ones that will cradle the lower corners of your monitor) by sliding the M6×20 mm screws through the VESA plate from the front, into the captured nuts in the arms. Tighten gently — don't fully torque yet.
Step 3 — Slide the monitor in
With the bottom arms in place, slide the Arzopa Z3FC/Z1FC into them from above. The corner tabs should hug the lower corners of the monitor frame snugly.
Step 4 — Attach the top two arms
Now slide the two top arms down onto the upper corners of the monitor and align them with the VESA plate. Insert the remaining two M6×20 mm screws through the VESA plate into the nuts on the top arms.
Step 5 — Tighten everything
Once all four arms are in place and the monitor sits flush, evenly tighten all four screws. The bracket is now rigid and the monitor is locked in.
⚠️ Important — screw length
Do not use screws longer than 20 mm.
If the screw protrudes past the back of the arm, it can poke into the back of the monitor and damage the screen or internals. Stick to 20 mm — the part is dimensioned for exactly this length.
If your screws happen to be slightly longer (say 22–25 mm), add a washer or two between the screw head and the VESA plate to take up the slack — but the safest move is to just use the right length.
VESA compatibility
The central plate uses a VESA 100×100 pattern, which fits the vast majority of monitor arms, gas-spring desk mounts, wall mounts, and similar accessories.
NOTE:
The mount was designed for a screen with the following dimensions: 0.9 D x 36.6 W x 22.8 H cm
So any Arzopa monitor with these dimensions should fit.
Designed for
The Arzopa 16.1″ Z3FC portable monitor specifically — the corner tab spacing matches that frame. If you have a slightly different Arzopa model (Z3FC, S1, etc.), the central VESA part will still work but the corner clips may need a remix.
License
You shall not share, sub-license, sell, rent, host, transfer, or distribute in any way the digital or 3D printed versions of this object, nor any other derivative work of this object in its digital or physical format (including - but not limited to - remixes of this object, and hosting on other digital platforms). The objects may not be used without permission in any way whatsoever in which you charge money, or collect fees.
Comment & Rating (14)