Netatmo Outdoor Module Weather Shield Stevensons


Print Profile(1)

Description
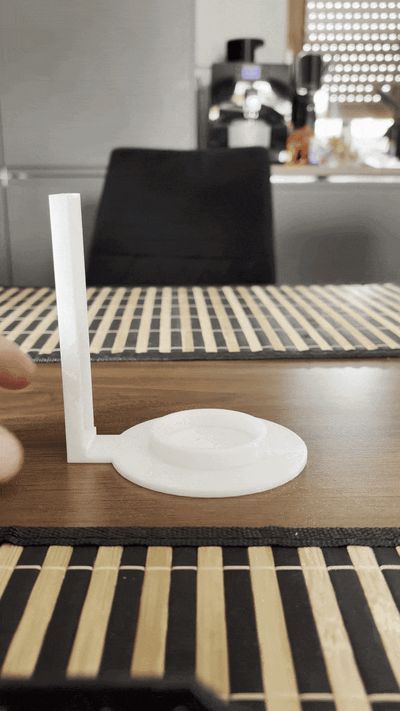
Title: Netatmo Outdoor Module Weather Shield (Stevenson Screen)
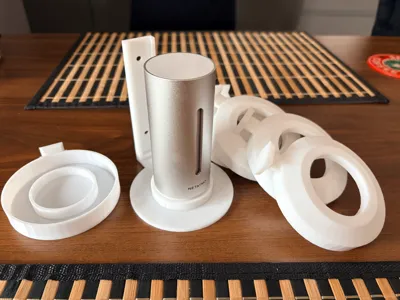
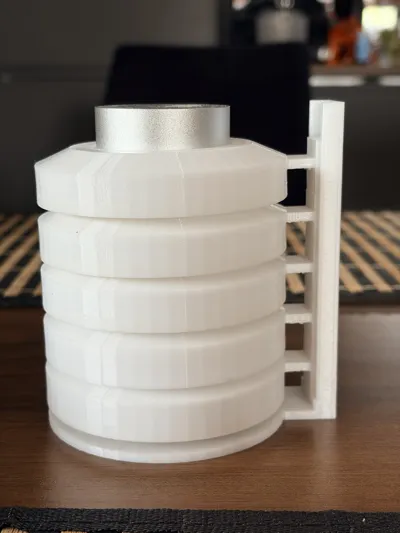
A professional-grade protective housing for the Netatmo Outdoor Weather Station. Designed to improve measurement accuracy and protect the sensor from direct sunlight and rain.
Overview
The Netatmo Outdoor Module is a great piece of tech, but direct exposure to sunlight can lead to "heat soak," causing temperature readings to be significantly higher than they actually are. This Stevenson Screen inspired housing provides the perfect balance between protection and airflow.
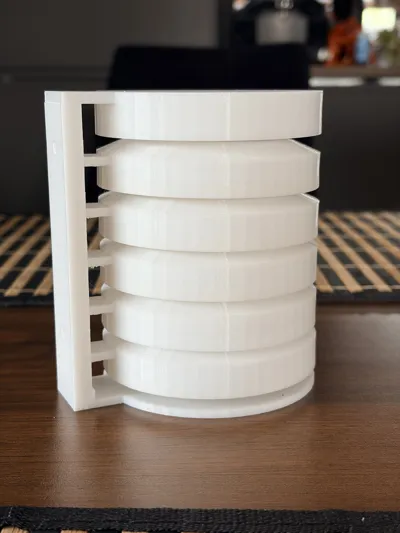
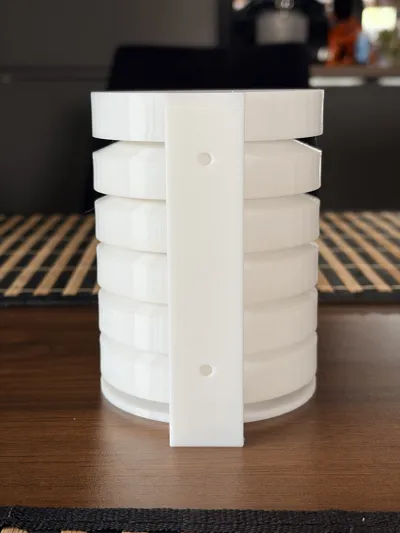
By using a louvered (slatted) design, this shield allows air to flow freely around the sensor for accurate ambient readings while keeping the module shaded and dry.
Key Features
- Thermal Accuracy: Prevents direct solar radiation from hitting the sensor, ensuring your temperature data is precise.
- Weather Protection: Shields the module from heavy rain and snow, extending the lifespan of your device.
- Optimized Airflow: The internal geometry is designed to facilitate natural convection.
- Modular Design: Includes a dedicated Top, Middle (louvered section), and Bottom plate for easy assembly and maintenance.
- Perfect Fit: Specifically tailored for the dimensions of the Netatmo Outdoor Module.
Print Settings
To ensure the longevity of the shield, especially in outdoor conditions, please follow these recommendations:
- Material: ASA or PETG are highly recommended. Avoid PLA, as it will warp or degrade under direct sunlight and high temperatures.
- Color: Use White or a very light grey. Dark colors absorb heat and will ruin the accuracy of your temperature readings.
- Layer Height: 0.2mm standard.
- Wall Loops: 2 or 3 for better durability.
- Infill: 15-20% (Gyroid recommended).
- Supports: Minimal supports needed.
Assembly Instructions
- Preparation: Clean any support material from the printed parts.
- Placement: Place the Netatmo Outdoor Module onto the bottom plate.
- Stacking: Slide the middle louvered section over the module.
- Closing: Secure the top cap.
- Mounting: Use the integrated mounting points (if applicable) or a standard bracket to fix the shield to a wall or post, preferably in a North-facing location for the best results.
About the Files
- netatmo_top.stl: The protective roof cap.
- netatmo_middle.stl: The main louvered body for airflow.
- netatmo_bottom.stl: The base plate.
- netatmo.3mf: Full plate configuration for Bambu Lab users (pre-arranged for best results).
If you like this design, please consider leaving a ⭐⭐⭐⭐⭐ rating and sharing a photo of your make!
Boost Me (for free)
License
You may create derivative works based on this object, provided that all such derivative works are published exclusively on the MakerWorld platform and include proper attribution to the original creator. You may not share, upload, host, distribute, or publish this object—or any derivative work of this object—on any other digital platform, marketplace, or distribution channel. Commercial use of this object and any derivative works is strictly prohibited. This includes, but is not limited to, selling, renting, sublicensing, or using the object in any context in which you receive monetary compensation or other financial benefits.
Comment & Rating (3)