
Ducktail Spoiler - First Free Parametric Generator
Print Profile(0)
Description
Boost Me (for free)
If you like this project and want to support more functional, parametric and engineering-style models, a Boost is greatly appreciated.
It helps me continue developing customizable tools, automotive accessories and practical 3D printable projects.
This is not just a spoiler STL
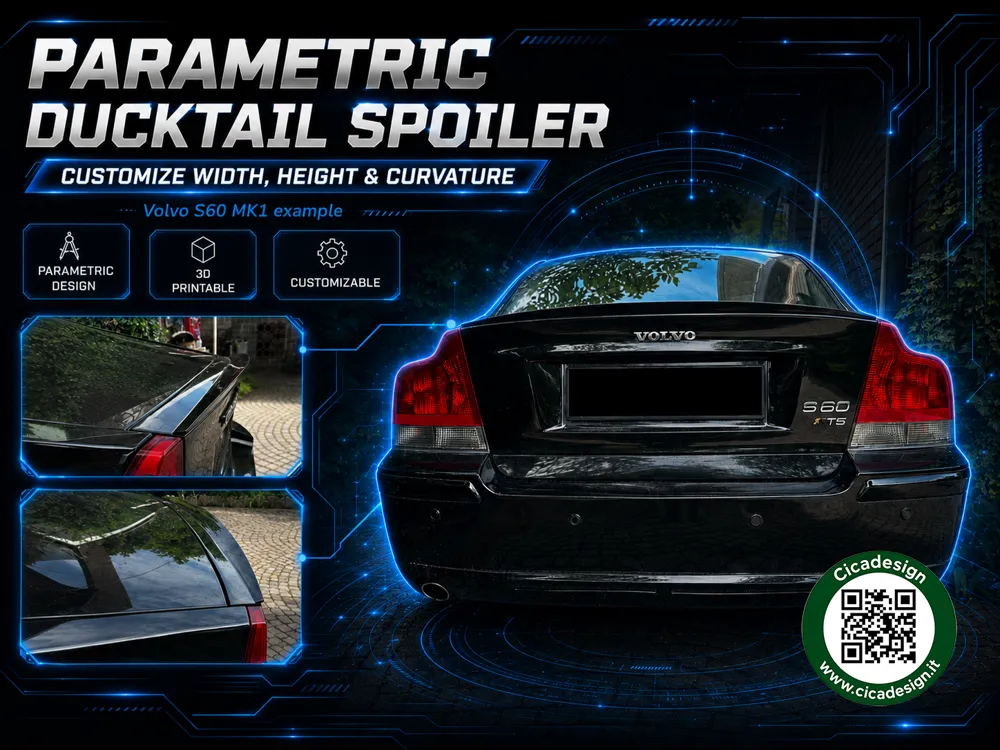
This is a parametric design system for generating custom ducktail-style rear spoilers.
It is a public and free parametric ducktail spoiler generator for makers, designed for 3D printing, prototyping and design experimentation.
As far as I could verify, this appears to be one of the first publicly available free parametric ducktail spoiler generators, allowing users to customize the design instead of downloading a fixed spoiler model.
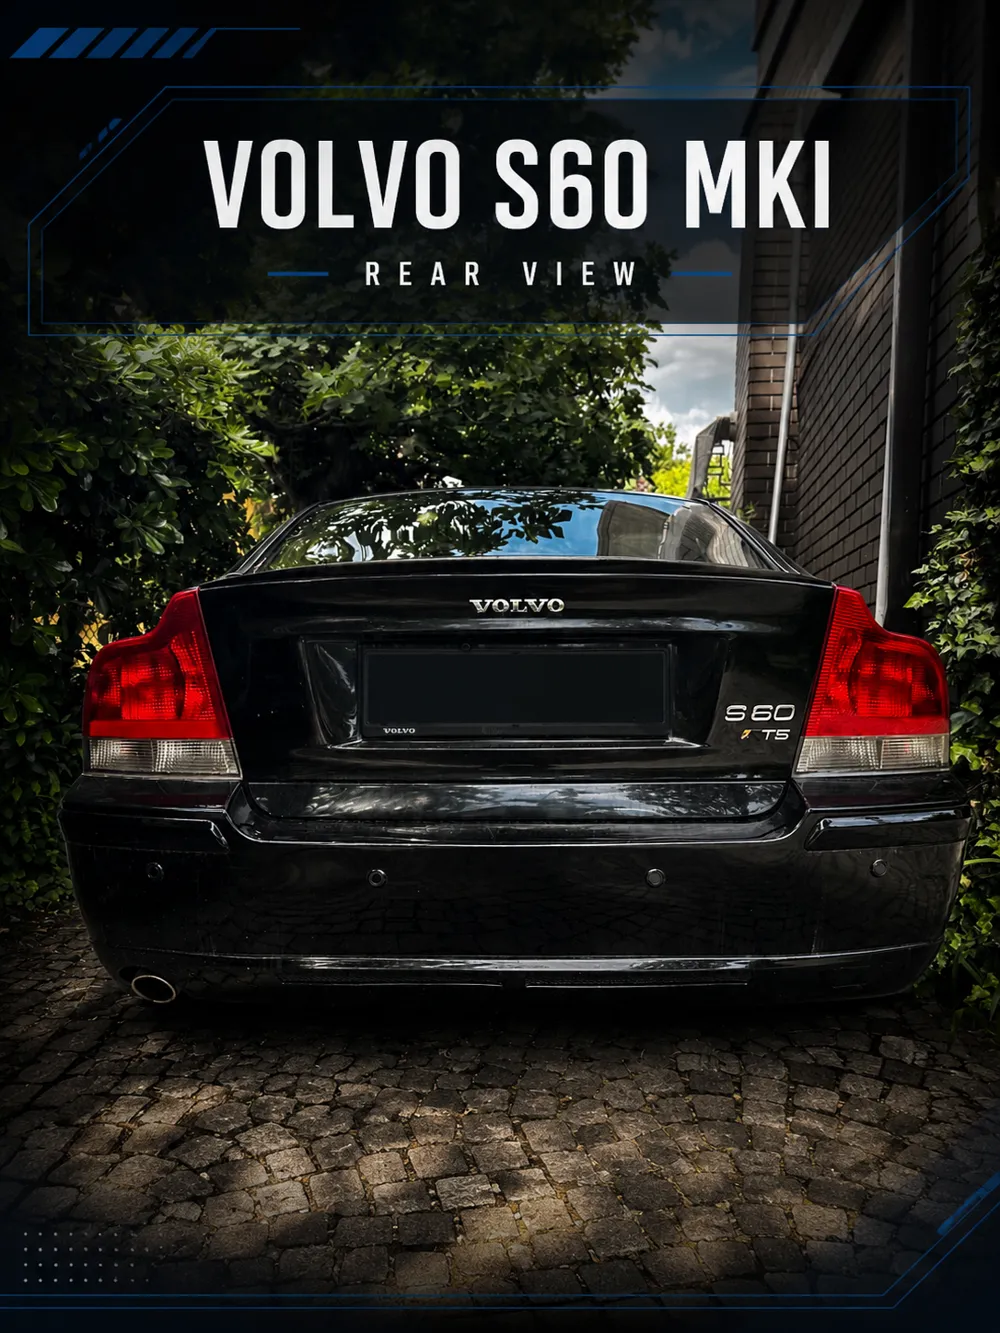
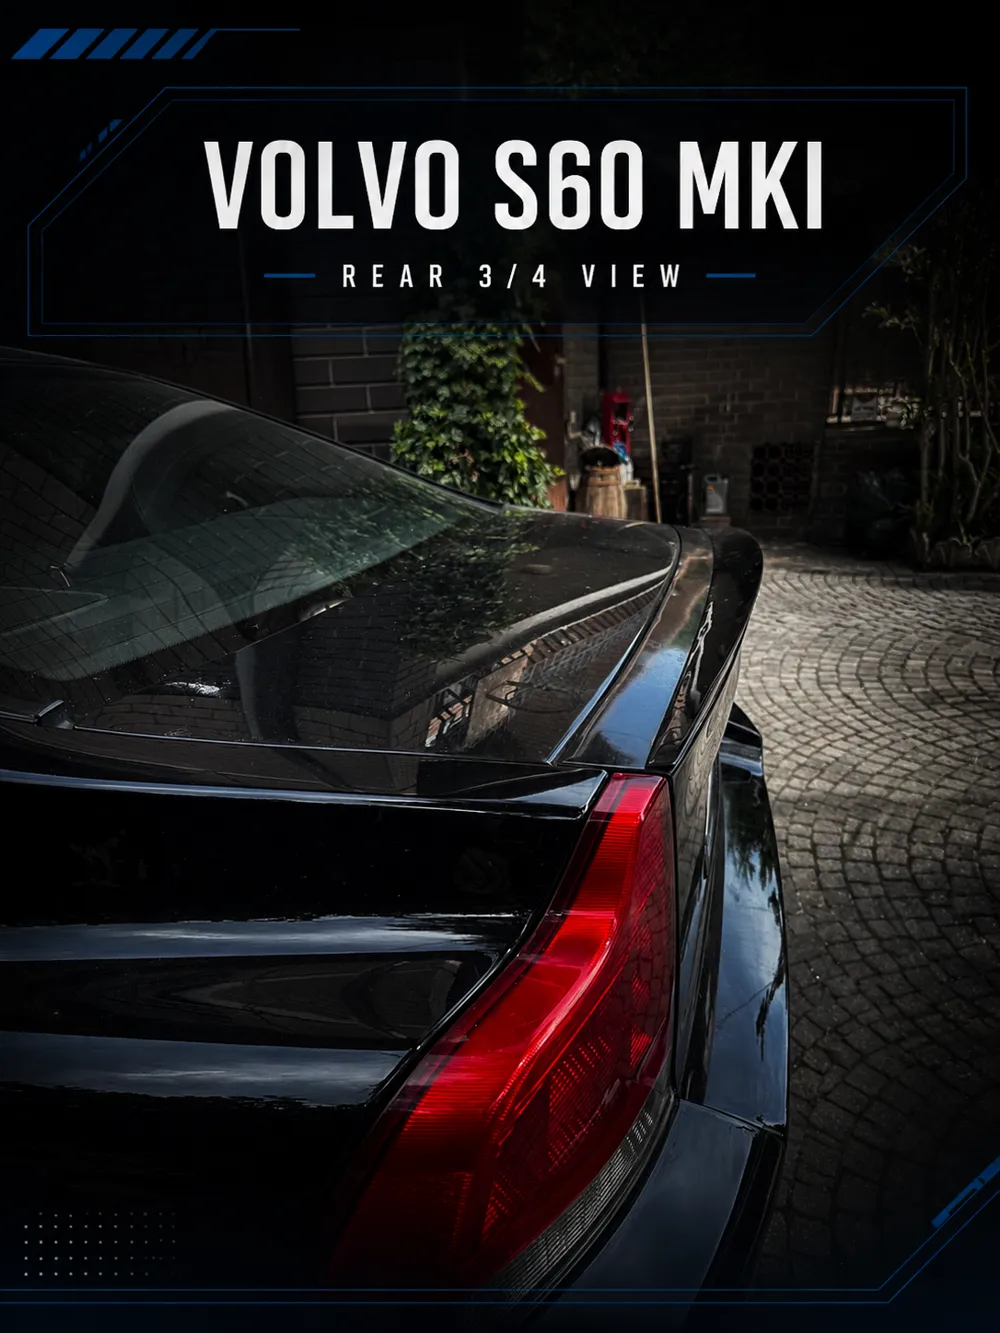
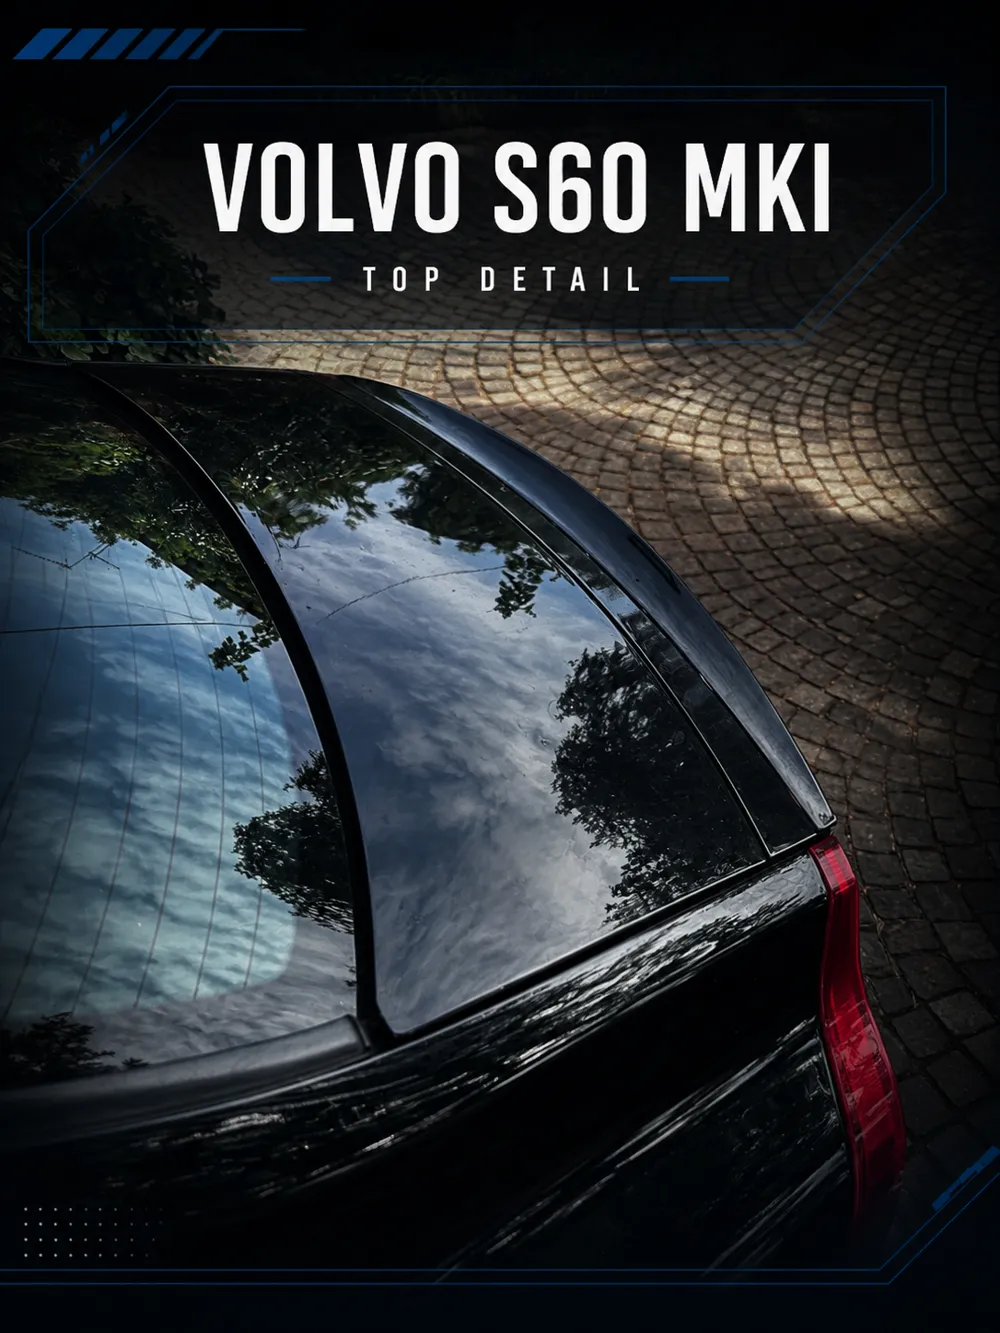
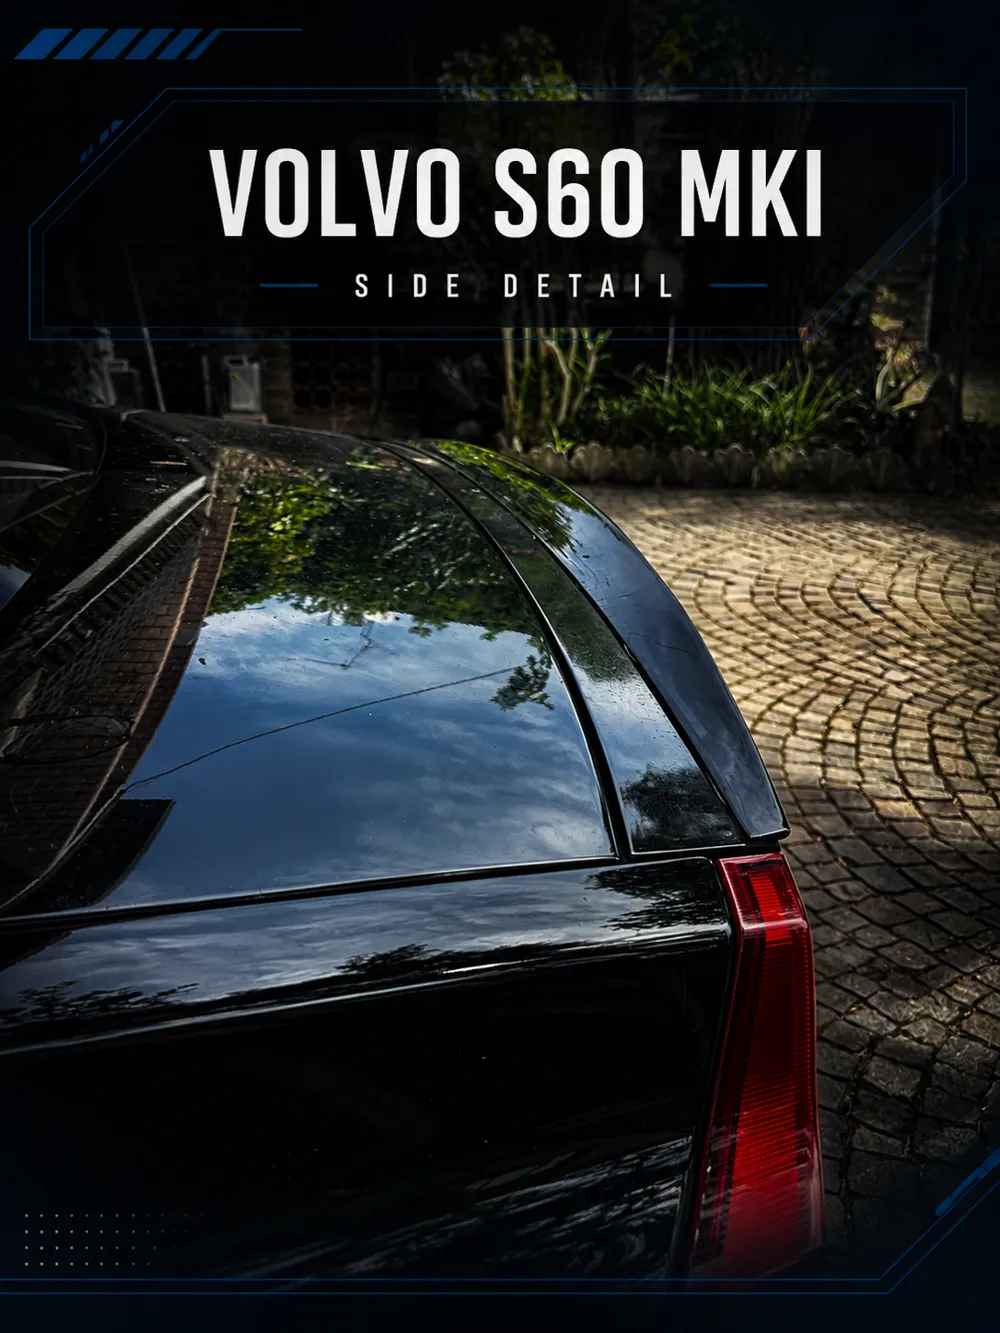
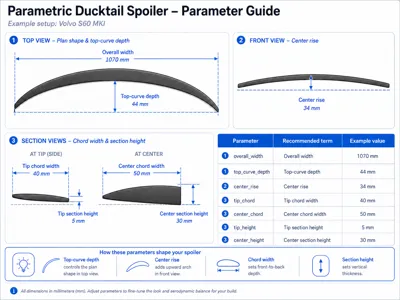
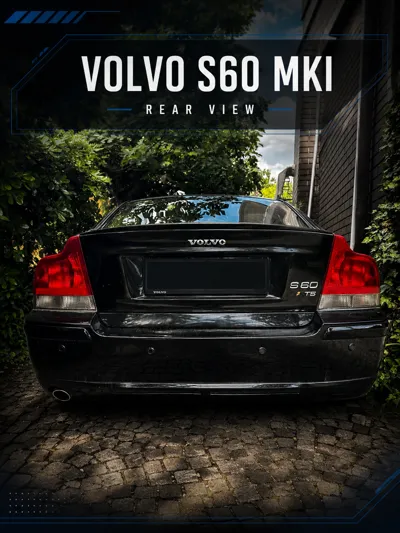
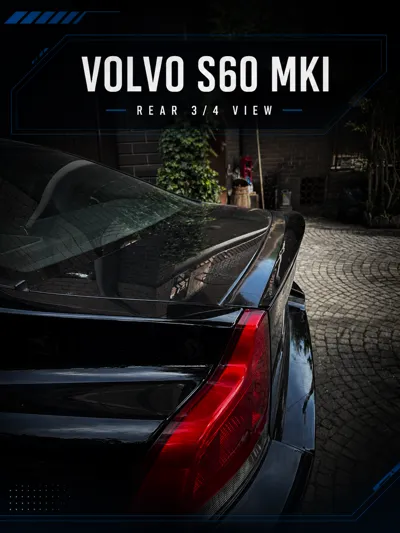
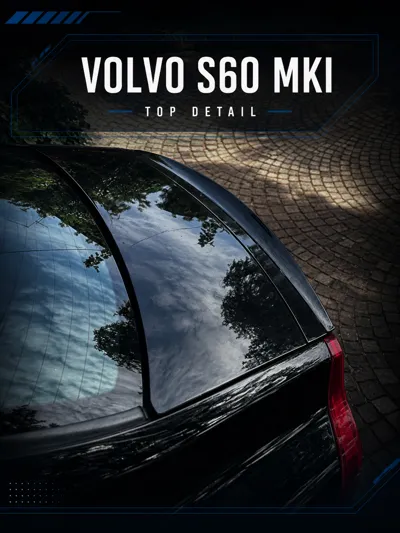
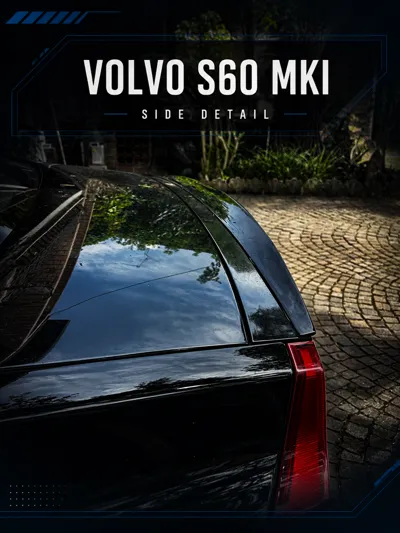
The example shown in the images is based on a Volvo S60 MKI, but the model is not limited to this car.
You can modify the parameters to create different versions for:
- custom car projects
- prototypes
- RC cars
- scale models
- display builds
- design experiments
This project is intended as a functional-looking customizable design base, not as a universal ready-to-fit automotive part.
Always check dimensions, clearances, mounting method, material choice and local regulations before any real-world use.
Important – Please read before downloading
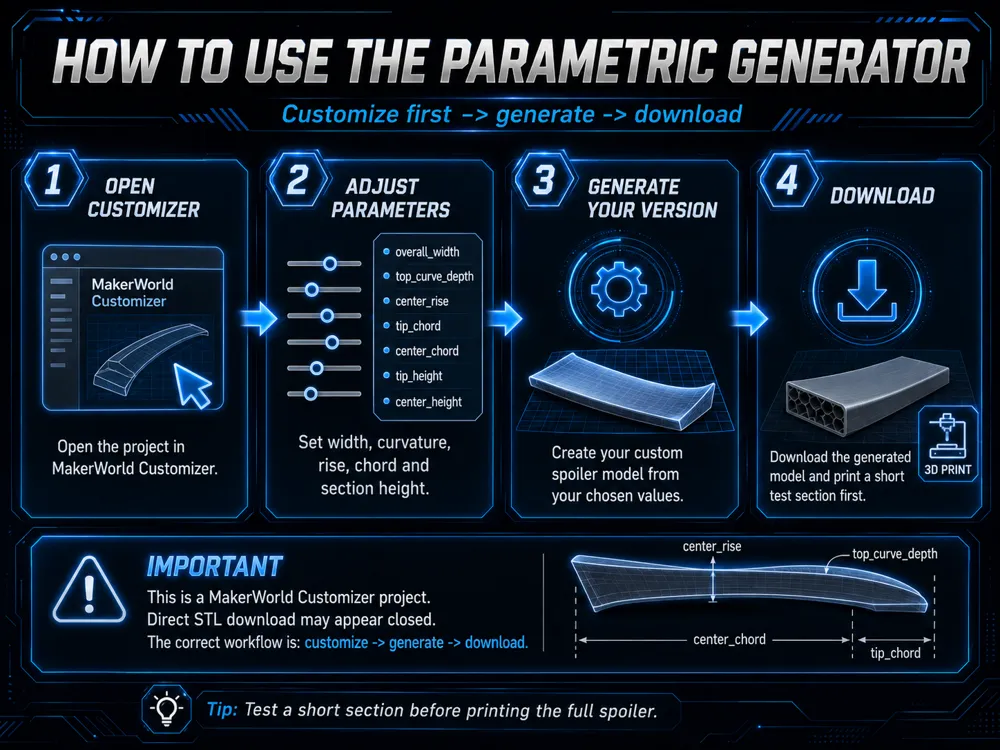
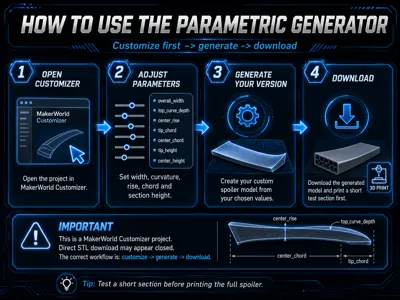
This is a parametric MakerWorld Customizer project.
It is not intended to be downloaded as a fixed direct STL.
To use it correctly:
- Open the project in MakerWorld Customizer
- Adjust the parameters to your needs
- Generate your custom version
- Download the generated model
If the direct STL download appears closed or unavailable, please use the Customizer workflow instead.
That is the correct way to access and use this project.
Main Features
- Parametric ducktail spoiler design
- Adjustable overall width
- Adjustable top-view curve depth
- Adjustable center rise
- Adjustable tip and center chord width
- Adjustable tip and center section height
- Adaptable to different trunk shapes
- Suitable for 3D printing
- Useful for automotive styling, prototyping, display builds, RC cars and custom maker projects
- Example setup included for Volvo S60 MKI
How to use it
- Open the model in MakerWorld Customizer
- Adjust the main dimensions:
- width
- curvature
- center rise
- chord width
- section height
- Generate your custom version
- Print small test sections before printing the full spoiler
- Adapt mounting, material and finishing according to your own vehicle or prototype
Recommended first test
Before printing a full-size spoiler, generate and print only a short test section.
Use it to check:
- curvature
- height
- chord
- fitment
- contact surface
Once the shape looks correct, adjust the parameters and generate the final full-width version.
This helps avoid wasting material on a full-size print that may need adjustment.
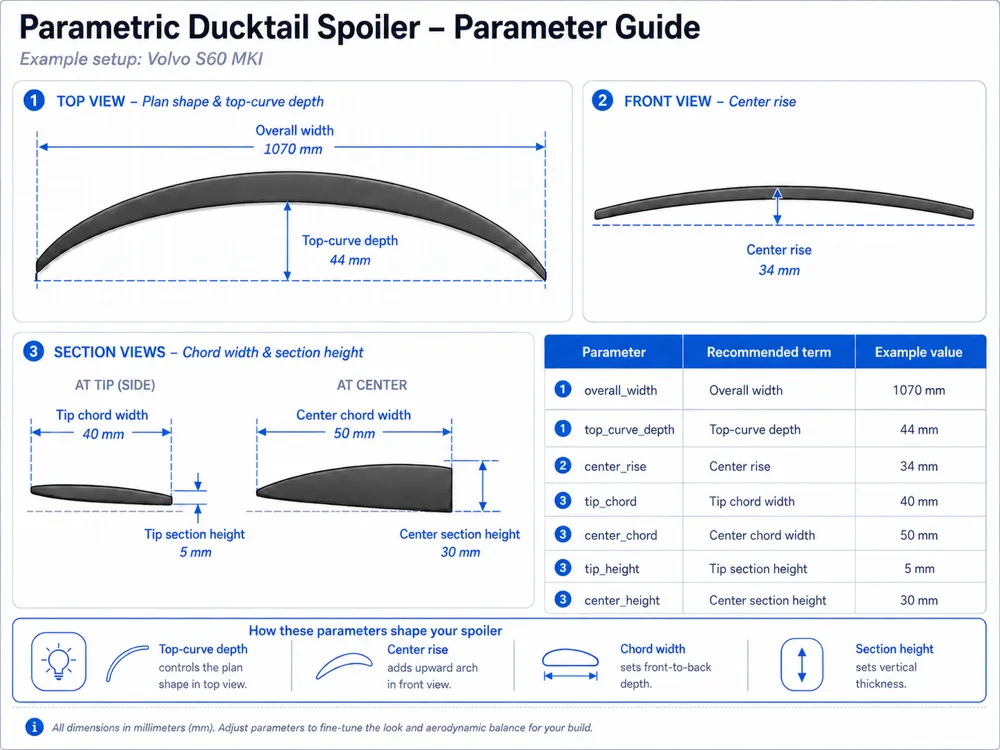
Parameters
| Parameter | Meaning |
|---|---|
| overall_width | Total spoiler width from side to side |
| top_curve_depth | Curvature depth when viewed from above |
| center_rise | Height rise of the center compared to the outer ends |
| tip_chord | Front-to-back spoiler depth at the ends |
| center_chord | Front-to-back spoiler depth at the center |
| tip_height | Vertical section height at the ends |
| center_height | Vertical section height at the center |
Example setup used for Volvo S60 MKI
| Parameter | Example value |
|---|---|
| overall_width | 1070 mm |
| top_curve_depth | 44 mm |
| center_rise | 34 mm |
| tip_chord | 40 mm |
| center_chord | 50 mm |
| tip_height | 5 mm |
| center_height | 30 mm |
These values are only an example.
You do not need to use the Volvo S60 values. The generator can be used as a starting point for different cars, RC models, scale models and design experiments.
Before printing the final part, always measure your own vehicle and adjust the parameters accordingly.
Important Fitment Note
This is a parametric model, not a guaranteed plug-and-play part.
Every car trunk has a different shape, curvature and surface angle.
Before printing the final spoiler, carefully measure:
- trunk width
- trunk curvature
- rear edge shape
- left/right symmetry
- available mounting surface
- distance from tail lights
- opening clearance
- rear glass clearance
- desired spoiler height and projection
For best results, print small test sections first and check the fit directly on the vehicle.
Recommended test prints:
- one center section
- one left/right end section
- one short curved sample
- one small section to test adhesive/contact surface
If you try a custom version, please share your parameters or post a make.
This will help other makers adapt the generator to different vehicles.
Printing Notes
Because this is a long automotive-style part, most common desktop 3D printers will not be able to print it in one piece.
For standard printers, the spoiler will usually need to be:
- split into multiple sections
- printed in separate parts
- aligned carefully after printing
- glued, plastic-welded or mechanically joined
- sanded and finished before final use
Recommended splitting strategy:
- left section
- center section
- right section
For larger versions, more sections may be necessary.
Use alignment pins, dowels, printed joints, threaded inserts or internal reinforcement if needed.
Recommended Materials
For indoor mockups, scale models or visual prototypes:
- PLA+
- PETG
For real outdoor or vehicle-related use, standard PLA is not recommended because it can deform under heat and sun exposure.
Recommended minimum material for exterior automotive use:
- ASA
Better options for stronger or more demanding use:
- ASA-CF
- ABS
- PETG-CF
- PA12-CF
- PC blend
- other UV-resistant and heat-resistant engineering filaments
ASA is a good starting point because it has better heat resistance and UV resistance than PLA and is more suitable for outdoor applications.
For a real vehicle installation, material choice is critical.
The user is responsible for selecting a suitable material for temperature, vibration, sunlight, mechanical stress and mounting method.
Suggested Print Settings
Starting point for ASA:
| Setting | Suggested value |
|---|---|
| Layer height | 0.16 – 0.24 mm |
| Walls/perimeters | 4 or more |
| Top/bottom layers | 5 or more |
| Infill | 20–40% |
| Nozzle | 0.4 – 0.6 mm |
| Brim | Recommended |
| Supports | Depends on orientation |
| Enclosure | Strongly recommended for ASA |
| Bed temperature | According to filament profile |
| Chamber | Recommended if available |
For better strength, orient the parts so the layer lines do not create weak joints in the mounting area.
For large sections, warping can be an issue, especially with ASA or ABS. Use a clean bed, good adhesion, enclosure and controlled cooling.
Finishing Recommendations
For a better automotive-style result, the printed spoiler may require post-processing:
- sanding
- filler primer
- wet sanding
- painting
- clear coat
- UV-resistant coating
- edge refinement
- test fitting before final bonding
Raw FDM prints may show layer lines and may not be suitable for direct aesthetic installation without finishing.
Installation Notes
The model does not include a certified mounting system.
Possible installation methods may include:
- automotive double-sided tape
- flexible polyurethane adhesive
- screws or threaded inserts
- custom brackets
- mixed mechanical and adhesive mounting
The correct mounting method depends on the vehicle, material, print quality, part size and intended use.
Do not install the spoiler unless you are sure the part is securely attached and safe.
Any real vehicle installation should be checked carefully before driving.
Development Status
This is a first public version of the parametric ducktail spoiler generator.
The model is functional and customizable, but it can still be improved.
Feedback, suggestions and user-tested parameter sets are welcome.
Useful feedback includes:
- fitment suggestions
- better parameter ranges
- examples on other vehicles
- improved splitting strategies
- mounting ideas
- print orientation advice
- material tests
- verified print profiles
This project is meant to grow and improve with the maker community.
Disclaimer / Safety Notice
This model is provided for DIY, prototyping, decorative, educational, experimental, RC, scale model and custom maker use.
It is not a certified automotive component.
It is not homologated for road use.
It has not been tested for aerodynamic loads, high-speed use, impact resistance, vibration, legal compliance or long-term outdoor durability.
Any use on a real vehicle is entirely the responsibility of the user.
Before installing this part on any vehicle, the user must evaluate:
- local laws and road regulations
- material suitability
- print quality
- mechanical strength
- mounting method
- heat resistance
- UV resistance
- vibration resistance
- risk of detachment
- safety for other road users
The creator is not responsible for improper use, failed prints, incorrect installation, damage to the vehicle, legal issues, accidents, part detachment or any direct or indirect consequences resulting from the use of this model.
Use common sense and test carefully.
No Official Bambu Profile Note
I currently do not publish official Bambu Lab print profiles because I do not own a Bambu printer.
The model has been designed, checked and tested using my own 3D printing setup.
Verified user print profiles are welcome and appreciated.
License

You shall not share, sub-license, sell, rent, host, transfer, or distribute in any way the digital or 3D printed versions of this object, nor any other derivative work of this object in its digital or physical format (including - but not limited to - remixes of this object, and hosting on other digital platforms). The objects may not be used without permission in any way whatsoever in which you charge money, or collect fees.


Comment & Rating (6)