
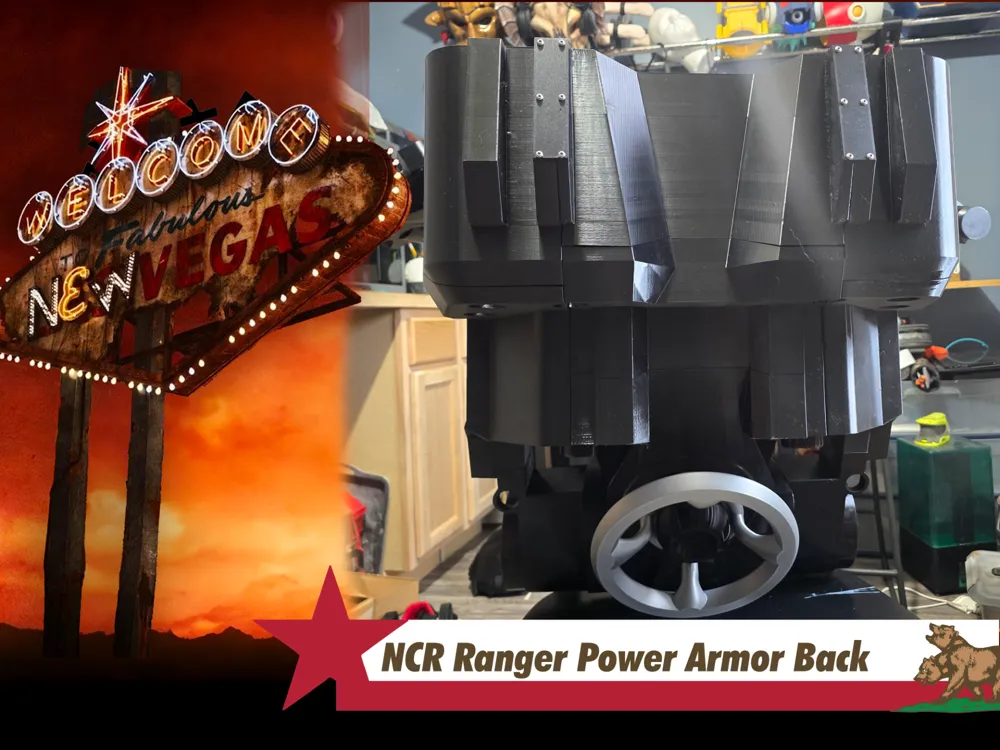
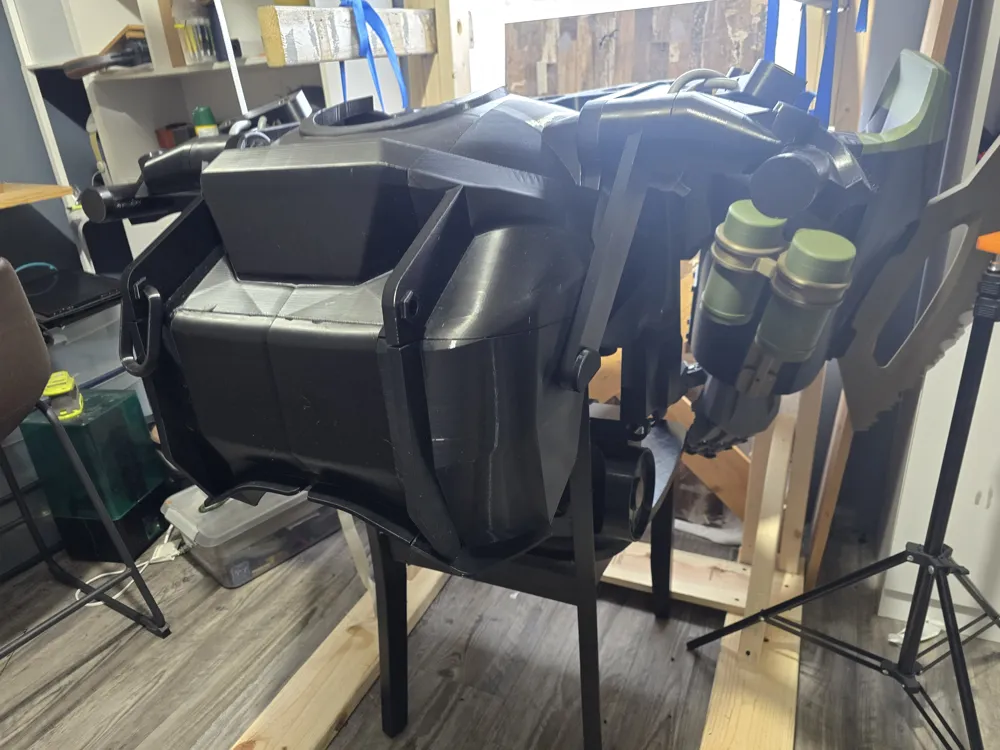
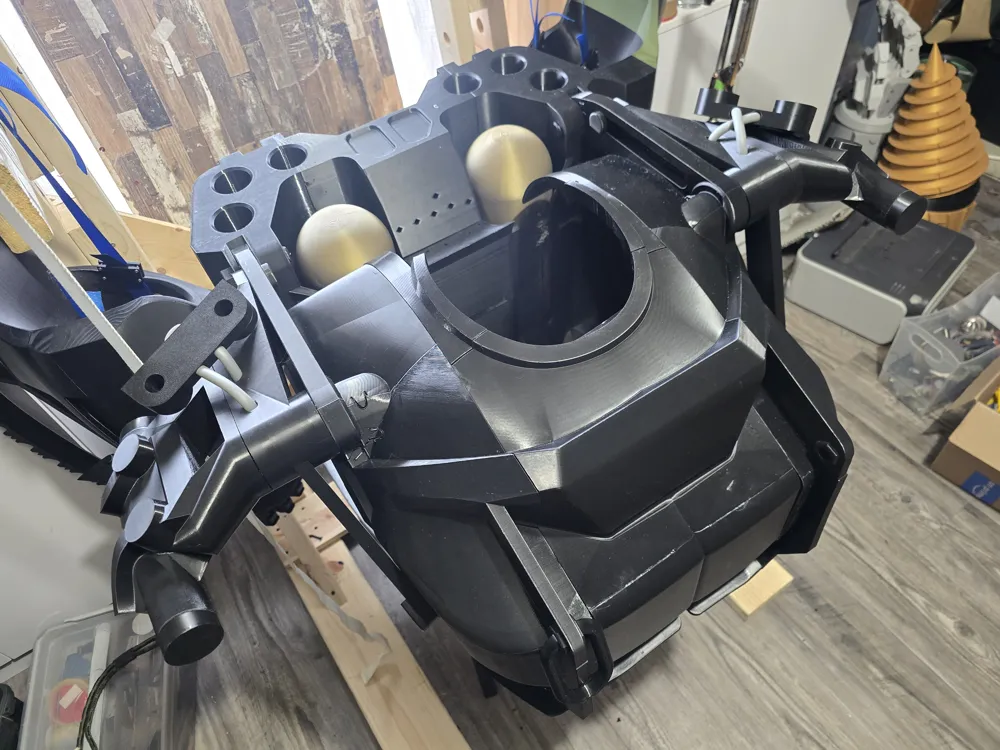
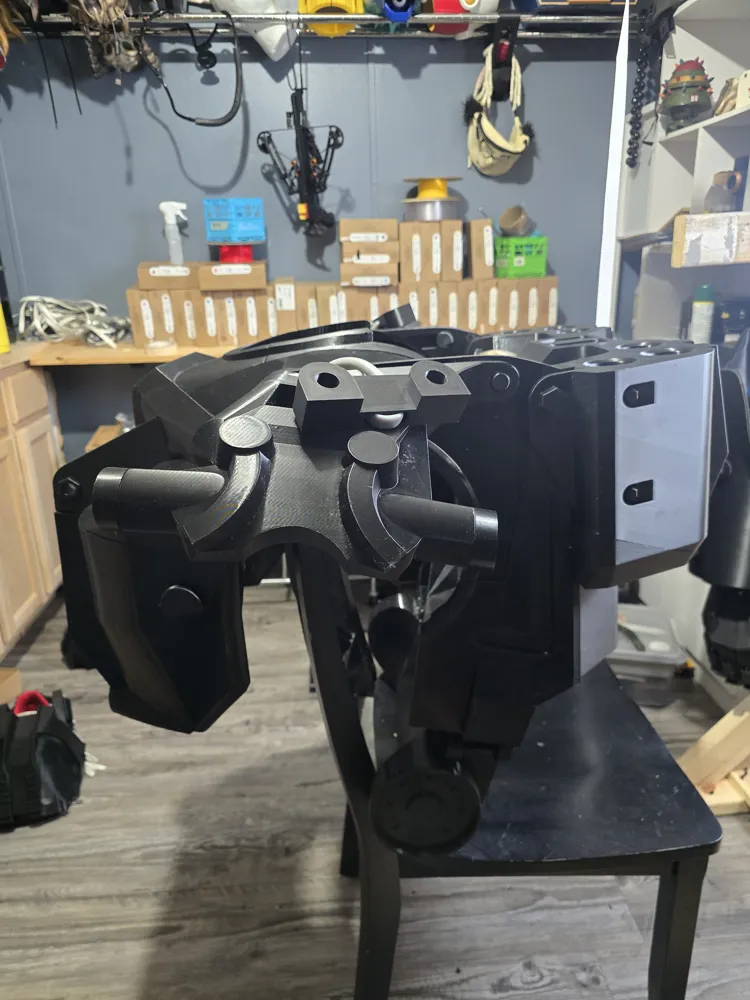
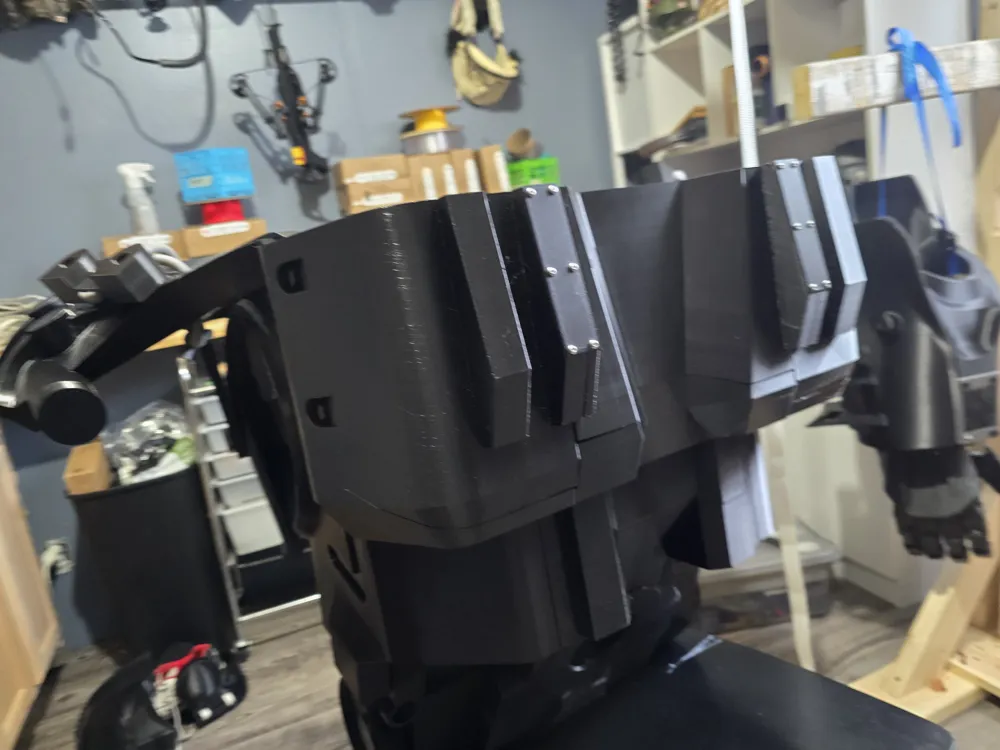
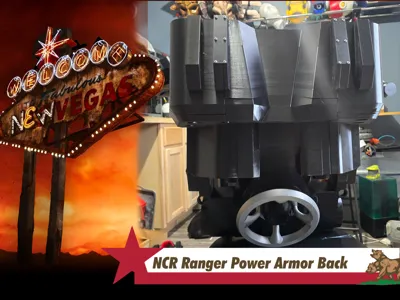
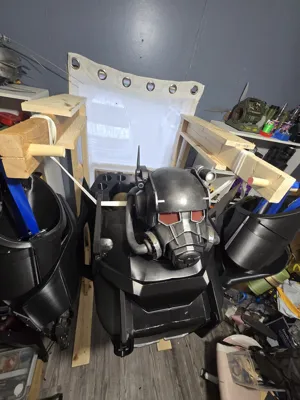
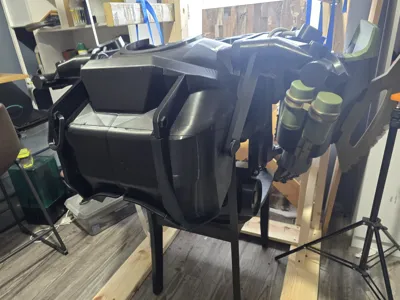
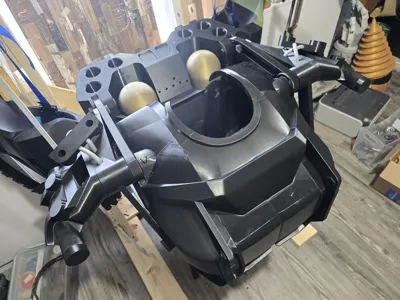
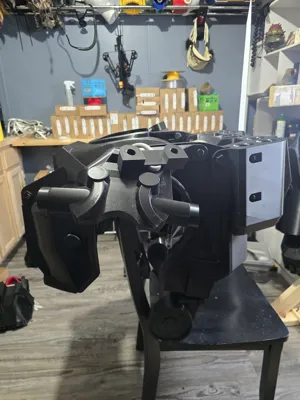
Fallout NCR Power Armor Back
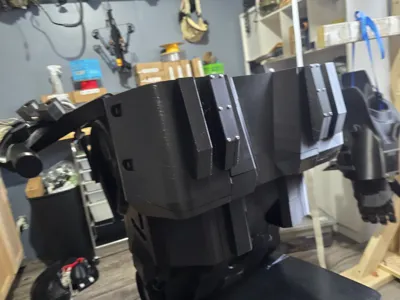
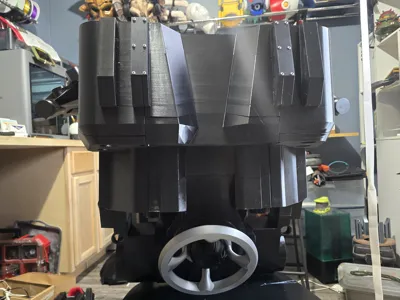
Print Profile(1)
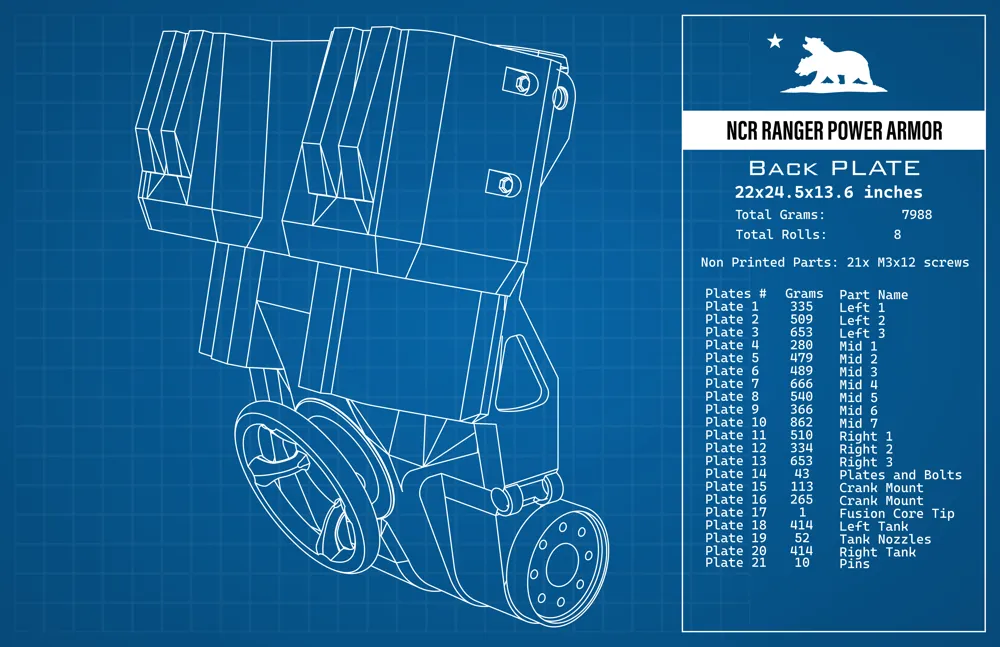
Bill of Materials




Description
Armor Files
Before you start this
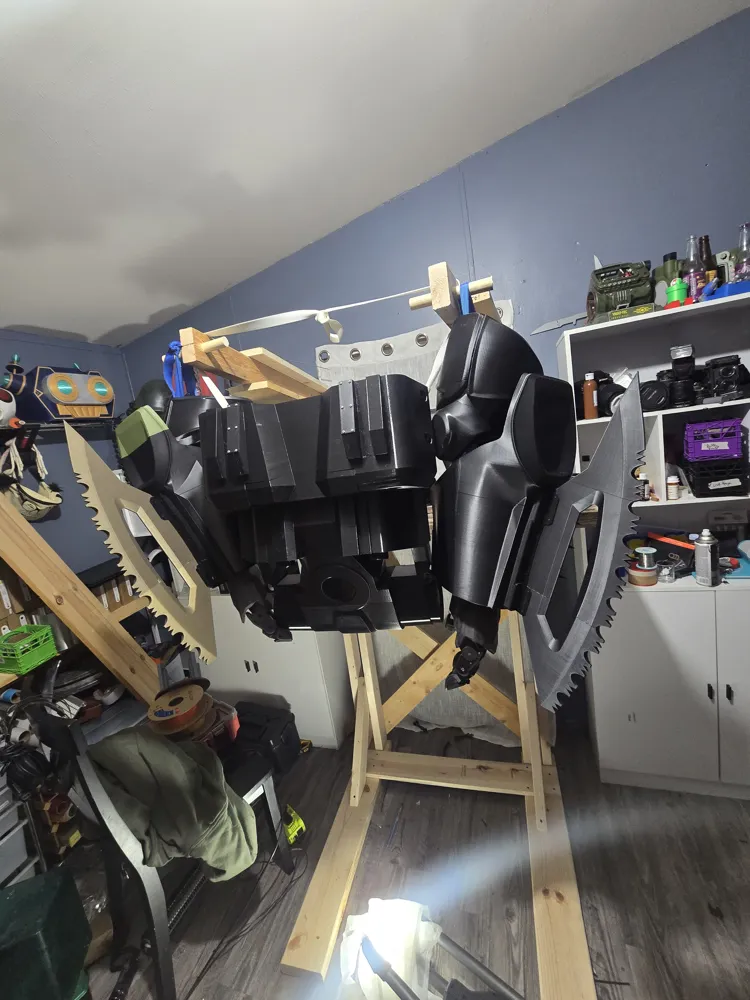
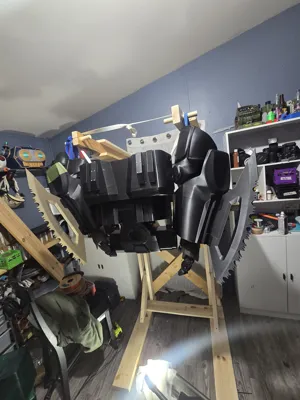
There are seams. Lots of them. You need to know how to handle them if you want it to look good in the end. I am not going to teach anyone but I will suggest plastic welding. I used a plastic welder that uses metal staples then I am going back over everything with a UV resin paste.
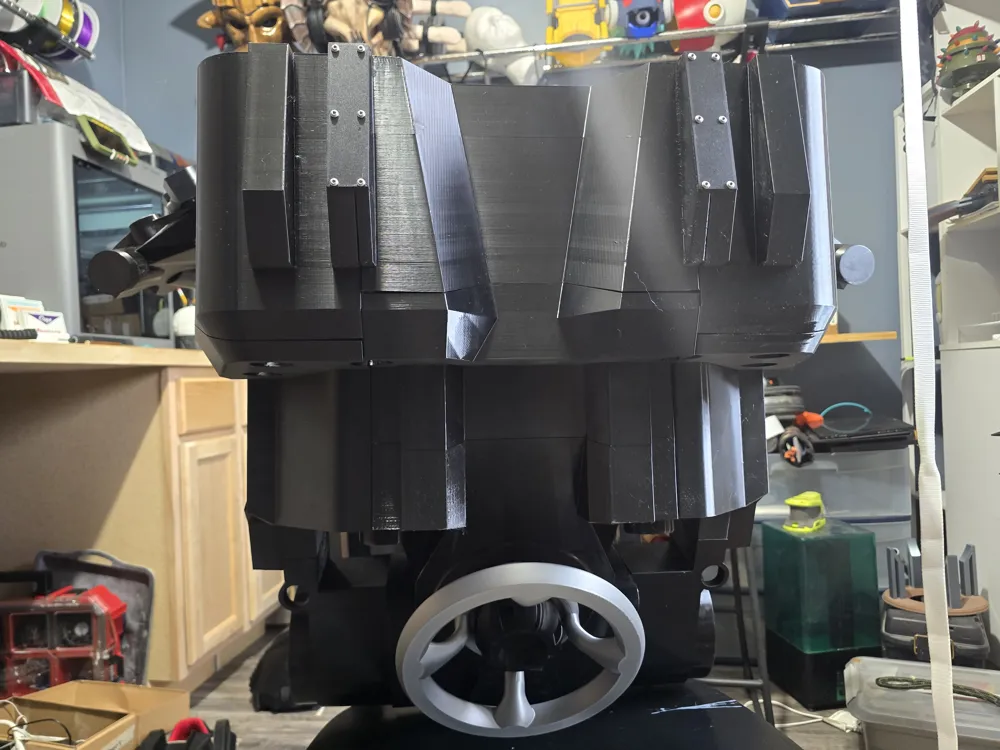
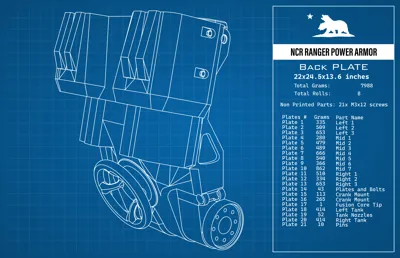
So here is part 1 of 3 for the NCR Power Armor Torso. I am going to keep it short and sweet on the description. The documentation has all of the specs and assembly directions.
The screws added for this will also cover the ones used in the Chest.
Documentation (1)
License

You shall not share, sub-license, sell, rent, host, transfer, or distribute in any way the digital or 3D printed versions of this object, nor any other derivative work of this object in its digital or physical format (including - but not limited to - remixes of this object, and hosting on other digital platforms). The objects may not be used without permission in any way whatsoever in which you charge money, or collect fees.


Comment & Rating (13)