Rugged case for Hackaday Communicator Badge


Print Profile(1)
Bill of Materials


Description
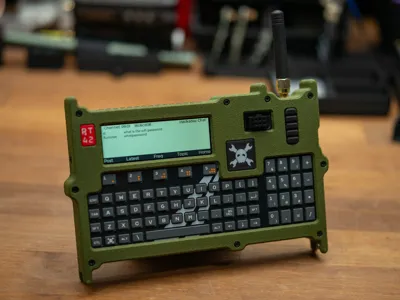
This is a case for the Hackaday Communicator Badge that was used at Supercon 2025 and will be used at Hackaday Europe in a few days (mid May 2026).
It has been designed partly as e bunch of experiments with different ways to get texture and different feel for 3D printed parts and uses different plates and slicer features to get the final result. I have printed all the parts in PLA on a Bambu Lab A1 Mini, and if you use a different printer or decide to change layer heights, filament type and other things, you might need to experiment a little to get the same surface finish, especially on the outer walls.
The case is designed to go on the outside on an otherwise fully assembled badge, with it's original case, faceplate, etc. (I have not tested this with a production badge, but only with a prototype and parts that I have printed based on the original design, but I'm confident that the production badges will fit).
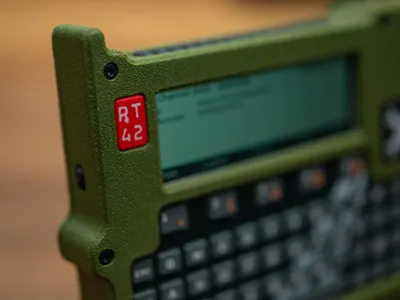
There are a few decorative elements, like the little pieces on front and the things on the sides. The two flat ones on the front (red one with RT42 and black one with Jolly Wrencher) are good candidates for easy customization as you can relatively easy replace the artwork with your own and print that instead.
These elements simply press in from the back


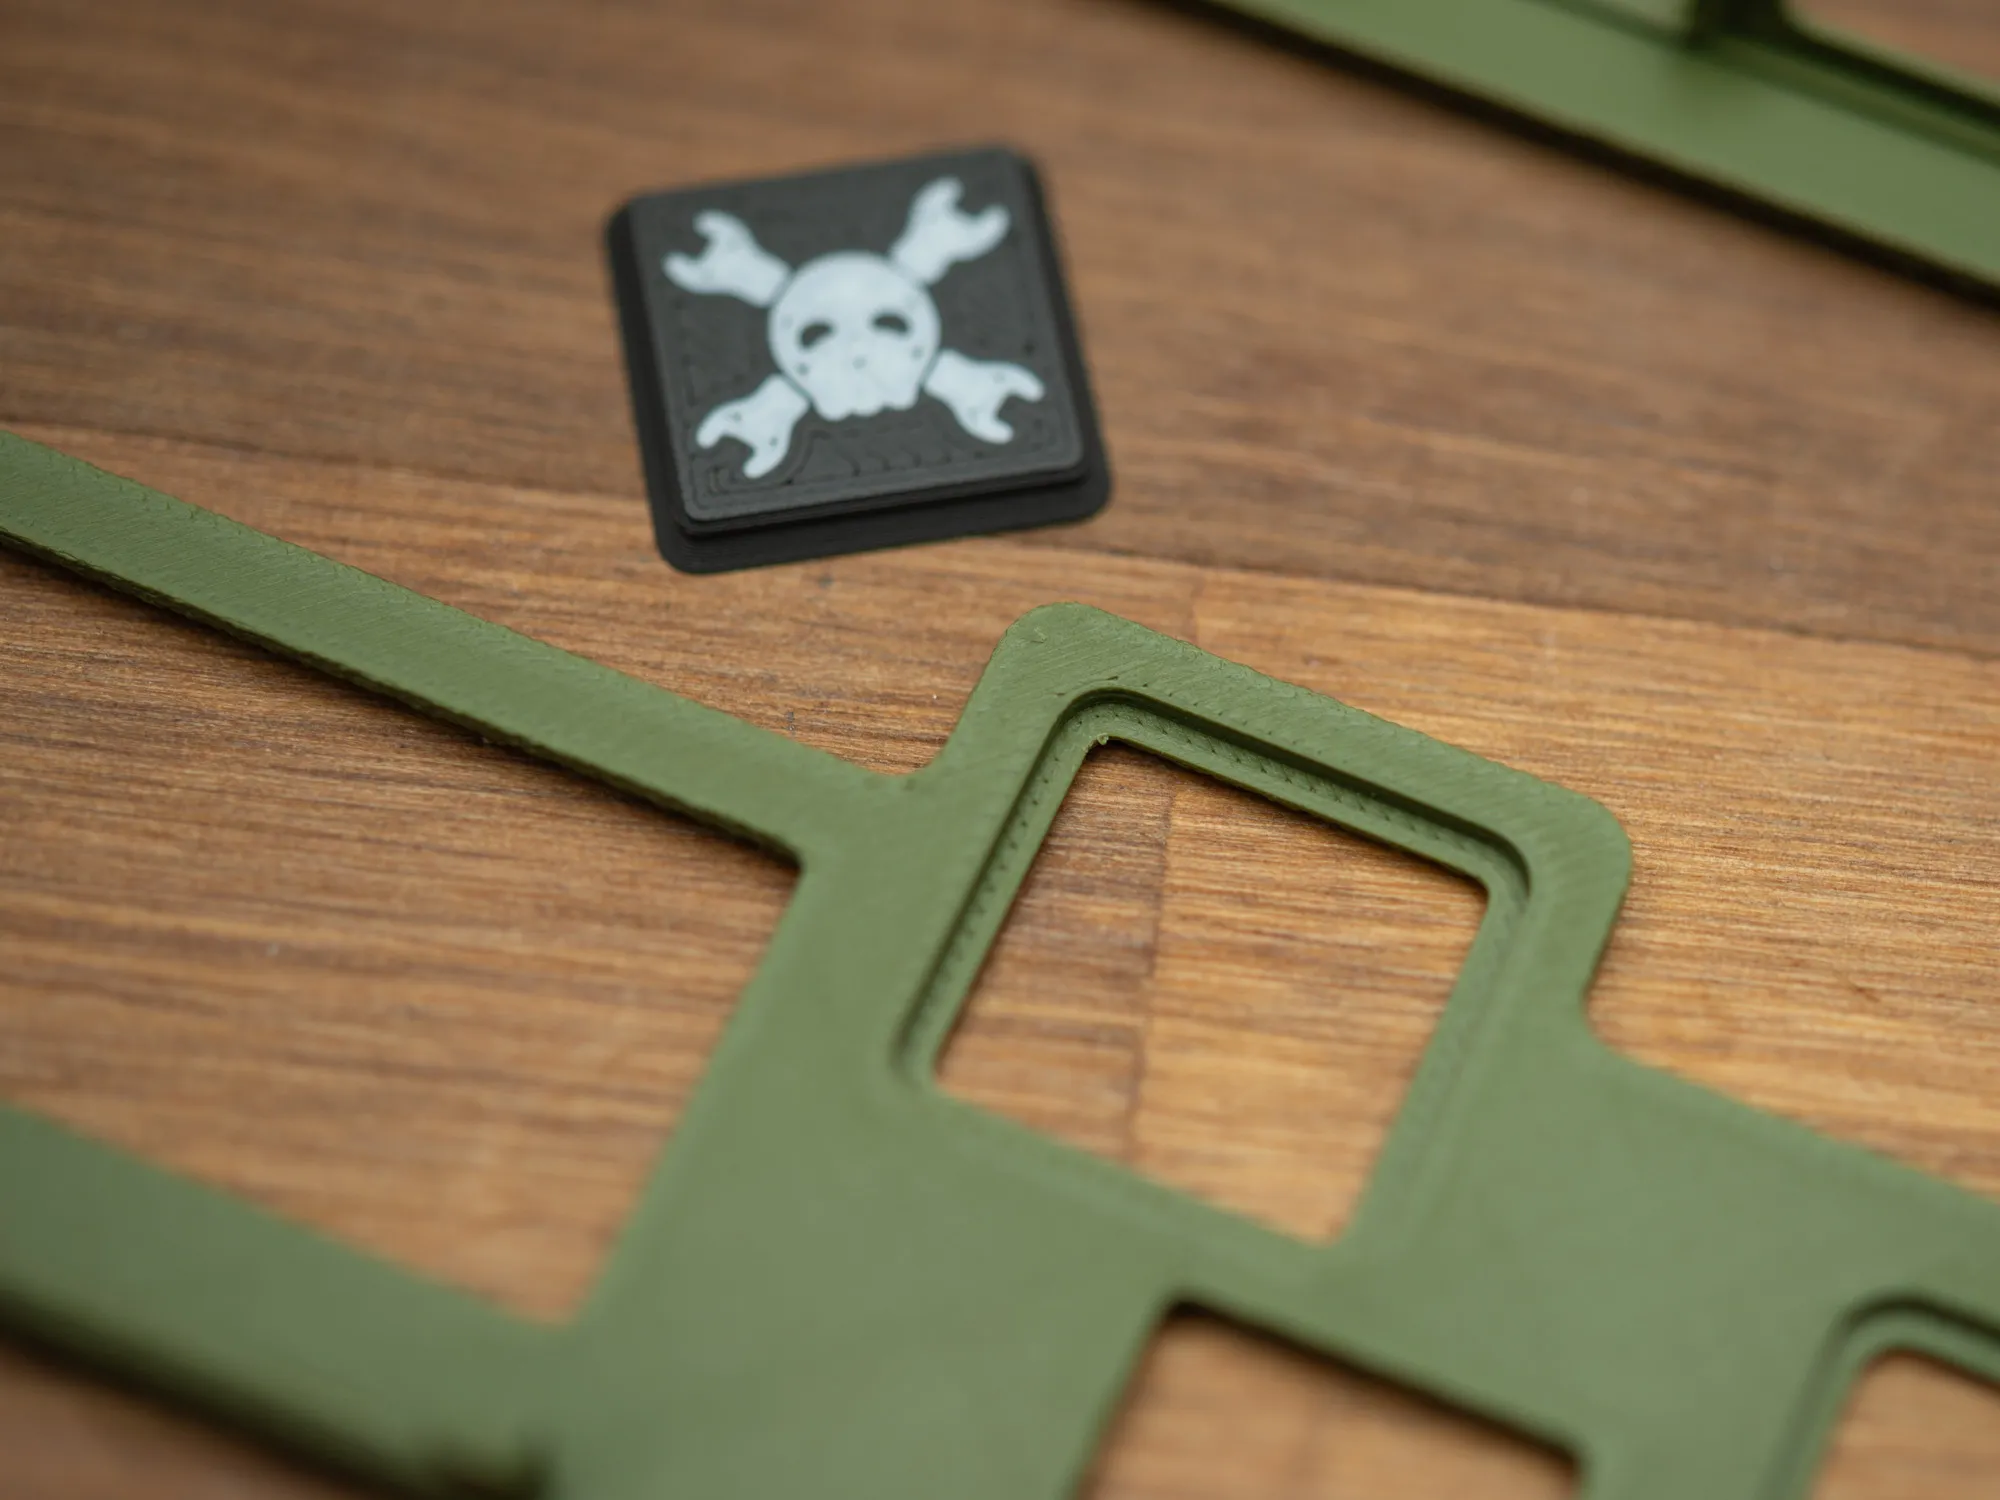

And they stay in there fine enough until the badge is assembled, and at that point, there are held in place by the front plate of the badge.


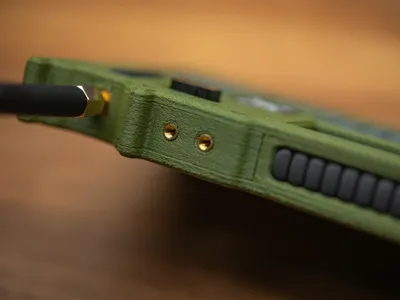
The M3 bras inserts are not absolutely needed, as they are included as an optional attachement point for other things, but I think they also help with the desired look. They can be mounted either from the inside or the outside (what I decided) and it's easiest to do before mounting the pieces.

This part must be attached to the badge around the antenna first, with the side bend out slightly and then pressed in around the USB-C connector

After that, the back side can be screwed into this piece, but you still need to hold the parts in place around the badge.
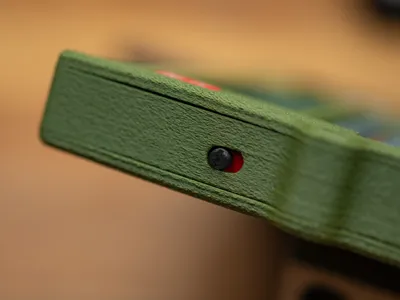
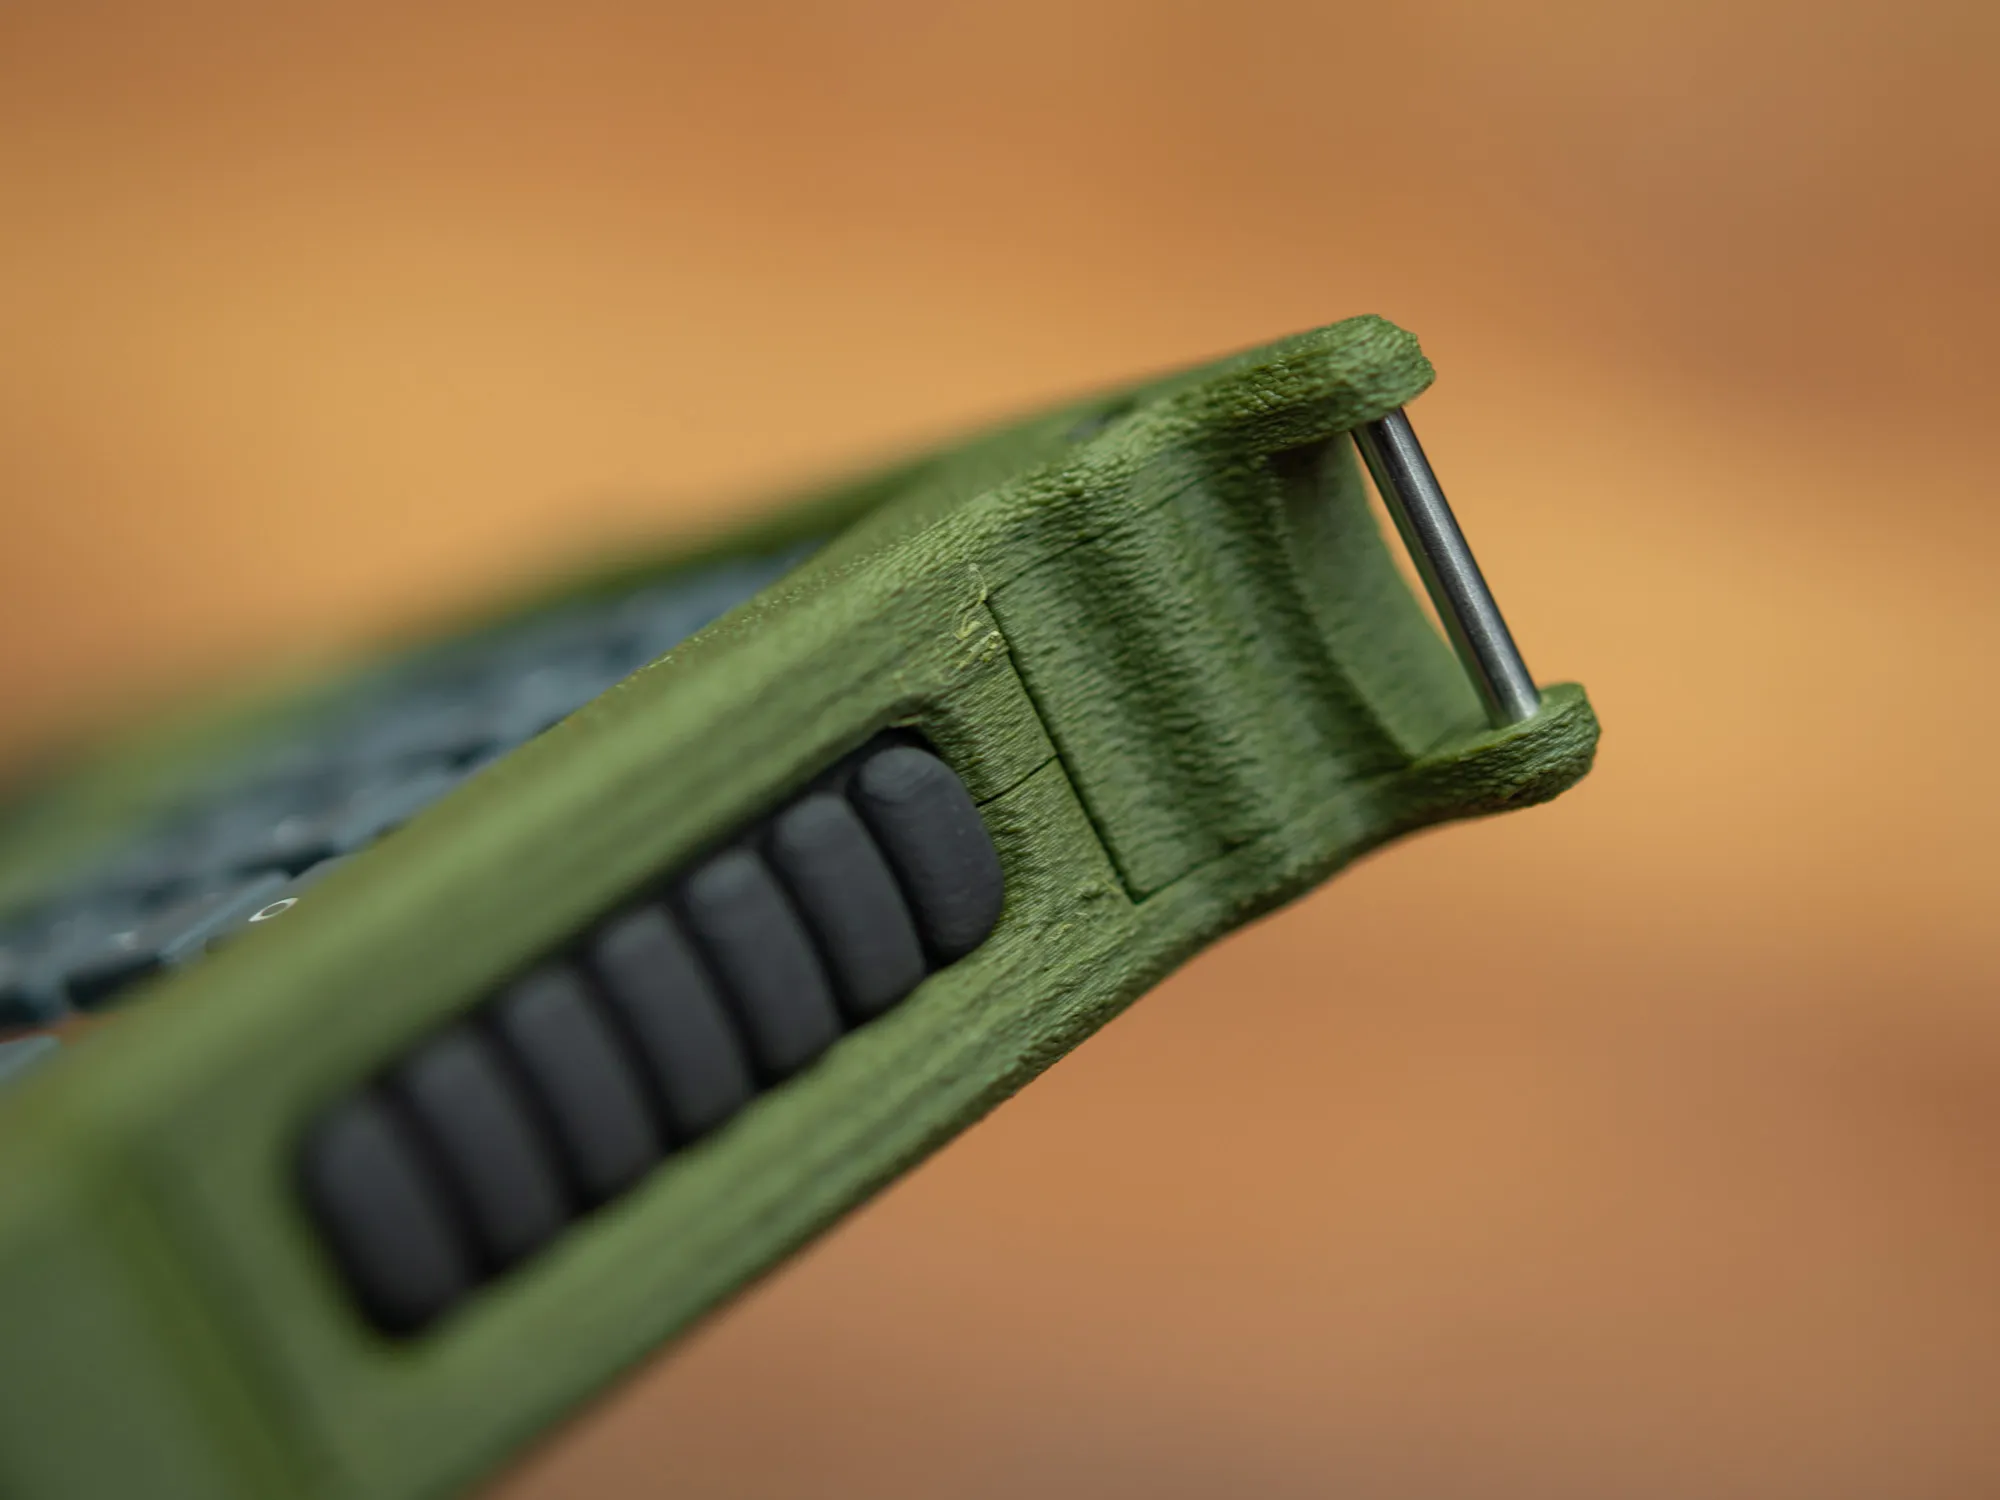
The you can place the power switch knob and remember to orient it as pictured, so that the red part will be visible when the badge is turned on.

Then it's time to screw the middle part on the power switch side to the back plate (with screws from the back)
You should also screw in the little middle part on the bottom edge.
And after that place all the decorative elements. The one on the front can be a little tricky, but if you place it on the faceplate of the badge and then put the front plate on, you can fine adjust before squizing it all together.

Before securing the screws in the two bottom corners, remember to insert the two D2 x 16mm steel pins. The holes are a snug fit and it's easiest to get them properly seated when the front is secured with a few of the other screws and then with the pin hold in the right spot and pressure eg. from the top, with the back on a sturdy surface. It should not be necessary to use tools for this.
If you print one of these for your badge, please share a photo in the comments, I would love to see how it turn out and potential other color combinations and decorations.
Comment & Rating (0)