X2D Side AMS HT Bracket


Print Profile(2)

Bill of Materials

Description
Boost Me (for free)
3D printing a model often takes multiple test prints, which uses a lot of time. Providing a creator with even a small amount of PLA/PETG can help them test and share more helpful models like yours!
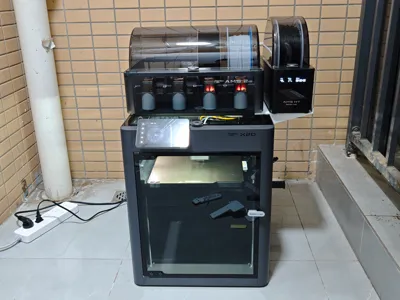
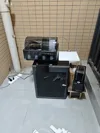
X2D Side AMS HT Bracket
26/6/3 Update: P2S AMS-HT bracket added. Please note that P2S installation has not been tested, but customer service confirmed that the back plate hole positions for X2D and P2S are consistent
Removed the back transfer unit screw holes and adjusted/optimized the related rear diagonal braces
Please note that an AMS must be placed in the middle to weigh down the top part. Three M3*10 screws are required to fix the bracket
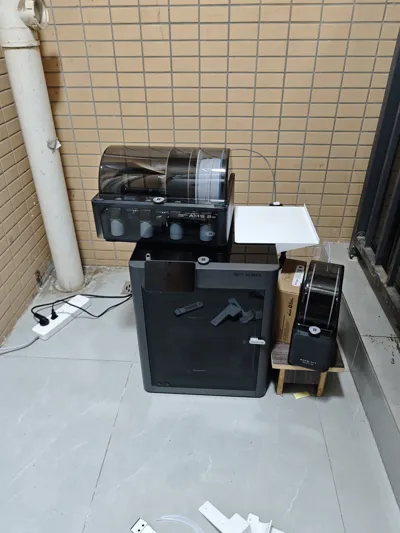
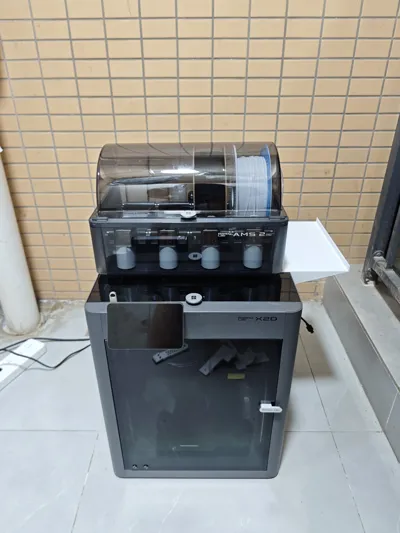
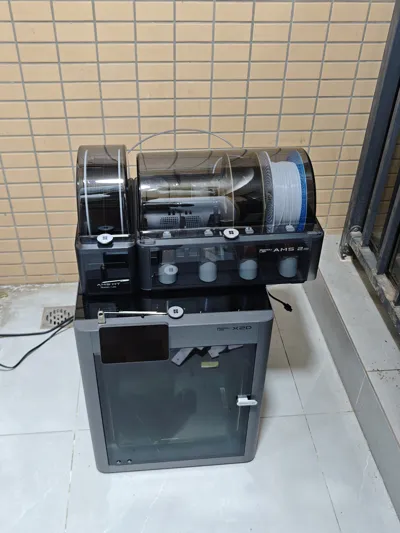
Use the back plate's mounting holes to extend the top surface, allowing another AMS HT to be placed on the side, ensuring that most of the AMS HT's four feet rest on the platform
Three M3*10 screws are needed to replace the back plate screws
Installation space for the transfer unit is reserved on the back. I am using the spare screws from the transfer unit here
If you don't have a transfer unit, it's actually recommended to buy one, as the ability to automatically switch between different AMS filament is quite convenient
After installation, the bracket will press against the top glass lid. To open the top glass lid, you need to unscrew the three screws at the back and remove the bracket before the top panel can be properly removed
Please note that the weight of the central AMS is needed to press down on part of the plate to stabilize the outer side. Place at least one filament spool on the side of the AMS closer to the AMS HT to reduce overall plate warping


Plate 1 and Plate 2 only have adjustments in the size of the side transfer unit installation. I only printed Plate 1 for testing. Plate 2 adds a section for transfer unit installation, which theoretically should make the bracket stronger

The height is quite extreme. I used the maximum printing height of 260mm for the X2D here, which allows most of the AMS HT's four feet to rest on the platform
For other models with a 256mm height, I haven't tested it personally, but it should still allow at least half of the four feet to rest on the bracket surface
After printing, it's best to manually raise the build plate slightly to prevent the starting procedure from lowering the build plate and hitting the bottom during the next print
Multiple screw holes are reserved on the back for convenient transfer unit installation. I used the leftmost fixed installation position because this position provides the largest PTFE tube arc and least resistance
Installation
Use the three screw holes indicated by the red arrows for installation. Screws in holes 2 and 3 need to be removed

Use these three screw holes for installation and fastening. Please note that if you have a transfer unit, it needs to be installed first
Wishing you smooth sailing on your print — no stringing, no failed prints!
If you found this helpful, a like would mean a lot! And if you download the files , you'll help me earn filaments from Bambu Lab. This lets me test-drive and share more awesome models with the community!
Want to see more?
Check out my other designs on my profile
License
You shall not share, sub-license, sell, rent, host, transfer, or distribute in any way the digital or 3D printed versions of this object, nor any other derivative work of this object in its digital or physical format (including - but not limited to - remixes of this object, and hosting on other digital platforms). The objects may not be used without permission in any way whatsoever in which you charge money, or collect fees.
Comment & Rating (5)