AMD BC-250 Industrial Style Compute Case v1.0


Print Profile(1)
Description
Introduction
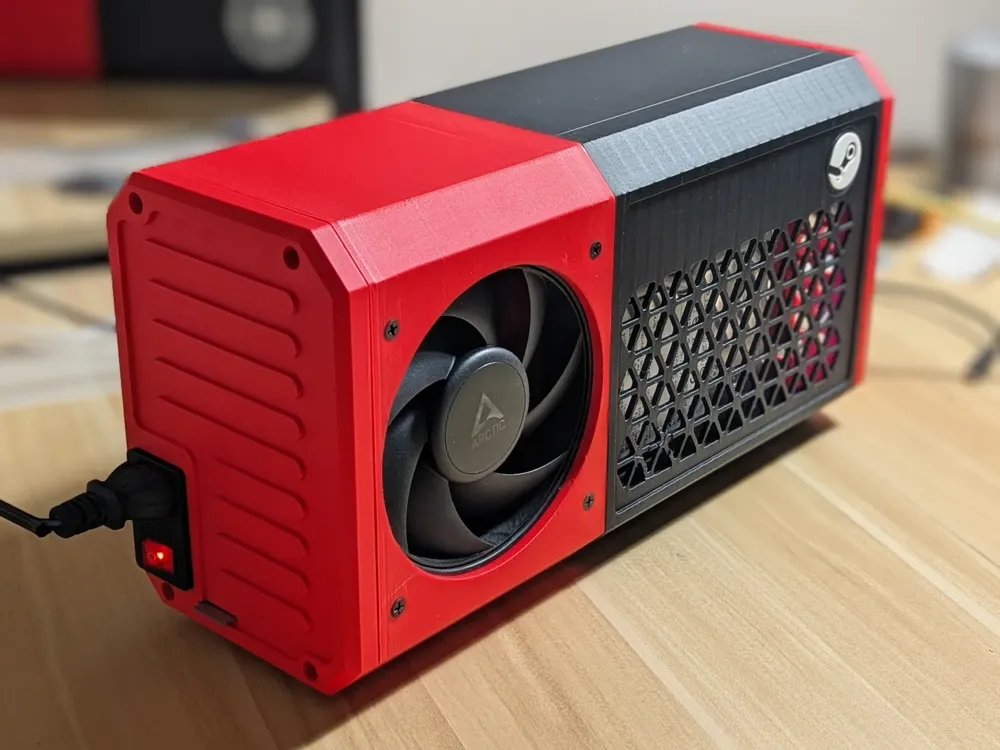
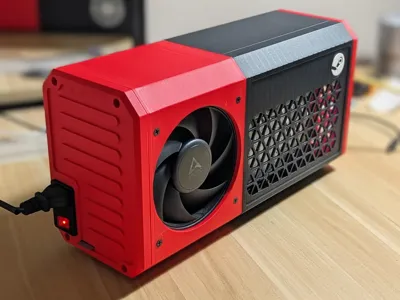
A compact industrial-style enclosure designed for the AMD/ASRock BC-250 accelerator.
This case was built around the original BC-250 heatsink, allowing the card to be installed without any heatsink modification or custom cooling hardware. The side-flow airflow design uses a large intake fan to push air directly through the stock heatsink for efficient cooling in a relatively compact enclosure.
The enclosure is designed around the Mean Well LRS-350-12 DC power supply which can easily you can find in Amazon
Despite the compact footprint, the case can also accommodate an optional internal 3.5-inch HDD for large local storage capacity for AAA title games — ideal for DIY steam machine or local LLM node.
Even with a single-fan cooling design, the enclosure maintains BC-250 temperatures around ~70°C under gaming load.

Updates
- Added fan ring and fan guard model (2026-07-08)
- Updated rear body to the latest v2.3 model (2026-07-08)
- Fixed misaligned fixture screw hole on the front panel (2026-07-08)
- Added rear panel vents to improve airflow to the PSU
- Improved the AC-01 fittings on the rear panel
- Added a removable magnetic front cover with a new design, along with rail system. This can be retrofitted onto the existing front body. Requires 12pcs of 8mm x 2mm neodymium magnets
- Added a new design HDD mounter for 3.5 and 2.5 drives
Features
- Fully 3D-printable enclosure
- Designed specifically for the AMD/ASRock BC-250
- Compatible with the Mean Well LRS-350-12 PSU
- Uses the stock BC-250 heatsink without modification
- Compact side-flow cooling layout
- Optional support for a 3.5-inch high-capacity HDD
Print Notes
- PLA or PETG is recommended
(high-temperature-resistant materials are not required) - 5% infill is generally sufficient, but adding extra walls around self-tapping screw holes is recommended for better durability
Assembly Notes
- The stock fan direction of the LRS-350-12 PSU may need to be reversed for proper airflow within this enclosure. Change the fan orientation from intake to exhaust by opening the PSU cover and flipping the fan. (With a new design of back panel (with vents), you don't need to do this :) )
How do I wiring?
Here is an example wiring chart. Please choose appropriate voltage fuse for AC-01 in your AC environment.

Required items
For body
- M3 x 8mm self-tapping screws x12
- 120x120x25 12V PWM Fan with high static pressure (Typically Arctic P12 Pro (Amazon) *do try to use LN version. )
Due to the design uses stock cooler as-is, the fan with high static pressure (high mmH2O) is crucial. AFAIK, the Arctic P12 Pro is the best in terms of cost and performance. - #6 self tapping screw for fan mounting x4
- Long-reach (30~40cm) #2 Phillips screwdriver
PSU installation
- M4 x 8mm screw x2 (#6-32UNC screws are also usable)
- AC-01 fused 3-pin AC power socket (Amazon) x1
- 20cm 8pin PCIe power cable x1 (Amazon)
- AC Wires
- Wire ferrules / screw-terminal wire connectors (Amazon)
BC-250 installation
- #6-32 UNC mounting screws x1
Optional HDD mounting
- M3 x 8mm self-tapping screw x3
- #6-32 UNC HDD mounting screws x3
----
Assembly
1. Install the cooling fan into the rear body section

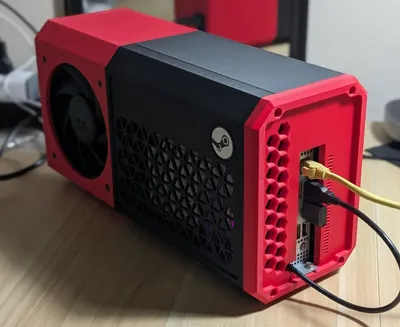
2. Slide the BC-250 and PSU into the rear body, then connect power cables for the BC-250 and cooling fan

3. Wire the AC power socket to the PSU, install it into the rear panel, then secure the rear panel to the rear body using four M3 self-tapping screws

4. Join the rear body and front body sections, then secure them together using three M3 self-tapping screws (Note: You may need a long reach screw driver to do this)

5. Secure the PSU to the front body section using two M4 screws

6. Attach the front cover to the front body using two M3 self-tapping screws

7. Attach the front panel to the front body using four M3 self-tapping screws

8. Secure the BC-250 to the front panel

Comment & Rating (29)