Arduino CNC DIY Pen Plotter -Optimized 4 Bambu Lab


Print Profile(1)
Bill of Materials

Description
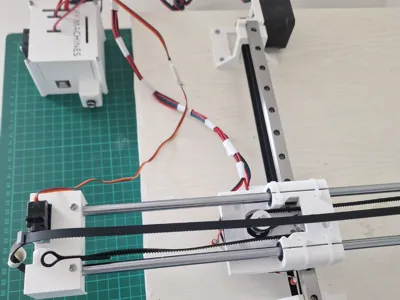
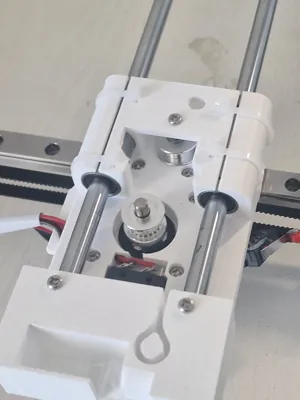
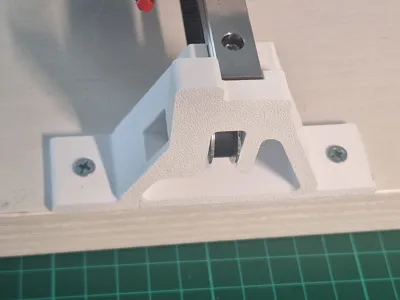
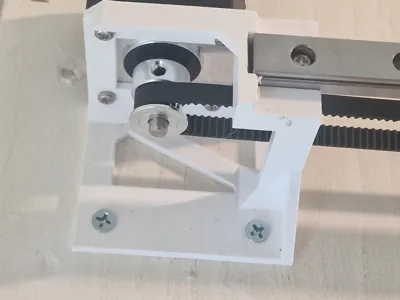
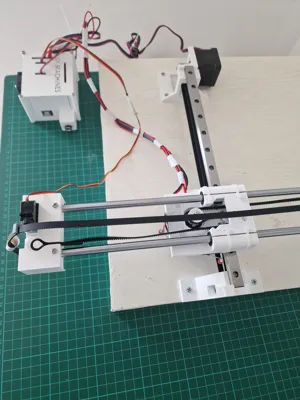
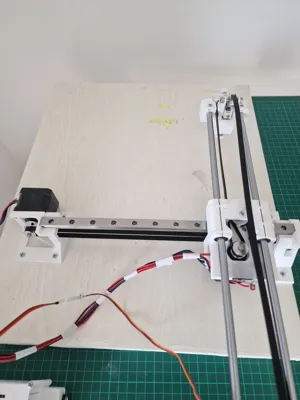
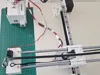
Arduino CNC DIY Pen Plotter
This project is an optimized adaptation for the Bambu Lab ecosystem of the renowned CNC Pen Plotter by DIY Machines. It is an extremely versatile Arduino-based drawing machine, capable of drawing on paper, T-shirts, phone cases, and even decorating cakes using food-grade ink pens.
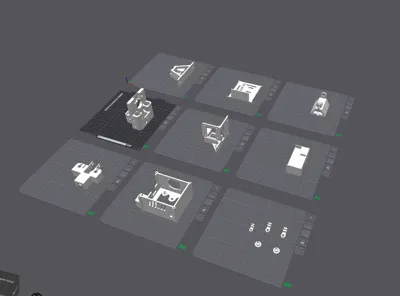
I have divided the files into 9 print plates ready for use, optimized for a Bambu Lab A1 mini (or higher), using 3mf files to ensure the best print settings.
Print Details:
- Printer: Bambu Lab A1 mini
- Filament used: Bambu Lab PETG Basic (White)
- Why PETG? I chose PETG for its superior mechanical resistance and flexibility compared to PLA, ideal for components that need to support NEMA 17 motors and steel rods, ensuring long-term durability.
- Settings: The 3mf files already include optimized layer heights (0.16mm) and 40% infill for structural parts, as recommended by the original designer.
Plate Organization (9 Plates):
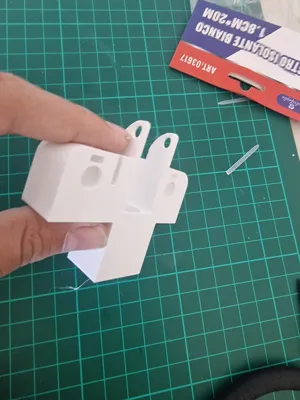
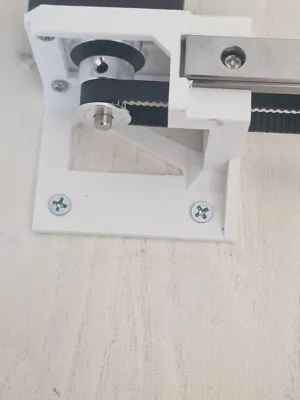
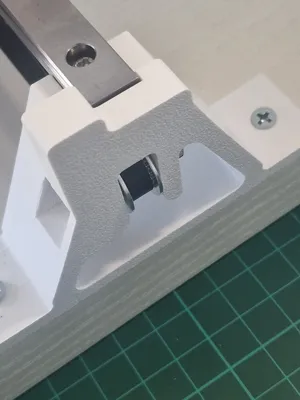
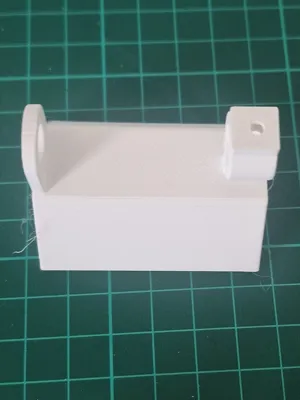
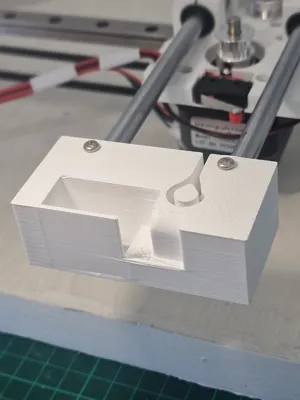
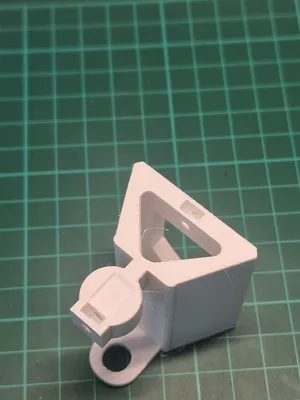
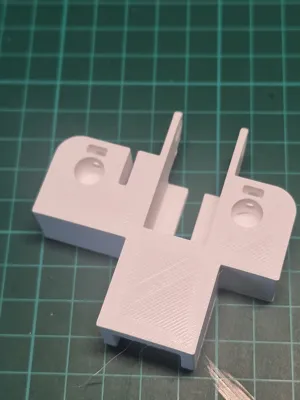
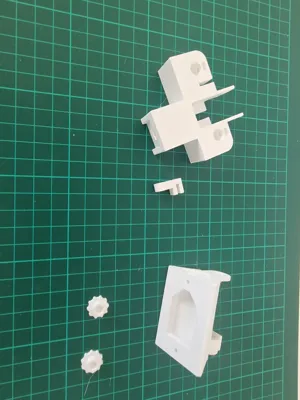
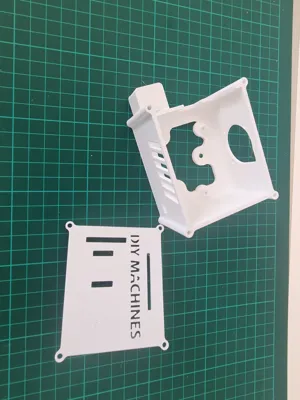
- Plate 1-8: Each plate contains one of the main frame parts (Base, Motor Mounts, Pen Holder, etc.).
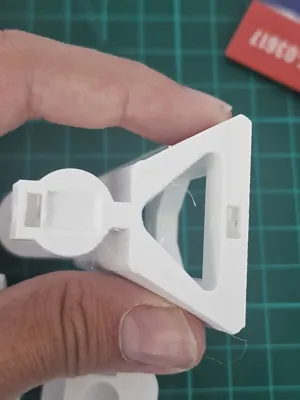
- Plate 9 (Extra): This plate includes finishing and customization components:
- Screw covers: For a clean and professional look.
- Belt adapter for the Servo (Z-Axis): A fundamental part for precise pen lifting.
Related Resources and Instructions:
For complete assembly, the list of electronic components (Arduino Uno, CNC Shield, NEMA 17 motors) and software configuration (GRBL), please refer to the official DIY Machines guides I followed for this project:
- Video Tutorial Part 1 (Assembly): YouTube Link
- Video Tutorial Part 2 (Software): YouTube Link
- Complete text guide: DIY Machines Website
- Original STL files: Printables
Note: This print profile has been successfully tested. Make sure the build plate is clean to ensure optimal PETG adhesion.
Follow All Instructions Carefully and Arm Yourselves with Patience and Good Will. Happy Printing!
Boost Me (for free)
Help me improve and create more projects. Thank you!!

Comment & Rating (0)