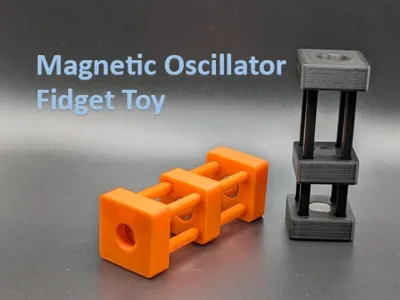
Magnetic Oscillator Fidget Toy


Print Profile(2)
Bill of Materials

Description
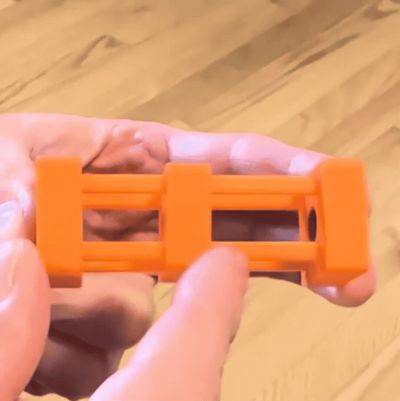
This is a fidget toy that oscillates based on magnetic repulsion. Assembly is simple, but care must be taken to properly orient the magnets, so please read the assembly instructions completely.
Magnets:
Size 10mm x 2mm (8 magnets required minimum, but it can hold up to 14 to increase magnetic repulsion)
Assembly: [PLEASE READ!]
No glue is required for assembly and use. However, if the toy is used by children or used around children, glue the magnets in place for safety. Gluing the magnets in place will also prevent them from coming out if the toy is dropped.
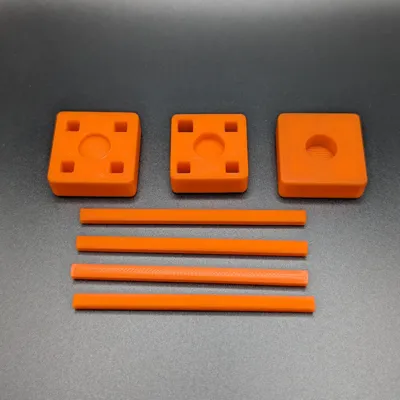
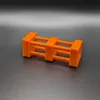
The center oscillator and end pieces each have a baffle in the magnet hole (see below) so magnets can be placed on each side. This is what keeps them in place without the need for glue. The two end pieces are identical.

Magnets should be place in each of the three pieces before assembling with the rails. Place 2 magnets on each side of the oscillator piece (magnetic attraction will hold the 4 magnets in place). The end pieces each require a minimum of one magnet on each side of the baffle (2 per end piece), but up to 4 can be placed in the outside of each end piece to increase magnetic repulsion (magnetic attraction will hold the magnets in each end piece). It is critical that the magnets installed in one end piece are installed with polarity in the opposite direction of the magnets in the other end piece (when properly installed, you should feel the two end pieces attract each other if brought near each other). If you intend to permanently glue in the magnets, now is the easiest time to do it, but make sure polarities are correct for the end pieces before gluing the magnets.

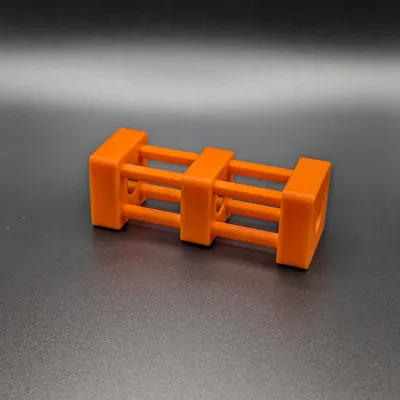
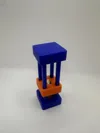
For the final assembly, insert the 4 rails into one end piece. Then insert the oscillator on the rails in the direction such that it is repelled by the lower end piece and floats (common poles must face each other). Place the other end piece on top of the 4 rails and press the ends together to wedge all the rails into the top and bottom end pieces. The rails are designed to friction fit into the end pieces. (see below)


The image below shows the number of magnets and relative polarities of each face.

Enjoy!
License
You shall not share, sub-license, sell, rent, host, transfer, or distribute in any way the digital or 3D printed versions of this object, nor any other derivative work of this object in its digital or physical format (including - but not limited to - remixes of this object, and hosting on other digital platforms). The objects may not be used without permission in any way whatsoever in which you charge money, or collect fees.
Comment & Rating (4)